New Adjust Colors in Photoshop, easily change colors the new way
Change colors in Photoshop the new(ish) way
There are 2 parts to the Adjust Color. The option in the taskbar is brand new. We also have an updated Hue Saturation panel. This feature is out of beta and in the main version of Photoshop.
This new Photoshop tool is great to make quick adjustments to specific colors in your images. You could give certain colors a lift, to change them completely. This tut will show you the features and how to change colors. The video is more in depth and explains every part of the workings.
You will see Adjust Colors in the Task Bar

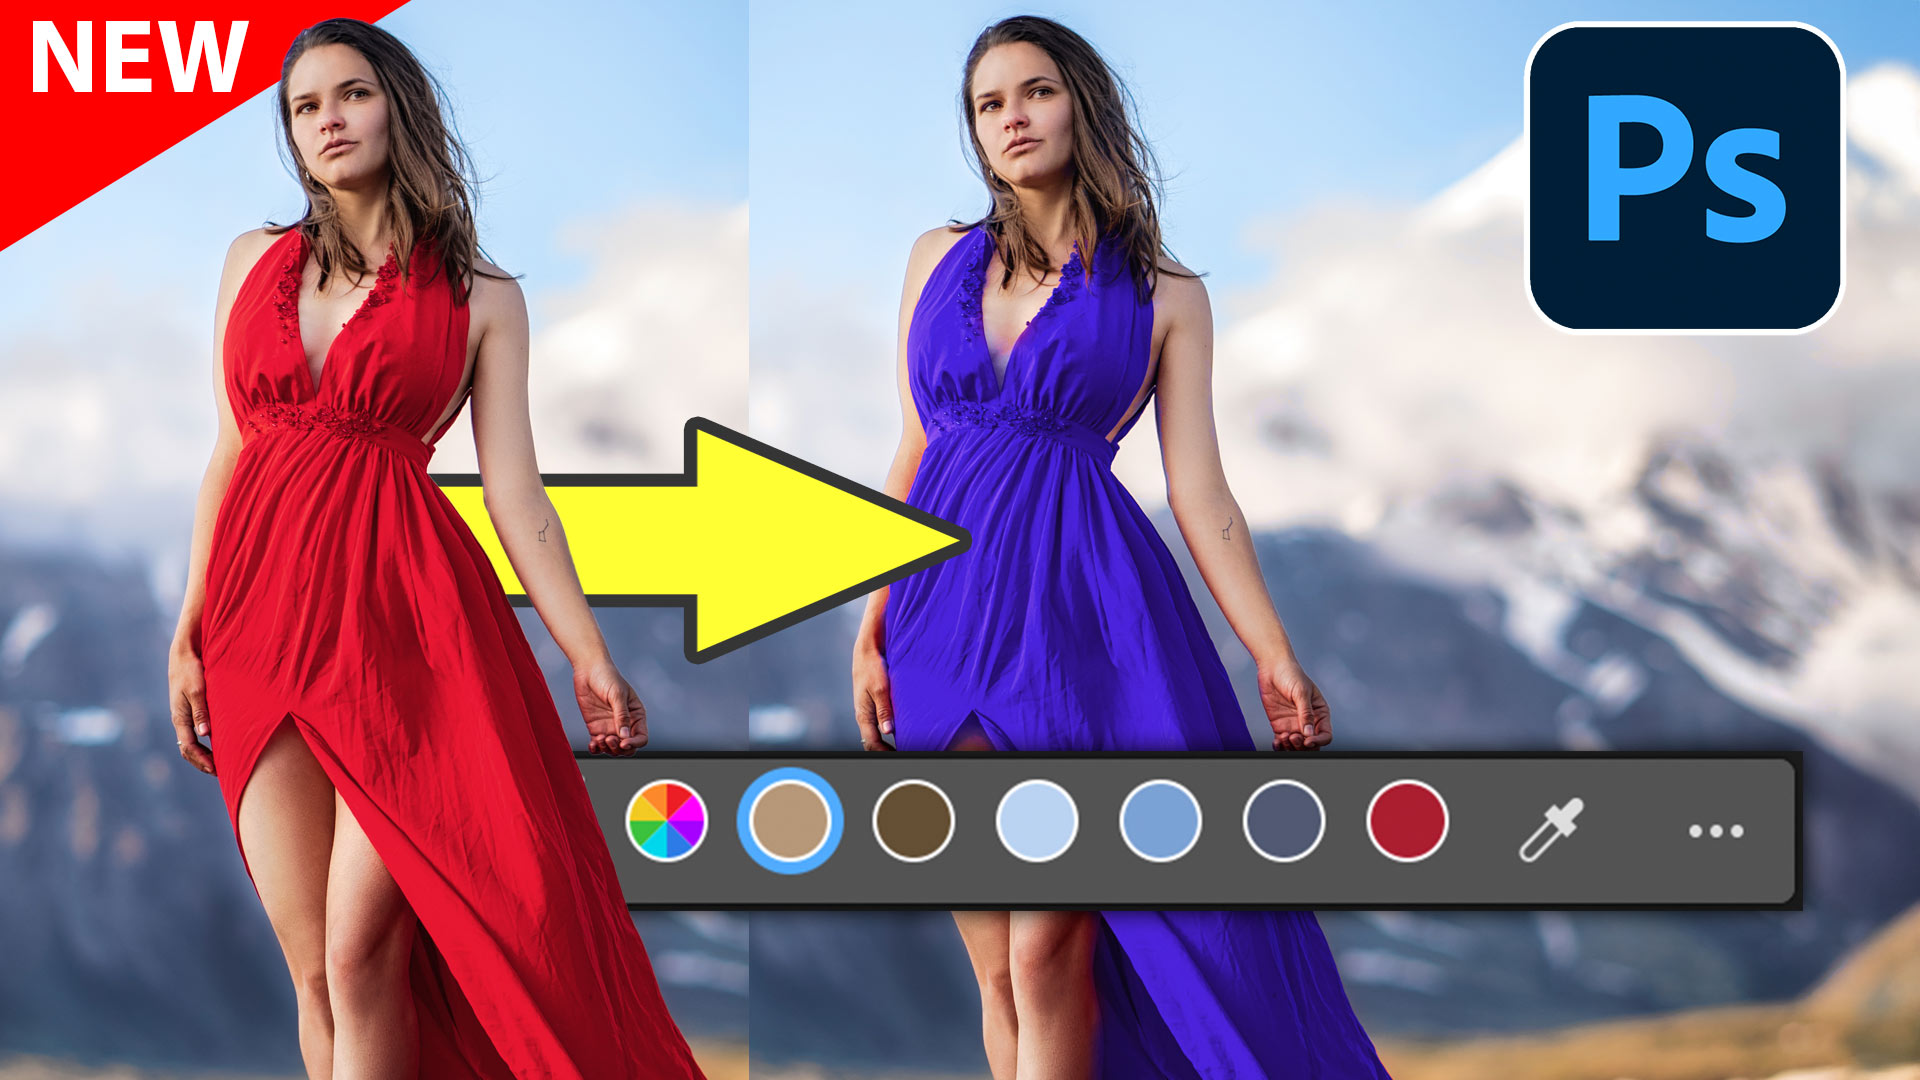
When you click, you will see the six prominent colors in the image.

Click any color to reveal HSL sliders. Adjust the hue to change the color.

When you use the colors, a hue Saturation Adjustment Layer is created.

Notice, the Hue Saturation Properties have been updated. (all features covered in the video).

Id we want to refine the selected colors, this can be done from the panel, not the task bar.

If you look closely at the color range slider, see 2 color bars. The top is the original colors, the bottom is what they have been changed to.
Notice, the blue, used to be red.

See there is a red hue in the back wheel.

Move the right slider to the right to push away the red.
Now we get better color.

In the Hue/Saturation Panel (The adjustment layer), Create a new Hue Saturation Adjustment layer to access it directly without the task bar.
if you choose default as the preset, you get 6 primary colors.
RGB – Red, Green and Blue

And CMY(k). Cyan, Magenta and yellow.

Here we can see it used to be a drop down instead of color dots.

The other way to sample colors, is to use the eyedropper. This samples a precise color and is my favorite method.

The HSL Sliders are:
H – Hue – The actual color itself.
S- Saturation – The amount of color
L – Luminance – Brightness, black to white.

In the Drop down menu in Hue Saturation, you will see that we can choose Prominent colors here too.

Changing The color of a dress
Lets do the workflow here.
Choose the eyedropper.

The prominent chose the shadow reds in the image.
With the eye dropper we can choose the true red in the dress.

Click on the defuse part of the red dress to select the color.

Move the Hue slider to change the color

Notice some of the skin Tone has changed, because there is red in the skin tone.
Grab the minus eyedropper
Click on her cheek

Notice this color is now removed. What it did, is adjust the color range.

Adjust the Range Sliders and Faders to clean up the selection.

If you need to, paint on the Adjustment Layer mask to further refine the image. You can see me demonstrate that on the video.

Thanks for checking this out. For a deeper look into how Hue Saturation changes colors including black and white check out this tutorial.
Drop a comment and let me know if this was helpful. (The like and Subscribe is on the Youtube video).
Great to see you here at the cafe
Colin
PS Don’t forget to follow us on Social Media for more tips..
(I've been posting some fun Instagram and Facebook Stories lately)
You can get my free Layer Blending modes ebook along with dozens of exclusive Photoshop Goodies here


How to organize your photos in Lightroom. Don't panic, clean up and organize your existing Catalog and collection with these...
New tool in Photoshop removes anything in a photo instantly, new remove option in Generative Fill. Generative remove

Photoshop CC is launched, see whats new and what the cloud is all about. Myths debunked.