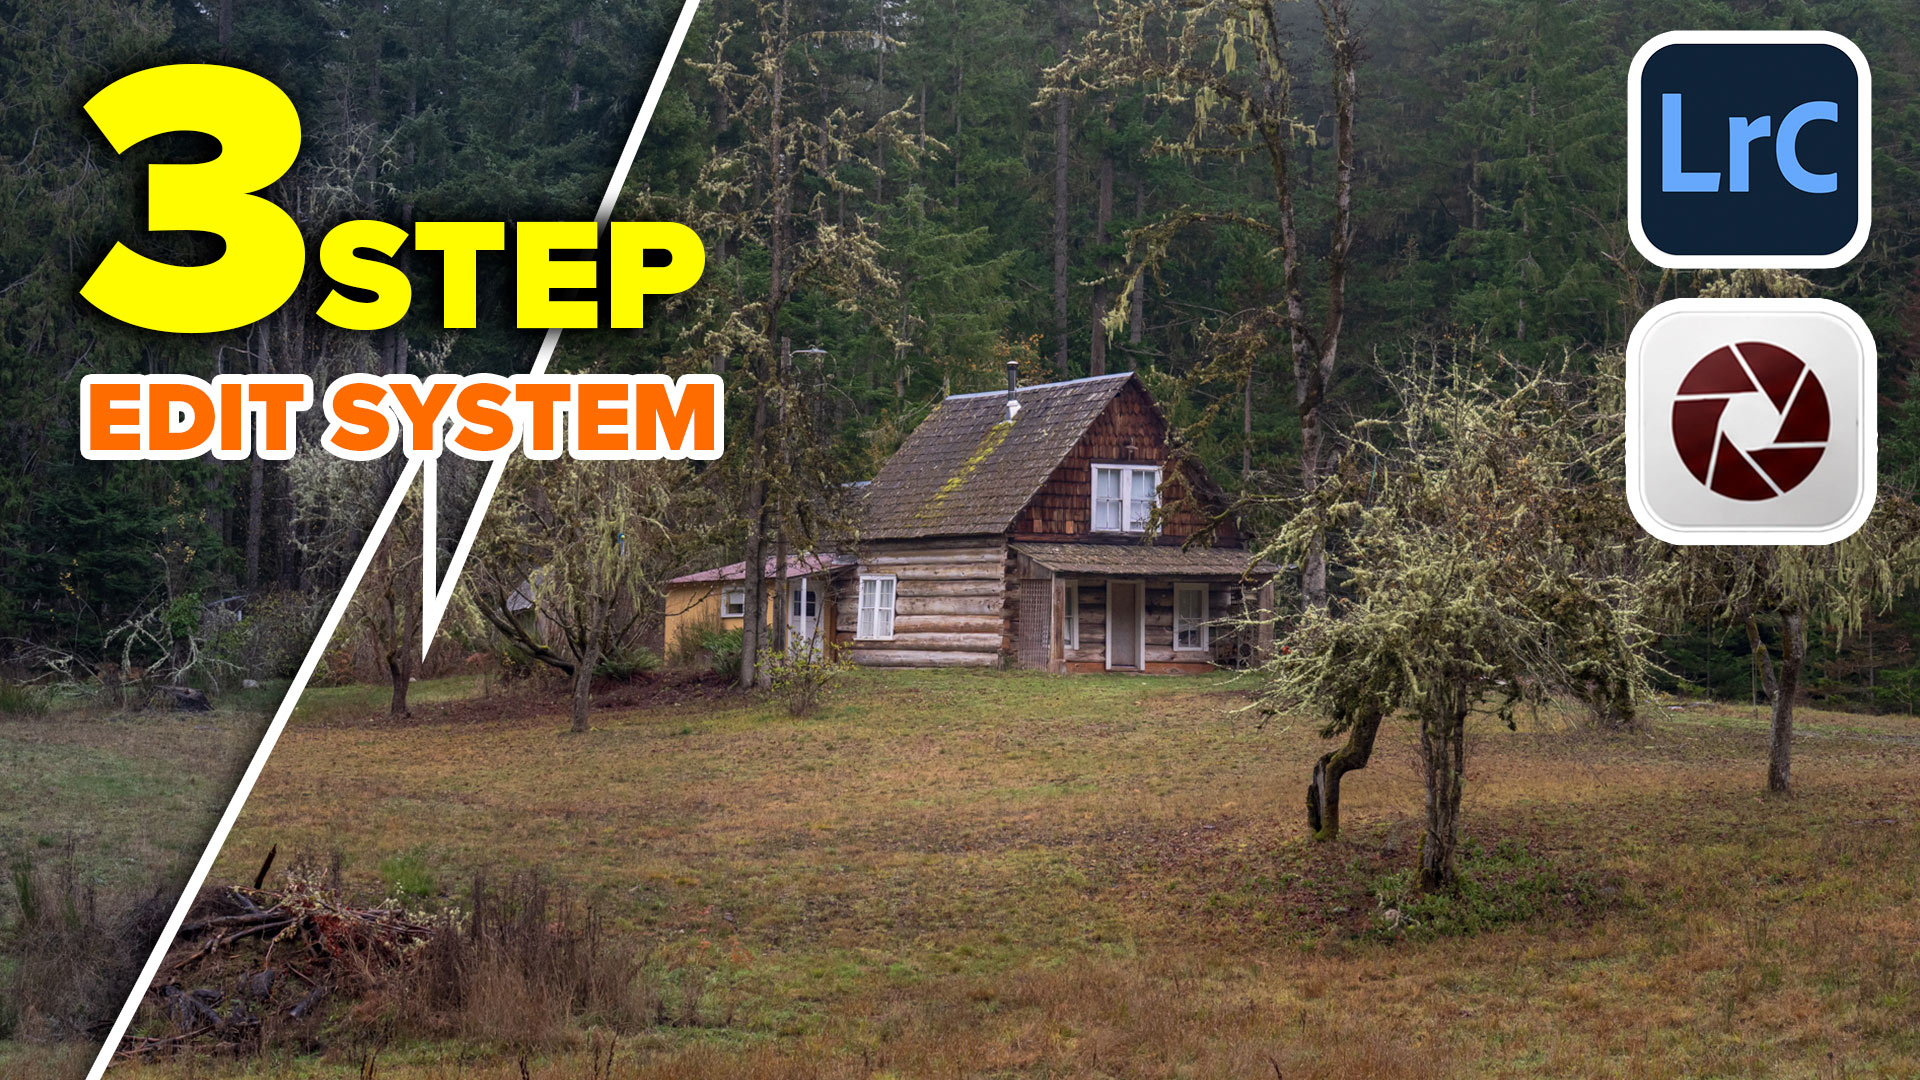
Photoshop Tips

I’ve shared a lot of Photoshop tips over the years (I wrote the monthly Photoshop Tips column for Photoshop User Magazine for 15 years or so). Lately, Photoshop has undergone a lot of updates. Here is a brand-new set of tips that focuses on the newer features only. I hope you enjoy! (Let me know […]

Use hidden Layer filters to rapidly organize Photoshop layers

A year-end roundup of the most popular Photoshop tutorials, combining new AI tools with timeless skills our community keeps coming back to.

Differences between Flux Kontext Pro and Nana Banana in Photoshop, which is better?
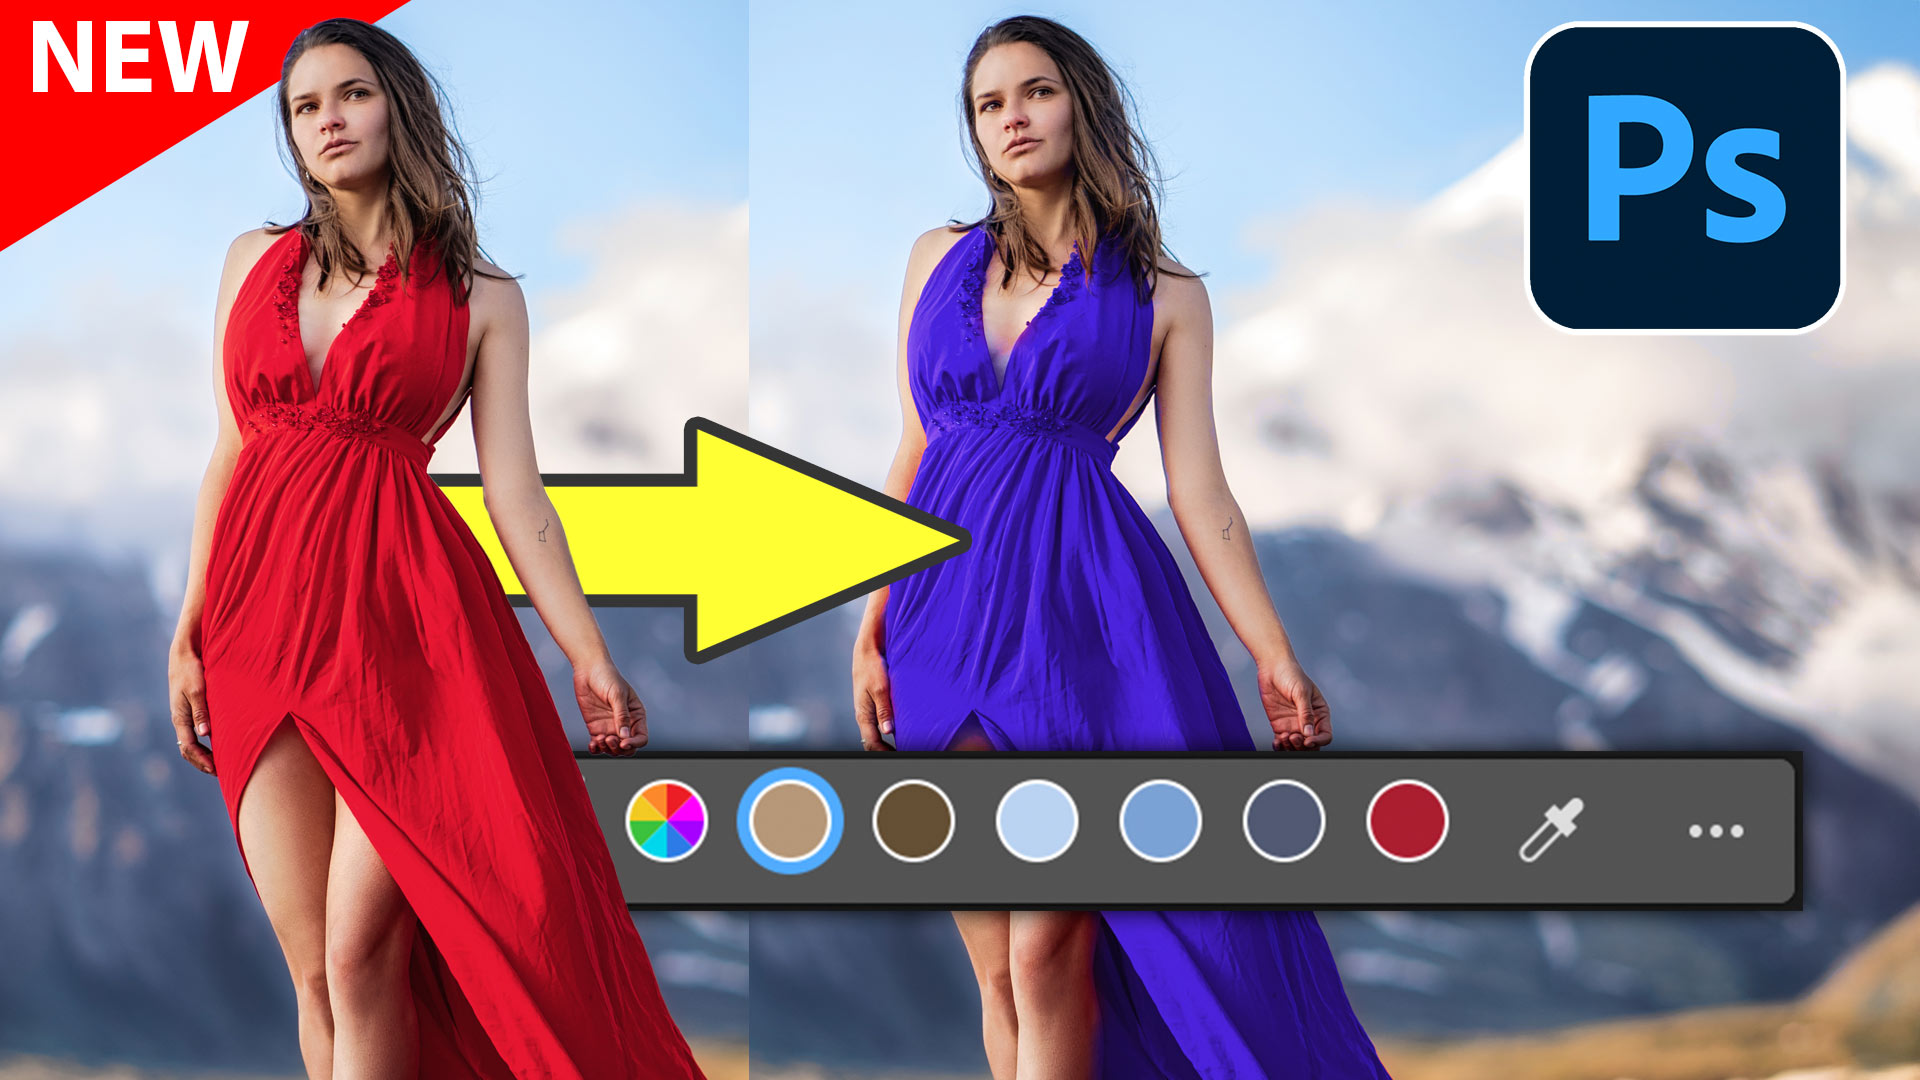
New Adjust Color in Photoshop makes it easy to change colors and to make certain colors pop in a photo
How to use the new features in the frame tool in Photoshop.

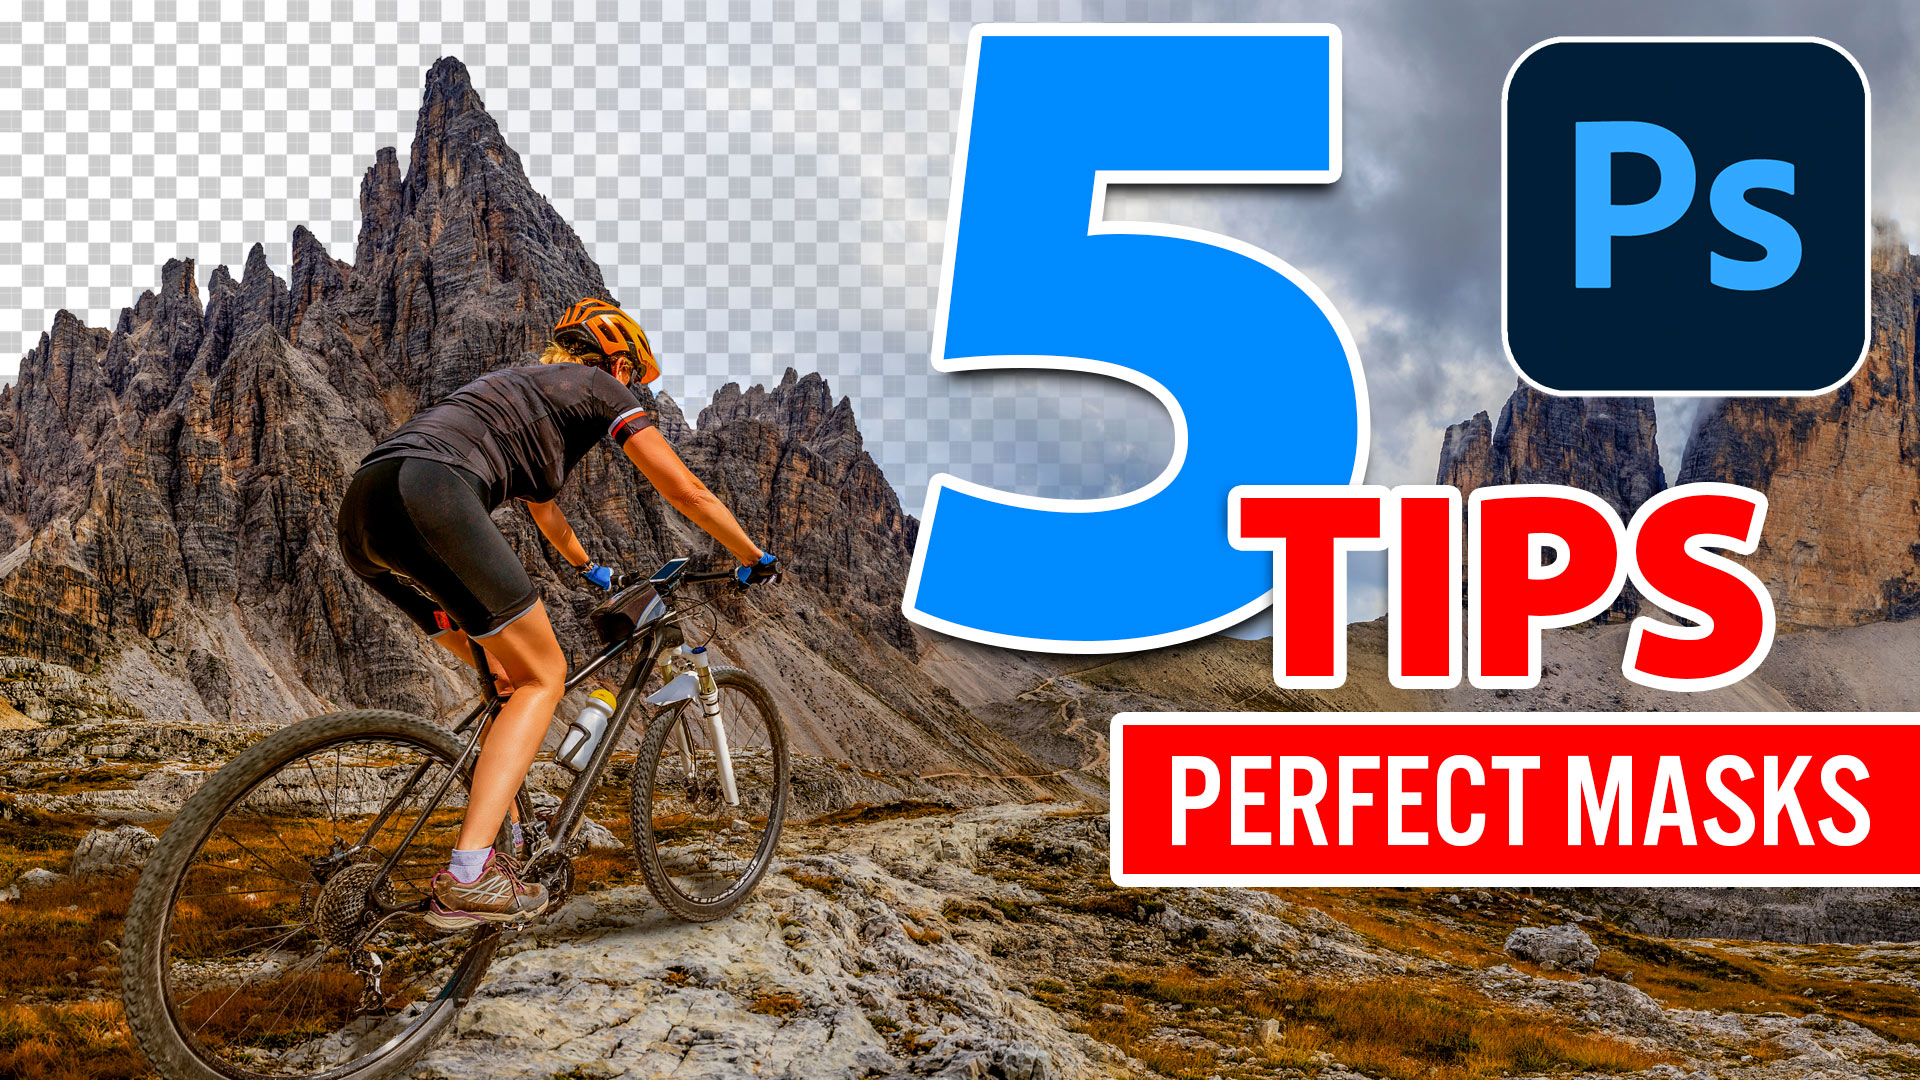
How to fix and refine cutouts in Photoshop. 5 tips to clean your Photoshop masks
Change these Photoshop settings to make Photoshop work better for you.

Photoshop tip. how to change the type of an adjustment layer in Photoshop after it's created
How to fix missing tools and features, or missing updates in Photoshop and Photoshop Beta in 1 minute with Colin Smith

How to wrap text around images in Photoshop, Photoshop text wrap tutorial

It's common to increase contrast in photoshop to add punch.Here is a better way to pop your images without losing quality. Better results
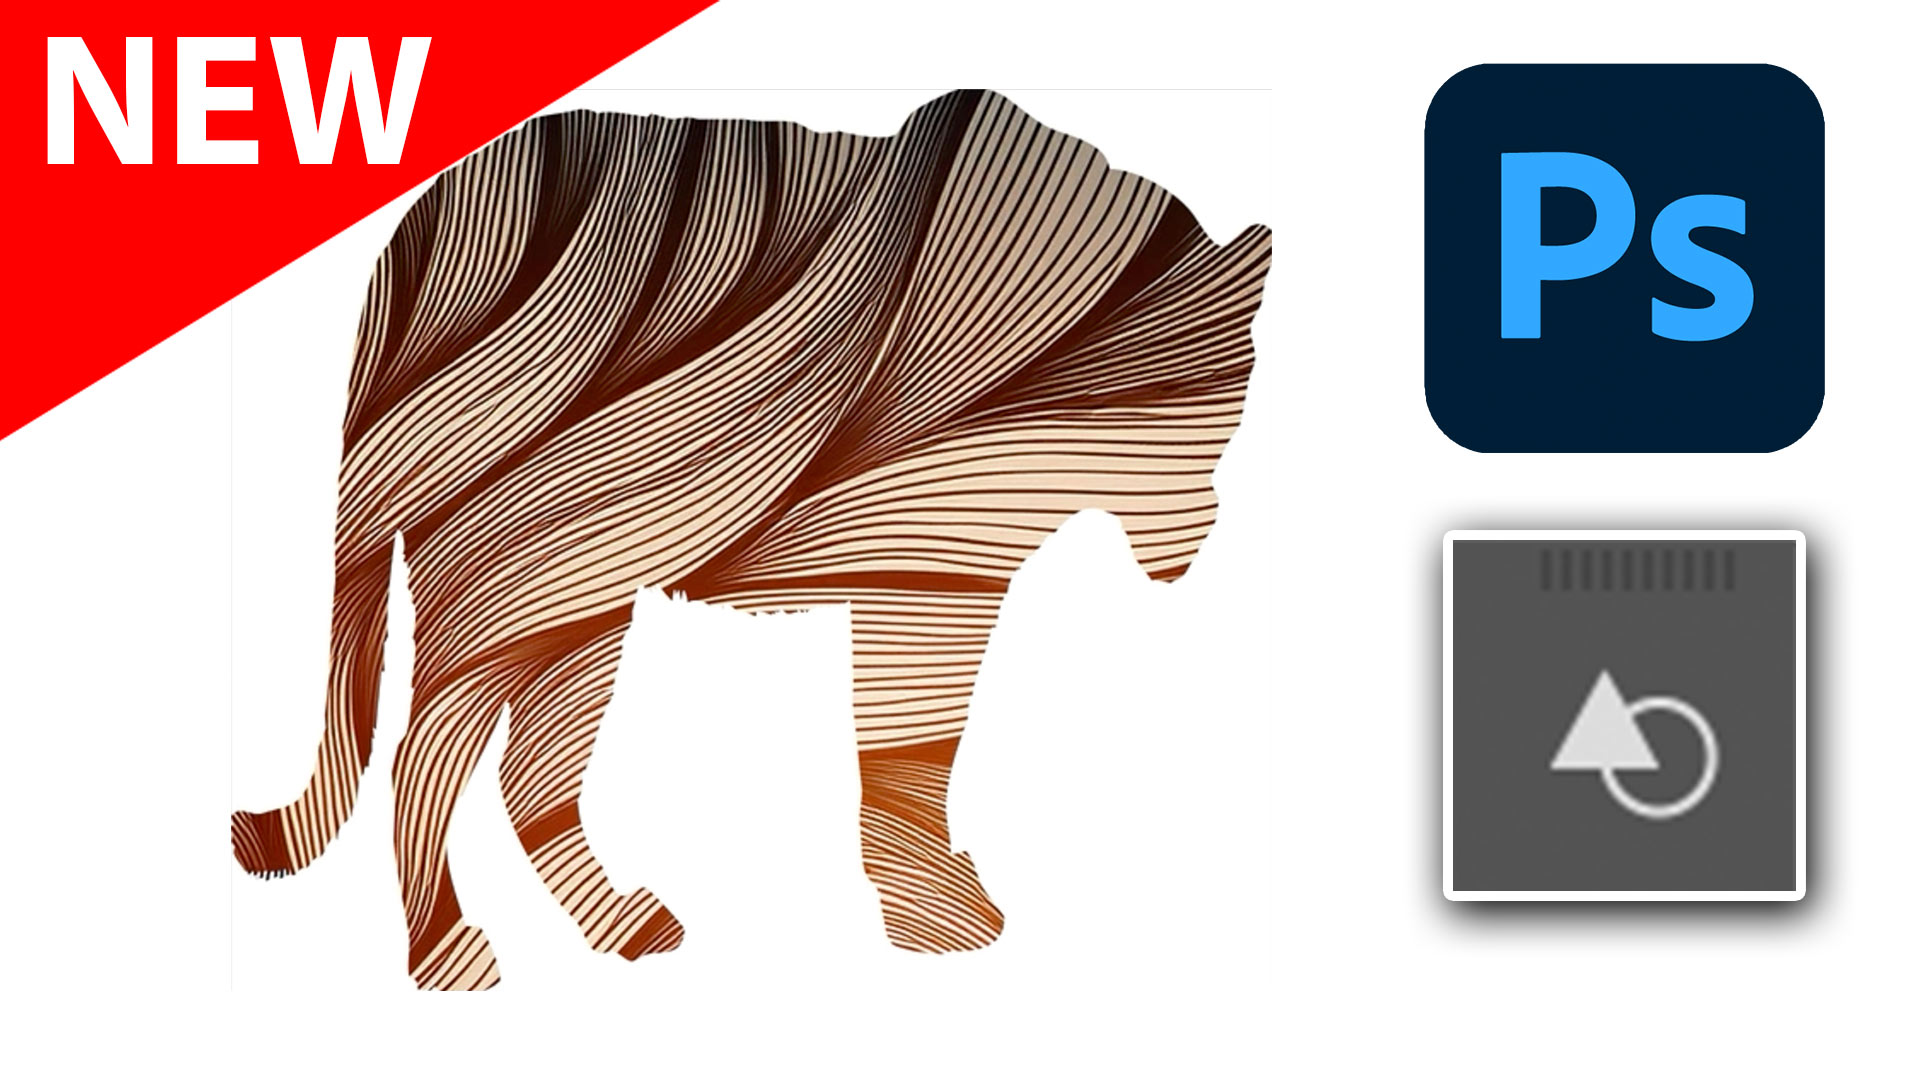
Check out the new Parametric Filters in Photoshop, ultimate guide to Parametric Filters in Photoshop