
Realistic Rock in Photoshop Tutorial
Step 1
Create a new RGB Image of you desired size.
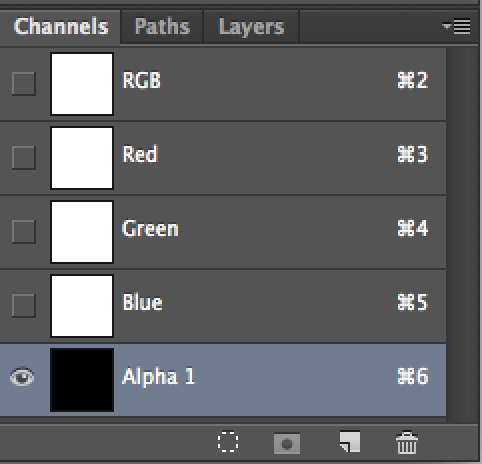
In the channels panel click on new Channel. It will become alpha 1.
Step 2
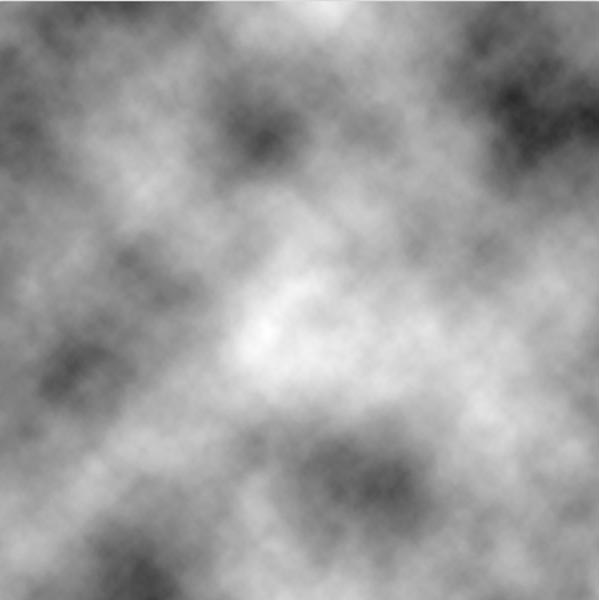
Press “D” To reset the foreground and background colors. Filter>Render>Clouds
Step 3
This is what you will see in alpha 1.
Still in the Channels panel, click on the RGB thumbnail.
Step 4
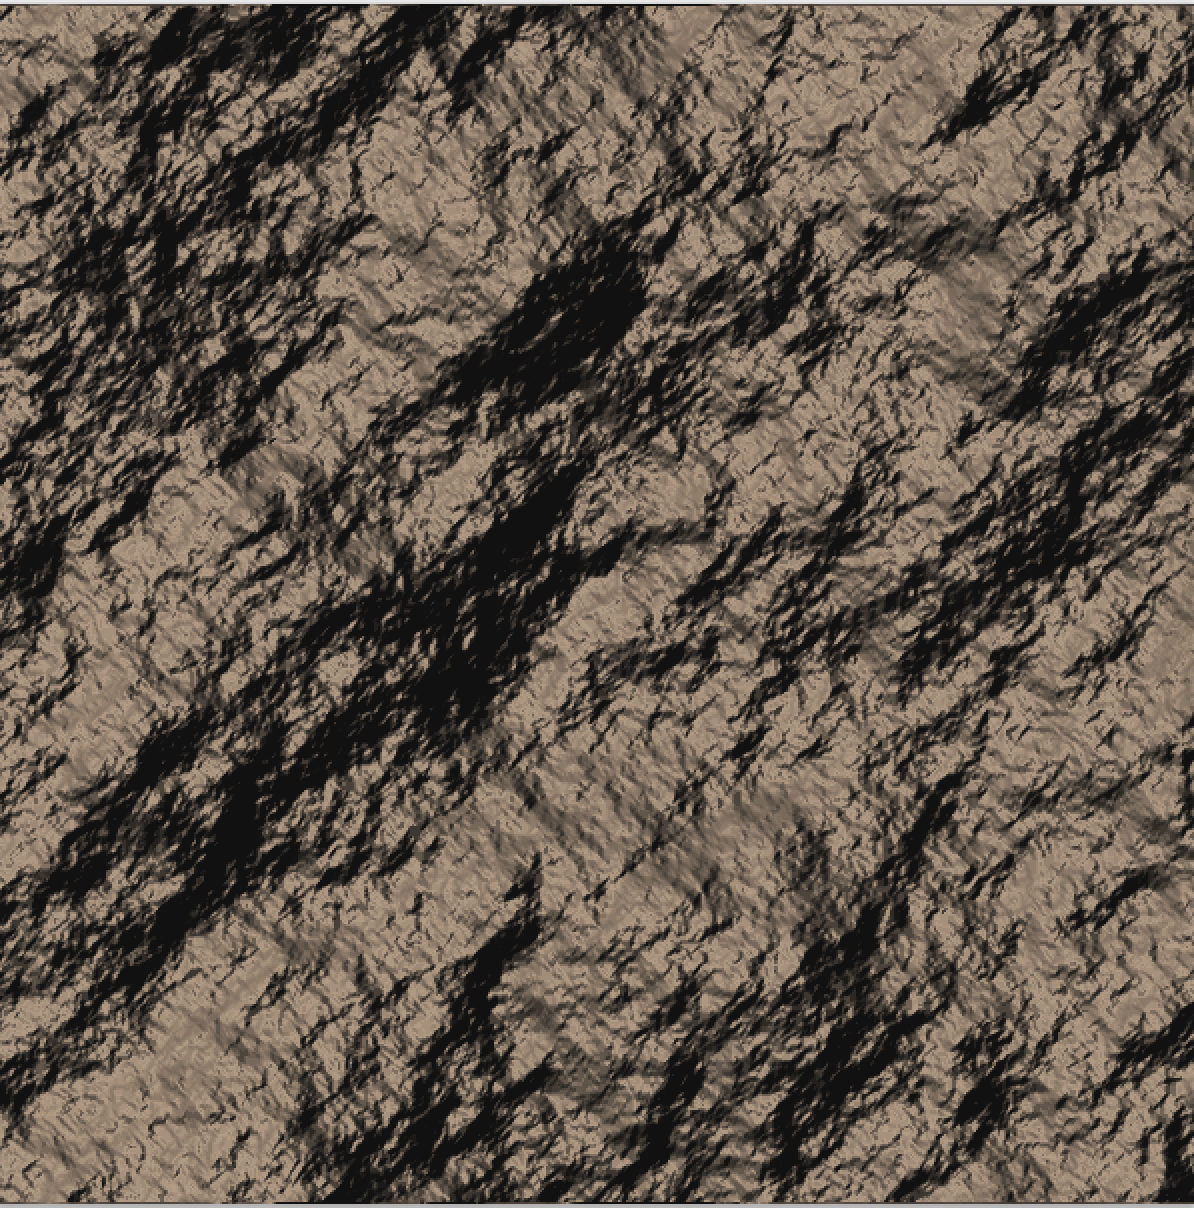
Switch to the layers panel
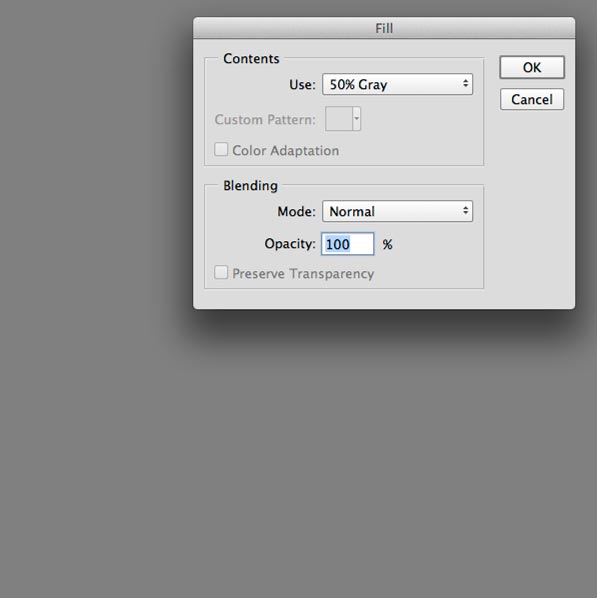
I have found that filling with 50% gray helps produce a more even rock texture.
Press Shift+Delete (Shift+Backspace on Mac) for the fill dialog. Choose 50% gray for contents. (For a more metallic effect, leave white instead of changing to gray)
Step 5
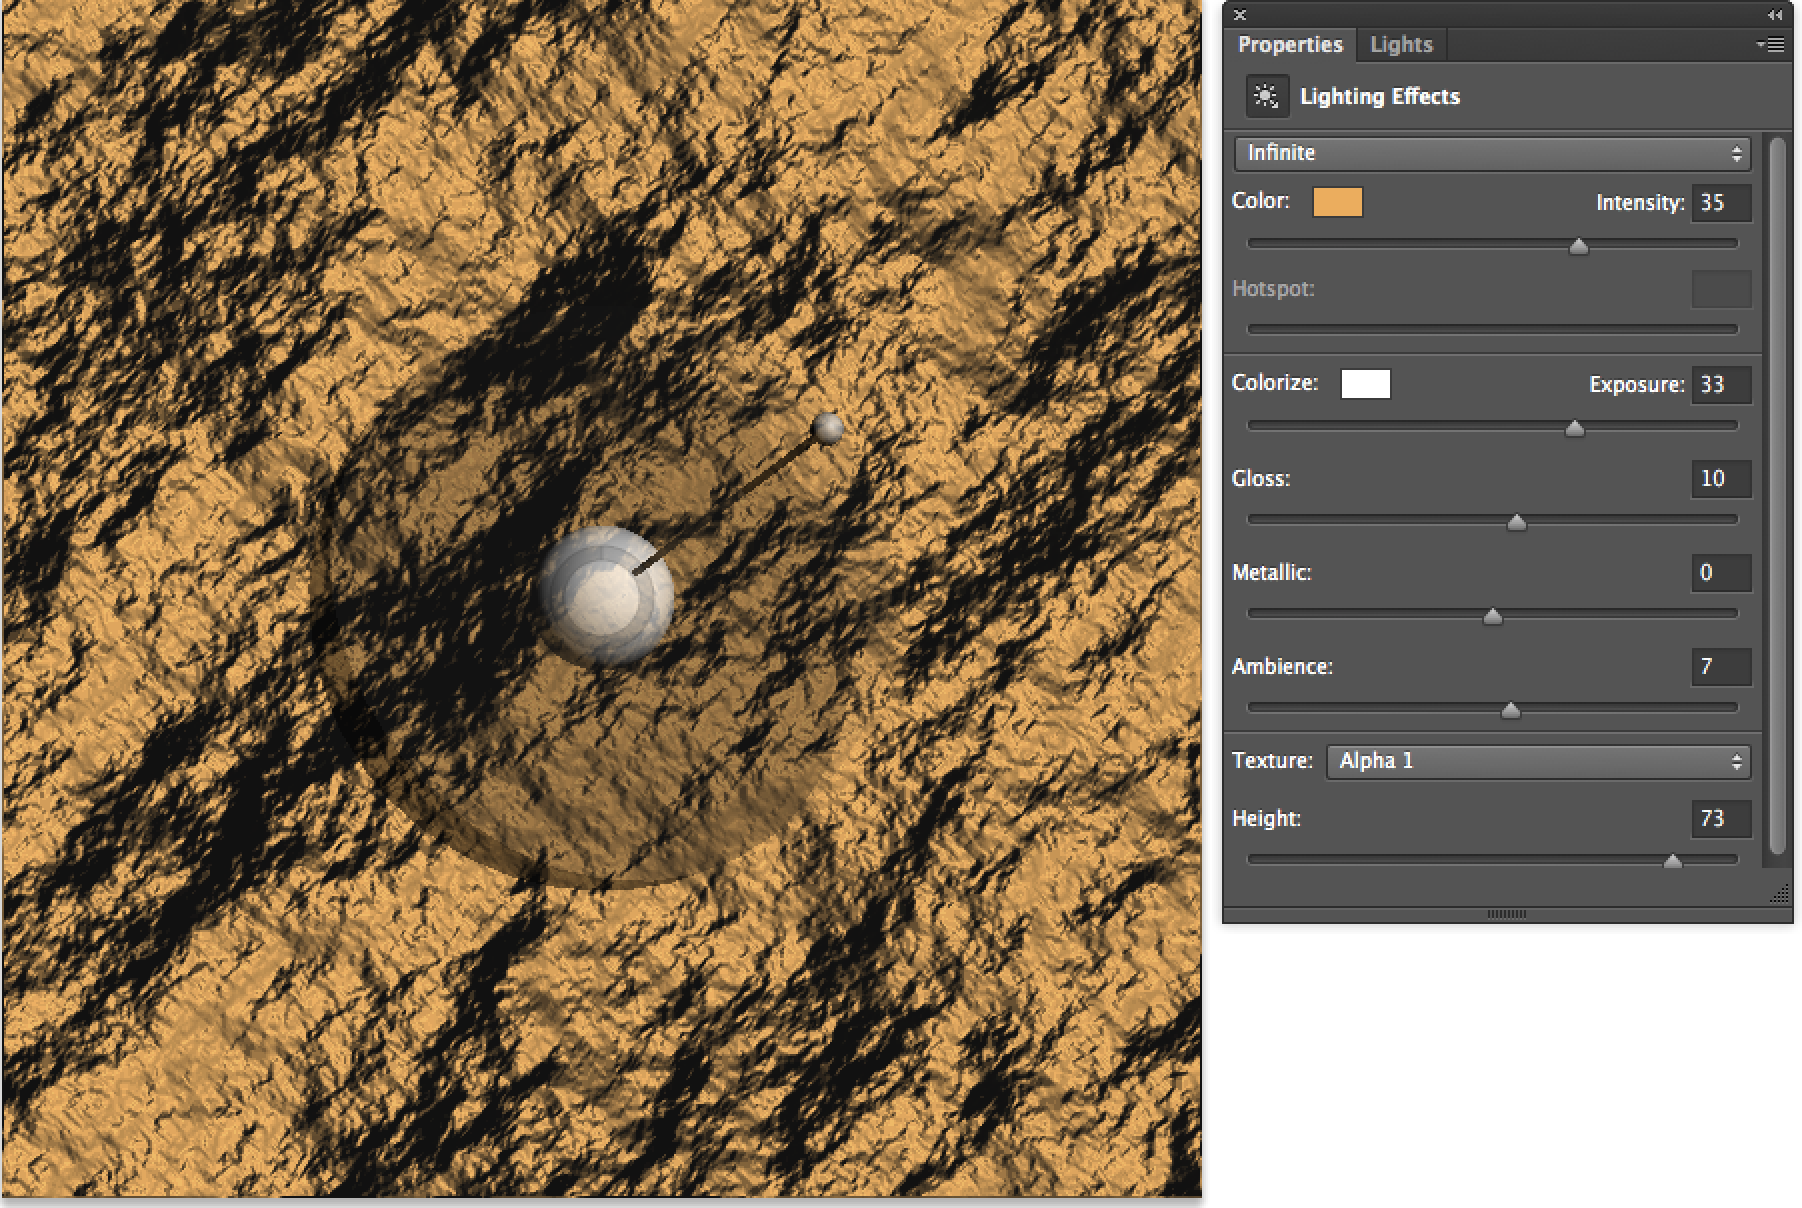
Filter>Render>Lighting effects.
You will need to experiment with some settings, but here are the essentials
Set light to Infinite
Select Alpha 1 from texture
Choose something for the color, in this case an orange.
Change the height to get more or less texture.
Grab the on-screen widget and drag around for different angles and intensity.
Click ok
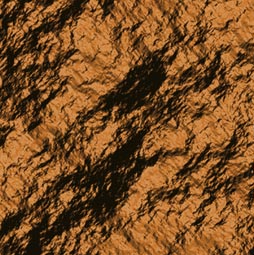
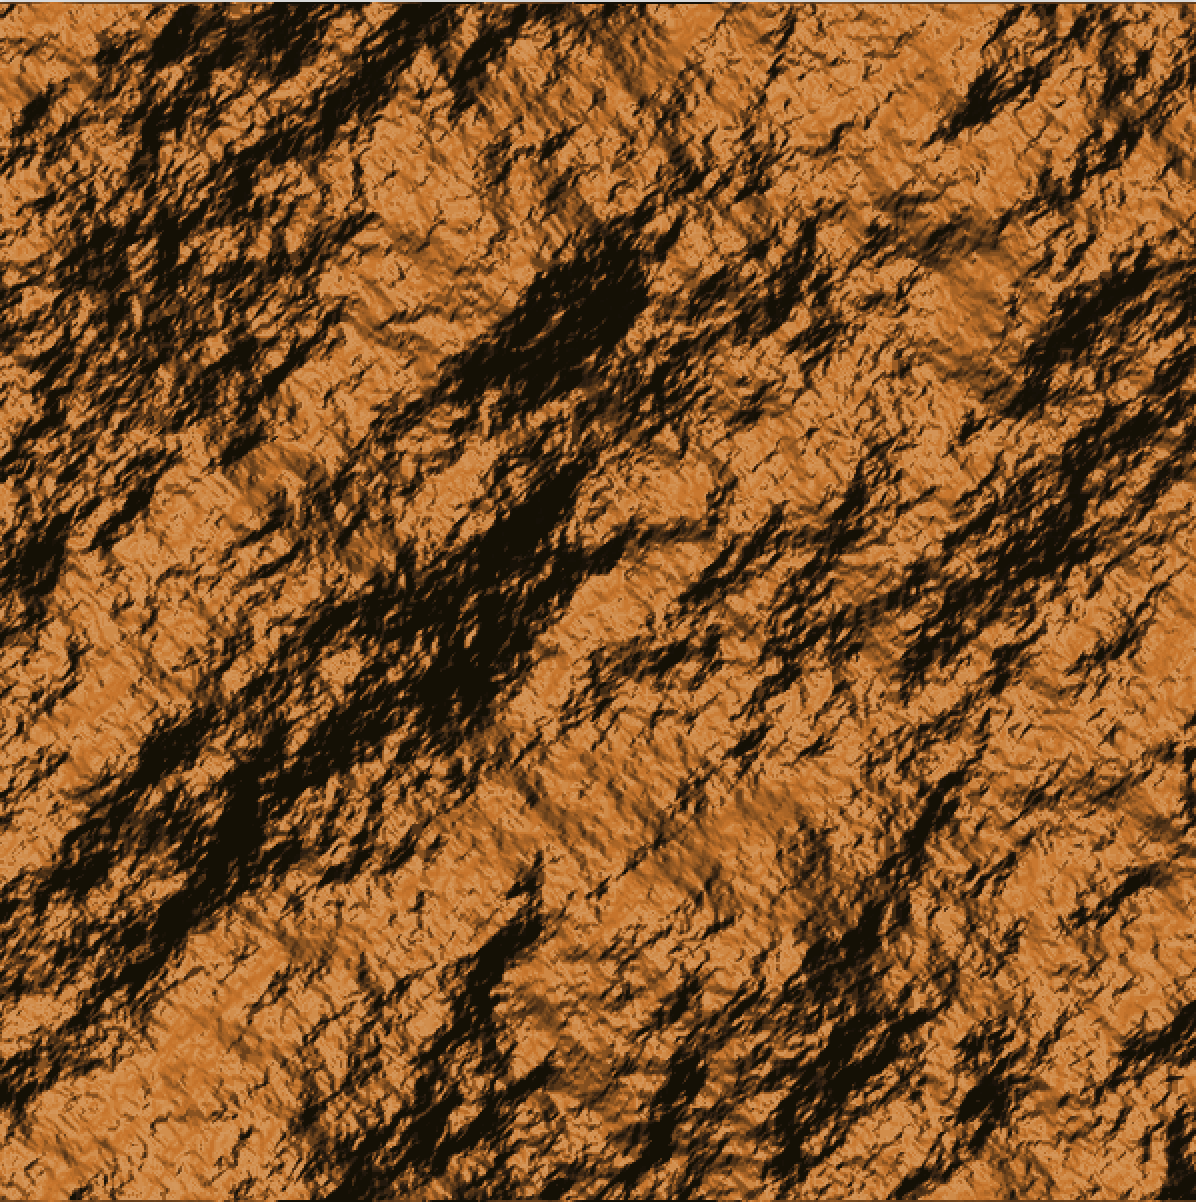
Step 6
Instant rock.

Step 7
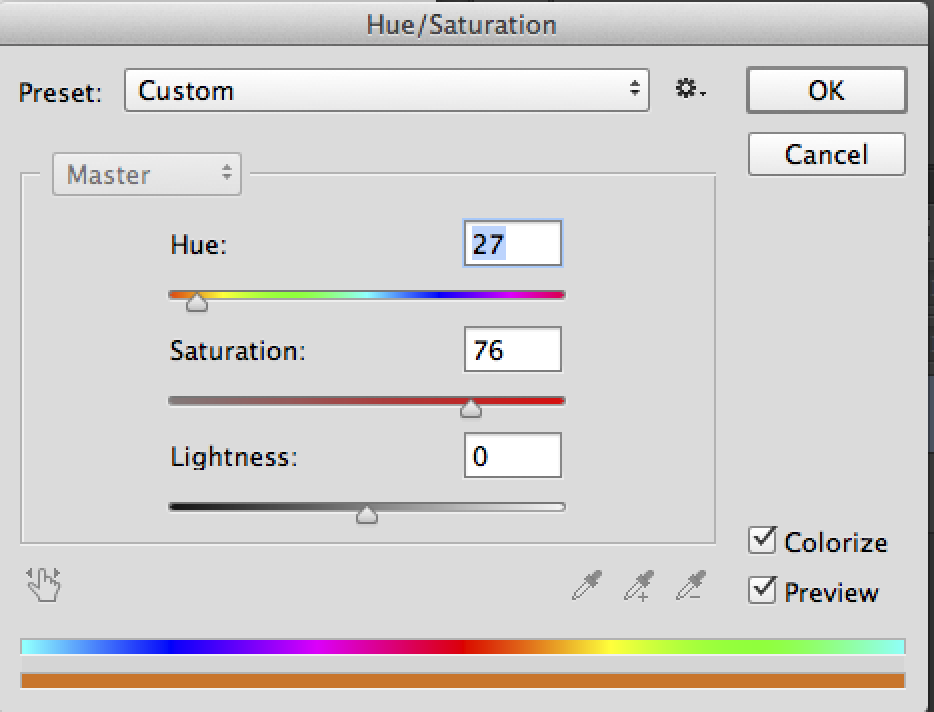
For some variation: Add a Hue/Saturation adjustment layer
Reduce the saturation for an interesting look

Or turn on the colorize option and try something more colorful
As always, please leave a comment and let me know your thoughts. Also. let me know what kinds of tutorials you would like to see in the future.
PS Don’t forget to follow us on Social Media for more tips.. (I've been posting some fun Instagram and Facebook Stories lately)
You can get my free Layer Blending modes ebook along with dozens of exclusive Photoshop Goodies here

4 thoughts on “Realistic Rock in Photoshop Tutorial”
Leave a Reply
How to fill text with an image using frames in Photoshop CC 2019 and How to make rock text in...

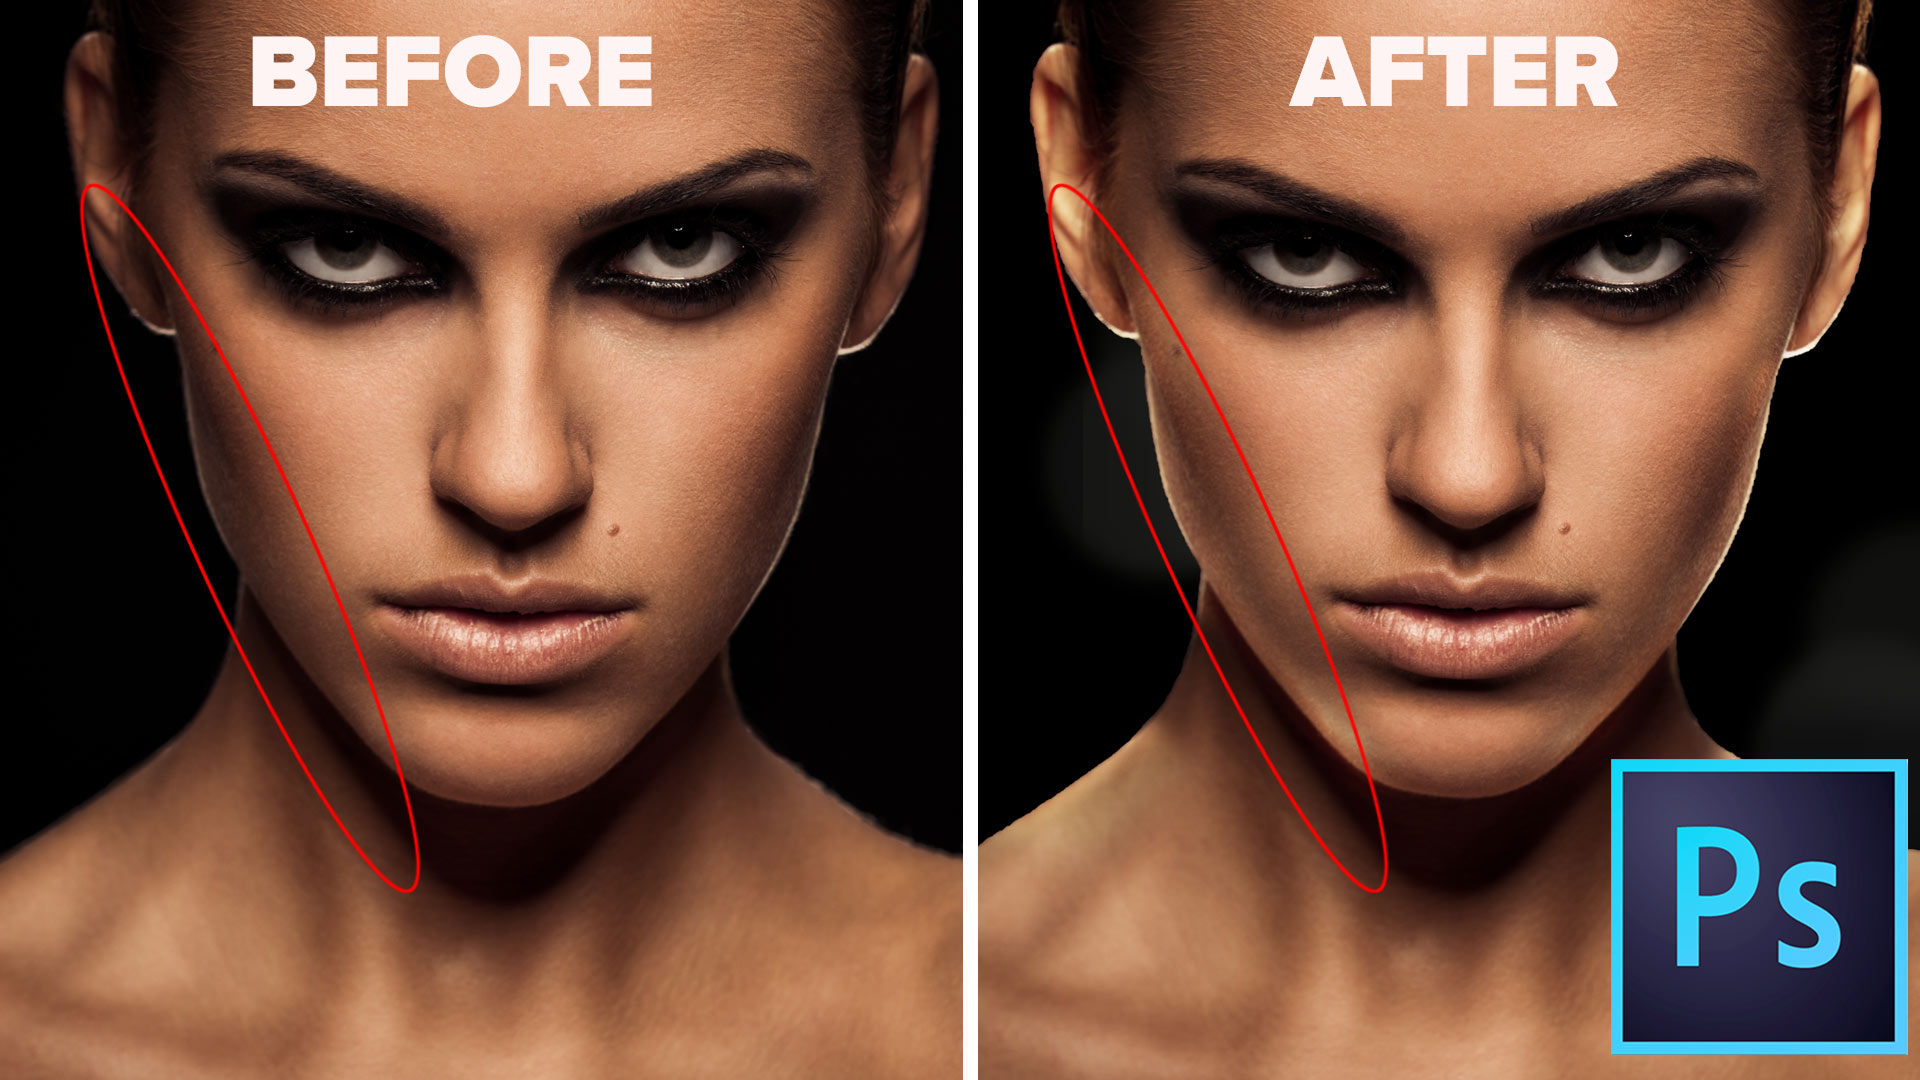
How to add a rim light to a photo in Photoshop. This Photoshop tutorial shows how to make a backlight...


Looks like a cool tutorial but I’m not getting past step 4. I’m using Windows 8 and CS6 and things aren’t the same as in this tut.
Lighting Effects is grayed out on Step 5. I use CS6 on Windows 7. I did the Channels part, then, the fill layer. When I go to Filter>Render>Lighting Effects, it is not possible to click on it. Help, please? Thank you!
Su
Having trouble getting this to work. I’m using PS CS4 (if that matters.) First, Shift->Delete doesn’t bring up the Fill dialog. I need to Ctl->A and then get to it manually through the Edit menu. That’s where I’m stuck. After I’ve done the fill operation, I got to Filter->Render, only to discover that Lighting Effects (and Lens Flare) are both disabled. I’ve tried both with the window selected (Ctl->A) and not (Ctl->D). Any suggestions?
Shift+Backspace on Windows. If render is disabled you are in the wrong color space, You need to be in RGB