
How to use Select and Mask in Photoshop. Refine edges on every cutout
Free Photoshop tutorial. Ultimate guide to select and mask in Photoshop, how to get perfect edges on every background removal
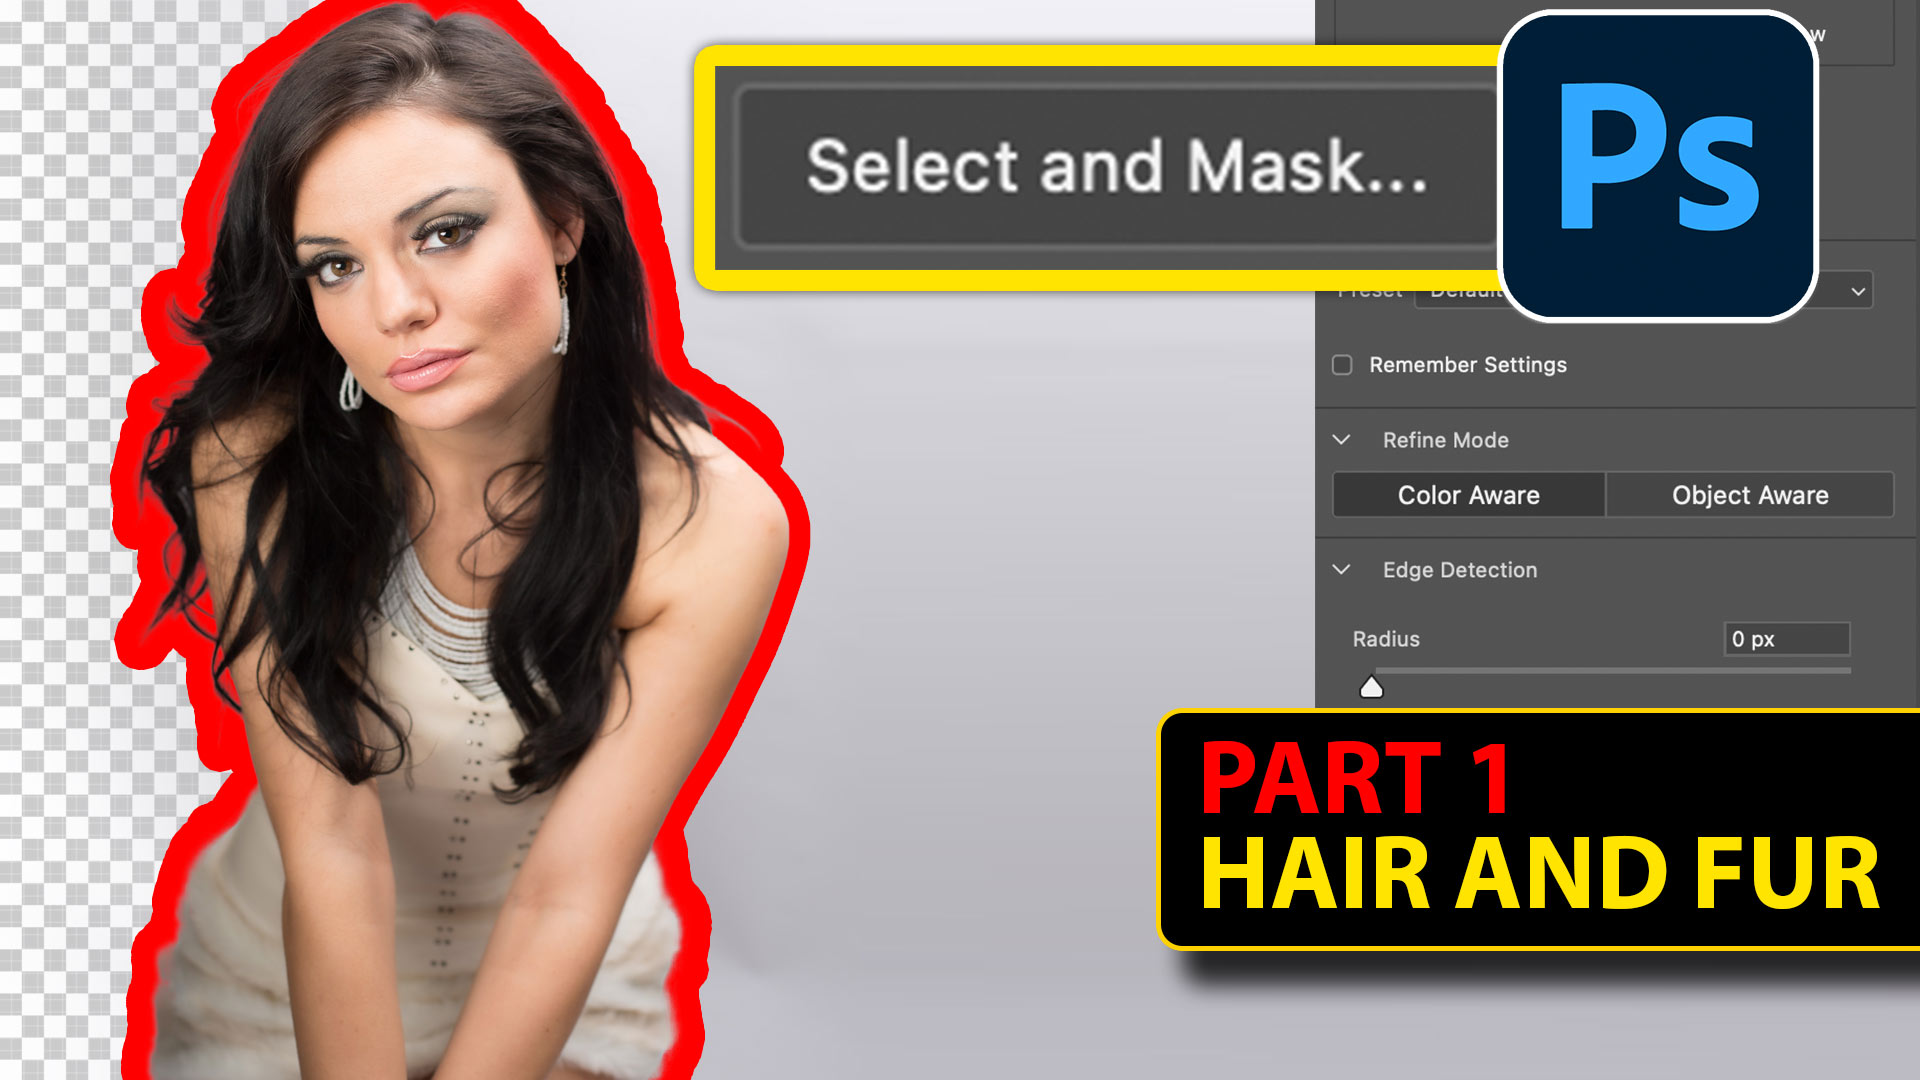
Free Photoshop tutorial. Ultimate guide to select and mask in Photoshop part 1 Hair and Fur
When you make selections to cut out images, often you will have problems with the edges. You’ll see halos, jaggies, blockies, smudgies and other problems. (I just coined the phrases Smudgies and blockies, you’ll know them when you see them.) Photoshop contains a number of tools to address these edge problems. Many people aren’t using all these tools because they often don’t know what each tool does. That’s my goal here, to explain these tools and demonstrate when to use them. I wanted to make a comprehensive walk-through of every feature in Select and Mask and how it works. Here is Part 1 of this tutorial, dealing with soft edges like hair and fur. Part 2 is here
Select and Mask Ultimate Guide, Part 2 – Global Refinements and Smooth edges
This tutorial is made in Photoshop 2024. It will work with Photoshop CC and newer.
We will be using all the options in the next 2 tutorials. Be aware that you don’t have to use all the tools on every selection, I just want to explain each so you know what to do when you encounter jaggies, blockies, smudgies and other problems on the edges.
We need to start by making a selection.

I have created many tutorials and even a course on making selections. I’ll list just a few here. You can search or browse for many more here at PhotoshopCAFE
3 Ways to fix edges on cutouts
3 ways to cut out anything in Photoshop
For this tutorial, we will use the fastest way to get a decent initial selection.
Choose the Object selection tool

Under the dropdown at Select subject, you’ll see two options
Device: Processes on your computer and is the fastest option, doesn’t require internet connection.
Cloud: Uploads to Adobe server farm and takes advantange of massive computational power. Rwequires active internet connection and takes longer.
choose Cloud.
Click Select Subject (This uses Adobe Sensei ai to make the selection. Different ai than Firefly which powers Generative ai)
Sensei does not use up generative credits.

The selection will be made.
Note: You can use any selection method you like to get to this point of the pipeline, we just used Select and Mask because it’s fast.
I’m using a simple background for this image. It’s not because the Photoshop tools are bad, or I’m not able to work on difficult images, we are doing a simple one, to make the learning uncluttered and easy to follow. I have other tutorials on making challenging selections if that is the task you are facing right now.
Choose Select and Mask

We are now in the Select and Mask Workspace and this tutorial will mainly focus on the suite of tools available here.
Notice we have a Quick selection tool at the top of the toolbar on the left. We also have select subject available here. Some people prefer to open the image in Select and Mask and then make the selections.
I prefer to make the selections first (like we did here). I have 2 reasons. 1. It’s faster, Photoshop lags when making selections in Select and Mask. 2. I like to have all the Photoshop tools available for making my initial selection.

If you don’t see the cutout, adjust the Transparency slider in the view mode, if you are in Onion Skin view.
Viewing the Mask in Select and Mask

In the view, there are lots of ways to view the edges.
The main ones I use are: Onion skin (O key) This lets you adjust the transparency of the background as a guide

On White (T key) So you can see the dark edges on light areas

On Black (A key) So you can see the light edges on dark backgrounds

Black and White (K key) this is the same as viewing the mask or an alpha channel. It lets you easily see problems on the mask.

There are 2 options in refine mode. Each uses a different algorithm.
Color aware is usually best for simple backgrounds. Object aware is usually best for complex backgrounds.

How does Edge Detection Work?
Turn on Show Edge to see how the tool works. (I don’t often turn this on when working, only if I need to visualize something).

Move the radius slider so that we have an edge to look at.
The areas inside the edge are kept and the are outside the edge will be hidden.

Here I increased the size of the edge to 82, so you can see what’s happening.
The edge is the transition area, or the area where Photoshop decides what belongs to the subject and what should be background.
A thin edge will produce a smoother selection, a wider edge is good for soft areas like hair, fur, smoke etc, because it’s wide enough to cover the transition areas.

What do we do when there is a combination of smooth and soft edges, like a person? One sized edge won’t work for all.
This is what the Refine tool does

Change the edge radius to 1, or 0.
Paint around the hair wit the refine tool. Make sure to paint on the middle and include the edges of the both subject and background. Make sure you cover all the edges of the hair.

If we turn on Show Edges, you can see what happened.
Notice the edges are thin (I set radius to 1). But now we have a wider edge around the hair because we painted it with the refine brush.
The algorithm in Photoshop will try and mask the hair in this edge.

There is a faster way to do this step.
If you click the Refine Hair button, notice Photoshop will add a wider edge around the hair for you. You may still have to touch it up with the refine brush, but this gives you a head start.

If you zoom in on the smooth parts like the arms, notice the edge isn’t very good.
We can fix this using Global Refinement tools.

However, if you use global refinements tools when you have hair, it messes with the edges.

see how even moving 1 slider gives us helmet hair.
Don’t make any global refinements yet, I’ll show you how to handle that.

Under Output, choose New Layer with Layer Mask.
Click ok

Name this new layer “Soft”.
BTW, this selection is good enough for many low resolution purposes like social media and online use where people aren’t zooming in close to the image.

Combining soft and smooth edges
Let’s look at how to refine the smooth edges like the arms without messing up the hair selection.
Hide “soft” layer
Choose the bottom layer

Once again choose Select subject and click on Select and mask, like we did at the beginning.
We are viewing on black i view.
See the edge is uneven and rough.

If we move smooth, it will reduce the ridges and valleys.
(We jumpdeeper into Global refinements in part 2 of this tutorial ).

The edge is blurry.
Use Contrast to sharpen the edge.

If the edge looks too sharp and jaggy, add a small amount of feather. (These tools will all be explained properly in part 2)

Now we have made the smooth edges look better. Don’t even worry about what the hair edges look like in this pass.
Choose new layer with layer mask.
Click ok

Name the new Layer Hard
Now we have 2 layers
All we need to do now is mix the best of each. This has a challenge because we want to use the existing masks because they contain the selections.
We could apply the masks, but that would be destructive, here is a better way…

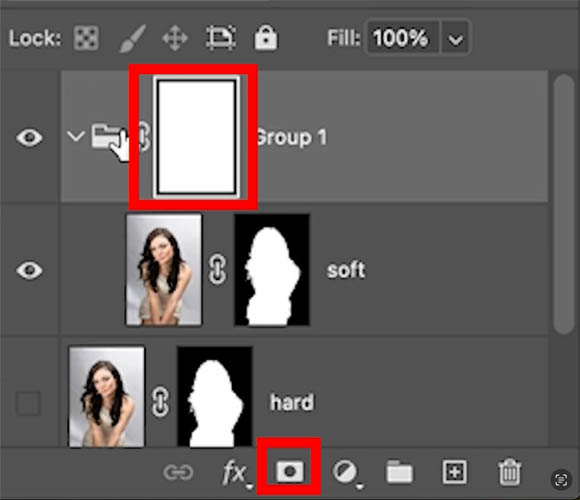
Choose the soft Layer and Press Ctrl/Cmd+G to put it in a group.

We can now add a layer mask to the group. Brilliant! Now we can mask the layer without ruining the cutout mask we worked so hard to make.
Choose the brush tool (B)
Choose Black as the foreground color. (Black hides pixels when applied to a mask – White reveals pixels).

Click on the on the hair layer group mask “soft”. as shown below.
paint away the edge of the arm

Now we want to add the edge of the arm from the hard layer.
Click on the Hard layer and press Ctrl/Cmd+G to make a group.

When you add the mask to the new group, hold down the alt/Option key. This will make a black mask.
The black mask hides everything on the layer

Choose white as the foreground color. White will show the areas we paint on

Paint on the arm to show the better edge from the hard layer

We have now combined the 2 different refinements.

Decontaminate colors
Decontaminate colors is a good way to blend in colored edges.
Make a selection around the lion. I used the select subject again.

Click select and mask
See the bad edges

Choose Refine Hair.
If you don’t see it, click on the refine brush.

Its a good start, but there are black edges.

Click Decontaminate colors and it takes the surrounding colors and adds them to the edges.

If it’s too strong, change the amount to suit your tastes.

I hope you found this tutorial useful!
Part 2 on smooth edges and the Global Refinements in depth, is here
Here is my course on Photoshop Selection Secrets
Thanks
Colin
If you found this useful, please tell your friends about photoshopCAFE and follow me on social media for Photoshop tips and inspiration.
PS Don’t forget to follow us on Social Media for more tips.. (I've been posting some fun Instagram and Facebook Stories lately)
You can get my free Layer Blending modes ebook along with dozens of exclusive Photoshop Goodies here

20 thoughts on “How to use Select and Mask in Photoshop. Refine edges on every cutout”
Leave a Reply
How to make the out of bounds pop out effect in Photoshop. This free video tutorial walks you through the...

Learn how to convert a photo to a cartoon, This Photoshop tutorial shows you how to add halftone dots, inked...

This free tutorial explains one of the hottest trends in photography; HDR. High Dynamic Range. Learn how to shoot, merge...


COLIN !!! You’d did it again….incredibly informative and helpful…
Thanks Ralph 🙂
Your Tutorial are simply the BEST, thank you
Thanks
Can I find the above images anywhere to follow along exactly?
I’m sorry, the images only come with my premium tutorials. Occasionally I provide them with free tutorials, but not often, because I have no control where they are used when and I don’t want to make my photography open source.
Best video I’ve seen on this subject looking forward to part two!
What an in-depth tutorial! I can’t wait to dive in and start using it. I use a lot of stock images in my business, dogs, cats, and horses mostly. I came up with a sneaky quick fix when you just want to get rid of that pesky smudjies and blockies (great terms). I select everything with the quick tool, then modify and then contract (2-3 pixels). Then I select inverse and delete the tiny ring of offensiveness. Of course, after I learn Select & Mask thoroughly, I’ll have that tool in my PS Toolbox for the images that need to be perfect. Thanks for always pushing us to learn!
That’s a great technique
My PS screen for ‘select and mask’ does not match your screen and I just installed the latest update. Is this in the Beta version?
No, this is the regular version. Make sure you open the disclosure triangles on the right panel
Great tutorial on refining edges when selecting and masking in Photoshop. Very easy to understand. Thank you Colin.
Thanks Colin…. cannot wait for the second part to come out….thu you I am learning so much and sometimes struggle to keep up…. otherwise I forget things. I need to practice what you have taught me.
Colin, this is really helpful – I’ve wrestled with refining edges for a long time and your guide is maing it easy! Roll on part 2 and thank you for all the great work.
You’re welcome
👍👍👍
I cannot find any triangles or the word disclosure anywhere. I am using the current, regular PS, not the beta.
“January 27, 2024 at 7:10 pm
No, this is the regular version. Make sure you open the disclosure triangles on the right panel”
the little arrows
Great tutorial. Can’t wait to try it.
Thanks
Another very useful tutorial Colin – I had no idea that you could blend 2 or more selections. Thank you!