
Reflections in Photoshop Tutorial, graphics and text

In this tutorial I’m going to show you how to create a reflection in Photoshop. This is more of a graphic design trick that has been used a lot lately for things like logos, text and modern design. If you want to do a reflection on Photographs, check out this tutorial instead
Step 1
Start with a gradient. Tip: To constrain the gradient to 90 degrees hold down the shift key.

Step 2
Add your text or image

Step 3
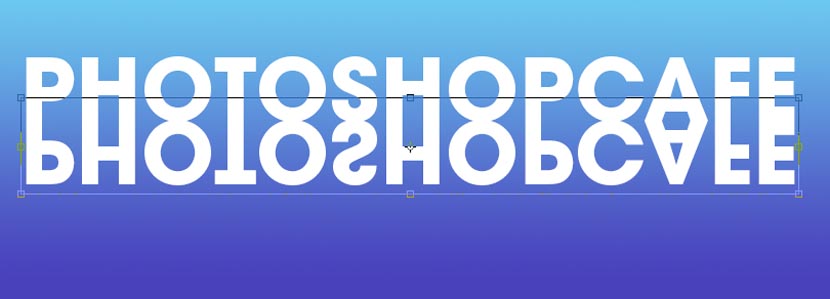
Make a copy of the text by dragging to the new layer icon (or pressing Ctrl/Cmd+J)
On the copy go into free transform by pressing Ctr/Cmd+T.
Left click >Flip Vertical.
Drag the copy beneath the original, so that it looks reflected
Step 4
Add a layer mask to the reflected copy and drag with a black to white gradient. (See the Gradient masking technique here)
Experiment with different starting and end point on the gradient for different results.

Step 5
You should now have something that resembles this, for a sharp reflection.

Extra Credit, softer reflection
There are times when you want the reflection to be a bit softer, this simulated a different kind of surface that you are reflecting onto.
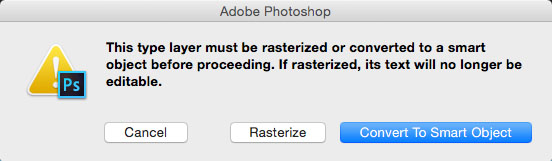
Choose Filter>Blur>Gaussian Blur
You will have the option to convert to a Smart Object. Accept this option.
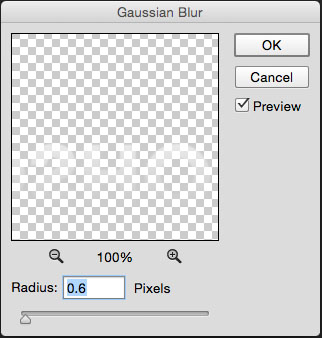
Apply a small amount of blur to the reflection to suit your tastes
Here is the softer result.

PS Don’t forget to follow us on Social Media for more tips.. (I've been posting some fun Instagram and Facebook Stories lately)
You can get my free Layer Blending modes ebook along with dozens of exclusive Photoshop Goodies here

2 thoughts on “Reflections in Photoshop Tutorial, graphics and text”
Leave a Reply

This is the original Tutorial on this rap diamond effect, there have been many rips of it in other places....

How to use the 5 most useful layer blending modes in Photoshop to hide backgrounds and do useful things.

In this Photoshop tutorial Im going to show you how to make a stamped metal effect. This is similar to...


Great and easy guide.
Wonderful tutorial, thanks