
How to use Object finder in Photoshop for instant, automatic selections of all objects in an image
How to make selections with Object Finder
So you know, when you see the movies and they say enhance, and then they just kind of select something thing by just clicking on it. It’s here. Let me show you.
Choose object selection tool

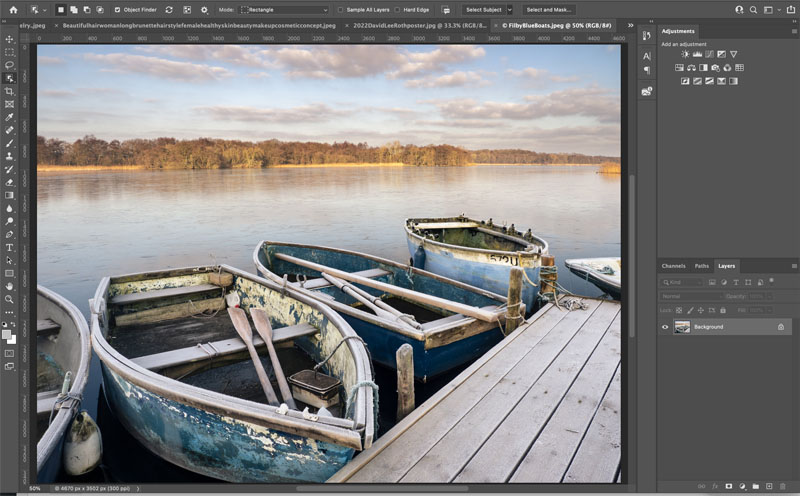
you’re going to see under Object Finders turned on and this little wheel is turning. That means it’s looking for all the objects inside the photo.

Now get ready to have your mind blown. As I roll over the image all detected objects appear in blue.

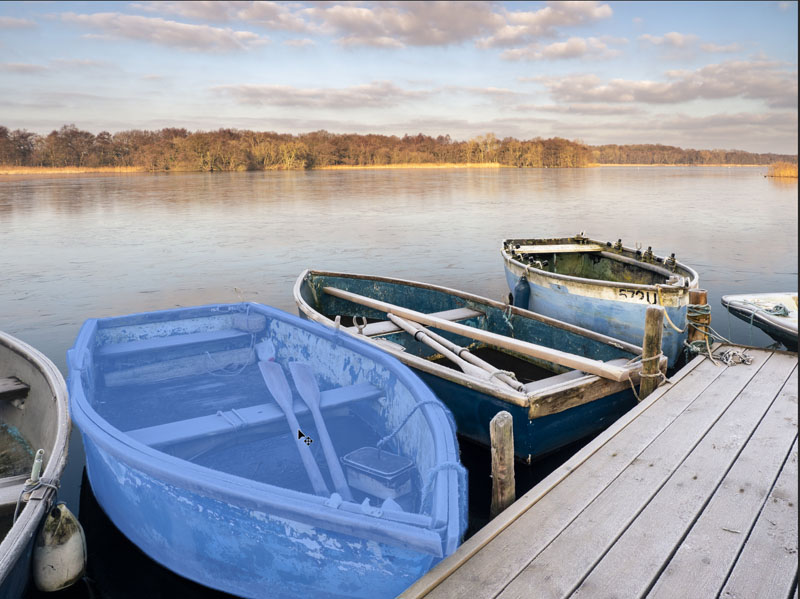
To select it, just simply click.
Let’s look at some of the other features that are in here and some of the other options.
When we go up the top and I want to see all the objects in the photo, just click this button (middle button with the 3 squares) and it shows you all the objects at once.
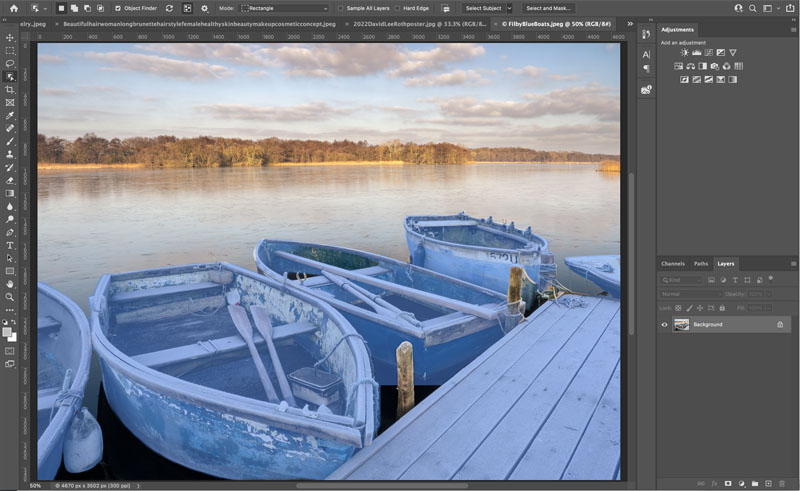
Now there’s different options on how we can show these objects. If we hit the little gear, we see the options panel.
it has an object subtract. What that does is it enables us to find the holes in objects, such as the center of a ring.

Auto or manual refresh.
Auto refresh means that it constantly updates. Manual will wait for you to refresh it when you are ready.
Other options. We can change the color of the overlay, or you can choose to use an outline instead, or as well as the fill. All of this is demonstrated in the video along with the other options.
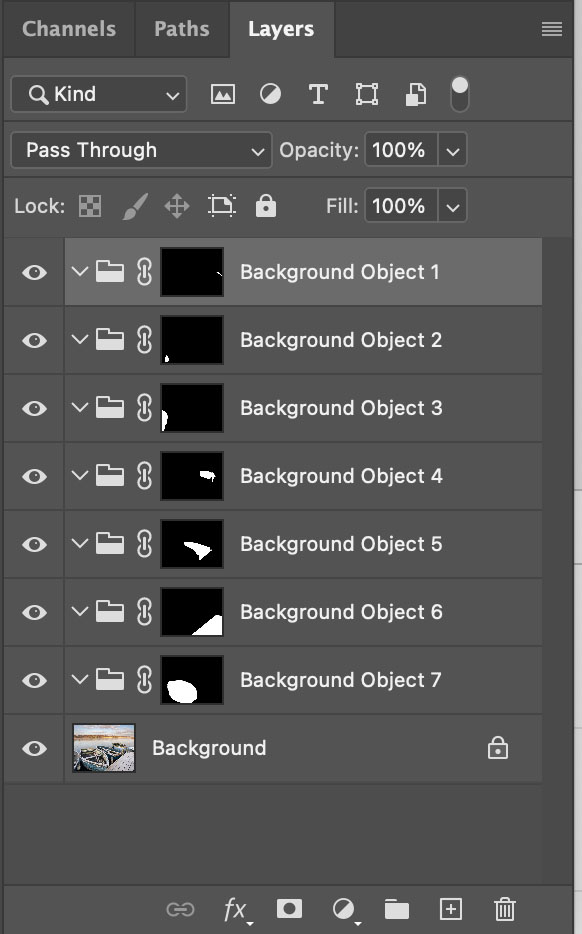
Mask All Objects
Now there’s another option in here which is really useful. If we go up under layer>mask all objects.
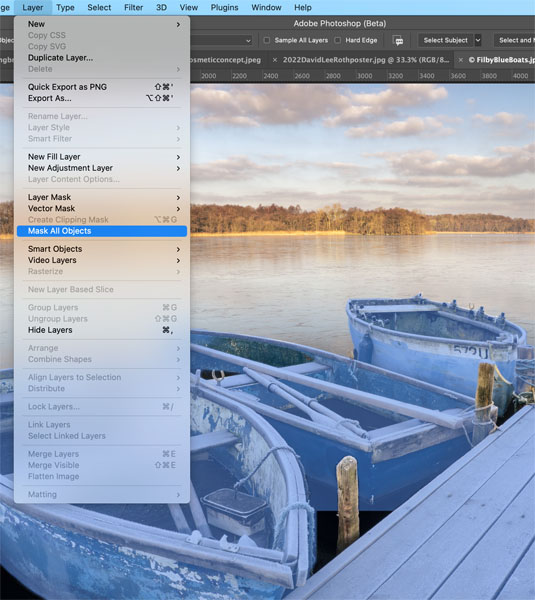
What this is going to do is it’s going to look for all the objects and make a separate Layer Group for each.
You can easily apply an adjustment layer to each object and quickly adjust that paer of the image without having to keep making selections, super useful!
So if you haven’t yet, check out my other tutorial where I walk through all the new features inside of Photoshop quickly.
And then I’ve got more in depth one on every feature that Im adding each day this week.
This is the start of our Photoshop 2022 Learning Center. Drop back every day this week for new content!
Photoshop 2022 Superguide
- All the top new features in Photoshop 2022
- LIGHTROOM CLASSIC 2022 NEW FEATURES
- Instant Selection with Object Finder
See you at the CAFE
Colin

Recommended for this tutorial
Complete Guide to ai in Photoshop 2026
Generative Fill, Firefly, Harmonize and every AI tool in Photoshop, step by step.
$79.00 · one-time purchase · instant download

Free for you
The Photoshop Vault
Get my free Layer Blending Modes ebook along with dozens of exclusive Photoshop goodies: actions, brushes, presets and cheat sheets.
You're on the list, so your free goodies are waiting for you in the Vault.
Get Free Photoshop Goodies Open the Vault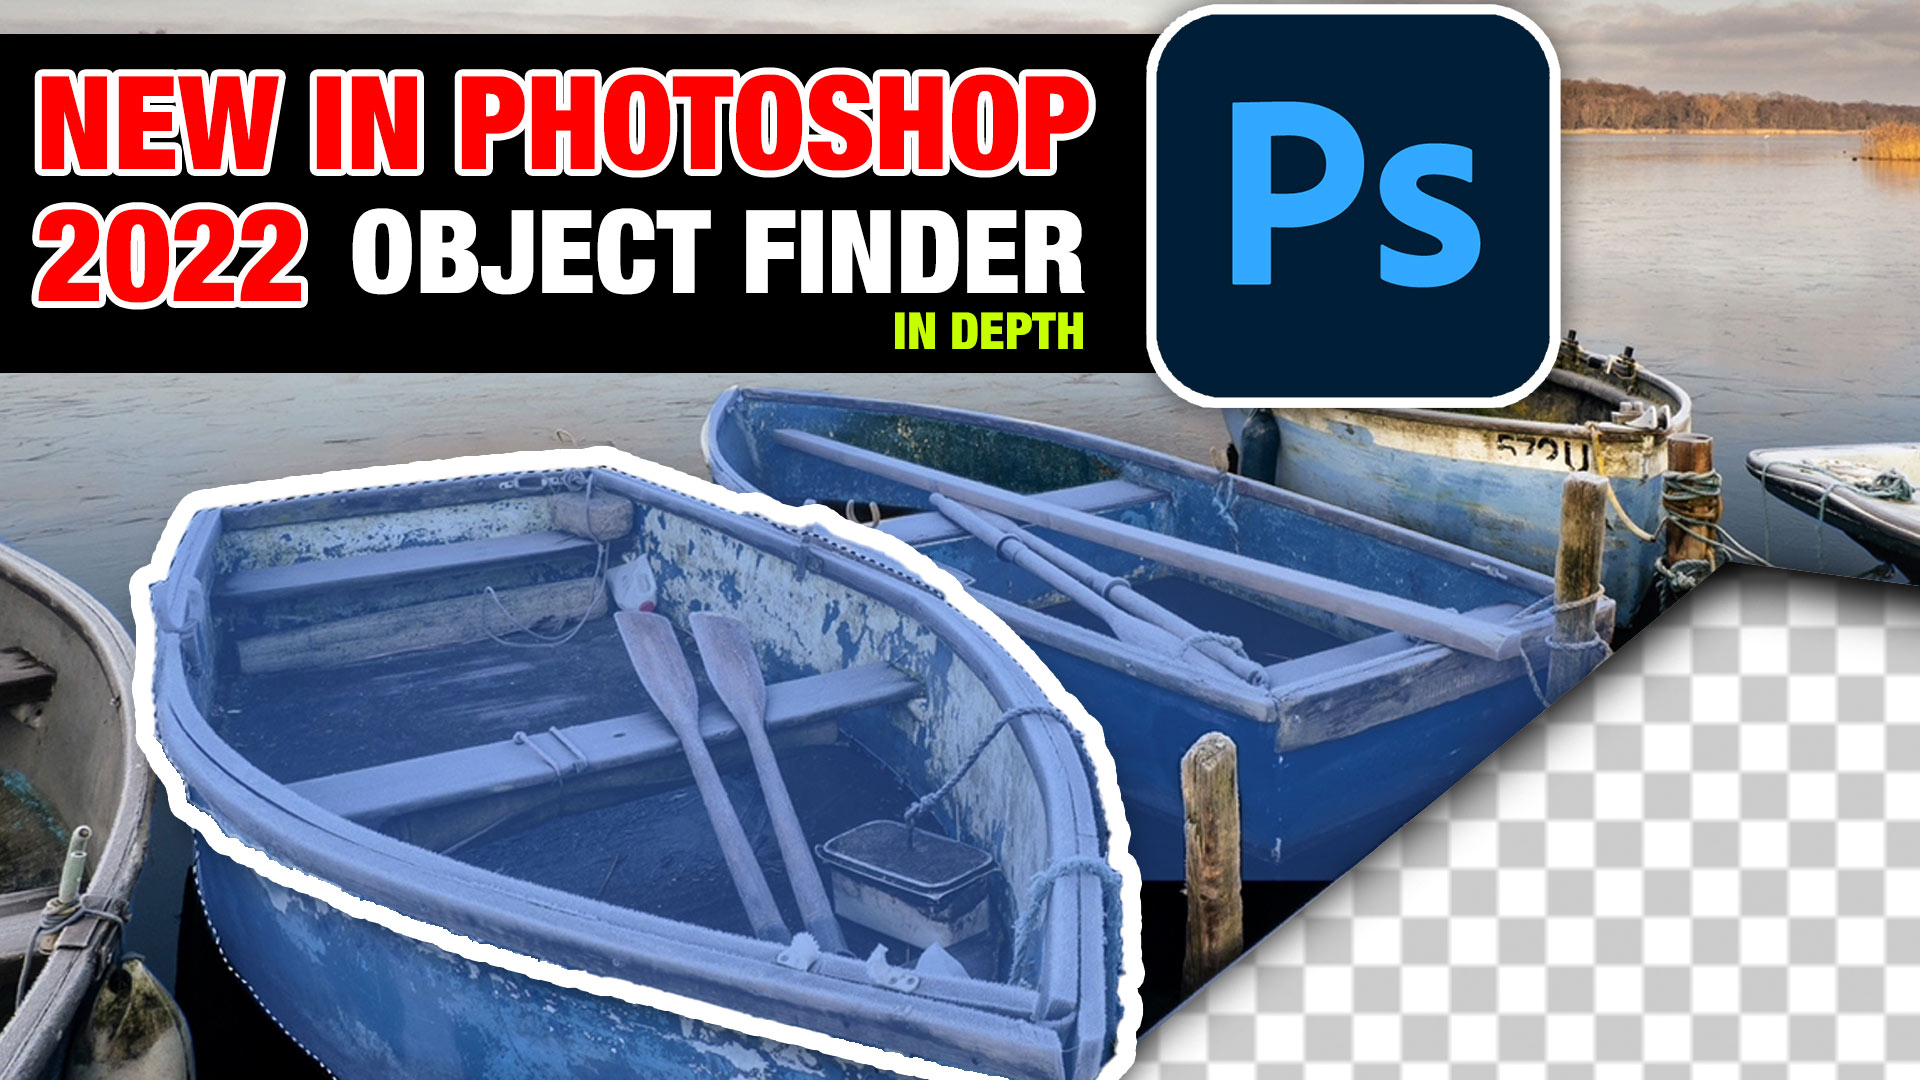
Auto Select people and features in Photoshop
How to automatically select people and facial features in Photoshop, like in ACR + Lightroom Read tutorial
New Actions Panel in Photoshop Beta
Reimagined Actions in Photoshop The actions panel hasn’t been changed in years, but now there’s a big update that promises to make... Read tutorial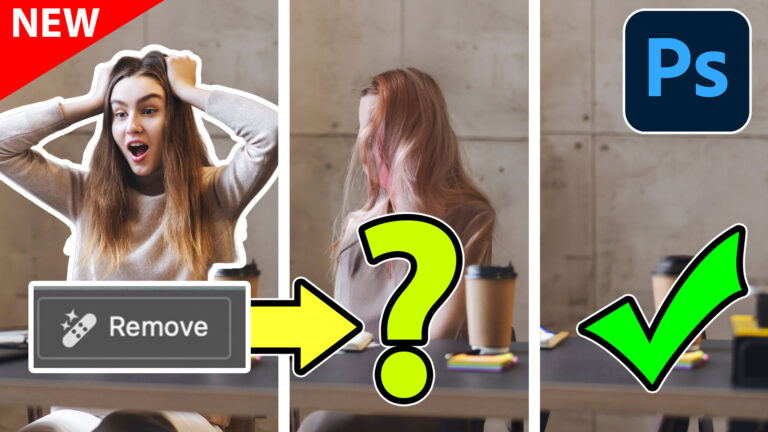
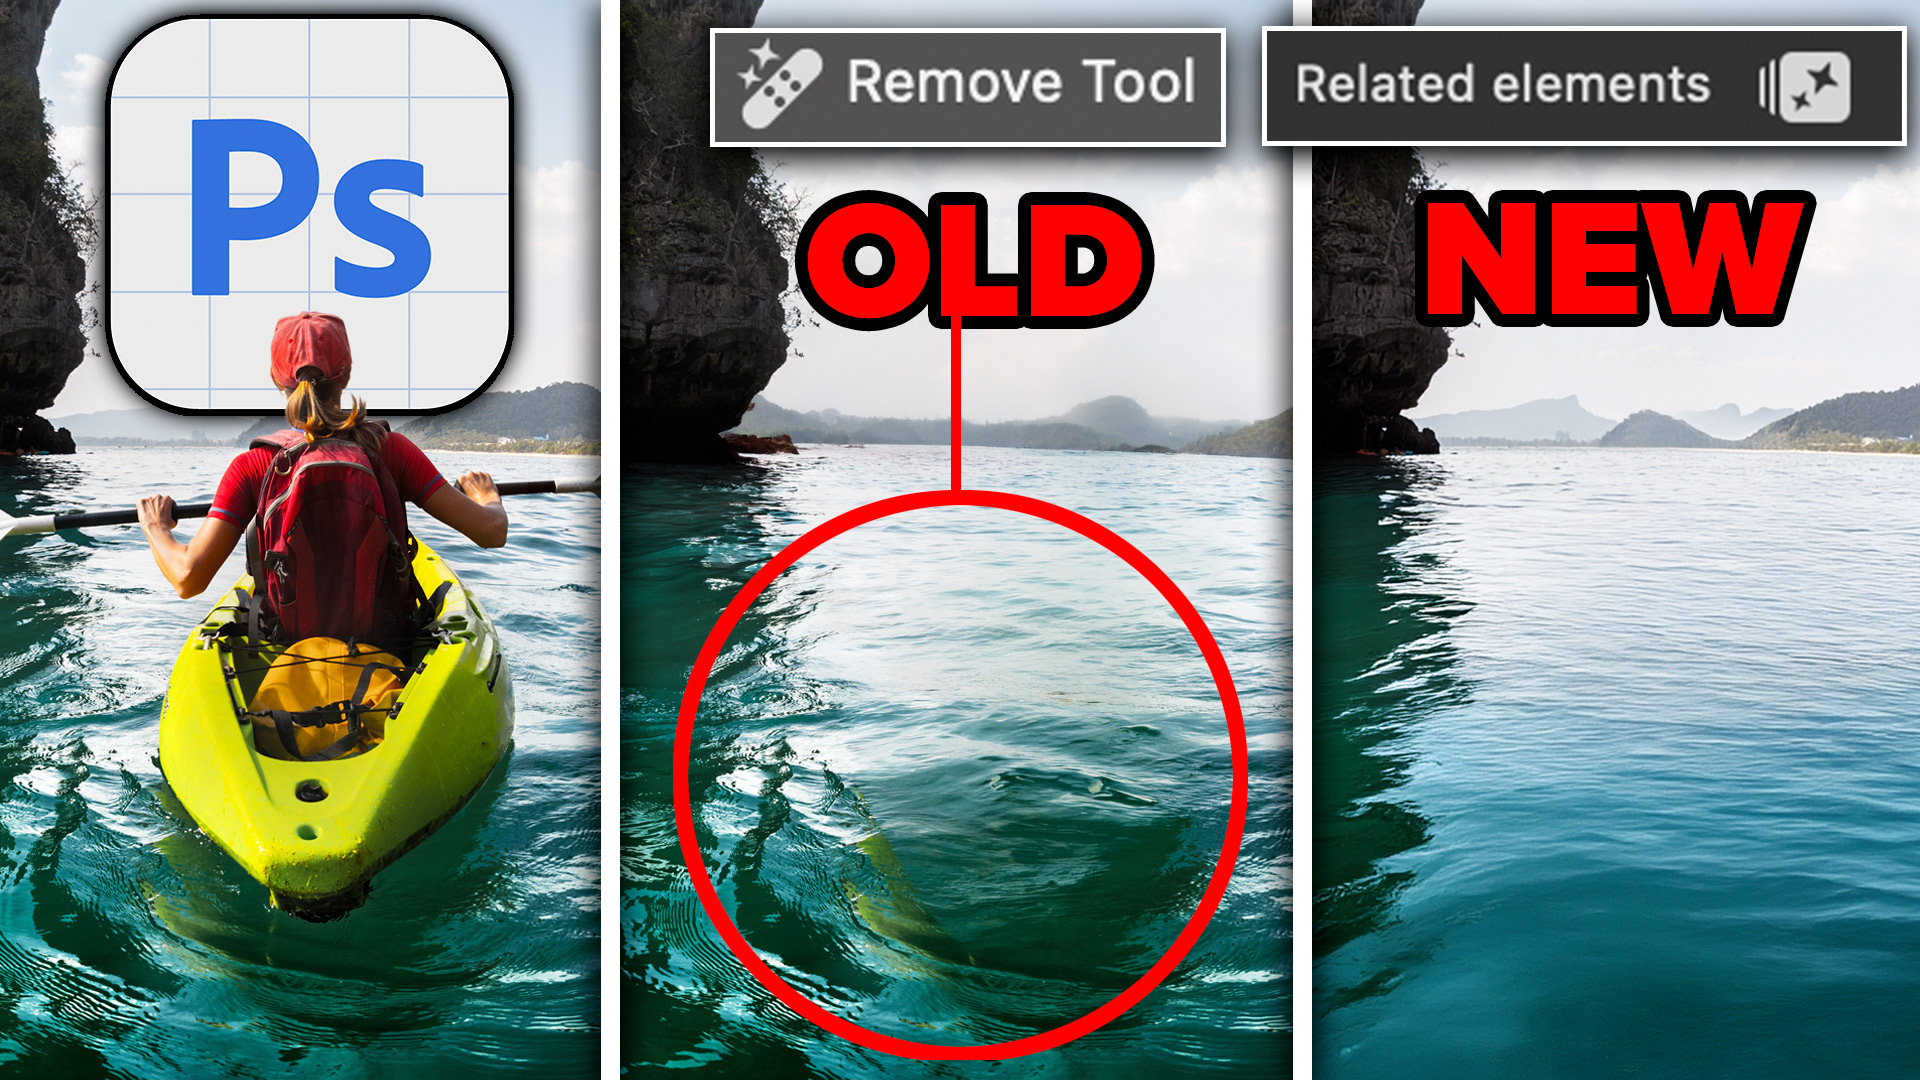
Generative remove ai in Photoshop, remove anything from a photograph
New tool in Photoshop removes anything in a photo instantly, new remove option in Generative Fill. Generative remove Read tutorial
Generative Upscale in Photoshop, how does it compare?
Generative upscale in Photoshop and how it compares to Photoshops other ai resizing tools. Read tutorial
Auto Blend layers in Photoshop with Harmonize, includes Resolution Hack
Harmonize Layers in Photoshop and how to get BETTER results from new Harmonize Read tutorial













Great tutorial! I didn’t know much about the object finder.
Please help. My object finder tool does not show up on any of the toolbars? How can I find it so I can use it?