
How to Remove the Background of a photo in Photoshop
How to Remove the background of a photo in Photoshop and how to use advanced options in Select and Mask
This Photoshop tutorial will teach you some of the detailed steps to remove a background in Photoshop with high resolution quality edges. I have other tutorials that show the steps to quickly get rid of the background 3 different ways here. Definitely worth looking at as well. This tut will show you how to get in close and get really nice edges.
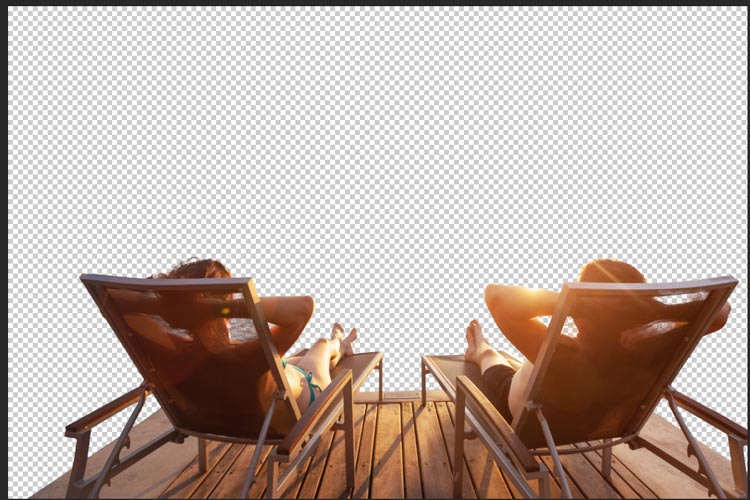
We will start with this photo I found on Adobe Stock.
There is always the one-click Remove Background feature in Photoshop. If you aren’t satisfied with the results, this tutorial has you covered and offered more control.

Step 1.
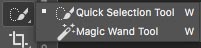
Choose the Quick select tool.
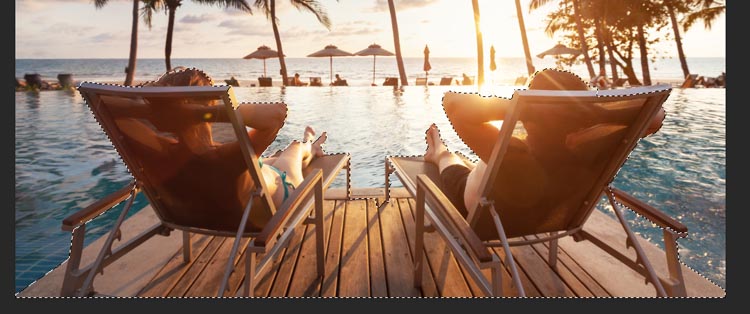
Step 2.
With a reasonably large brush, make a rough selection around the subject
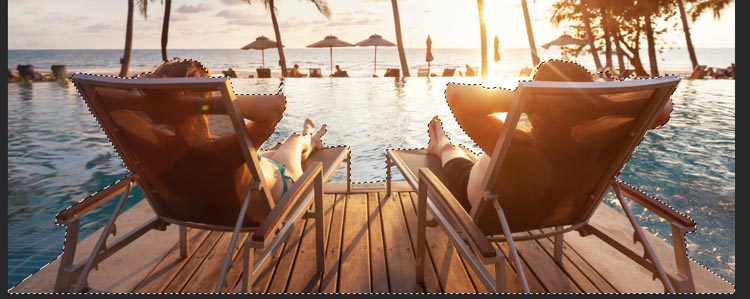
Step 3.
Use a smaller brush to clean up the edges. Alt/Option drag to deselect eras where you went too far.
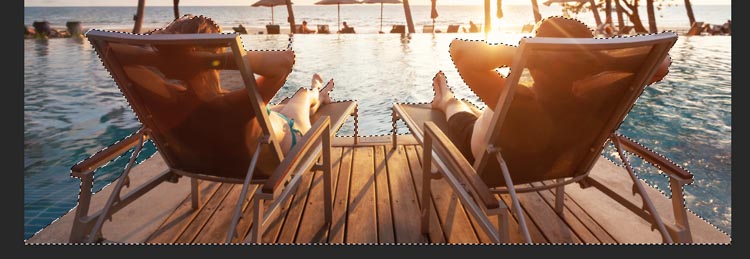
Step 4.
Use a smaller brush to cut holes in the areas that are disconnected, such as inside chair legs etc. Turn on pressure if you have a Wacom/Surface tablet. (see the video above)
Step 5.
Almost no cutout tutorial Ive seen online does this.. Zoom in close, to 100%.
Now you can see lots of areas that aren’t selected so well.
With a really small brush, go all the way around your image getting a really nice, tight select. Watch the video above for a demonstration of this as well as some tips to speed up the work.
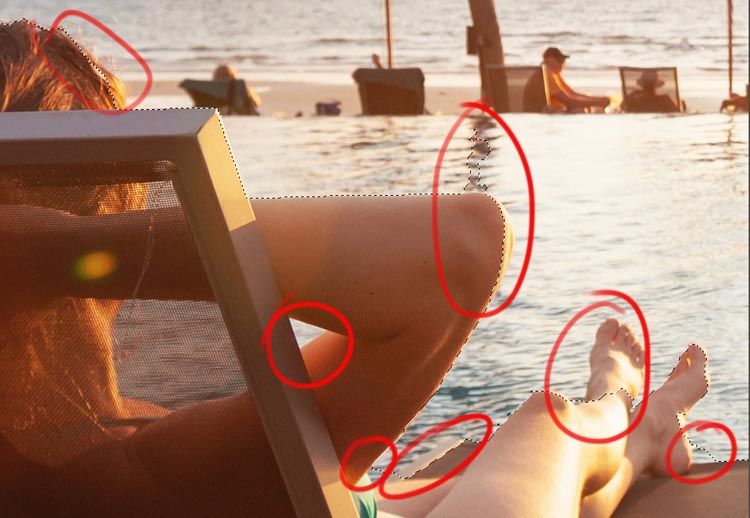
Making these better selections will help when we refine.

Step 6.
Choose Select And Mask, by clicking on the button in the top toolbar.
Welcome to the Select and Mask workspace. This is where we refine the edges.
Choose white as the background and turn opacity all the way up.
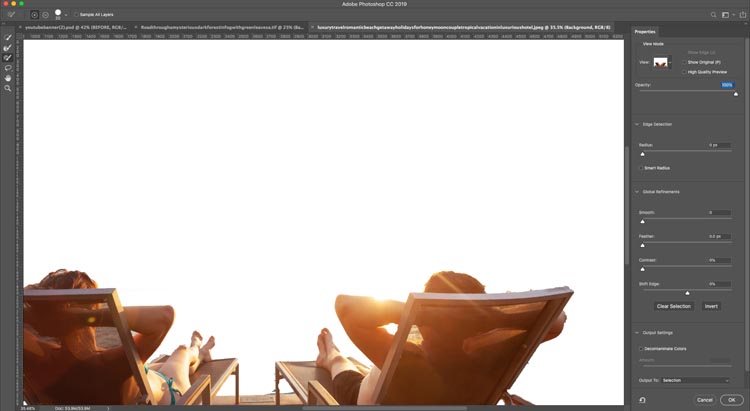
Step 7.
Choose the refine brush to paint over areas of hair and fur.
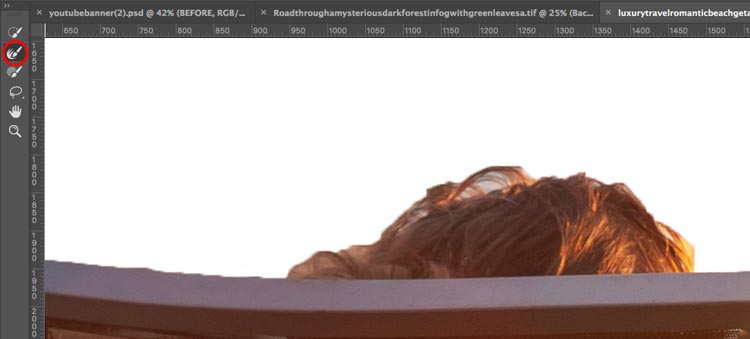
See how it selects hair nicely.
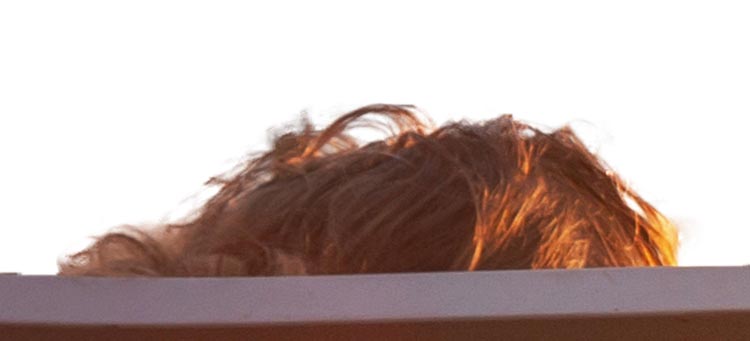
Step 8.
See the straight edges need some help. You will love the tip I’m about to share.
Choose the brush below the refine brush.
Zoom into 100% for this
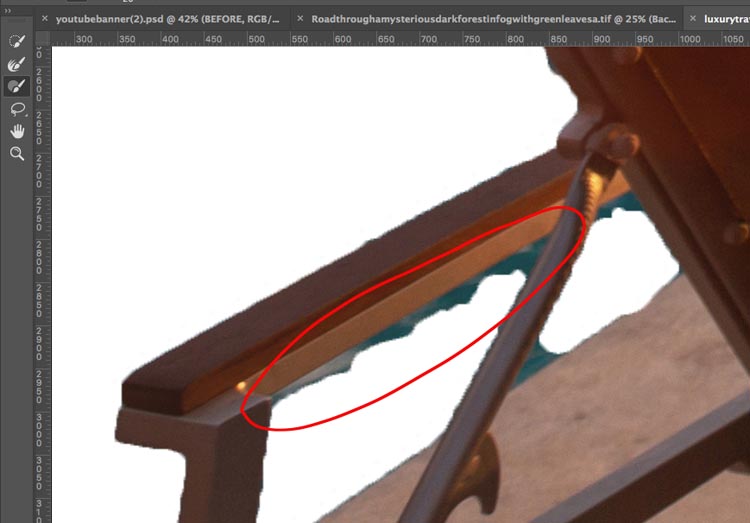
Hold down Alt/Option and paint away the edge
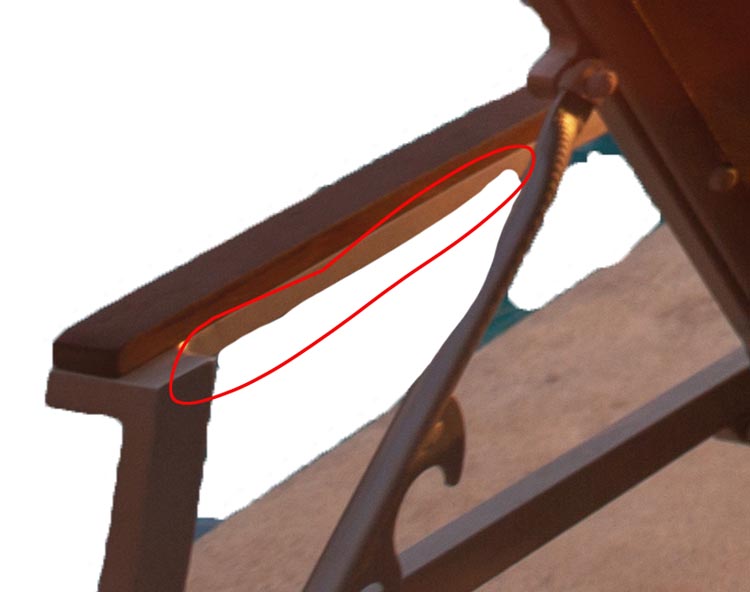
Step 9.
Turn the opacity down, so you can also see the original edge on the chair arm.
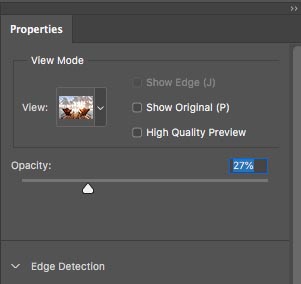
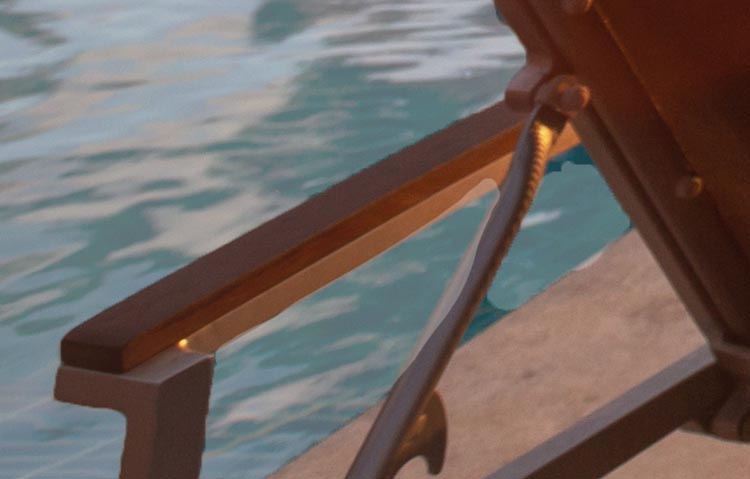
Step 10.
Click on the edge of the line with the brush tool. (1)
Move the cursor to the other side of the edge. Make sure the brush circle is lined up with the edge.
Hold Shift and Click
You will see a straight line was drawn that gives a perfect edge. If you missed it, undo and try again, the video demonstrates this really well.
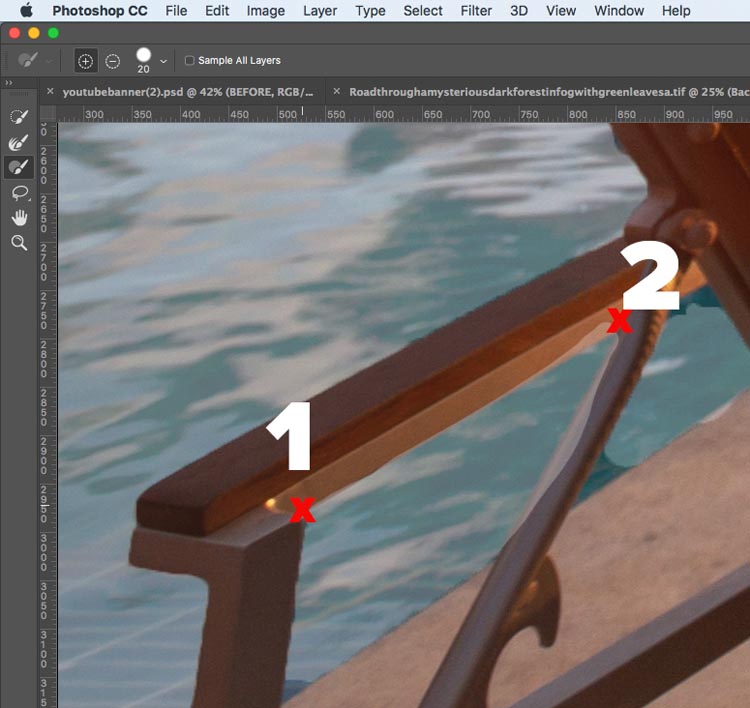
See the edge.
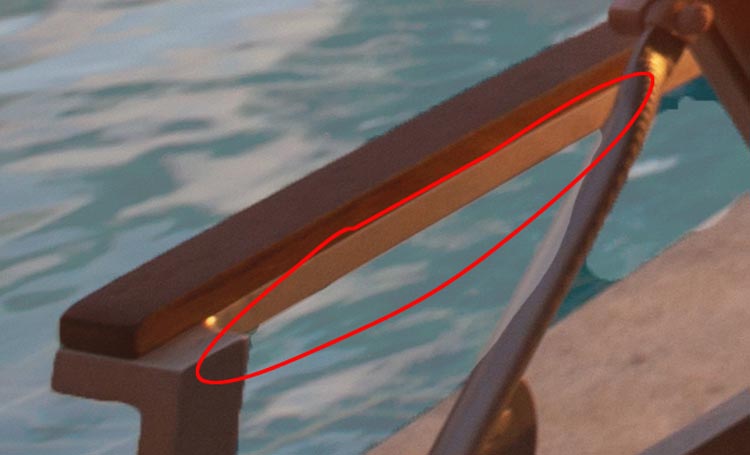
Step 11.
Repeat for the second edge on the metal brace.
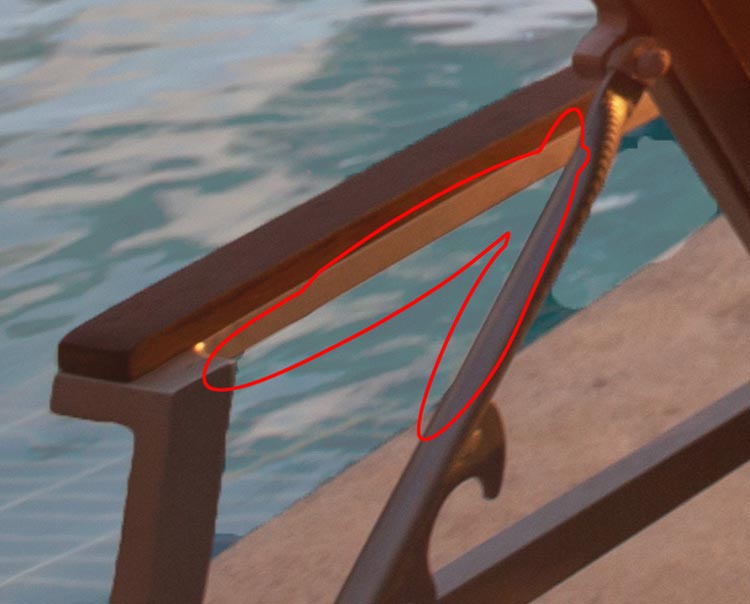
Turn the opacity back to 100% to see you edge.
For a perfect cutout, repeat the above for all the straight edges. Also make a small brush and fix all the nooks and crannies. This is closeup and detailed work. For social media and web, you don’t have to get too perfect. However, if you are doing commercial or print resolution work, you need to get really close and really precise.
When you are done (It’s not yet finished here) Change output to New Layer with Layer mask.
Click ok
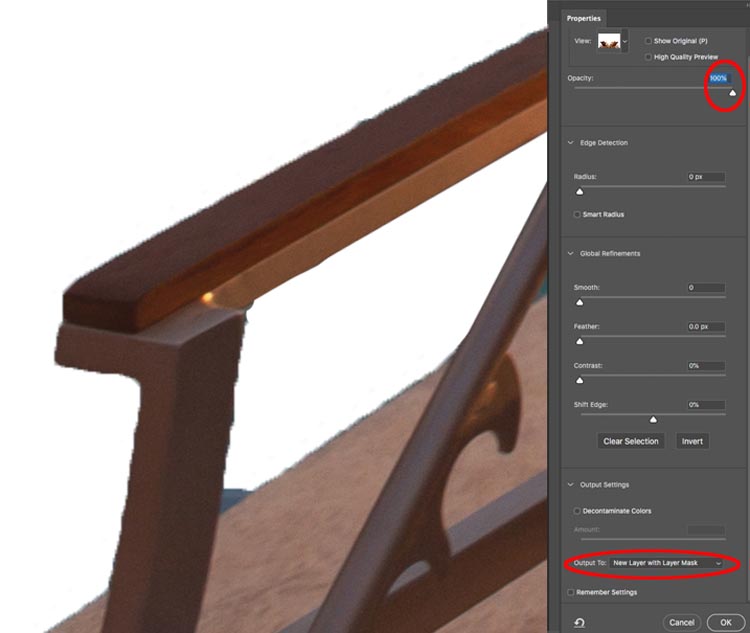
You will have your nice cut out and also a layer mask, so you can further refine it if you wish.
I really hope that you found this video and written steps useful and that this helps you cut out backgrounds from your photos. If it was helpful, please tell everyone about PhotoshopCAFE and share this tutorial on your social media.
Check out other tutorials in this series on How to Remove anything from a photo in Photoshop by Colin Smith
- Ai Powered Generative Remove
- How to use the Remove Tool in Photoshop
- How To Remove Anything from a Photo in Photoshop
- How to Remove Reflections from Glasses in Photoshop
- How to remove a person from a photo in Photoshop (Complex Background)
- How to Remove Shadows from a Photo in Photoshop
- How to Remove the Background of a photo in Photoshop
- How to Remove Tourists in Photoshop in 3 clicks – Crowd removal
Great to see you here at the CAFE
Colin
Keep growing with Premium Courses
Photoshop 2026 for Digital Photographers
Learn Photoshop properly, from the basics to pro retouching, step by step.
$129.00 · one-time purchase · instant download

Free for you
The Photoshop Vault
Get my free Layer Blending Modes ebook along with dozens of exclusive Photoshop goodies: actions, brushes, presets and cheat sheets.
You're on the list, so your free goodies are waiting for you in the Vault.
Get Free Photoshop Goodies Open the Vault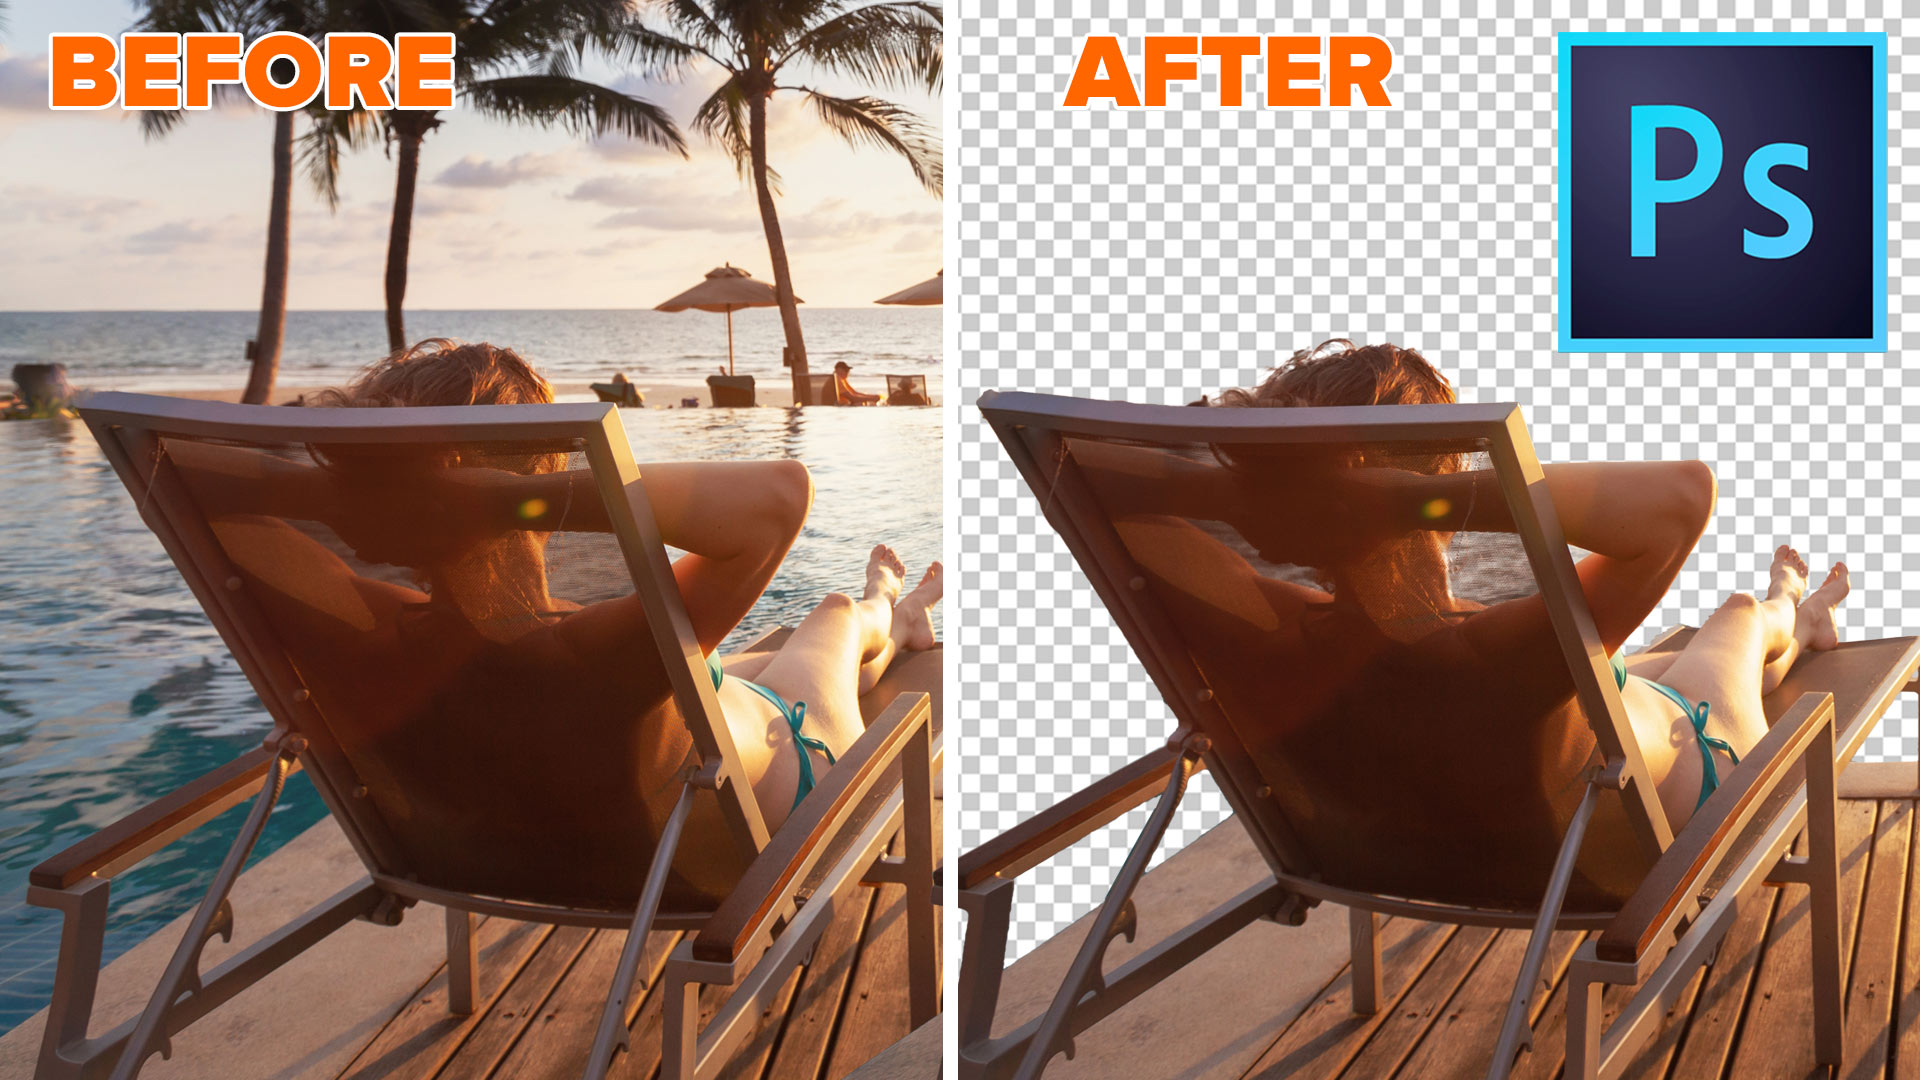
How to use Select and Mask in Photoshop. Refine edges on every cutout
Free Photoshop tutorial. Ultimate guide to select and mask in Photoshop, how to get perfect edges on every background removal Read tutorial
Auto Selections in Photoshop with difficult backgrounds
New Photoshop ai selection against difficult backgrounds. How to make instant cutouts with busy backgrounds in Photoshop Read tutorial
Photoshop refine Mask Tricks in 2022
2 Tips to instantly make cutouts look better in Photoshop. How to refine masks in Photoshop to remove backgrounds, cut out objects... Read tutorial
How to Change the background in Photoshop, quick, easy tutorial
How to put a photo onto a new background in Photoshop. Simple steps, best and fastest result in this easy Photoshop CC... Read tutorial
5 hidden tips for cutting out and selecting photos in Photoshop
5 hidden Photoshop tips for prefect selections and clean cutouts with crisp edges. Cut out photos, remove backgrounds in Photoshop Read tutorial











When I start doing close up work on cut-outs (removing backgrounds) I often just end up using a tiny brush to basically paint the mask. I get good results but it takes forever. You’ve used the shift/click technique in other tutorials but I never thought to use it on a project like this. That tip alone should save me hours. I also liked how you handled the mesh area in the chairs. I would have stressed trying to make it perfect, but your results were excellent.
By the way, your tutorials are always good, but the last few weeks you’ve been on fire. The tutorial on removing distracting shadows was inspired. In the past I’ve tried doing something similar but the results weren’t great – I can’t wait to try your camera raw method. And the removing reflections from glasses … brilliant. It was another task that I have often tried but with so-so results at best. But your technique seems to be a simple, professional looking solution.
Thanks for the great videos but good luck trying to top these last few tutorials.
Thanks for the kind words, I’ll try and keep good ones coming 🙂
Just found out about you. Great tutorial. Thanks.
You are a really good teacher.
As always, Colin, your tutorials are straight forward, easy to follow and the best.
hi well I find your tutorials very interesting and helpful. but I really like the one on remove backgrounds, so I shall be looking at your courses on this sort of subject.
Only just discovered you Colin here in lockdown in the UK, I learnt so much from the tutorial and will now start to have a serious look at yoiur other work. Thanks