
How to Remove Reflections from Glasses in Photoshop
Remove reflections from glasses in Photoshop
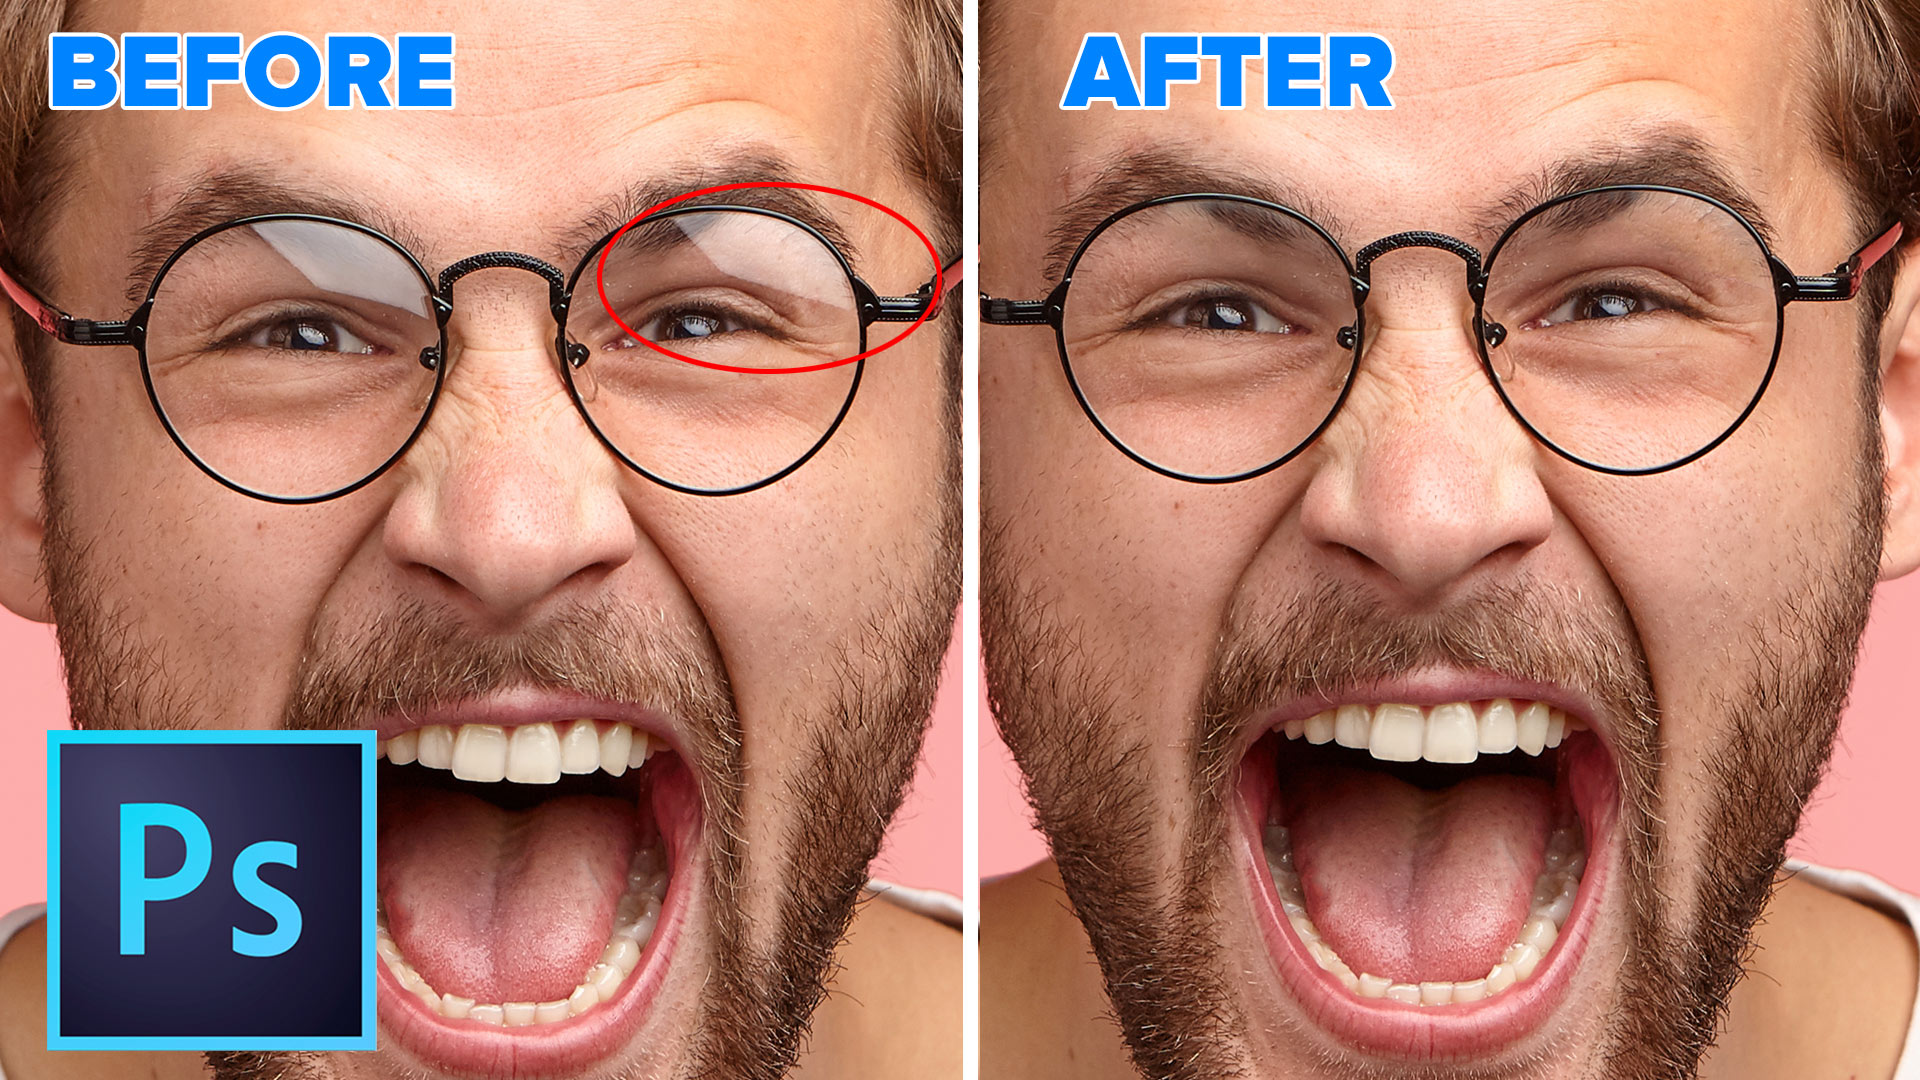
Learn how to remove reflections and glare from glasses in Photoshop. This tutorial shows an unexpected and effective way to easily remove glare and reflections for glasses without losing the original eye details.
There are many ways to do things in Photoshop. I discover most of my techniques from trying lots of different things, and this is one of those, “I wonder if it will work” scenario’s and oh boy, does it ever work. I’m not going to promise that this will work on every image, no one technique does, that’s why we need to know different ways of doing things. However, I think you will find when this does work, it’s better than the other ways, because you are maintaining the true character of the persons face. Ok, let’s get rolling..
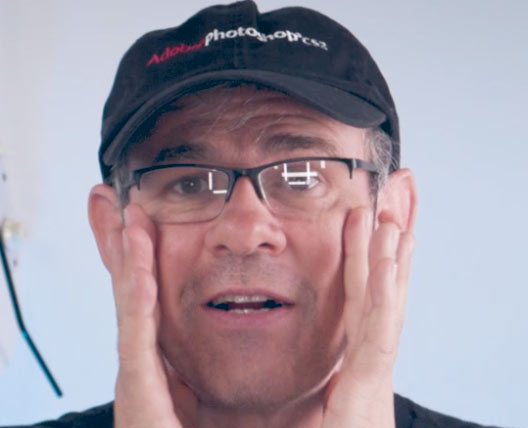
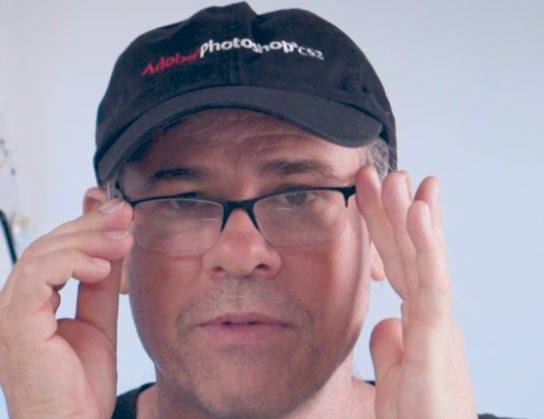
Pro tip: When photographing people wearing eye glasses, slightly tilt the glasses and the reflections will usually be gone. As demonstrated by myself. If you do this, you can avoid having to retouch the glare entirely 😉
Removing glare from glasses tutorial in Photoshop CC
LEGEND: This works on Windows and MAC, Photoshop is the same, but modifier keys are different. Alt on Windows is Option on MAC. Ctrl is Cmd on Mac. I write both and it will appear like this: Ctrl/Cmd+J (Ctrl is for Windows and Cmd is for Mac)
This tutorial will not work on CS6 as dehaze was added in CC. However it will work in the latest version of Lightroom.
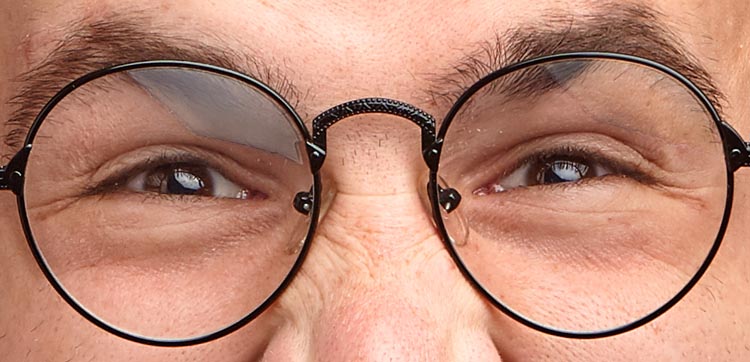
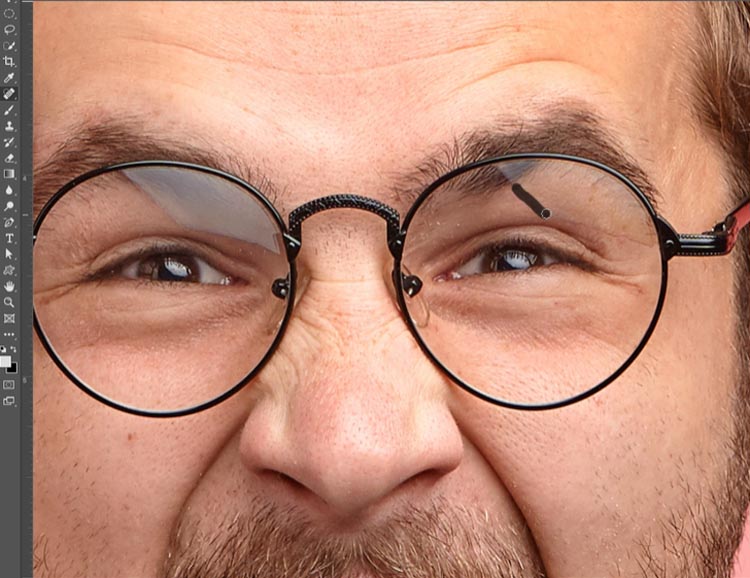
Let’s start with this image I found on Adobe Stock. It looks like a soft box has caused reflections in both of the lenses.

Step 1.
Choose Filter>Camera RawFilter
Zoom into 100% view to make it easier to work more accurately. (My video above shows all this is detail)
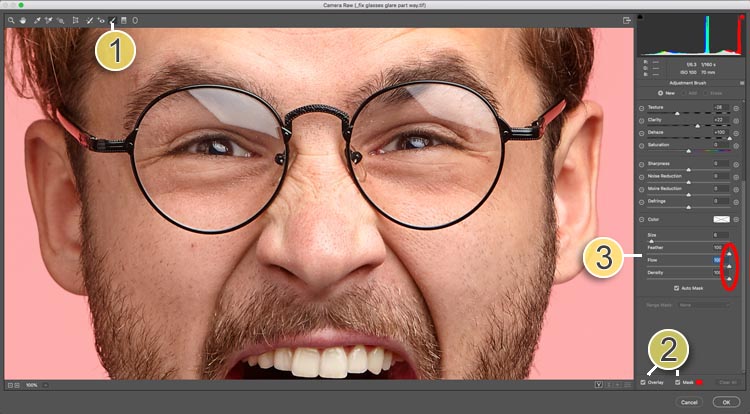
Choose the Adjustment Brush (1)
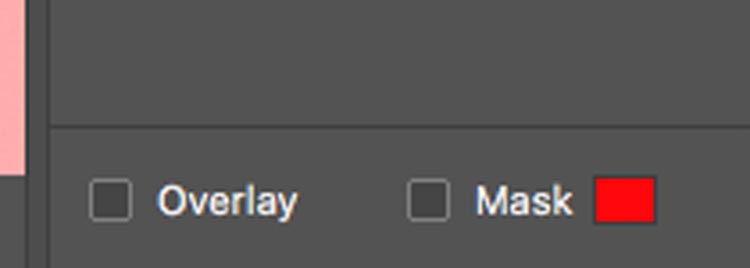
Turn on mask and overlay (2)
Push the Flow, density and feather to 100 (3)
Make sure auto mask is on
Step 2. Make the selection
Adjust the brush size using the [ and ] keys. Paint over the reflection areas to select them.
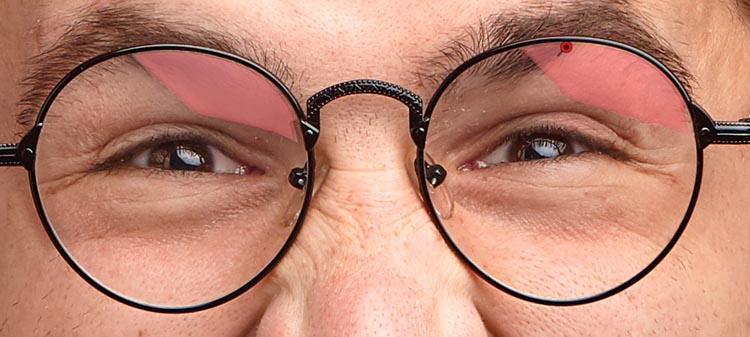
Turn off Overlay and mask. We have the selection, now its time to make adjustments.
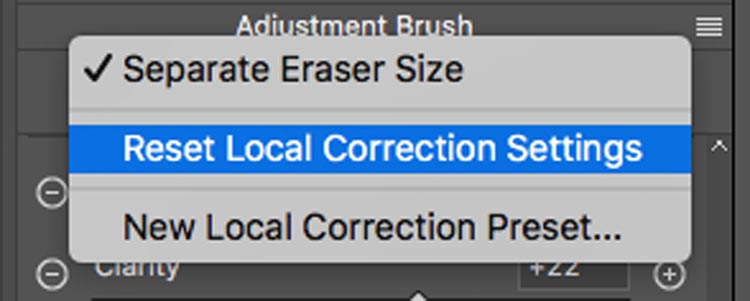
Right click on the hamburger menu on the adjustment brush and choose Reset Local Correction Settings. This will zero out everything.
Step 3.
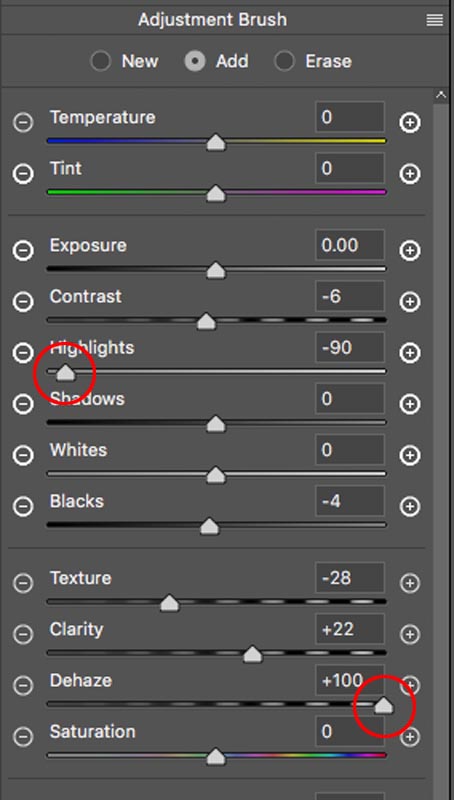
Make adjustments until the selected area matches the rest of the skin.
Move dehaze first, this one will make the biggest difference.
Don’t even worry about the reflection on our left, we just need one lens to look good. Also don’t worry about the outline where our selection meets the edges.
Step 4. Cleaning up the edges.
Click ok to apply Camera Raw.
Choose the Spot healing brush.
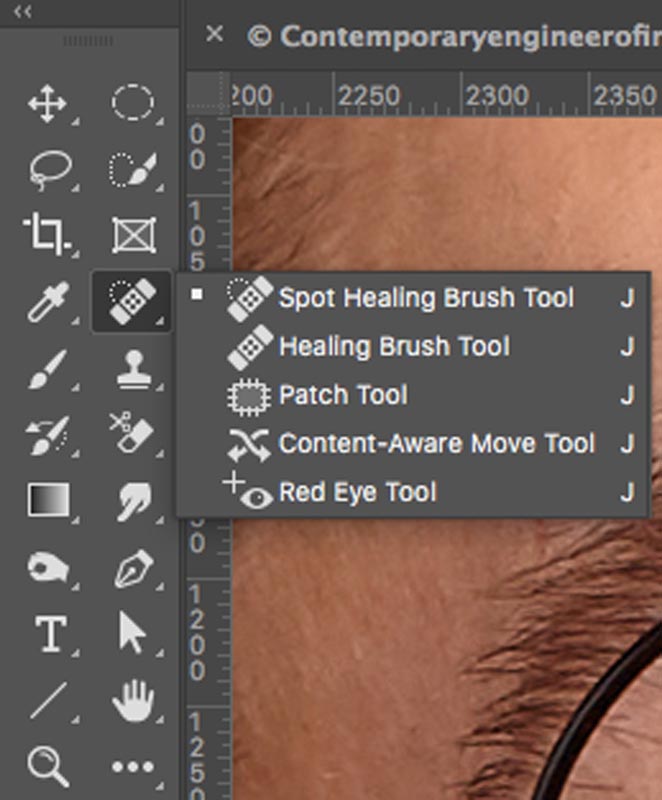
Make the brush nice and small [ and ] keys.
Paint over the line on the edge.
Spot healing will blend in the edge
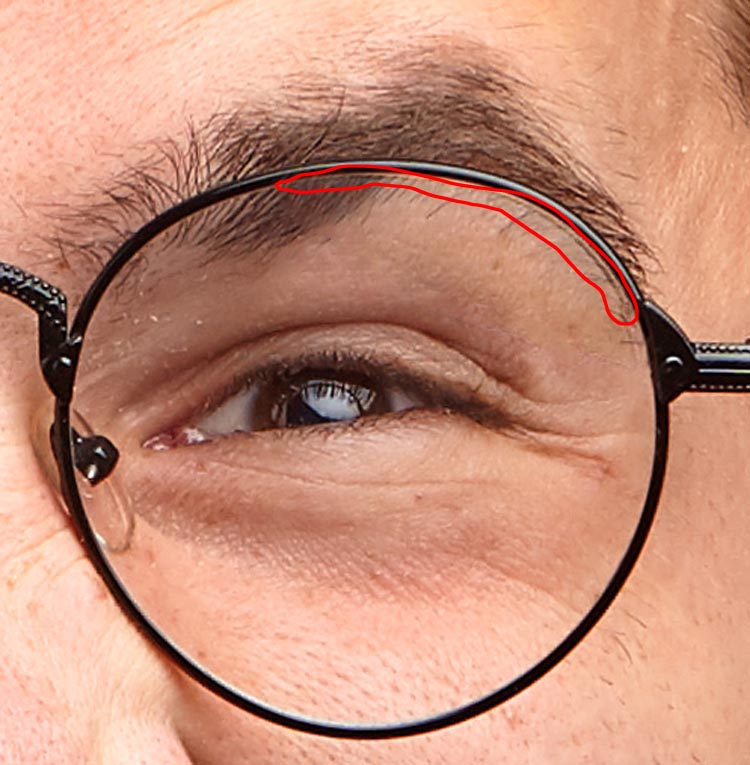
It’s looking good, but there is still a little glare over an eyebrow and an outline around the top. Let’s fix those. (Don’t try and use the spot healing brush on the top, I have a better way for you).

Step 5.
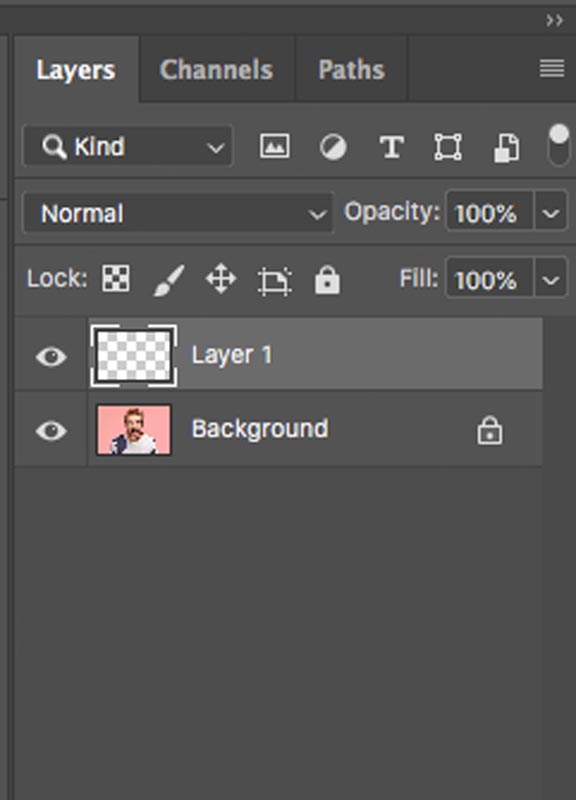
Create a new Layer, this is for cloning onto.
Step 6.
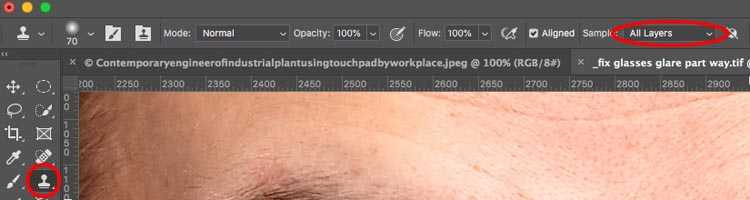
Choose the clone Stamp tool and make sure All Layers is selected or nothing will happen.
With a small brush, fix the eyebrow reflection (you can see it in action on the video above, you did watch that first right?)
Now we have that outline on the top (if you don’t have the line on your image, then you can jump ahead a bit), I want to offer all the possibilities so this tutorial works for you in the real-world.
Step 7.
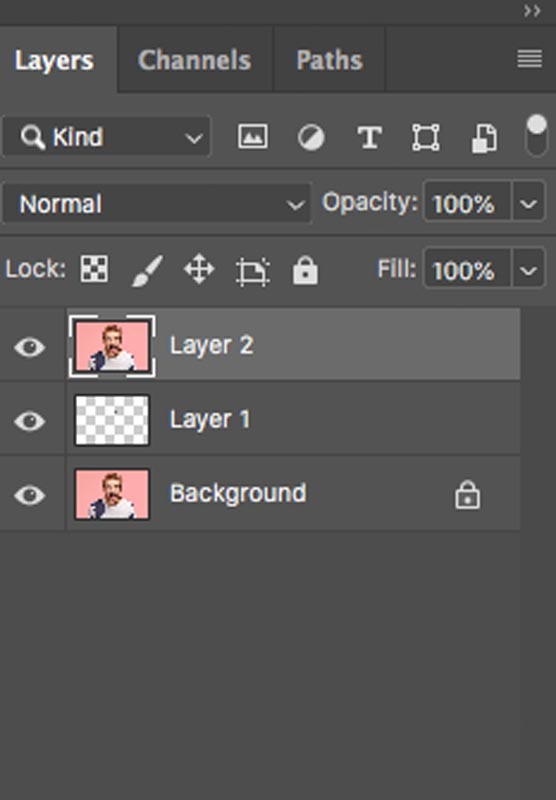
Lets make a Composite, AKA Stamp Visible Layer (where you make a merged copy of everything on top of the layers)
Press Alt+Ctrl+Shift+E (Windows) / Option+Cmd+Shift+E (Mac). See the new layer on top?
Step 8.
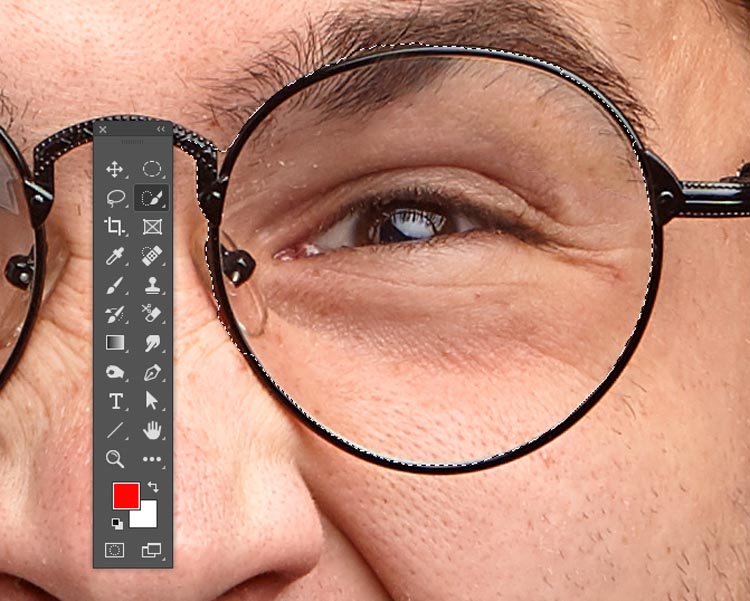
Using the Quick Selection, make a rough selection around the glasses lens. (Use the Alt/Option key to subtract from the selection if you go too far)
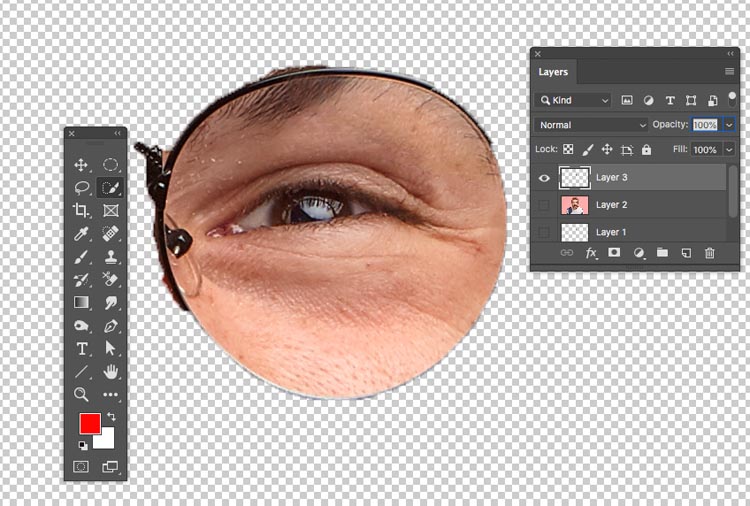
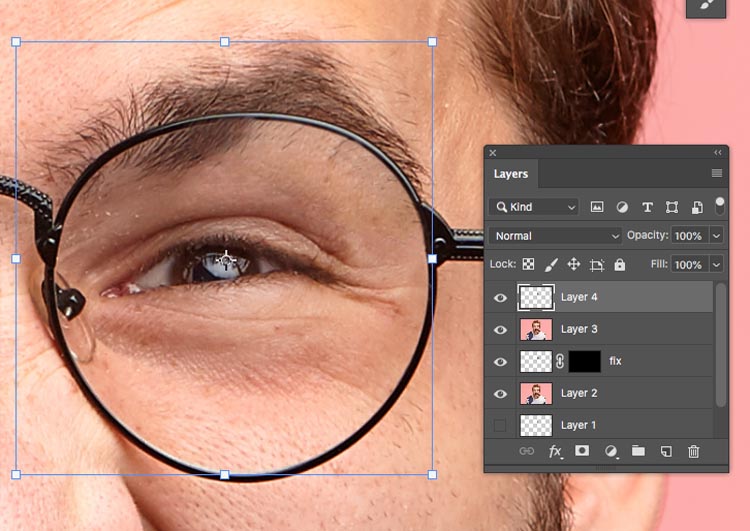
Step 9.
Pressing Ctrl/Cmd+J will copy the selected area to a new layer.
Here I have hidden the bottom layers so you can see what happened, you don’t need to hide them.
Step 10.
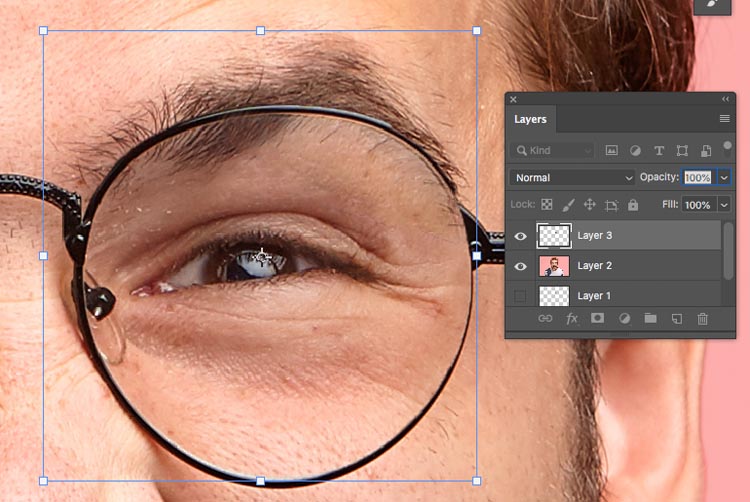
Now we are going to slightly enlarge the selected area to cover up the seam.
Press Ctrl/Cmd+T for free transform
Drag the top corners to slightly enlarge the lens to cover up the seam. (Temporaraly Drop the layer to 50% opacity if you need to visually see the position).
Press Enter.
Step 11.
Right now you might be thinking, you slightly enlarged an eye, but maybe no-one will notice. Don’t worry, we aren’t going to use that part of the photo (Amateur move), its just a step in the process, nothing will actually be enlarged.
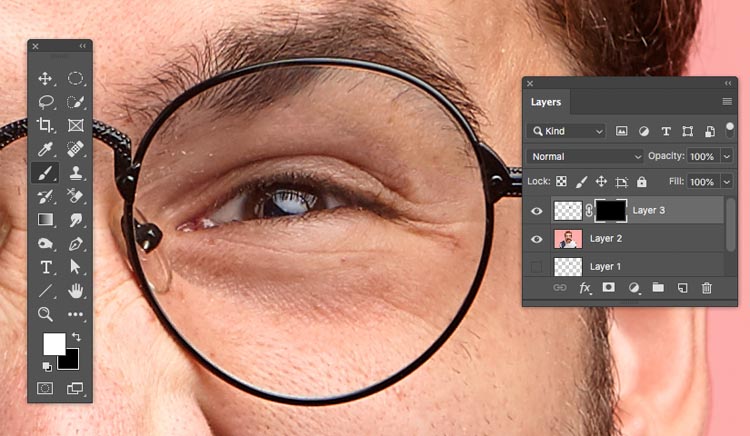
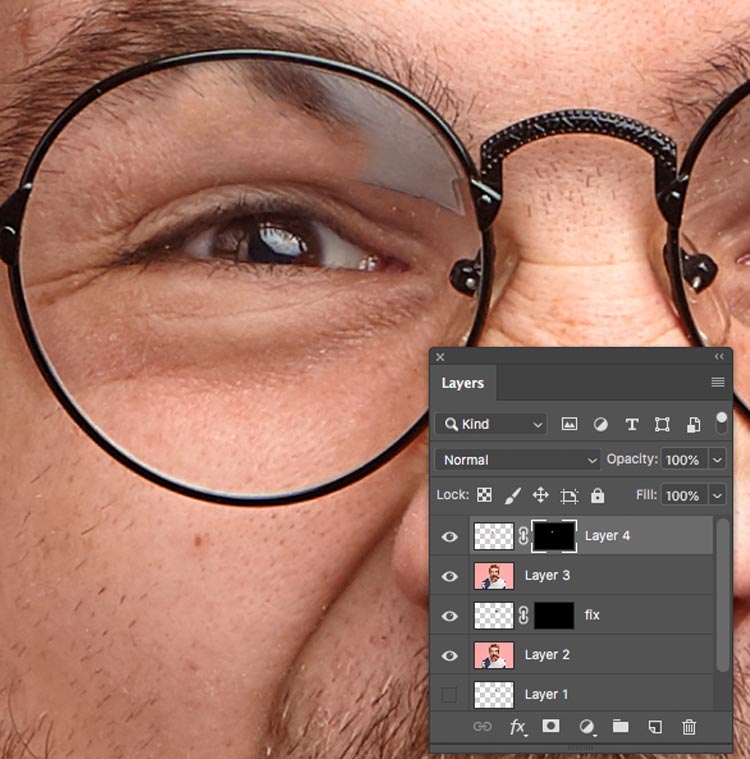
Hold down the Alt/Option key and click on The layer Mask icon in the Layers panel (3rd for left). This is my inverted Mask trick.
Now the top layer will be hidden.
Only the areas we paint with white will now appear visible. (Do you see how this trick works now? You will in the next step)
Choose the brush tool.
Set foreground to white (Press D and then X keys)
Make sure the black mask is selected and your brush opacity is at 100%
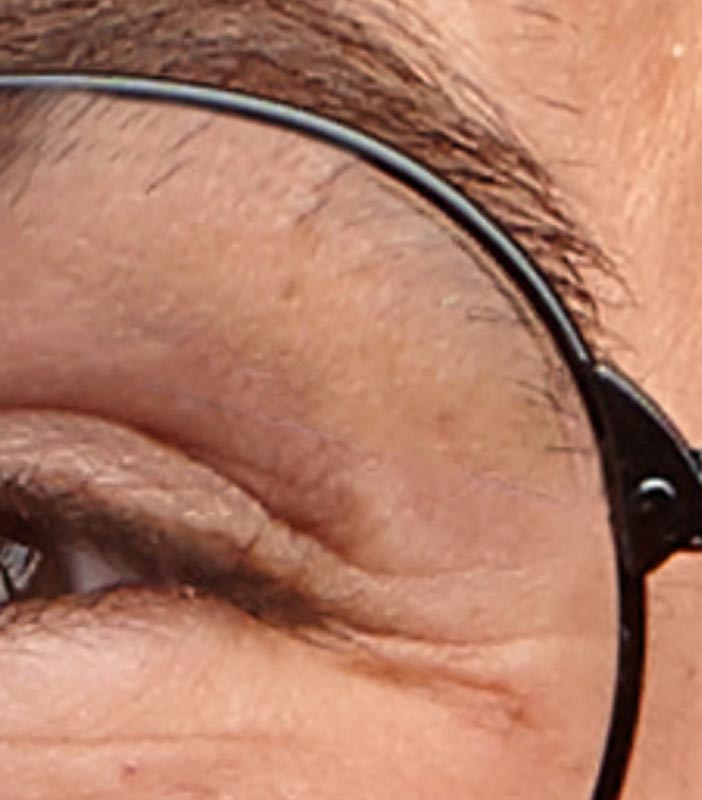
Zoom in nice and close and paint over the edge with the white brush.
See how the line just dissapears! This is actually kinda fun to do. (If you are lost, go back to the video and see what I’m doing).
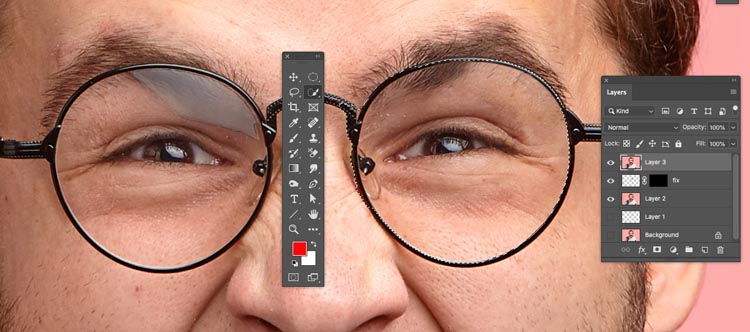
Step 12. The other eye
Ok, this eye looks great, but what about the other one?
Press Alt+Ctrl+Shift+E (Windows) / Option+Cmd+Shift+E (Mac). and make a composite layer.
Use the Quick Select to make a selection around the lens. (Tip: Press Ctrl/Cmd+Shift+D to load the previous selection)
Step 13.
Press Ctrl/Cmd+J to copy the selection to a new Layer.
Choose Ctrl/Cmd+T for free transform.
Right click inside the bounding box and choose Flip Horizontal.
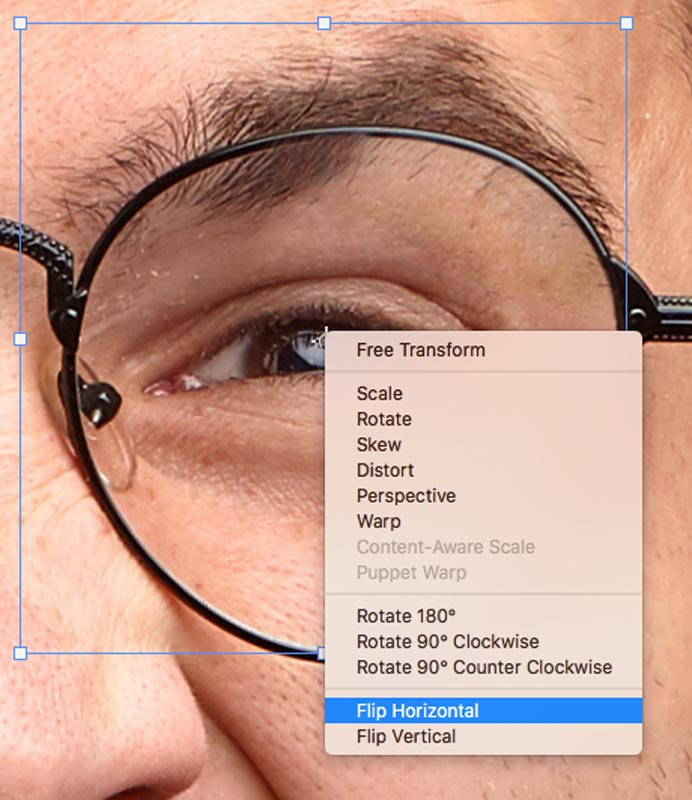
You will now see a flipped view of the lens.
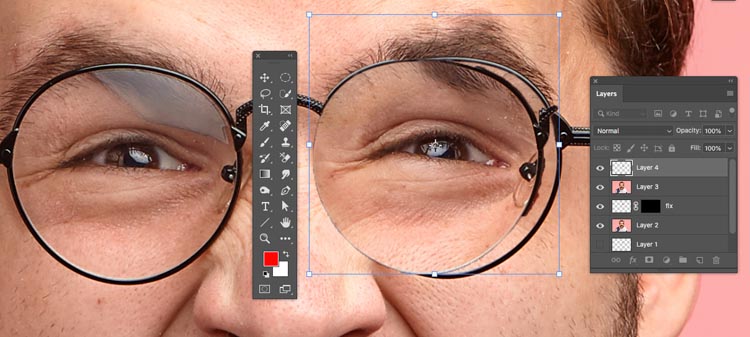
Drag it over the left eye. (Our left)
Right now it matches, but we aren’t done, as no 2 eyes are alike and we want to preserve his actual eye. (If the left lens was completely obscured, you could use the flipped one and call it a day.)
Pro Tip (optional): If the 2 eyes aren’t straight on, but angled, right click and choose distort. Drag the corners to match the angle

Step 14. Use Only What you need.
Let’s do that inverted mask trick again.
Hold Down, Alt/Option and create a new layer mask, It should be black as shown.

Using a soft edges white brush, paint over the area of reflection and paint away the glare.
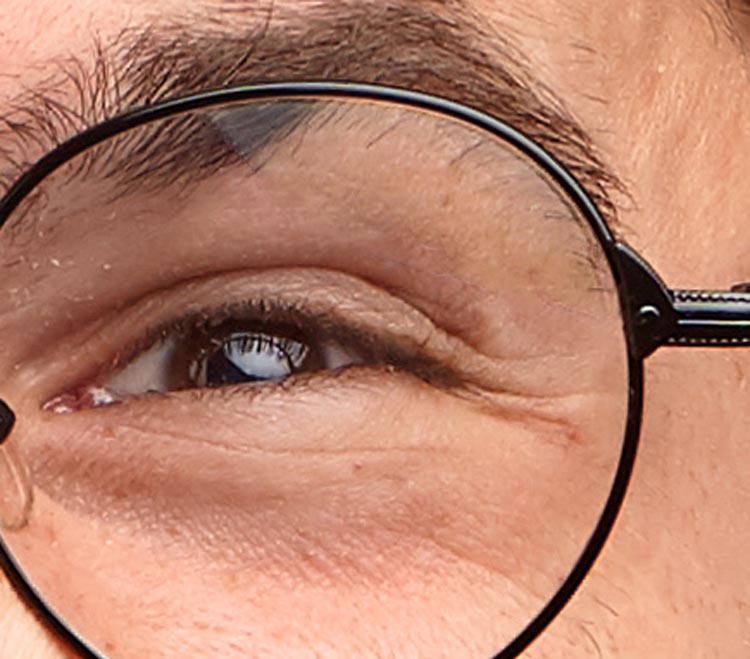
And we are all done. Congratulations if you go this far. Bookmark this tutorial for reference next time you need to remove the reflections for glasses in Photoshop CC.

I really hope that you found this video and written steps useful and that this helps you remove reflections for glasses and generally assists with your retouching. If it was helpful, please tell everyone about PhotoshopCAFE and share this tutorial on your social media.
Great to see you here at the CAFE
Colin
PS Don’t forget to follow us on Social Media for more tips.. (I've been posting some fun Instagram and Facebook Stories lately)
You can get my free Layer Blending modes ebook along with dozens of exclusive Photoshop Goodies here

15 thoughts on “How to Remove Reflections from Glasses in Photoshop”
Leave a Reply
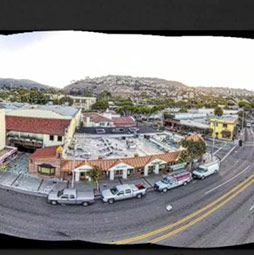
In this tutorial, learn how to shoot and process aerial panoramas using Photoshop and Macphun plugins. Learn how to use...
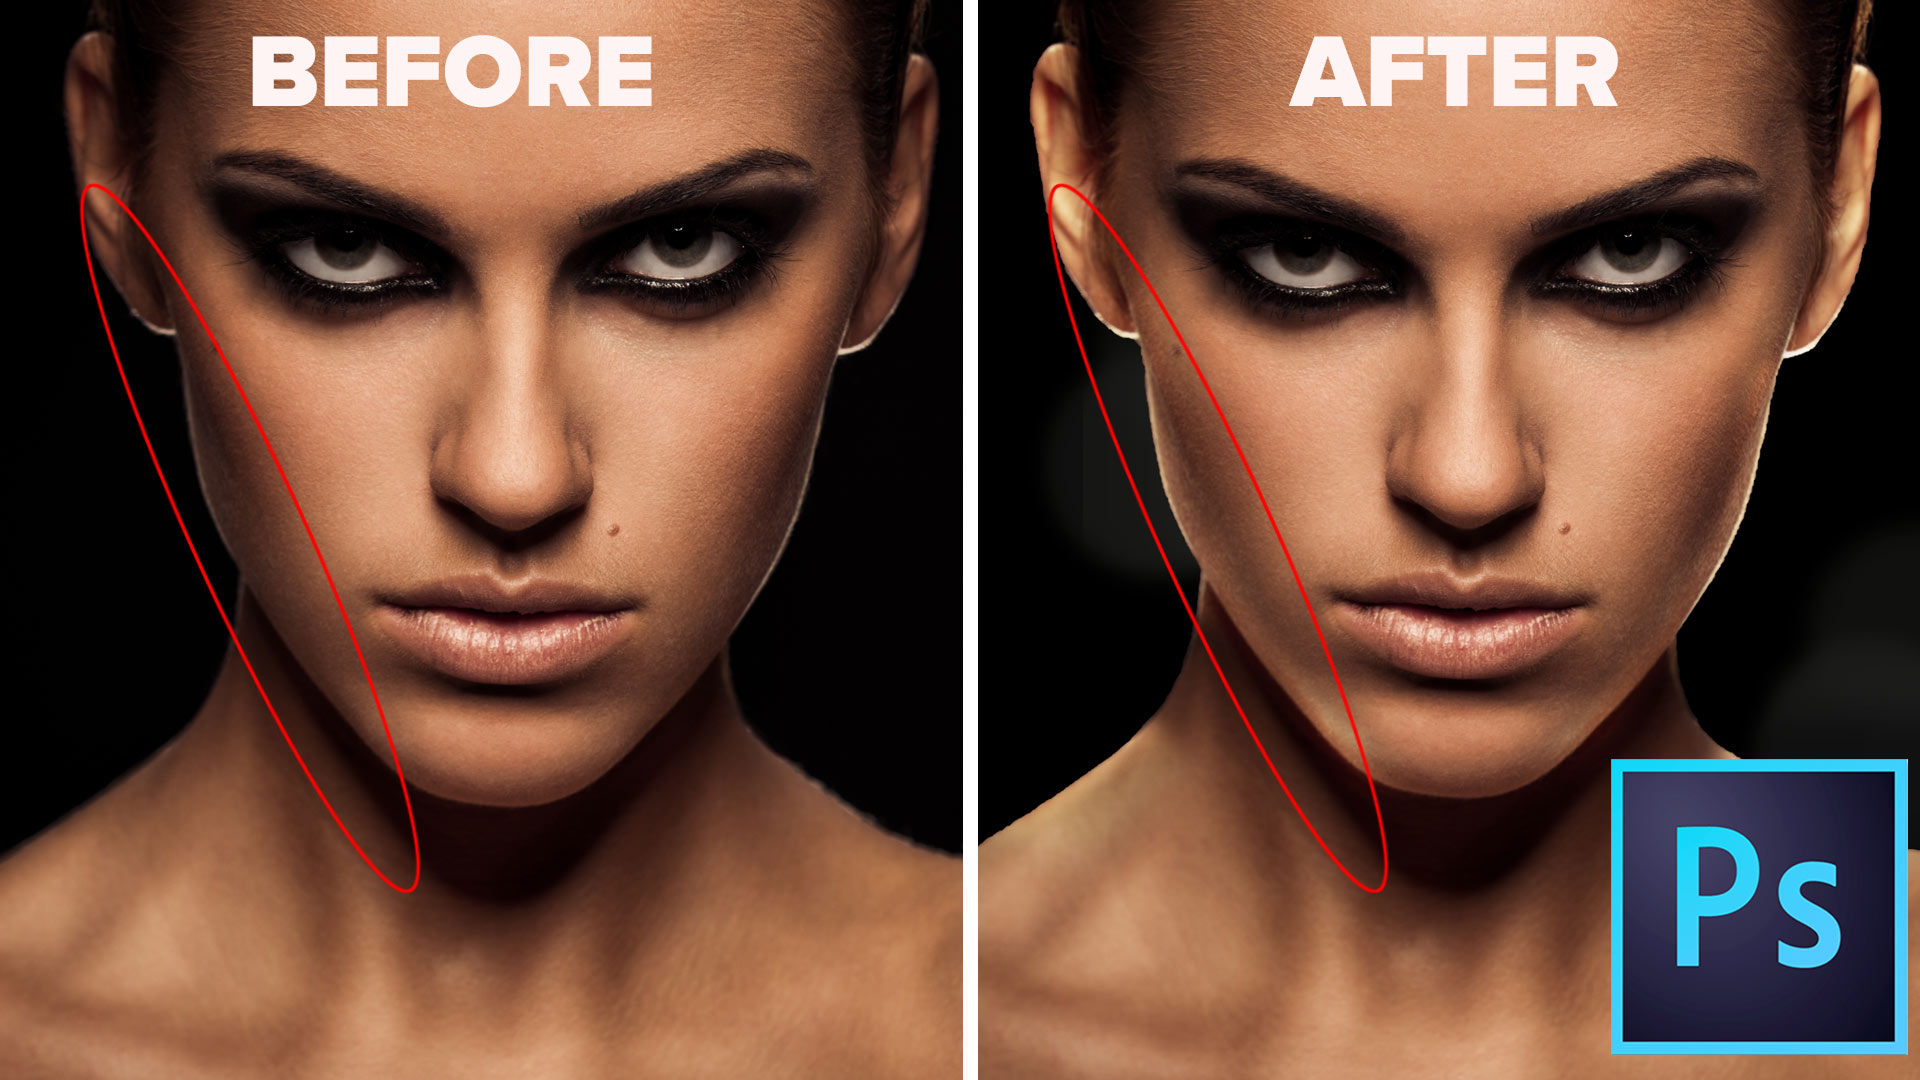
How to add a rim light to a photo in Photoshop. This Photoshop tutorial shows how to make a backlight...
Dave Cross shows how to use the Blend if sliders in Photoshop. This enables you to cut out objects and...


Hi Colin, I love the tut on removing glare from glass! Do have a way to remove the background from glass such as in a photo of a car but still have it look like glass? I have a client who likes to. Have me cut out a car from a background and put in another background but a lot of the time it’s very difficult to deal with the windows.
Thanks
Perhaps Ill do another tutorial later
YES I DID!!!!!!! THANKS COLIN!!!! KUDOS TO YOU.
AMAZING! Thank you so much.
Everyone has their own technique for removing glare from eyeglasses — I’ve personally made generous use of the clone stamp tool to achieve this — and Colin Smith at PhotoshopCAFE brings us a new technique in this tutorial. By making use of the camera raw filter in Photoshop, he’s able to do much of the heavy lifting using a few sliders to reduce the haze of the reflection and match the skin tone and exposure of the area surrounding the eyes.
I practiced a lot but still couldn’t do it
You do a fantastic job explaining in your tutorials. I have always struggled removing glare from glasses. People said take 2 photos – one with the glasses on and one with the glasses off. Well that not a solution when you shoot grade school children! So I’ve done what you done except not as many adjustments.
Thanks! Always learning from your videos!
Very nice artical. Thank you for sharing
Thanks your post!
Great content! Super high-quality! Keep it up!
Thanks for this great tutorial. Seems like a lot of steps but got great results in the end. Very happy I found your site.
Thanks for sharing, for more information visit online radio station website now.
This is great, thanks for the tutorial!
Hi Colin, Your tutorials are brilliant and I have learnt so much from you. Any chance that you might have a 2023 version of this tutorial? (How to remove reflections from glasses in Photoshop) Thank you.
David
Not yet, but this method still works