
How to do a photo composite in Photoshop, full walk through. Free Photoshop tutorial
Follow the steps below and you will be making your own Photoshop composite (or collage) in no time at all! One of the most fun things to do in Photoshop is combining different photos to make an image of something that doesn’t exist. You can place yourself or a friend in this scene. You can also substitute any photos to build a world in your photo.
This Photoshop tutorial shows you how to combine different photos together to create a photo composite. You will learn in this Photoshop Tutorial.
- How to combine different photos together
- How to extract photos from their backgrounds
- How to use Adobe Stock as compositing elements
- How to apply texture overlays
- How to create a lens flares
- How to add coloring effects
Have fun with this one! You can use any version of Photoshop, However you can only apply Camera Raw and add stock directly into Photoshop in CC. Earlier versions, you can do a work-around using Bridge.
How to Do Photo Composites in Photoshop written step-by-step Tutorial
I’m going to show you how to combine different photos to create a composite.
You could use a shot of someone you know, yourself, or a stock photo.You can cut yourself and and pop yourself into a different background to make it look like you were there.
Stock photos used in this Photo Compositing Tutorial
Tutorial on how to search and use Adobe Stock here
I have used some photos from Adobe Stock to create this peice. You can create a free account and download the same photos I have used and follow along. It’s free to use the watermarked version of the photos. This is a great way to practice an learn. You can find the Photos used here (download the watermarked versions for free and follow along)
Step 1
Open the image of the stadium

Step 2 Open Base Image
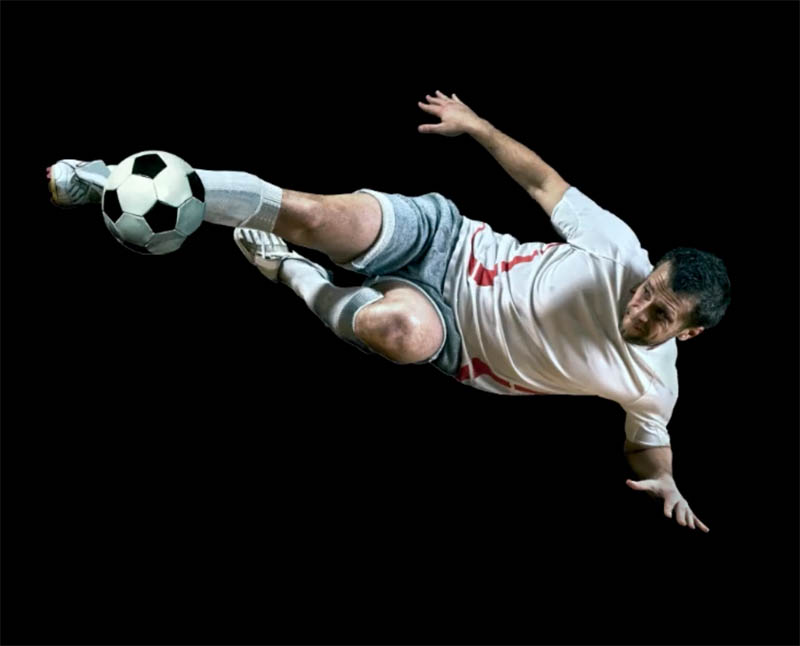
Drag in the image of the soccer (or football) player. This is where you would use your model if you are wanting to work with a “real” person, or use the stock image.
Step 3 Adding an athlete to a photo
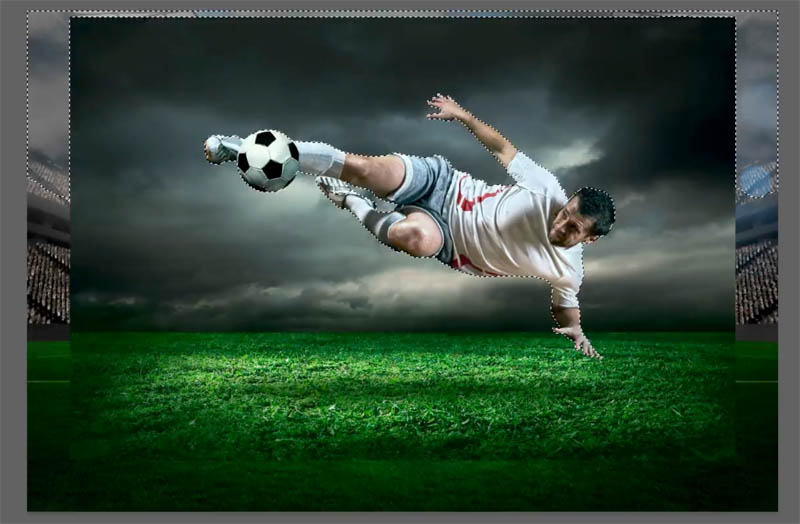
Let’s start by cutting out our subject, the striker, who is shooting a goal. I want to cut this guy out and make it look like he’s in the stadium. You can also use the Select subject tool to make a faster selection of the soccer player.
Grab the Quick Selection Tool.
In this case, its easier to select the background than the subject. You can make that decision based on how uniform the coloring is on the background.
Drag the quick selection around the areas to select. If you go over, you can undo sections by holding down the Alt/Option key and dragging over those “over selected” areas.
Tip: To see what’s selected and what isn’t, just tap the Q key. Tap Q again to go back to the selection.
Step 4
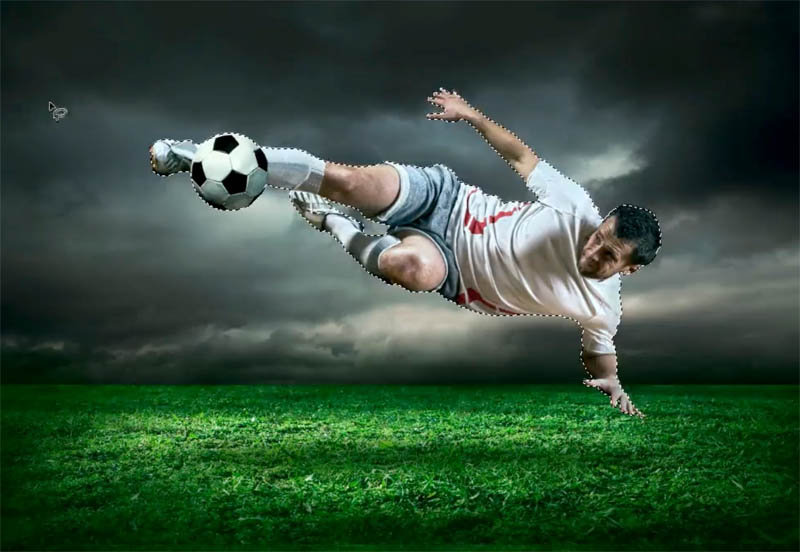
So I want to inverse the selection now because I’ve selected everything but our guy. Now we want to inverse it, so Cmd/Ctrl+Shift+I would do that.
Step 5 Refining the Selection
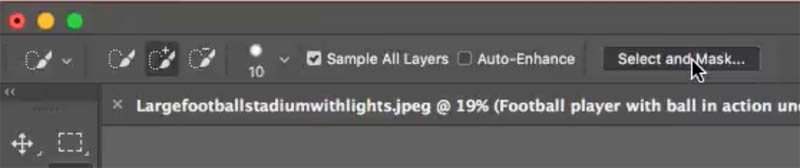
Click on Select and Mask and we will go into the Select Mask Workspace (Refine Edge on CS6),
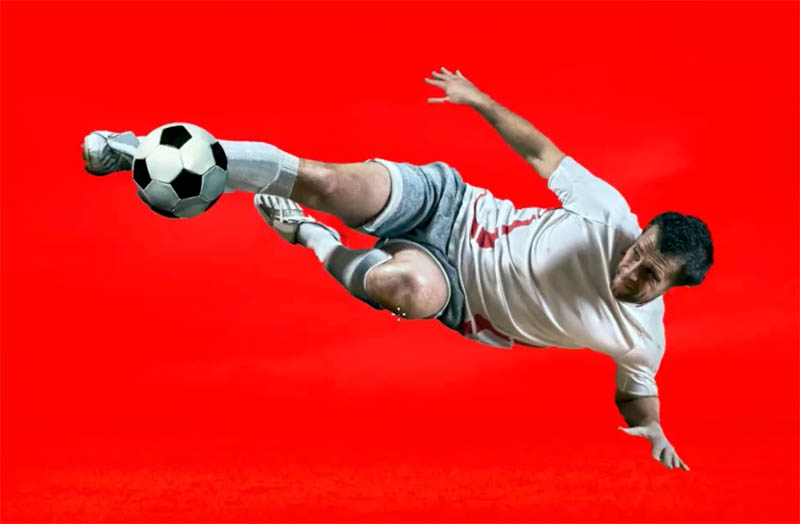
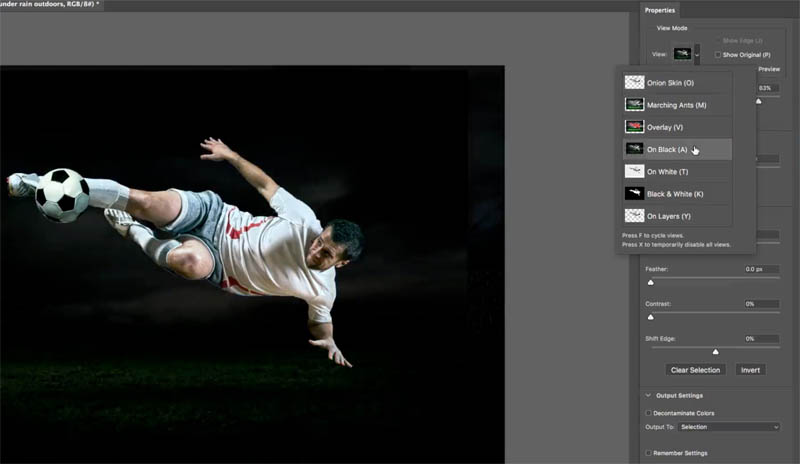
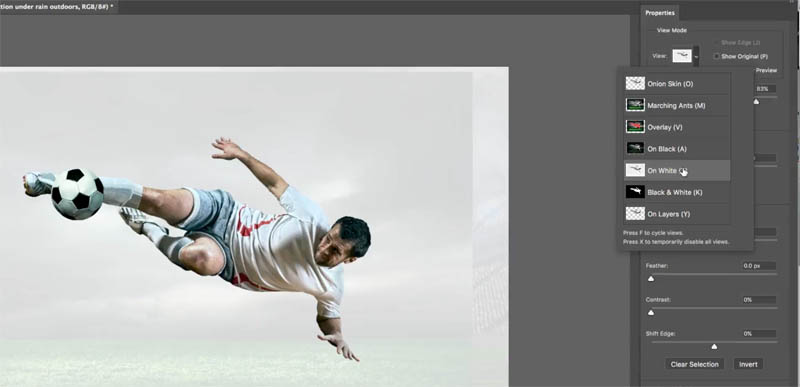
Ty it against the black and let’s have a look at it against the white. I think the black is actually going to be the one that’s going to help me.
Step 6
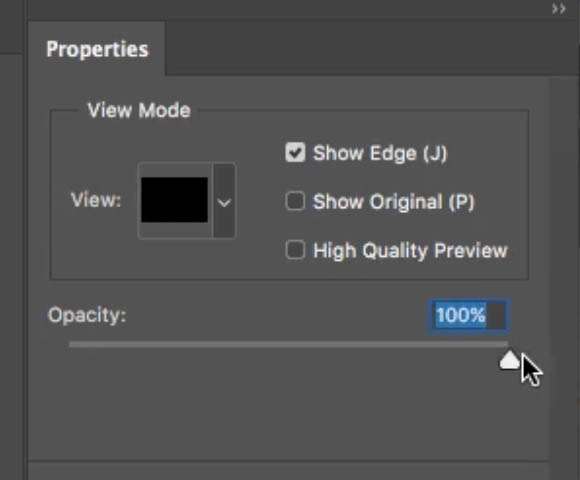
Choose Show Edge and turn the Opacity all the way up, (no Opacity on CS6) and then add some Radius, until you see a fine edge
Note on Radius: A smaller area is going to give you a more detailed, sharper edge whereas a larger radius, is going to give you a softer edge, which is good for things like hair and fur.
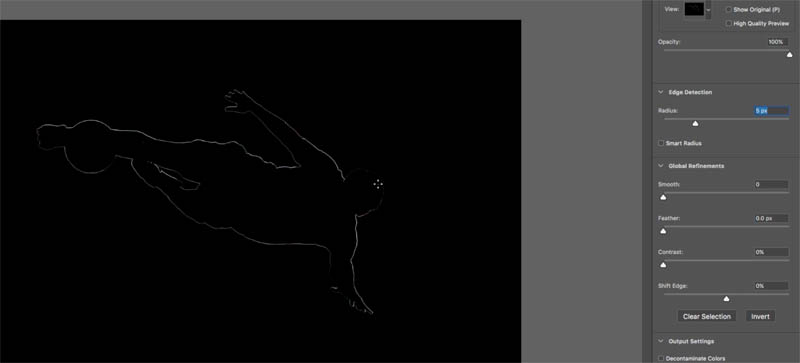
Turn off Show Edge, you’re going to see that selection’s looking pretty nice. All right.
I have a LOT more tutorials on using Refine Edge and Select and Mask.
Step 7
Change the option to New Layer with Layer Mask.
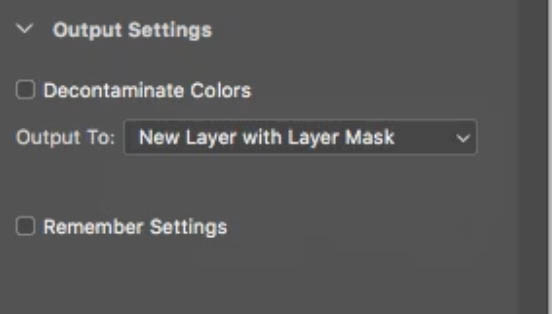
Click OK, and now we’ve cut out our soccer player.

Step 8
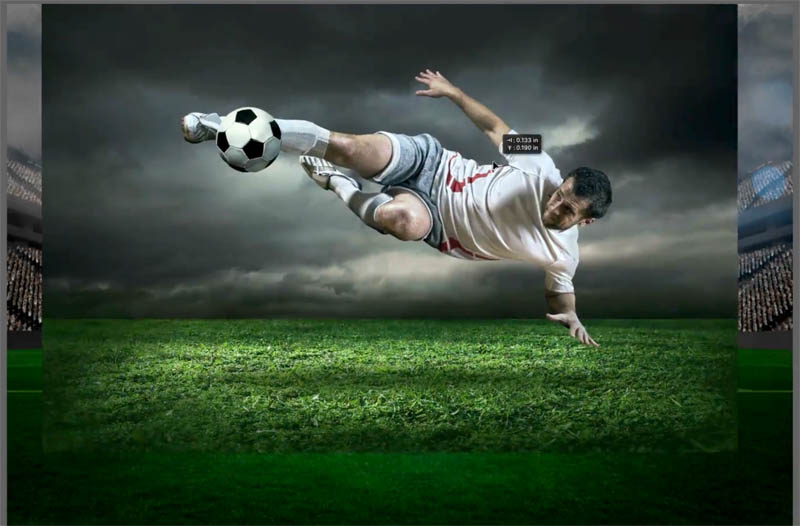
Drag the layer into position and scale it if you need to.

Step 9 Adding a lens flare to a layered photo
We’re going to stylize this. We’re going to jazz it up a little bit, notice we’ve got a light behind him. I want to make a little bit of a flare around there so it’s going to look more realistic.
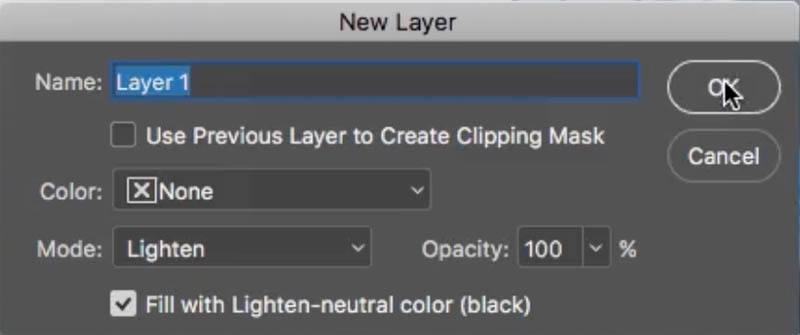
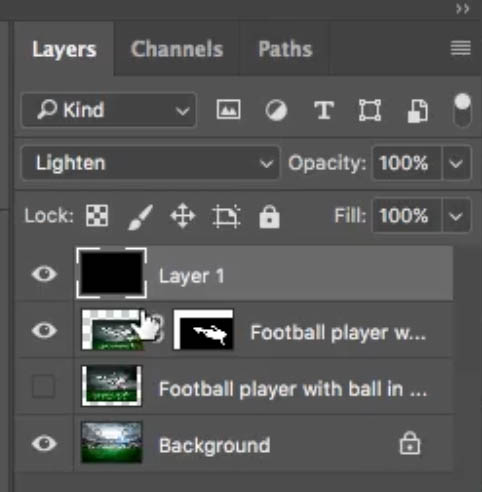
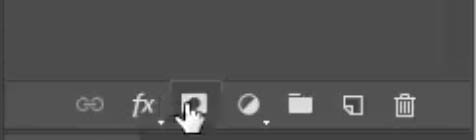
We can’t add a lens flare to a blank layer, so we need to create a new layer. We need it invisible, so only the lens flare will show, Here is how to do that!
Hold down the Alt/Option key and click the new layer icon in the Layers Panel. You will now see a dialog box. Change the Blend Mode From Normal, to Lighten. Now it says Fill with Black (Neutral Color), turn that option on. Click OK
Step 10
Filter>Render> Lens Flare. Change the type of Lens Flare to 105mm and change the brightness to 80. Click OK and notice it applies that flare.

Drag the layer to move it over his arm. It’s going to look more realistic.


We can also pull the opacity down
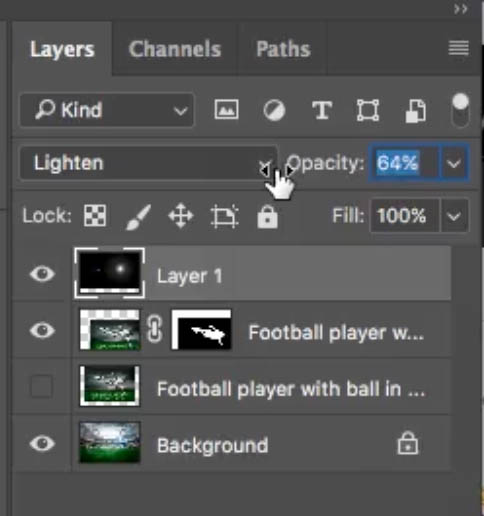
Now it kind of looks like that Lens Flare is kind of going through and hitting his hand so it’s a little bit more believable.

Step 11. adding textures to a photo
But don’t worry; we’ve got some more effects and things that we’re going to do now to kind of pull things together.
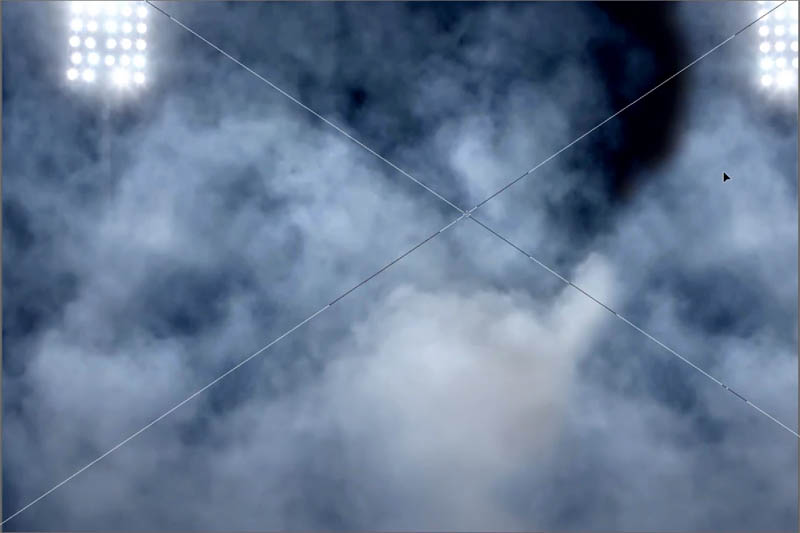
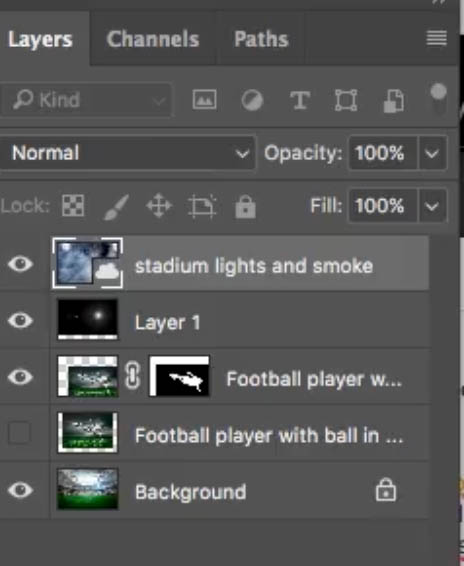
Let’s create some atmosphere in here. Grab the photo of smoke, and position that and size it. Use Ctrl/Cmd+T for Free Transform.
Step 12
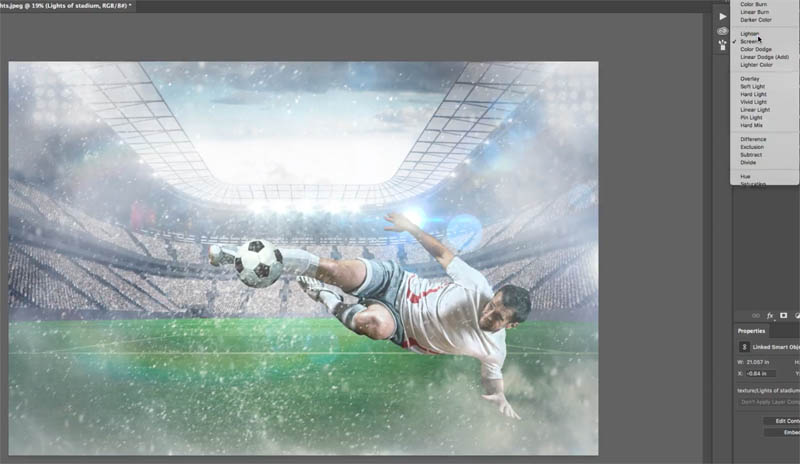
Change the Layer Blend Mode to Screen.

Step 13
Let’s mask it out a bit, so it isn’t so dense over our subject.
Click the new Layer Mask icon in the Layers panel to add a Layer Mask. Press the D key to reset forground and background colors and give us black for the foreground.
Choose a soft-edged brush. Set the opacity about 30%, gently paint over our soccer player. We want to keep the effect around the image, but not as much over our subject. This will make our person (the focal point of the image) pop more. Its always good to keep a simple and punchy composition.

Step 14
Just for fun and energy, let’s double up on the texture. Grab another texture, this time this snowy one, which creates a sense of movement and debris. Drag it above our image to the top layer.
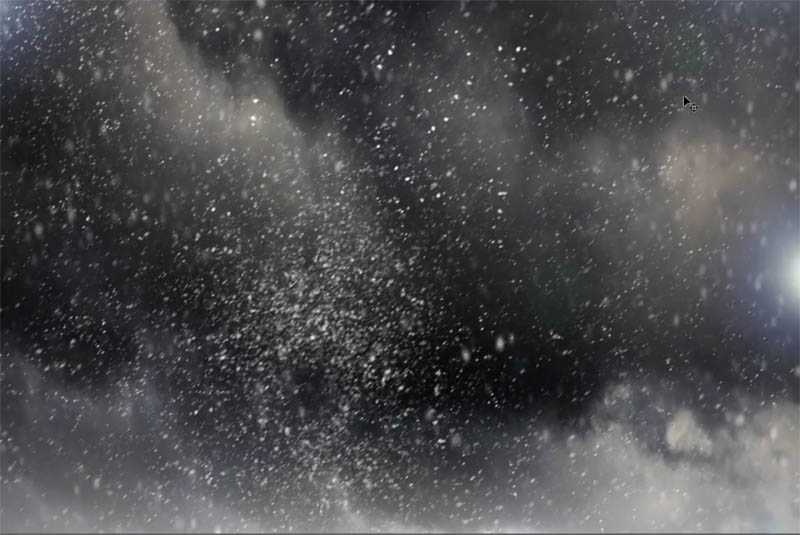
Change to Screen Blend Mode. Now, it looks snowy.
Bring down the opacity a little bit. It just kind of adds a little bit of drama and excitement to this.
Step 15 Coloring a composite
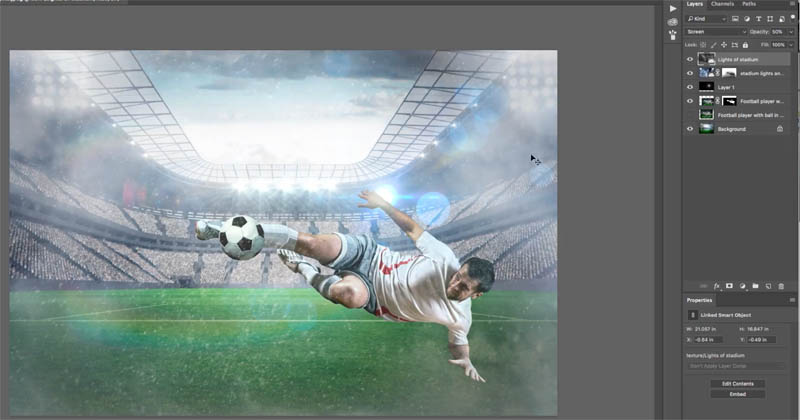
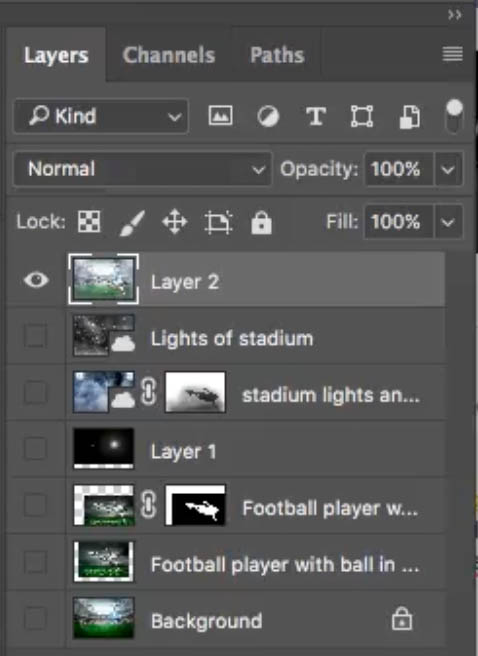
Combining layers to bring the composition together. We are going to combine all the layers now. This way, as we apply effects they will tie everything together and make it feel more a single piece. (The texture overlays did this to a certain degree. But now we want the coloring to match). This just one method I use, see more tutorials here at photoshopCAFE for other ideas.
Press Shift+Cmd+Option+E on Mac, (Shift+Ctrl+Alt+E on Windows), so that’s the three modify keys plus E for merge. This creates a composite layer.(Everything is together in one layer, while everything else is intact underneath).
Step 16
We can now go into Camera Raw . Choose Filter>Camera Raw filter.
(Now this will only work in CC. If you’re working in other versions, you’d have to save it as a TIFF file, then open it in ACR from Bridge.)
In Camera RAW (ACR) just slightly warm that up a little bit by moving the temperature slider.
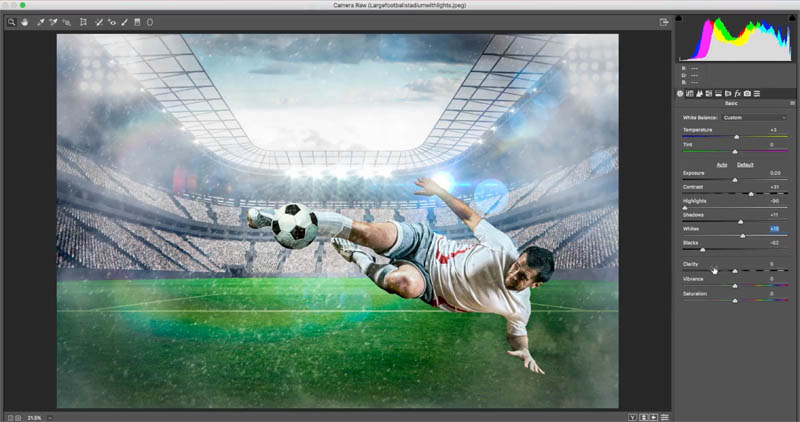
Add a little more contrast, and notice we’re losing our highlights, so let’s bring those highlights back in (Highlight slider to the left)
Open up the shadows a bit
Give it some blacks to add low-end contrast and punch. And if you want to push the whites a little bit, you can, as well.
Step 17: Adding Cinematic Coloring
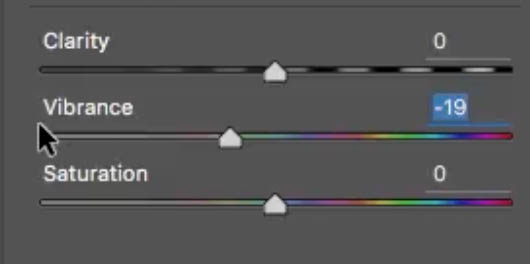
One of the things you may want to do just to give it more of a cinematic look is maybe pull the vibrance back just a little bit. Also, the blacks are usually crunched in a little bit so that it’s going to give it a slightly cinematic look

Step 18: Block Buster Color Grading
Let’s give it what is commonly known as the “Block Buster Look” meaning the style of coloring used on big budget Hollywood movies. Basically its just adding a teal blue to the shadows and a little bit of yellow/orange to the highlight. It’s easy to do
Go to the Split Tone. Move the shadow color to a teal blue, and then pull up the saturation a little bit to add blue into the shadows.
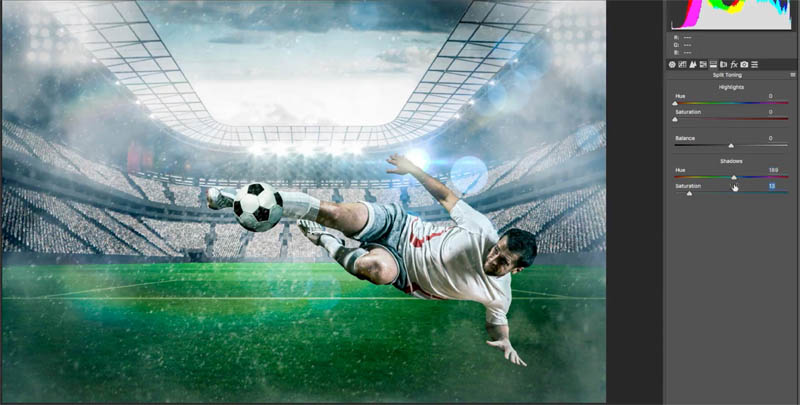
Add a yellowish kind of orange color here in the highlights (You won’t see the color until you move the saturation up), and that gives it a little bit of cinematic coloring.

And then, what we’re going to do now is we’re going to go to the fx and I’m going to give it some post crop vignette. Pull it down a little bit, just kind of darken those edges down
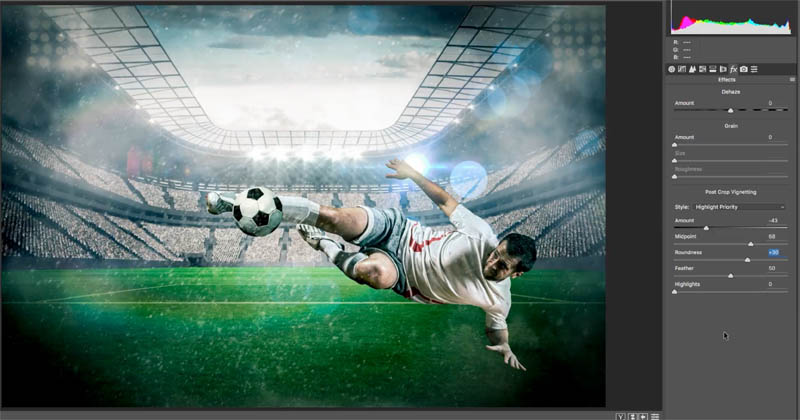
click OK.
Step 19: Adding a Light-leak style sun flare
This is an optional effect, to change things up a bit. You may like this, or you may want to stop here. Depends on the effect you are after. This next step provides a little bit of a Video Game look.
Create a new layer on top
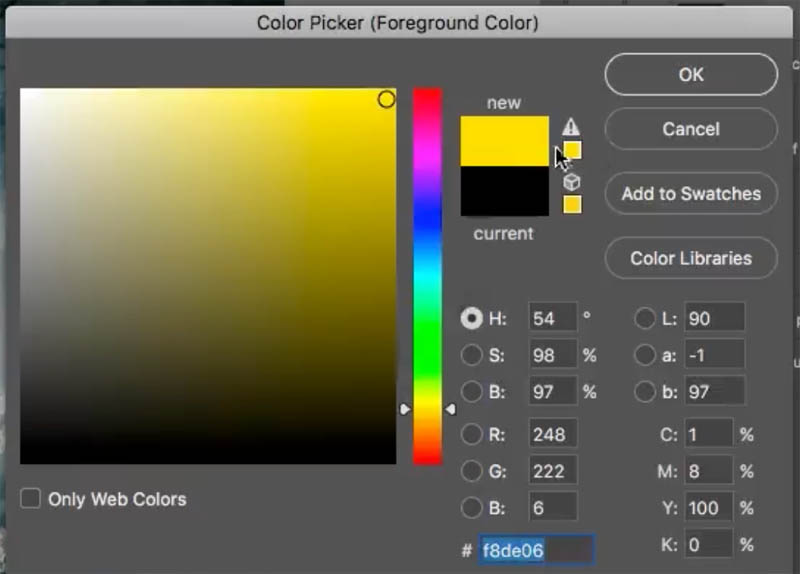
Grab the Gradient Tool, make sure it’s set to Linear, Opacity is set to 100 and choose a yellowy orange/golden color for the foreground.
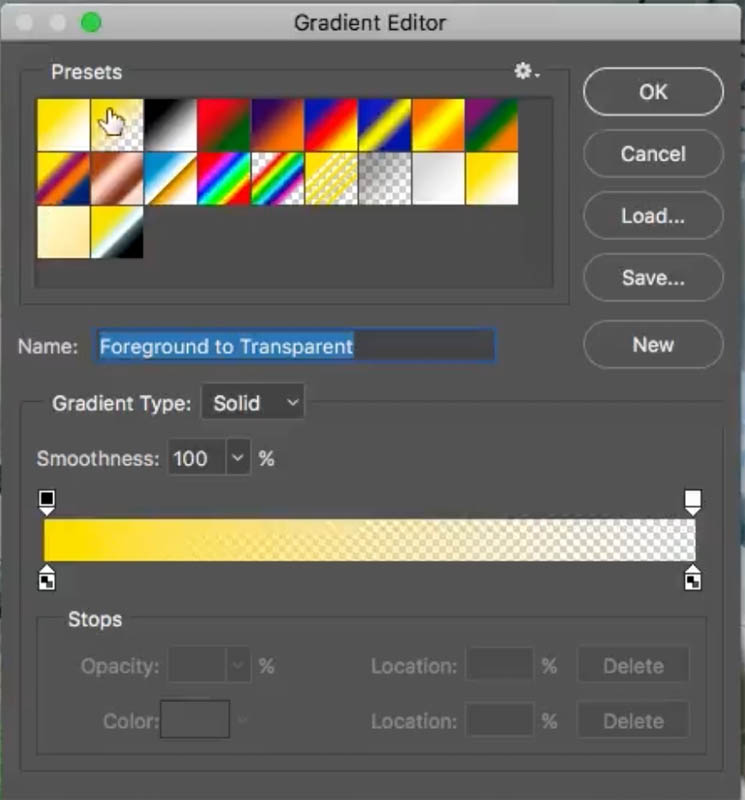
Select a Foreground to Transparent gradient.
Drag down from the top corner, about half way through diagonally.
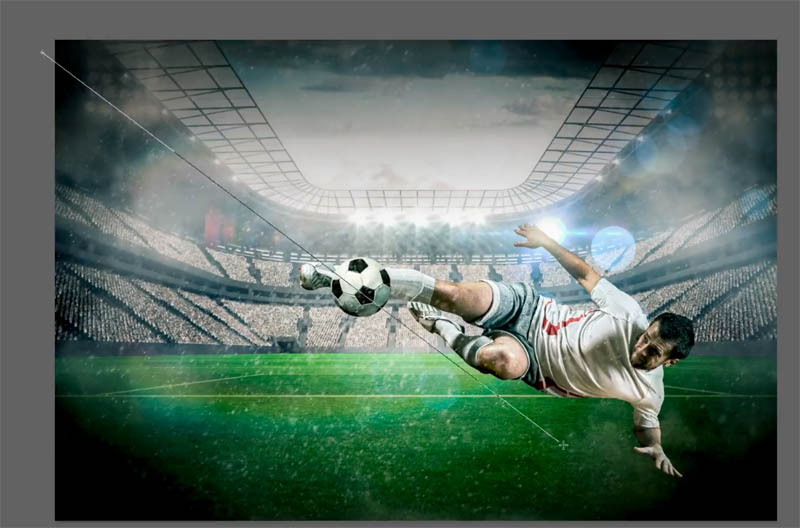
Change the Blend Mode to Soft Light and it’s just giving it a little bit of color variance makes it look a little bit more interesting.


All right, so that’s how we put together a composite. I hope you enjoyed this. Don’t forget, add a comment and until next week, I’ll see you at the Cafe.
PS Don’t forget to follow us on Social Media for more tips.. (I've been posting some fun Instagram and Facebook Stories lately)
You can get my free Layer Blending modes ebook along with dozens of exclusive Photoshop Goodies here


5 thoughts on “How to do a photo composite in Photoshop, full walk through. Free Photoshop tutorial”
Leave a Reply

How to use Layer Masks in Photoshop. Layer Masks explained and 7 tips on Photoshop Masks. If you want to...

new features released in Camera Raw 9.1 update. New feature review of Camera Raw in Photoshop CC 2015, Dehaze, Merge...
New Remove tool option and Use Auto Selection with remove tool


Looks very helpful. Would like to give it a shot.
Wow!! That was a wild ride!! I learned so much!!! Best tutorial ever!!
Great tutorial loved the detail work
How does photoshop know what is the final layer to save and send back to Lightroom?
I would appreciate some help…
It sends back a composite of the layered file. If you are interested in more in dept info Its all covered in depth in my Lightroom Course