
How to Clean Up a Photo in Photoshop Using the New Find Distractions Feature
How to Remove Distractions in Photoshop 2026 – General Distractions tool and remove people
Adobe just released a big Photoshop update, and there’s a lot to cover with the removal tools. Things have changed significantly. Let’s dig into how to remove distractions automatically using the General Distractions feature in the Remove tool. We will also combine it with an existing tool “find people” this way we can look at a quick cleanup.
First, a few things to know before we start
The Remove tool does not use generative credits. No matter what plan you’re on, use it as much as you like.
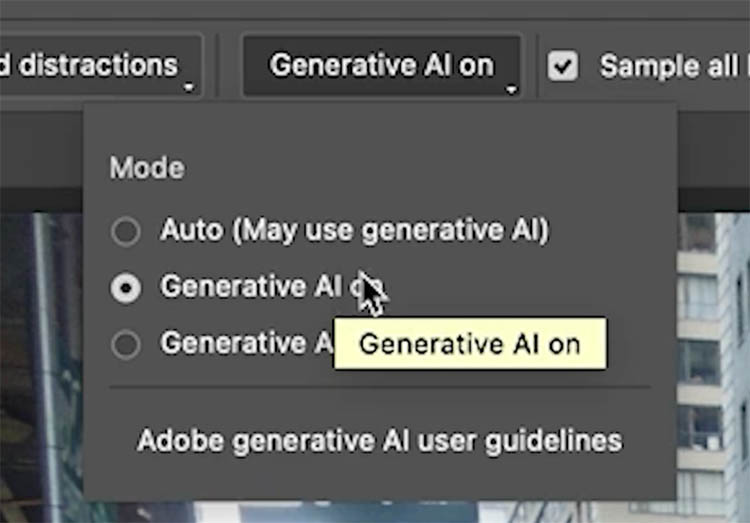
You’ll also see the option to use Generative AI — keep this on. The results are much better with it enabled. (If you’re entering work in an art contest that doesn’t allow AI, you can turn it off, just know the quality won’t be as good.)
Using Find Distractions tools
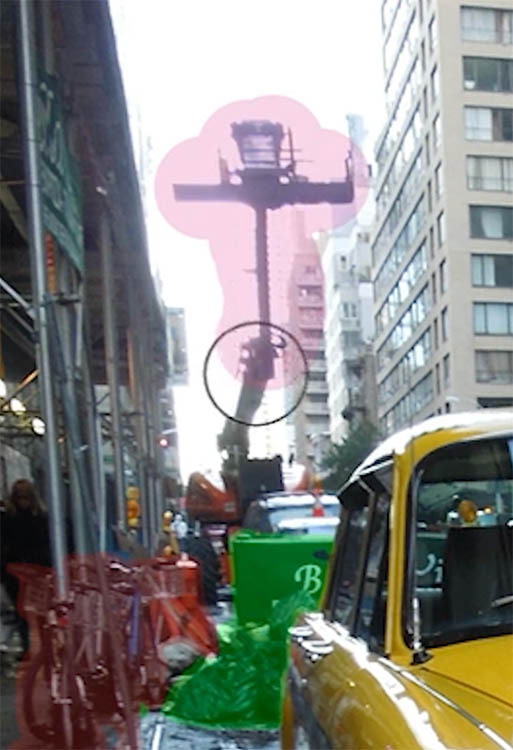
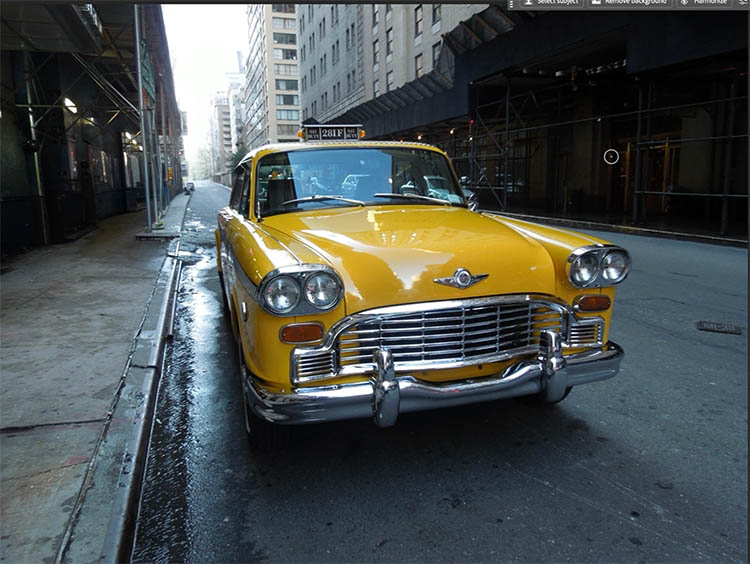
Here is our starting image. Yes, there is character with the clutter in New York City. But we are just doing a tutorial to show how the tool works here, not trying to win a Pulitzer with the image.

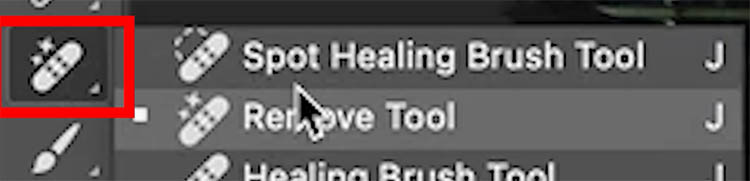
Select the Remove tool from the toolbar.
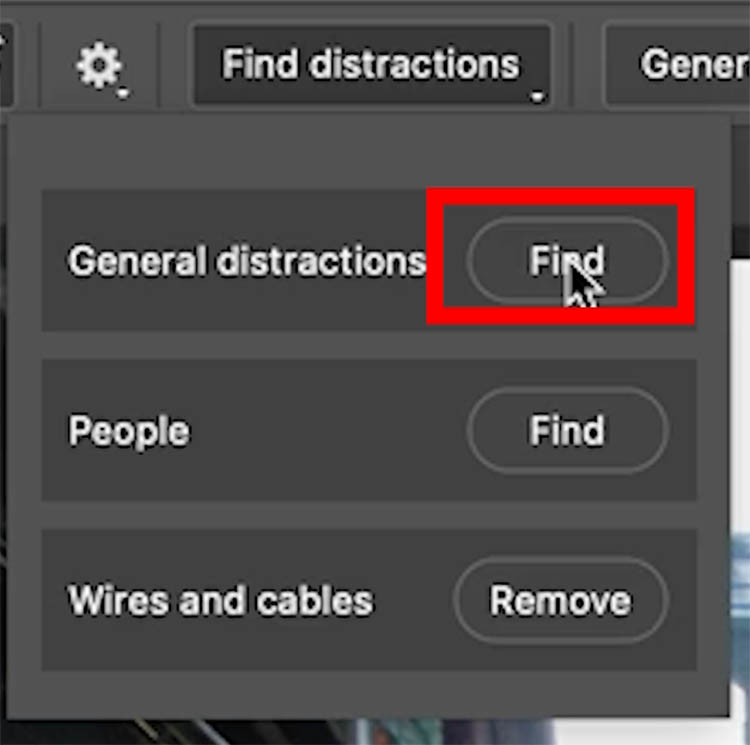
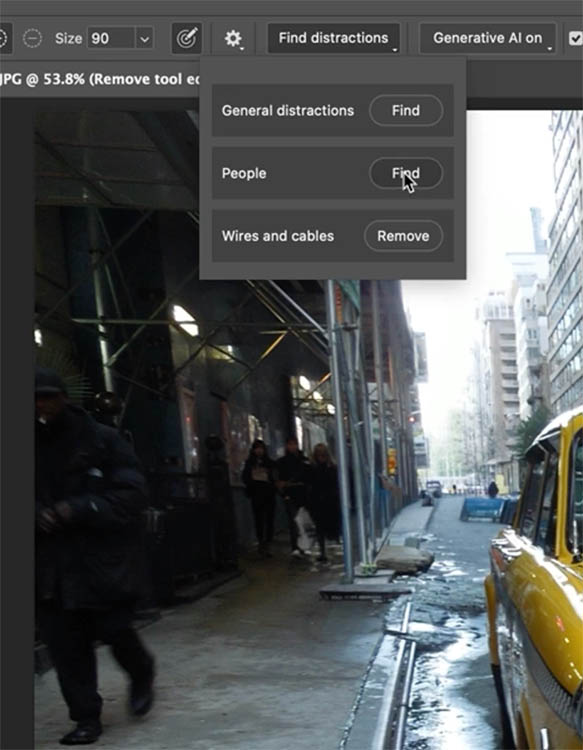
At the top of the options, choose Find Distractions. This option only appears when the Remove tool is active.
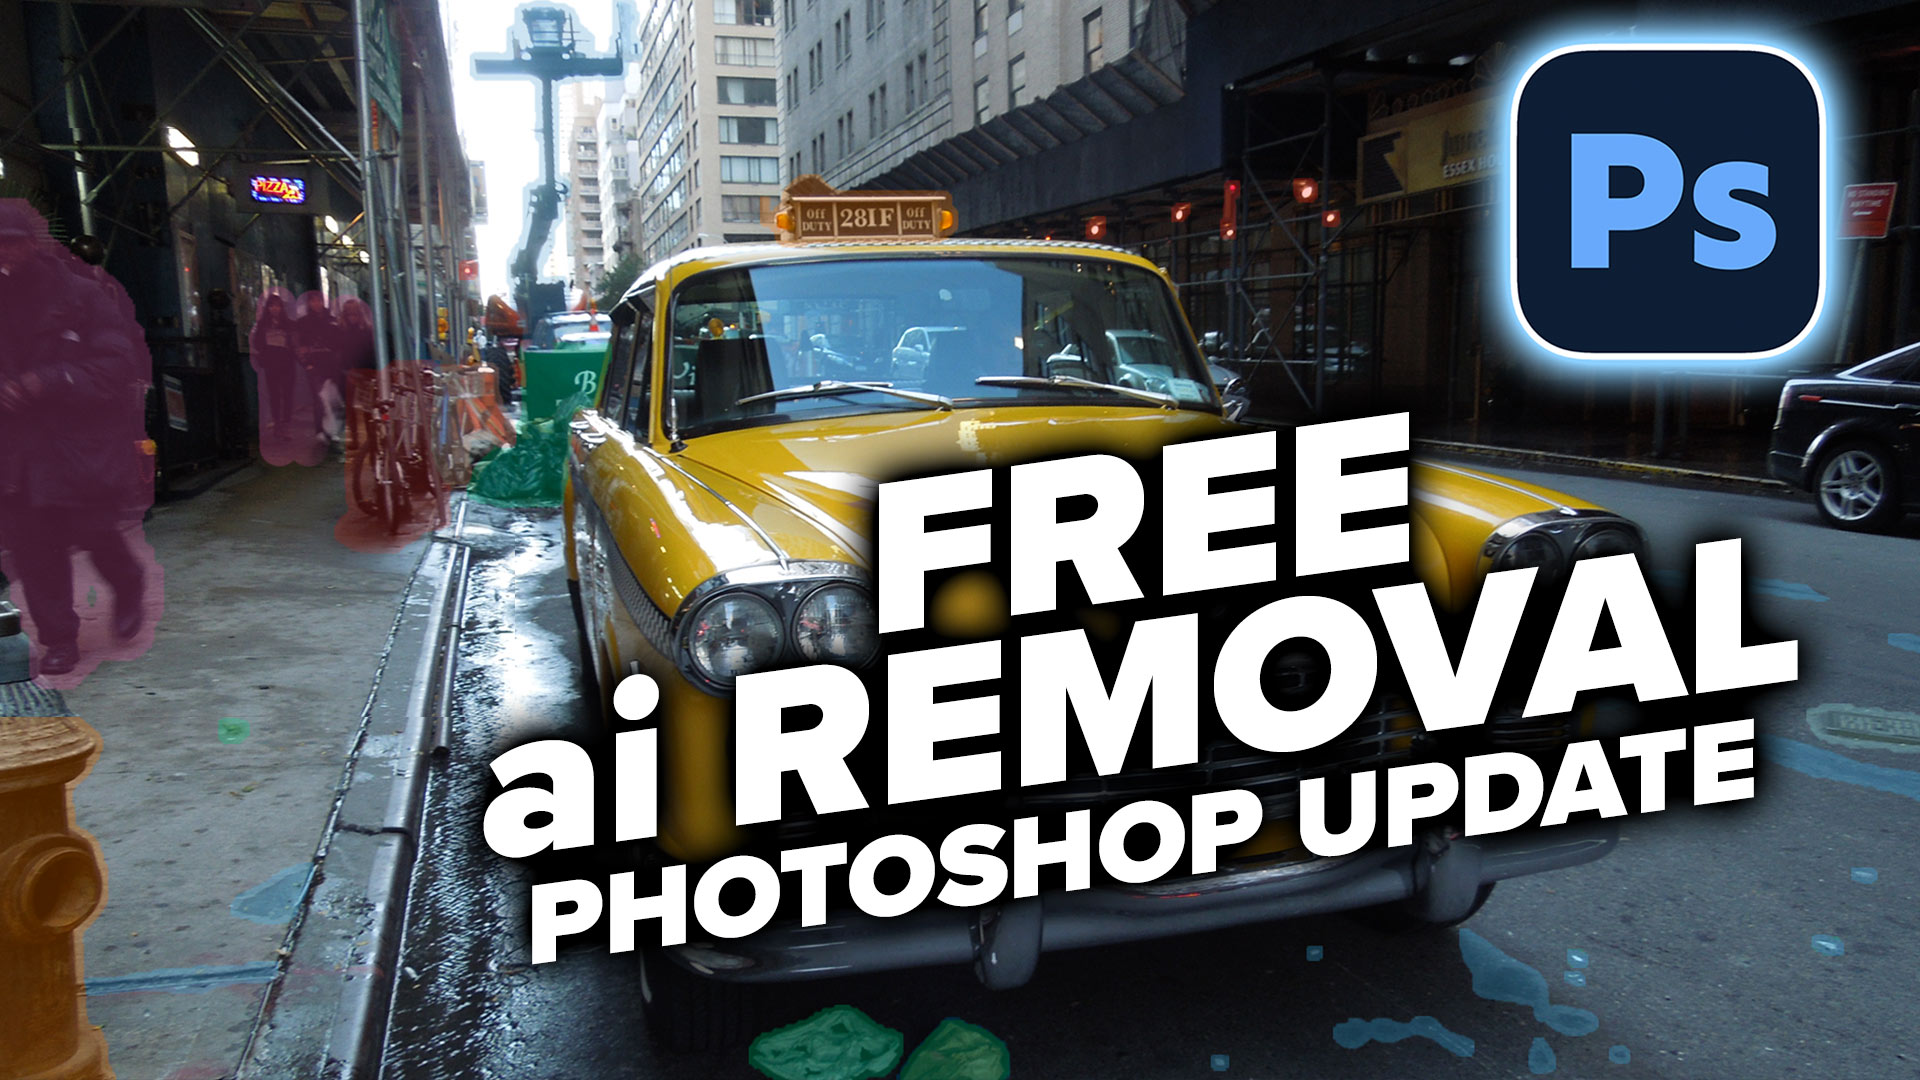
Next to General Distractions, Click Find, and Photoshop will analyze the image and detect everything it considers a visual distraction.
This is a two-step process:
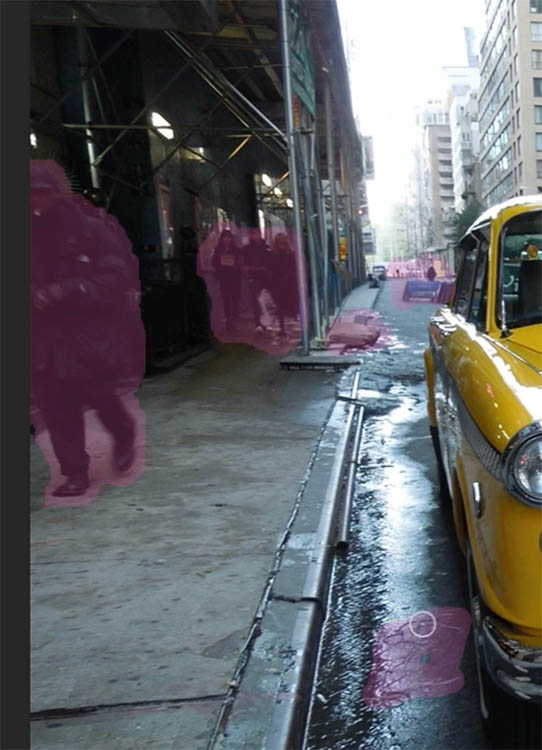
- Photoshop detects and highlights the distractions
- You click the checkmark to remove everything highlighted
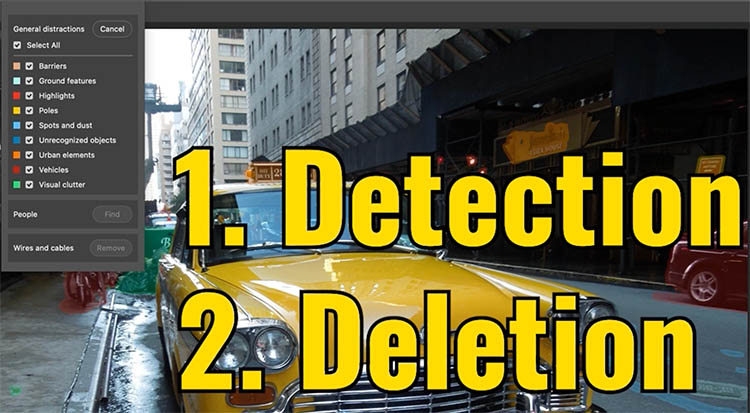
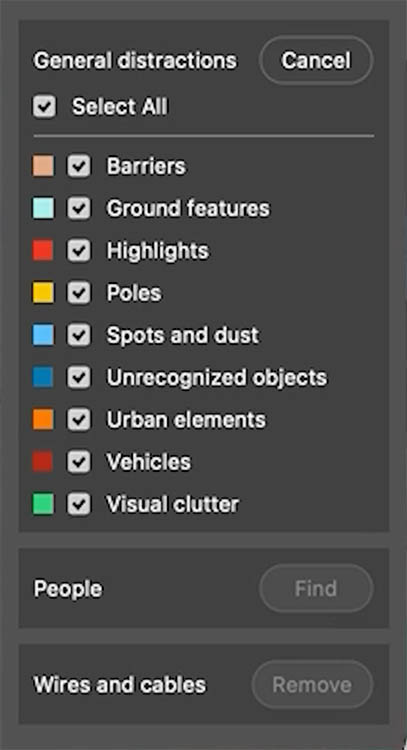
The highlights are color-coded by category, so you can choose exactly what to remove — you don’t have to remove everything it detects.

Working with the categories
Each category can be turned on or off independently. Here’s how to think about each one:
People — detected in a separate pass (more on that below).
Highlights — light fixtures, reflections. Sometimes you want these, sometimes you don’t. In this image, the lights are supposed to be there, so we’re leaving them in.
Barriers, Ground Features — things like drainage grates. In a New York City street scene, these add character. Leaving them in.
Poles / Signage — crooked or distracting signs. Remove these if they pull focus from your subject.
Spots and Dust — blemishes on the ground. Think of this as a “Blemishes” category, not sensor dust (for lens/sensor spots, use Spot Detection in Camera Raw instead). In a New York City scene, those blemishes are part of the character, so leaving them.
Urban Elements — fire hydrants, street furniture. Removing the fire hydrant in this image.
Vehicles — bikes, cars. Yes, removing those.
Visual Clutter — this is where most of the trash and ground debris lives. Removing all of this.
You can change the color of the overlays, just click the swatch to the left of the category.
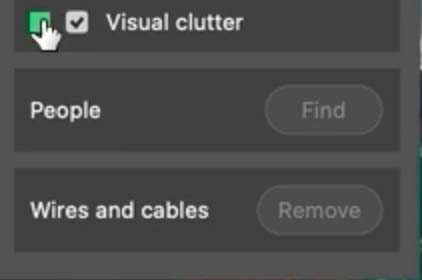
Choose a new color, that easy.
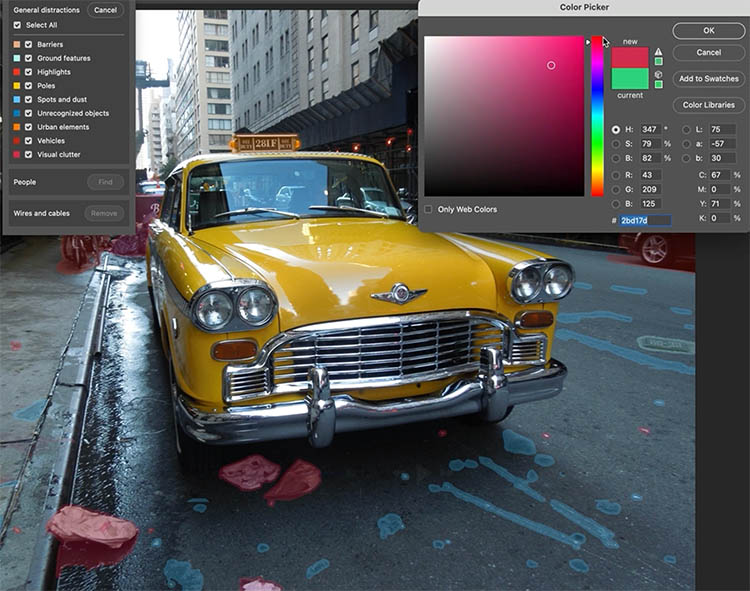
These aren’t layers, it’s just a visual indicator to help. Everything will be removed at once, no matter the color of the overlay.
Removing and deselecting areas manually
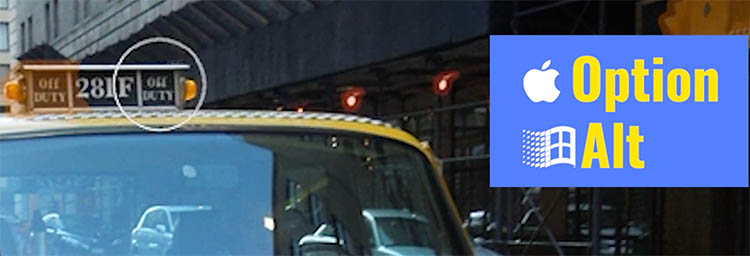
If something has been highlighted that you want to keep, hold down Alt (Windows) / Option (Mac). The + icon becomes a –. Paint over that area to deselect it.
If something wasn’t detected that you want to remove, just paint over it to add it to the selection.
TIP: If the side panel is covering part of your image, collapse it, then hold the Spacebar to grab and slide the image over. Now you can see everything without the panel in the way.
Applying the removal
Before you hit the checkmark, make sure these two options are turned on:
✅ Create New Layer ✅ Sample All Layers
This keeps everything non-destructive on its own layer so you can adjust things later.

Click the checkmark to apply.

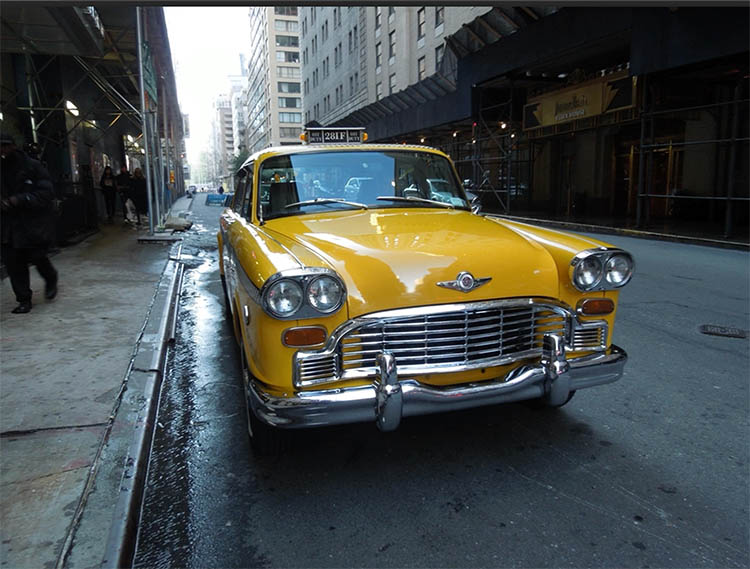
Look at the difference — all that clutter is gone. You’ll see a Distraction Removal layer in the Layers panel.
Removing people — a separate pass
Go back to Find Distractions and this time choose People, then click Find.
Photoshop highlights the people. If anything is selected that you want to keep (like a reflection in a windshield), hold Alt (Windows) / Option (Mac) and paint over it to deselect.

You can also paint over anything else in the scene you want to remove — even if it’s not a person. The tool doesn’t mind.
Make sure Create New Layer and Sample All Layers are still on, then click the checkmark to apply.
Cleaning up anything that’s left
If the Find Distractions pass missed something, just use the Remove tool directly — paint over the area and it will remove it.
I hope you found this useful! Drop a comment and let me know what you think of the new removal tools.
Until next time, I’ll see you at the CAFE
Colin
PS: My new ai course is here! This covers all this kind of stuff as well as Generative ai, Which models to use for what, Gen credits, how to write prompts, Neural Filters and a lot more. Grab it this week before the launch special expires.

PS Don’t forget to follow us on Social Media for more tips.. (I've been posting some fun Instagram and Facebook Stories lately)
You can get my free Layer Blending modes ebook along with dozens of exclusive Photoshop Goodies here

8 thoughts on “How to Clean Up a Photo in Photoshop Using the New Find Distractions Feature”
Leave a Reply

Create clean circular and arched text using Dynamic Text in Photoshop
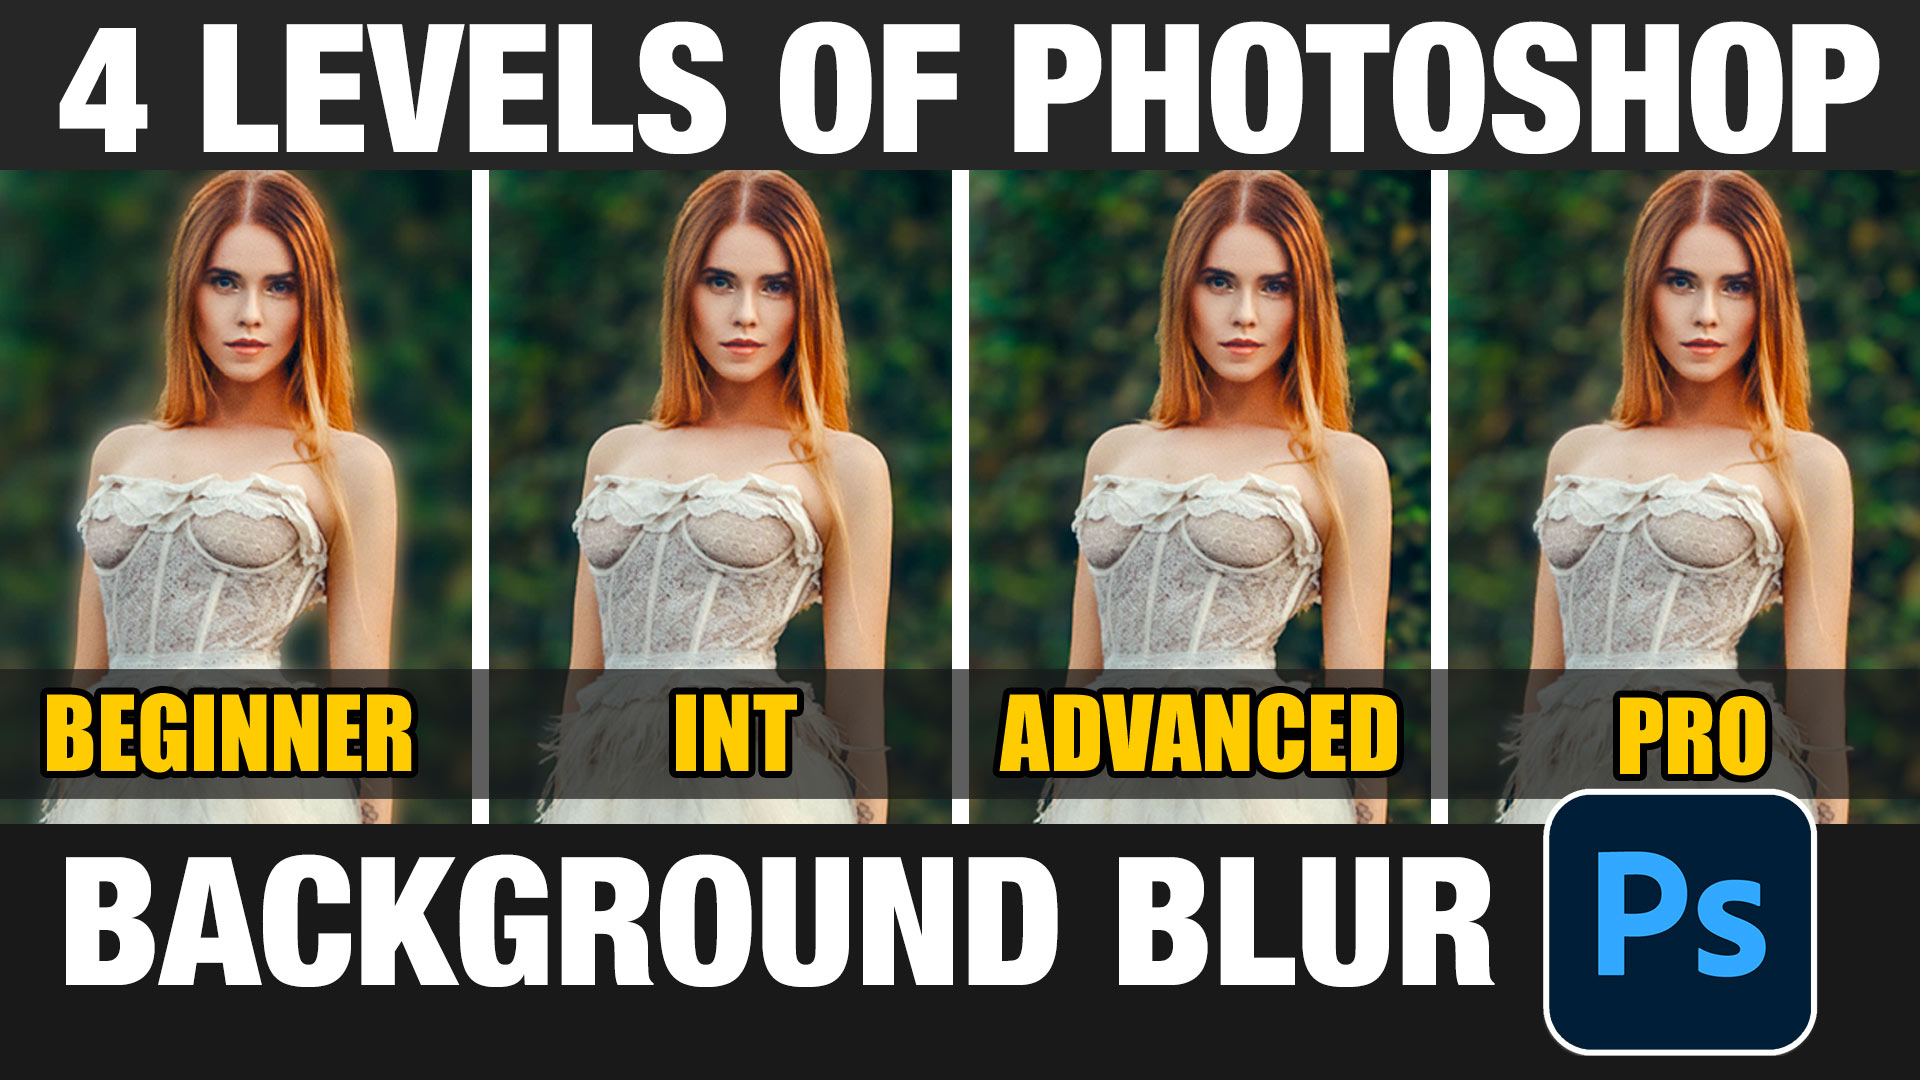
4 levels of background blur in Photoshop, ultimate Blur background tutorial


This was such a pleasant and informative video.
Thanks for saying
I’m so grateful to you for both the opportunities to watch video and then read everything to remember better!! Thanks a lot for all your useful tutorials!
I’m happy to help!
Thanks for a great webinar non Removing Distractions. Very helpful and easy to follow.
You need Apple Mac OS 14 or newer to use some of the newer tools, so I reckon there will be a lot of us leaing soon, or we will have to buy new computers if we want to stay alongside your tutorials
Apple retired Intel and switched to Apple Silicon 6 years ago. They just this week, announced this is the last OS with Rosetta, so it looks like people will need to upgrade hardware to do anything soon.
Hi Colin,
Thanks for the very good explanation, as usual. It is a pity I can’t use this tool because when I try to open it, I get the following message: “This function does not work with Mac Intel computers”. Do you think this is something temporary or it will never change?
Thanks in advance.
Benjamin