
Hidden Power of the 3 Brush Workflow in Lightroom to Dodge and Burn for depth in Photos
How to Dodge and Burn in Lightroom using the 3 Brush Workflow.
In this tutorial we will paint with light and shadow to add dimension and depth to this photograph.
We will use the 3 brushes in Lightroom. Some people aren’t aware there are 3 brushes (or this terminology). In this tutorial, you will learn how to dodge and burn, how to use the brushes in Lightroom and how to optimize the 3 brush workflow. Camera Raw works exactly the same way as far as brush use, but it doesn’t have the A/B brushes.
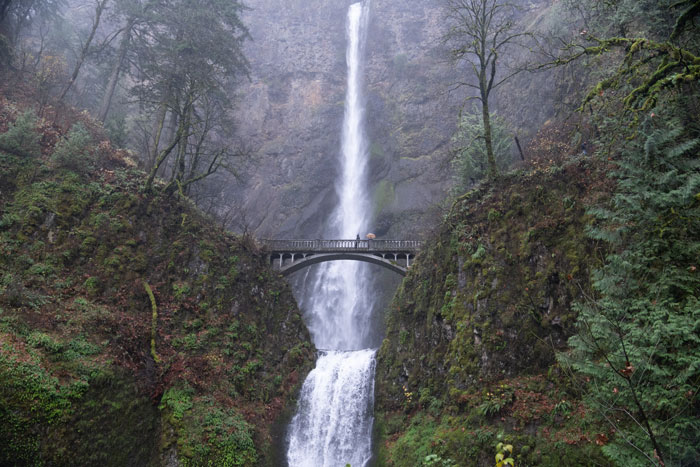
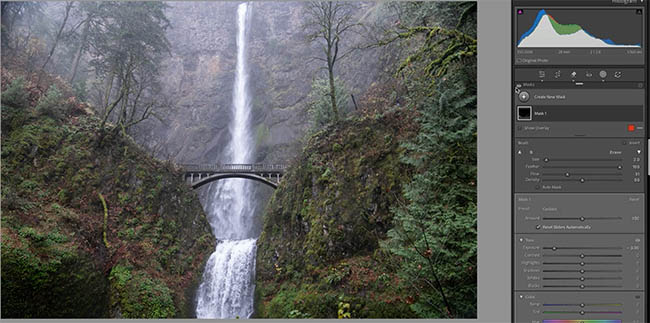
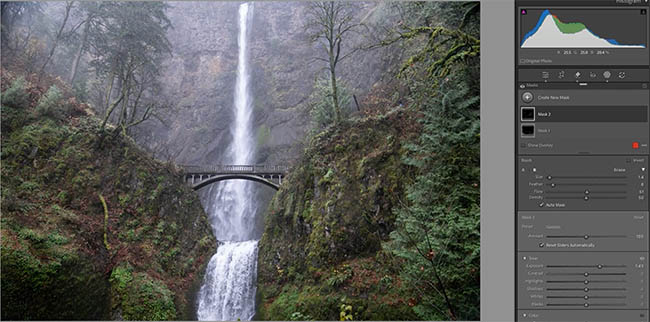
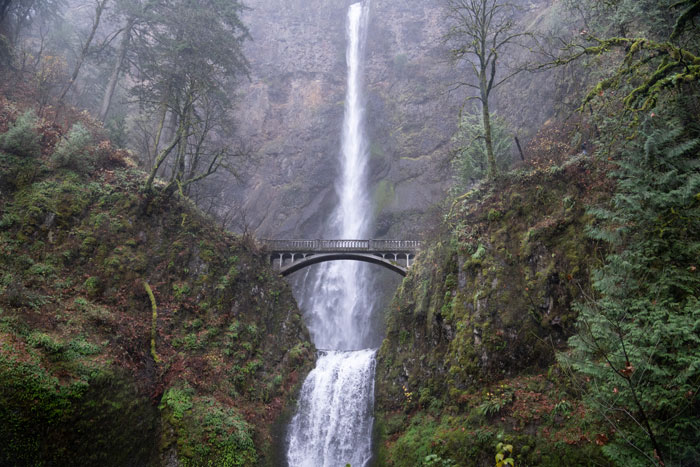
Here is the starting photo. One of a series that I captured at the Multnomah Falls in Oregon.
Brush settings.
First, let’s quickly look at the brush settings, before we edit the photo.
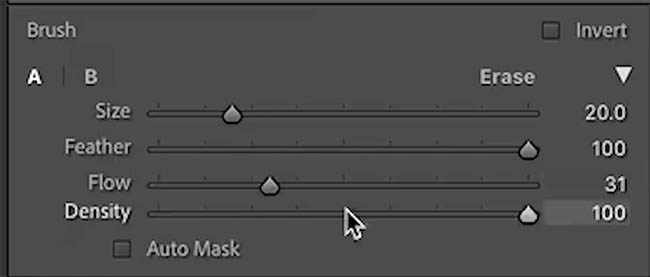
You will notice 4 settings for the brushes. Size, Feather, Flow and Density.
Size: Controls brush size.
Left bracket [ = smaller
Right bracket ] = larger
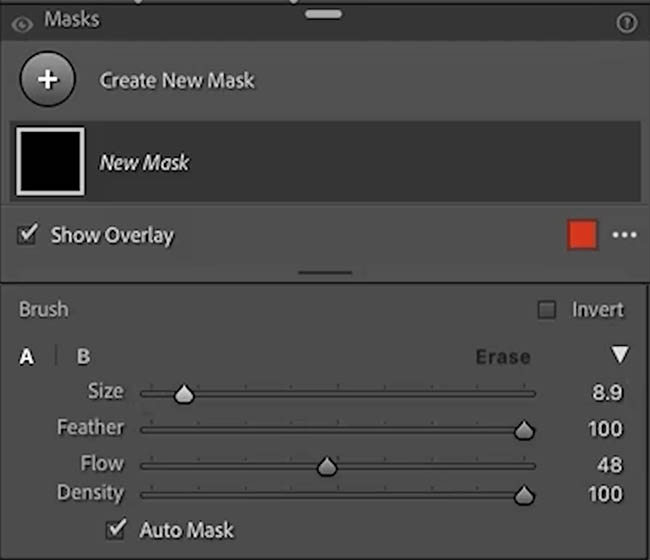
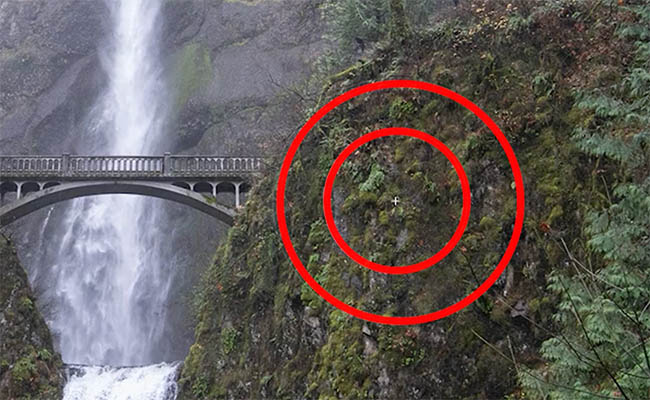
Feather: Controls edge softness.
- Shift + [ ] brackets changes Feather
Flow: Controls how quickly the effect builds.
Low Flow is usually best for realistic dodging and burning.
Density: Controls the (target) strength the brush can reach.
This is different from Photoshop opacity behavior. Photoshop only adds more density as you paint. Lightroom adds or removes density as you paint.
If you have darker areas than the density, it will actually lighten as you paint, it always moves the density towards the amount you set.
Editing the photo: Using the brushes to Burn (darken)
To use the brush, go to the Develop module.
Click on Masks and then Brush.
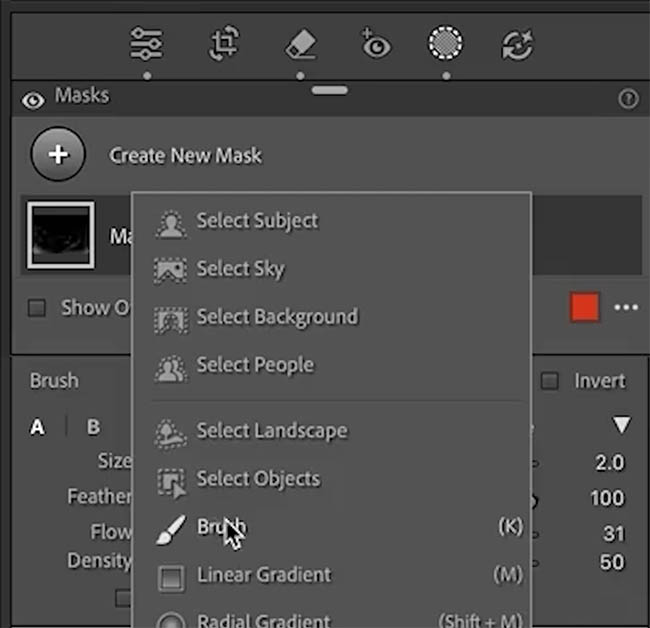
Here we are working with a soft brush at a low flow of 31.
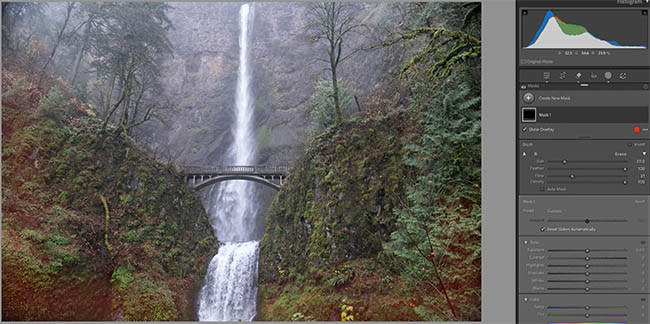
Paint to form a vignette at the bottom of the image.
Notice it’s a reddish tone. This is because the brush is actually a Brush mask. You won’t see the effects until you change some basic settings.
Lower the exposure and notice the areas darken.
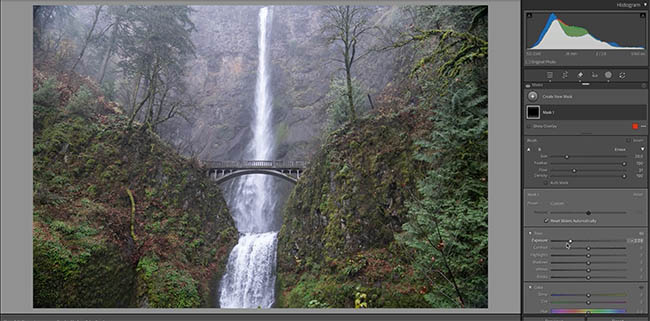
Because we used a flow of 31, we can paint more and it will become darker as the brushes build up.
This large, soft brush at a low Flow is ideal for gently lightening and darkening large areas.
If you look at the brush. A is highlighted. Many people never leave this setting.
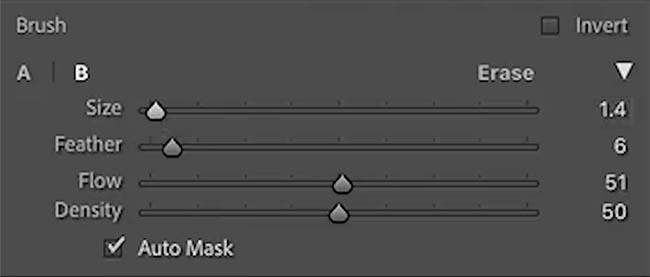
Click on B. Notice the settings are different.
B is the “second brush”. We can change these settings to something different, maybe a harder and smaller brush, with higher flow.
Also turn on auto mask. (Auto mask detects the edges as you paint).
This brush is best for adding details to smaller areas.
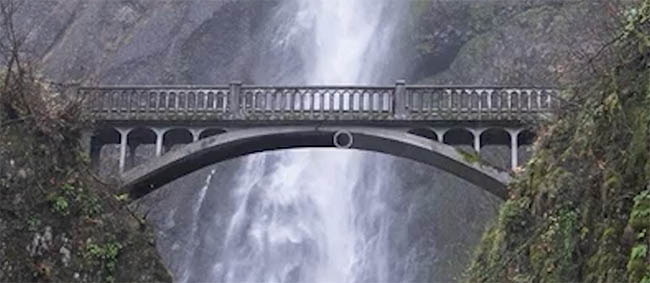
For example, this brush is good to darken the underside of the bridge.
Think about this for a moment. If you used just one brush, you could do some soft vignette work. Then you change all the settings to do detail work. Now you need to go back to softer, larger work, What was that density setting again, what was the flow setting?
This is the power of the A and B brush. Use them for different things. I use A for Subtle shading and B for detail work.
Changing the size of the brush as you work is no big deal, but you don’t want to be constantly changing the other settings. Not only does that waste time, it can make it difficult to achieve a consistent look.
If you use a pen tablet, such as a Wacom, unfortunately Lightroom Classic doesn’t support pen pressure.
Dodging (Lightening)
We have just burned the photo, or darkened it. I like to call that painting with shadow. Now we are going to lighten (dodge) or paint with light.
Click Create New Mask and choose a brush.
A second brush mask will be created.
Paint onto the image to establish a mask,
Increase the Exposure to lighten the area you are painting.
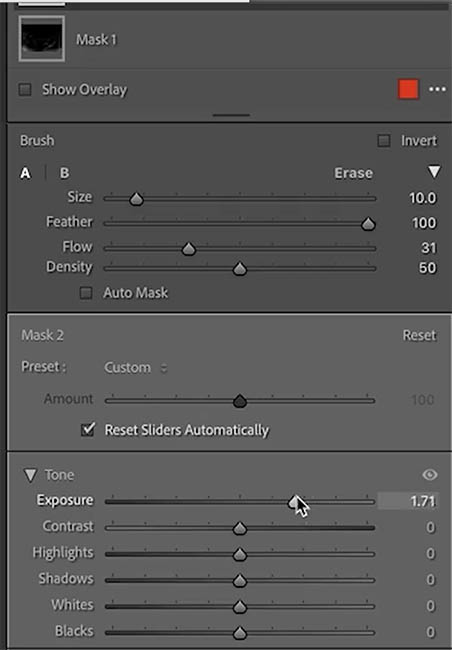
It’s interesting to note. When you choose different brush masks, the brush settings don’t change.
These settings are locked to A and B. Opening different images, applying presets, or working on different masks, may change the develop settings, but the brush settings are fixed. Are you seeing another reason why using the A and B settings are important?
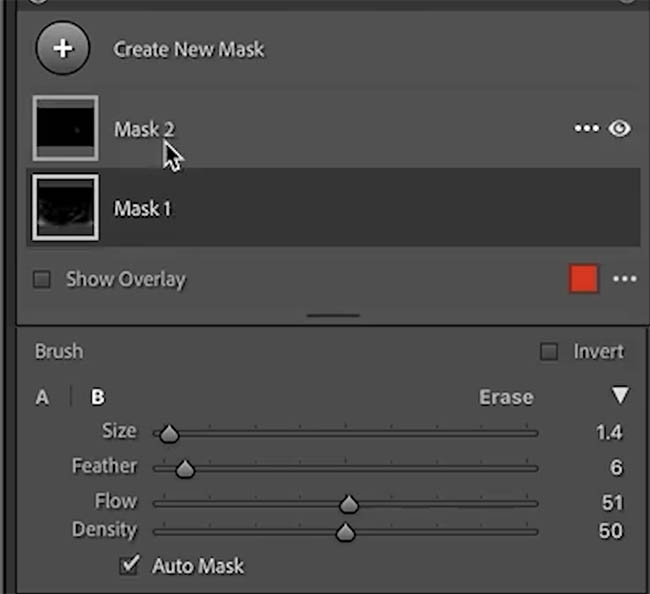
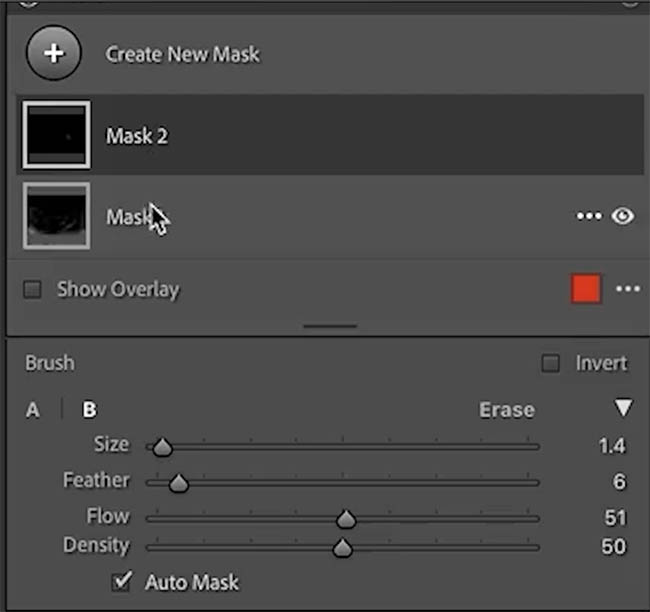
Here we painted with highlights to add light to certain areas of the image.
Depth works like this: Burning (darken) will push areas away from the viewer. Lightening (dodge) will bring areas closer to the viewer.
This is easily seen when you watch the video at the top and see all this in action.
The 3rd brush?
Ok, that’s 2. What about the 3rd brush?
This is the Erase. It has its own set of settings and is also important to your workflow.
Erase, has everything except density. This is because it will remove the brush stroke, eventually to 0.
You can use flow to make this happen more slowly. Ahh, it isn’t just an eraser! At low flow, it’s a blending tool as well.
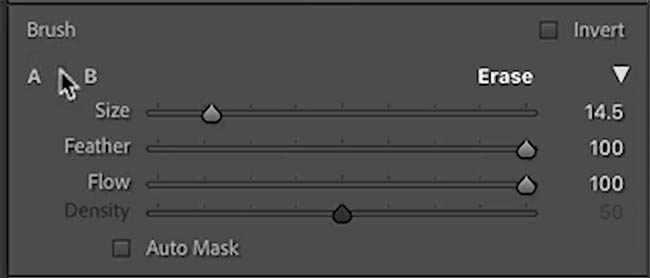
As you paint with Erase, it removes the brush work.
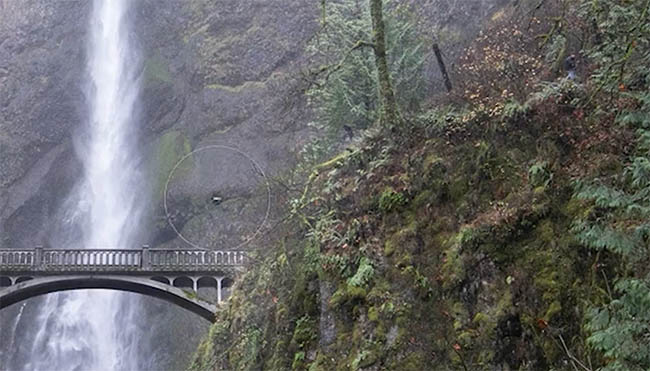
A useful way to use the erase, first paint with a large soft brush to fill in a detailed area, don’t worry about going over the edges.
Now, come back with the erase and set it to auto mask. Use this to clean up your edges. Usually a flow of 100 is best, but if you need to blend the edge, use a lower flow.
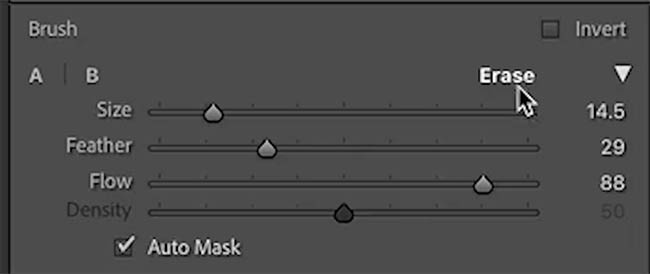
Tip: To quickly access the Erase, holds down the Alt/Option key.
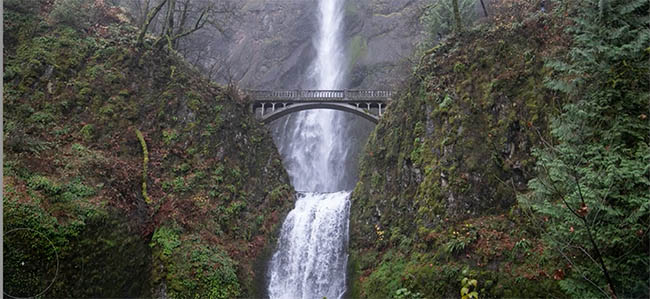
Here is our photo before and after Dodge and burn work.
I also have an in-depth Photoshop Dodge and Burn course here.
Thanks for checking this out
Add a comment and let me know if you learned anything new. (I read all the comments).
Colin
Recommended for this tutorial
Shadow and Light, How to Dodge and Burn in Photoshop
Shape the light in your photos with dodge and burn.
$49.99 · one-time purchase · instant download

Free for you
The Photoshop Vault
Get my free Layer Blending Modes ebook along with dozens of exclusive Photoshop goodies: actions, brushes, presets and cheat sheets.
You're on the list, so your free goodies are waiting for you in the Vault.
Get Free Photoshop Goodies Open the Vault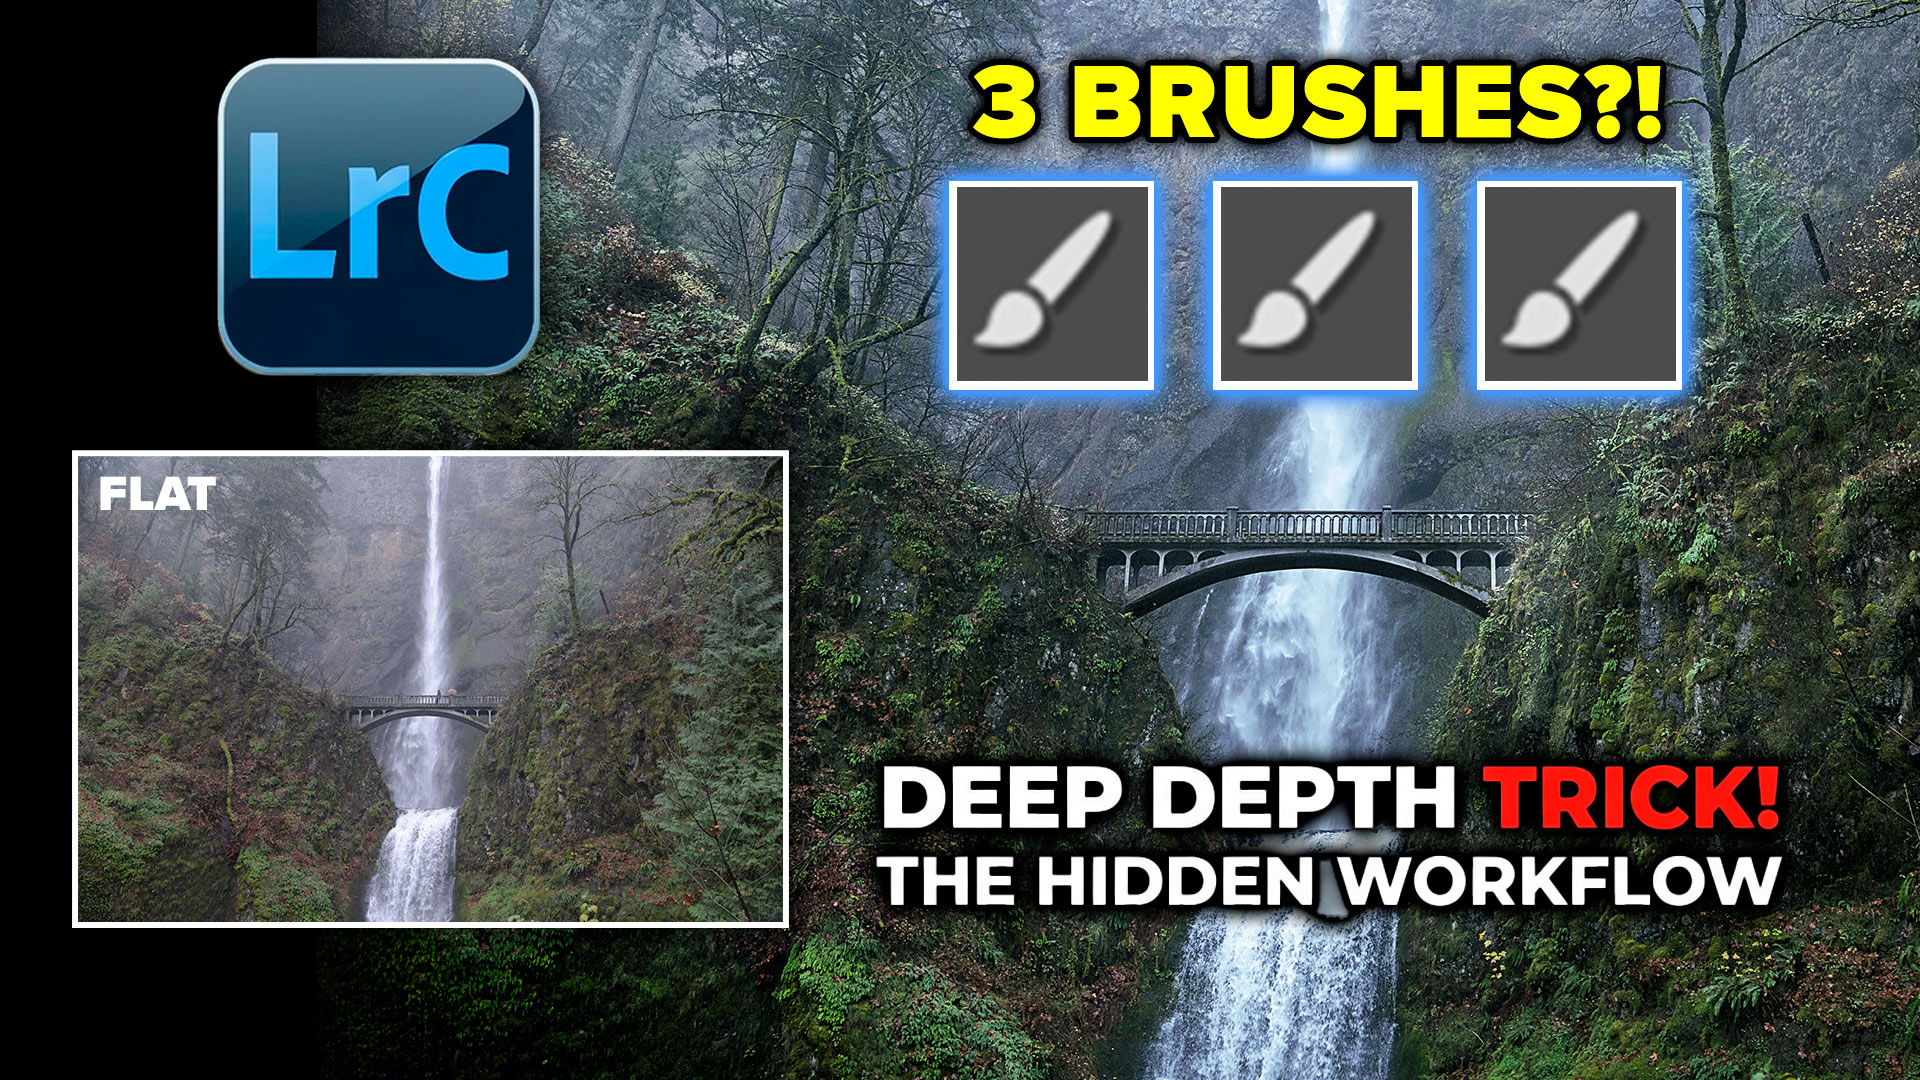
How to edit a photo in Photoshop using Pen Pressure & Wacom Tablet
How to use Pen Pressure to Edit photos in Photoshop with a Wacom Tablet. Read tutorial
Add 3D Depth to you photos with Dodge and Burn in Photoshop. Paint Shadow and Light
How to Dodge and Burn photos in Photoshop, Paint with light and shadow to add 3 dimensional depth to your photographs. (and... Read tutorial
How to turn day to night in Lightroom
How to change day into night in Lightroom. Read tutorial
Dodge and Burn Photos in Photoshop with the Adjustment Brush
How to Dodge and Burn areas of a photo with the Adjustment brush in Photoshop, free photoshop tutorial Read tutorial
Dodging and Burning Natural HDR in Camera Raw and Photoshop
We look at two methods of dodging and burning. One is with Camera Raw (exactly the same in Lightroom) and the second... Read tutorial








This is a quick thank you for the informative tutorial.
Thanks Bill. Happy to help!
This is a great way to approach Dodge and Burn in Lightroom for this type of image work!
Looking forward to seeing more in the upcoming Lightroom Summit! Thank-you!
Although I’m familiar with the brush tool your tutorial has shown me a better and more subtle work flow to Dodge and Burn. Thank you.
I really love this workflow personally.