
How to search and download Adobe Stock images in Photoshop
How to Quickly Find and Download Adobe Stock Images in Photoshop
Today I’m going to show you how to create a design layout using Adobe Stock. We can try out different images for free. If you like the result, you have the option to license the image for commercial use and remove the watermark without re-doing the design. . I’m going to cover a few different things in this tutorial:
- How to find the images you want from directly within Photoshop
- Advanced search strategies and tools on the Adobe Stock site for easily sifting through millions of photos to find the ones you want.
- How to sync stock photos with your Creative Cloud Library for seamless downloading
- How to create a layout inside of Photoshop where you can try out different images and see what you like.
- How to license those images.
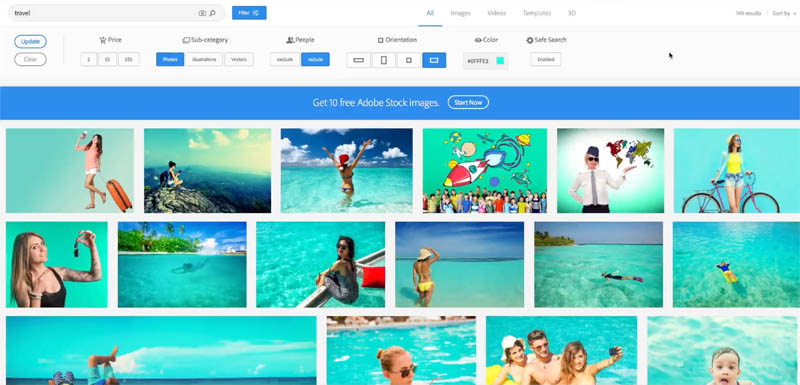
We’re going to create a design based on travel.

Finding Images within Photoshop
Step 1
Open up our library panel, Window> Libraries. (Now this will be in CC only. If you have Photoshop CS 6 and you don’t have CC or a different version, you can go directly to the Adobe Stock site, so just move forward into the tutorial.)
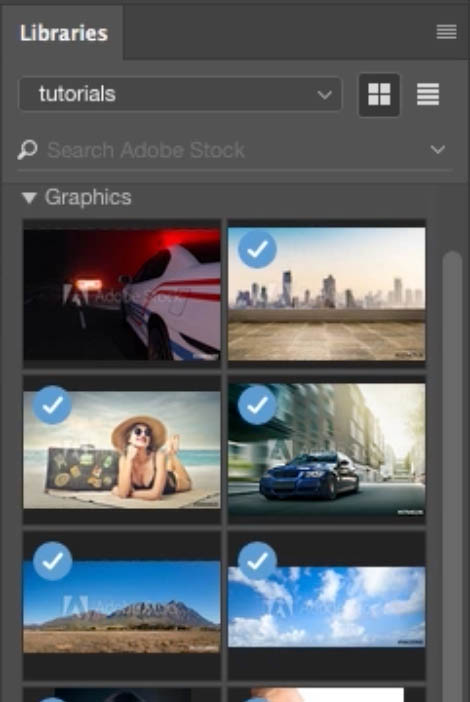
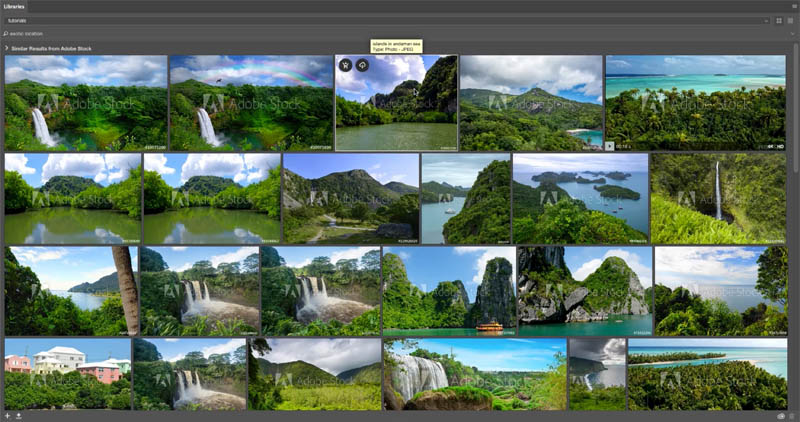
Enter “exotic location” into the search field in the Library panel.
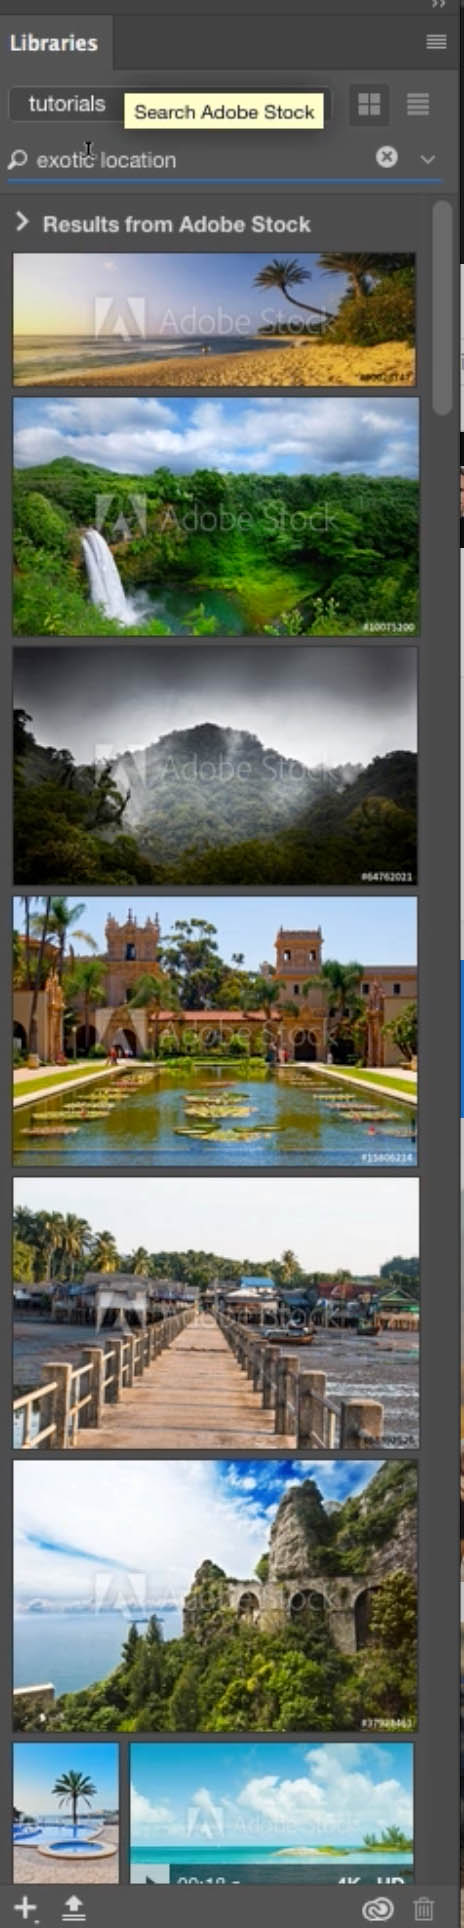
You can drag the library off and expand it to make it easier to browse through the images.
Step 2
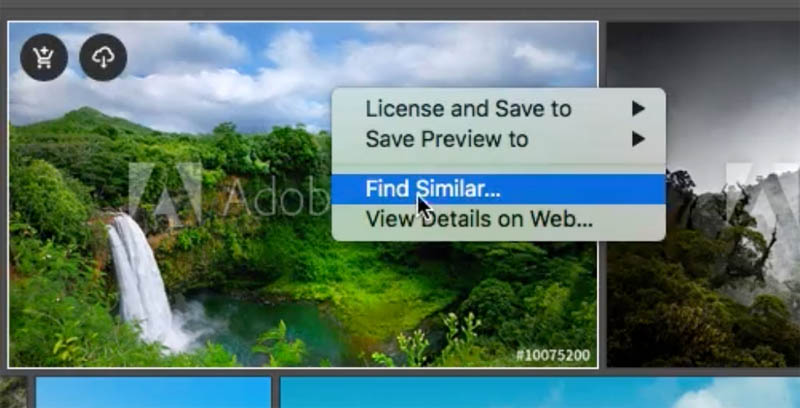
If you see something you like, but it isn’t the exact image you’re looking for, right click and choose “Find Similar.” Now is it’s going to update with all these similar types of photographs.
Step 3
Let’s try one of the images in our design. Drag the image from the library into the document window. Press Cmd/Ctrl+T, hold down the Shift key and drag it out until it fits on my screen. Hit Enter and then we’ve got this little mock-up.

Step 4
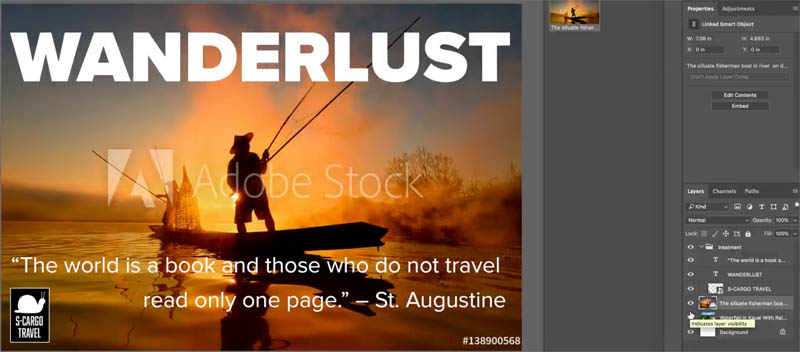
Lets add some basic design elements for this little mock-up. I’ve created some text here, a little quote and then I just made a logo “S-Cargo Travel.”

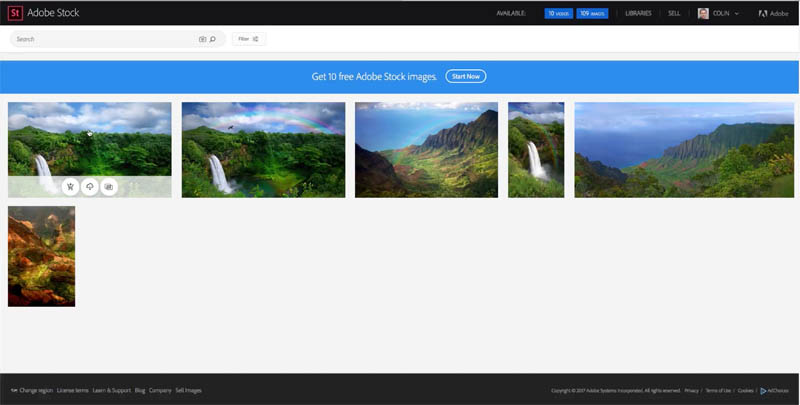
Step 5: Searching for images on Adobe Stock
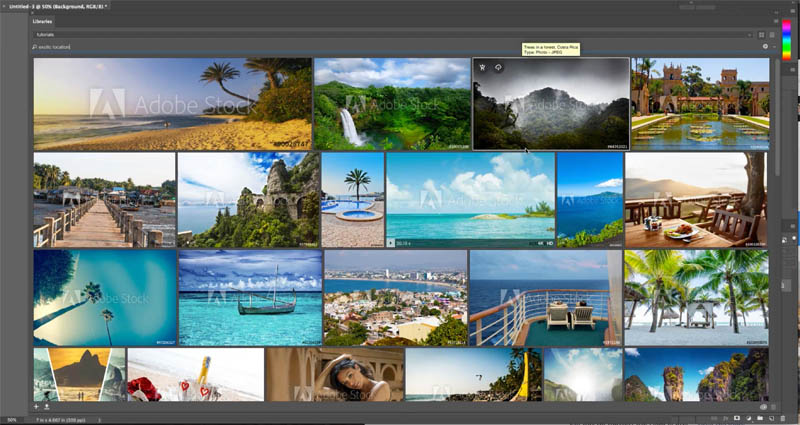
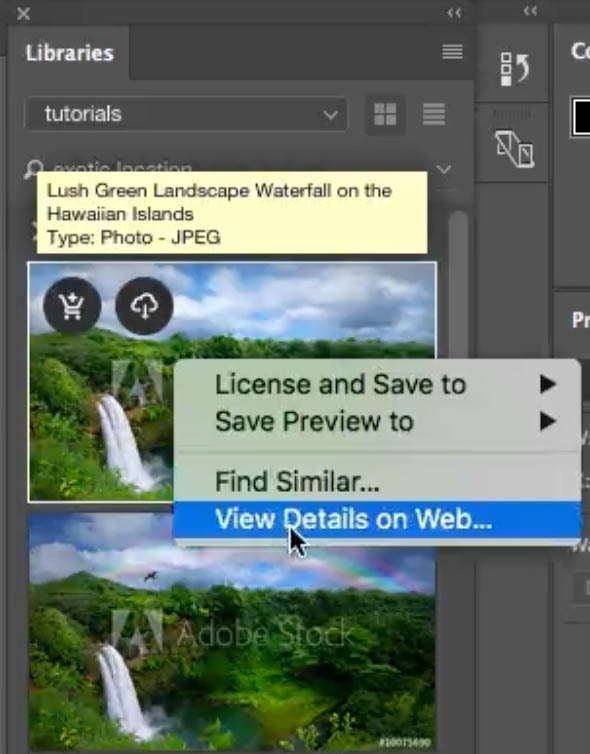
Let’s look at more advanced searching on the Adobe Stock site. Right click on one of the searched photos and choose “view details on web”
The Adobe Stock site will launch. (You may have to login if it’s your first time there). You’ll see the currently selected image from your library.
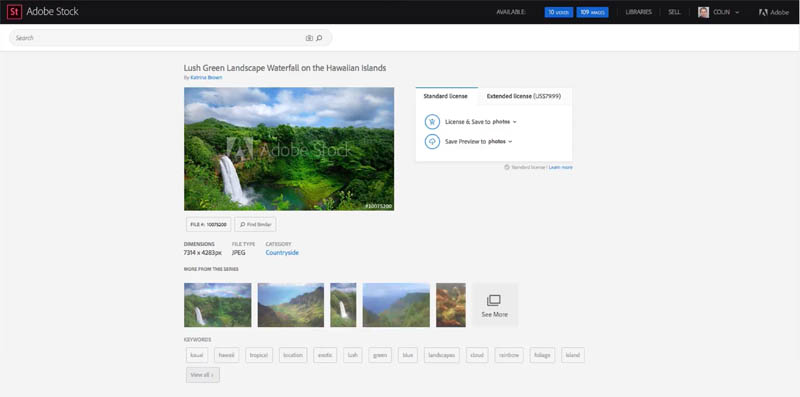
You’ll see links at the bottom like: More from this series | Similar Images etc.
Step 6
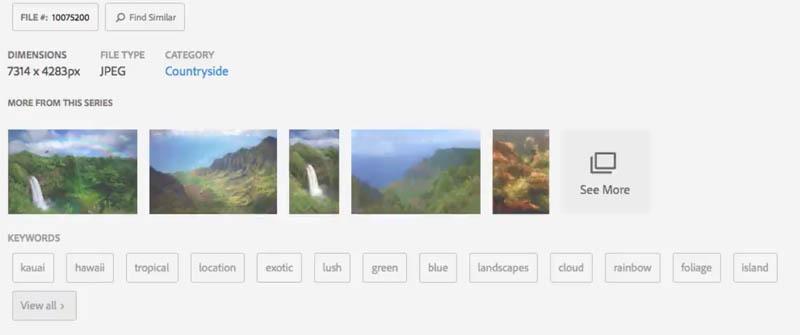
We’re just going to click on Show More and we can see here these different photos from this location.

Step 7
Now there’s other things that we can do. Let’s look at the options.
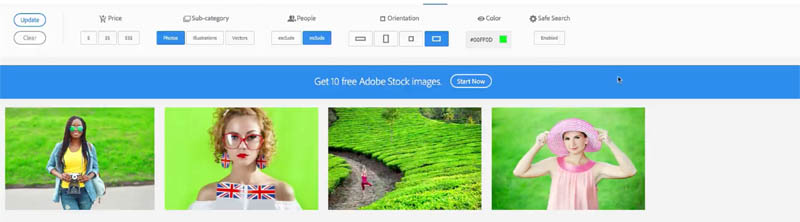
Click Filter at the top . Under the filtering, we can choose to just use photographs. Notice that there’s vectors and illustrations as well that are available. We only want to show things here in landscape mode and I want to have one with some people in there because I feel like for travel, it just makes it feel a little better.

Click on Update Now. So we can scroll down, hey, we’ve got some different people in here now.
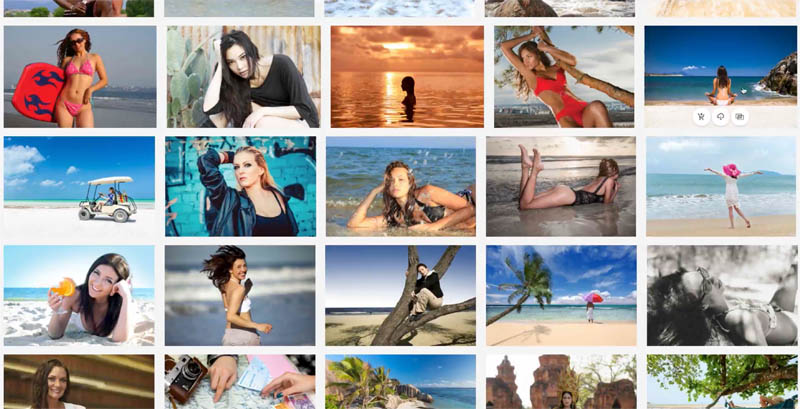
Step 8
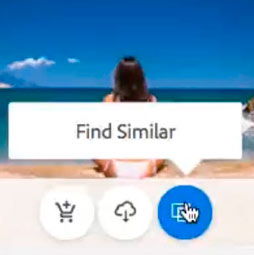
They’re enjoying themselves; maybe you want to see more of someone sitting on the beach, so we can select that. Just click Find Similar. We’ve got more people sitting on the beach.

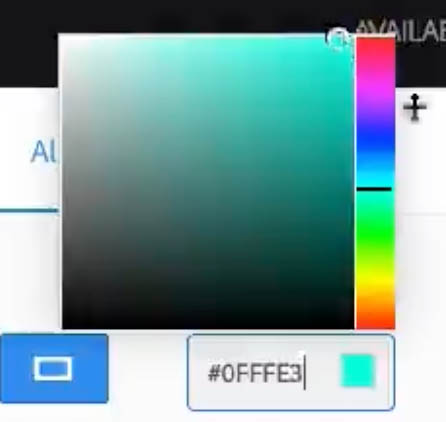
Step 9 Search by Color
What if you wanted something different though? Like a particular color. We can actually go under color and choose different colors. We could choose a red and update. Now we’re going to see just our travel ones with those red colors.
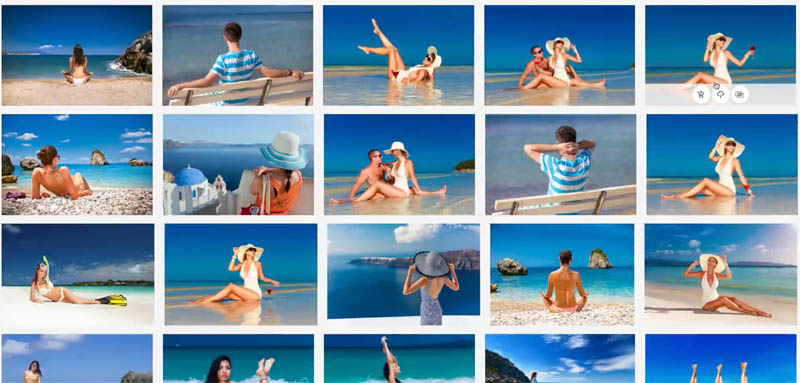
Change the color to something else, such as a green. Hit Update and now we’re going to see stuff with more of the green background.
Try more of an aqua kind of color. That looks nice. Let’s update that. And, of course, it’s going to show beautiful aqua waters.
Step 10
We could choose more from this series. This series here shows more from that particular shot, so a lot of the times, it’s the same photographer. It can give you a similar photograph from a different perspective or a different angle.


Step 11
And the other option “see more from this model.” Maybe you like that person that they’re using and we can see the other pictures that particular model is featured.


Step 12
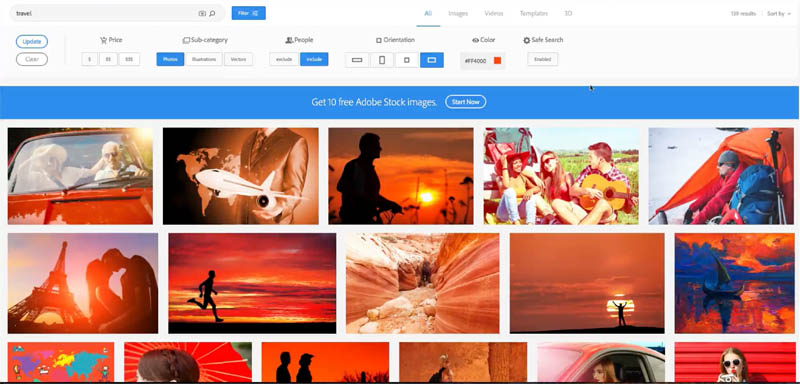
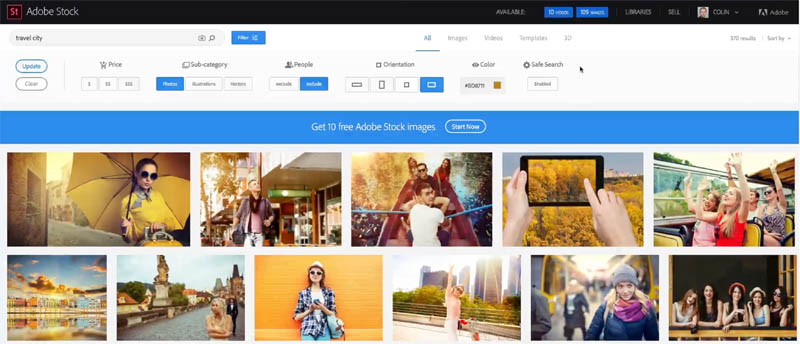
Let’s try something a little bit different. Let’s try our travel and add a second keyword. We’re going to do “travel” and we’re going to do “city.” For the color, let’s grab something more in the kind of a brownish kind of color, so it’s going to give us a little bit more urban and now we’re going to hit Update and here we go.
Step 13 Search based off your own photos
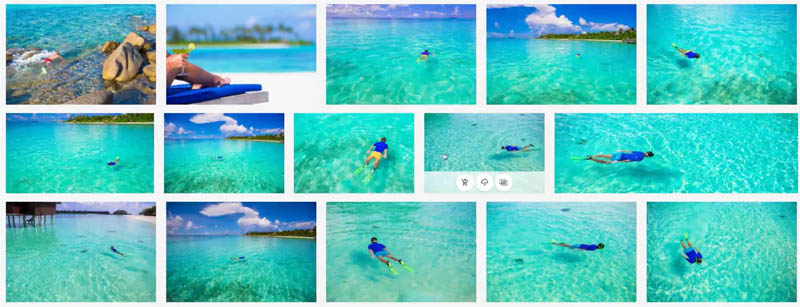
Okay, there’s another way that we can search and I think this is really cool! We can upload our own photos and search for a similar one based off machine learning.

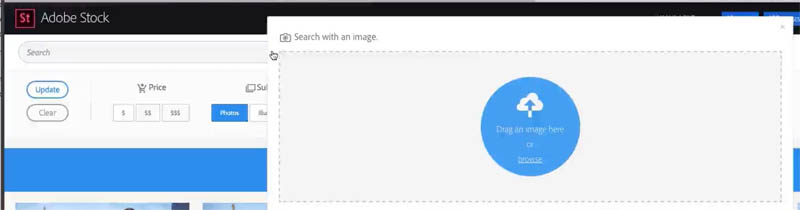
Here is a photograph that I took myself, and now we’re going to let it search based on that.

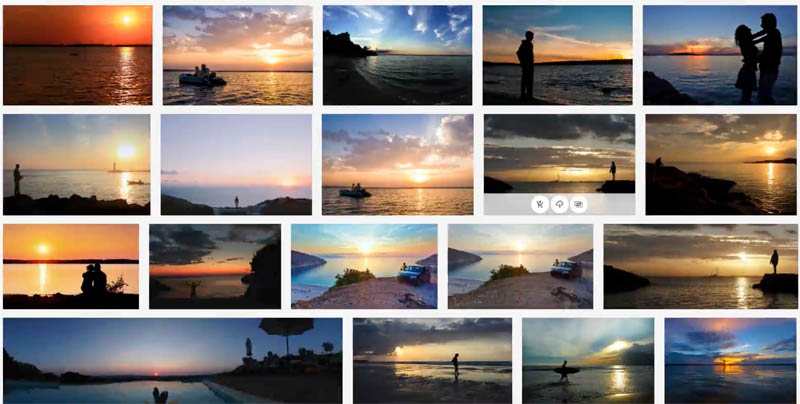
And here we go, so now it shows similar images to that particular image of mine.
Step 15
Okay, maybe something like this here might tell our story quite well. Let’s use one of the photos and download it into Photoshop.
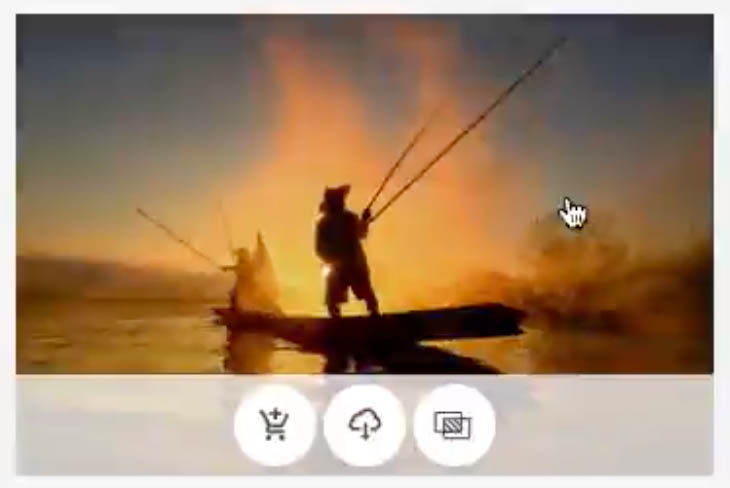
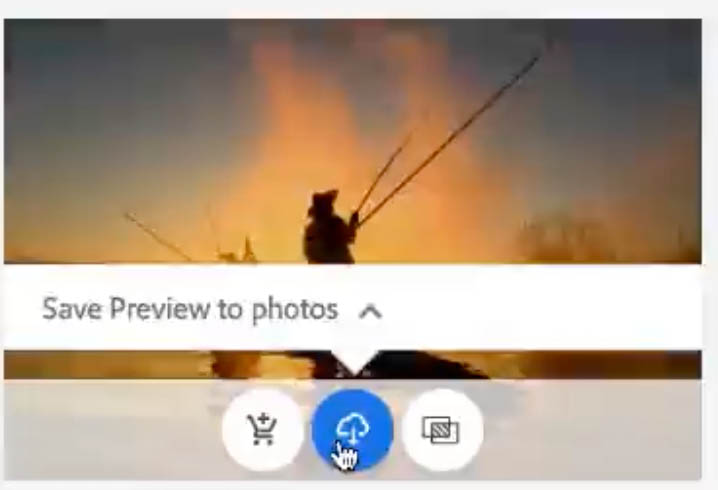
Click on the little cloud icon and notice it says “Save Preview to Photos” because that’s the library item that I have currently selected.
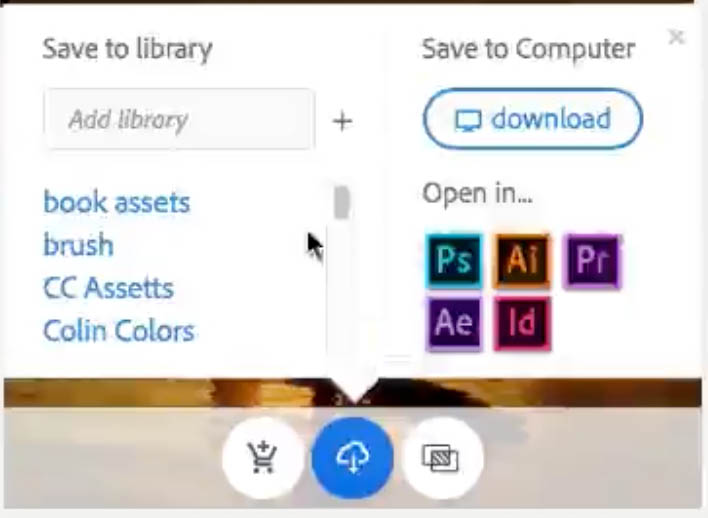
Click the little chevron icon to see all my libraries that I have created. You can also create a new library right here (it will also be created in your Creative Cloud Library panel in Photoshop, everything is in sync).
Step 16
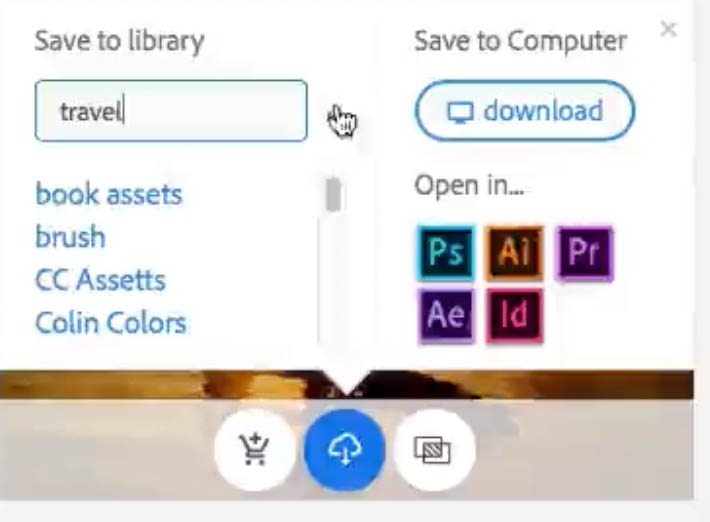
Let’s make a new library “Travel” and we’re going to hit “+” (Plus) It’s going to create that library right now and synch the photo to it.
Step 17
Using the Stock Image in Photoshop
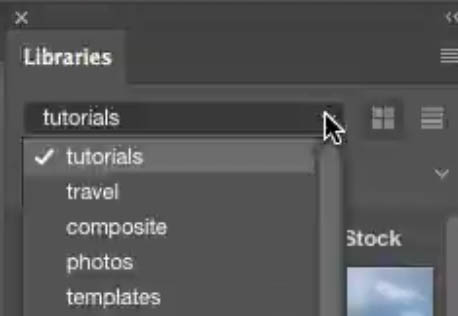
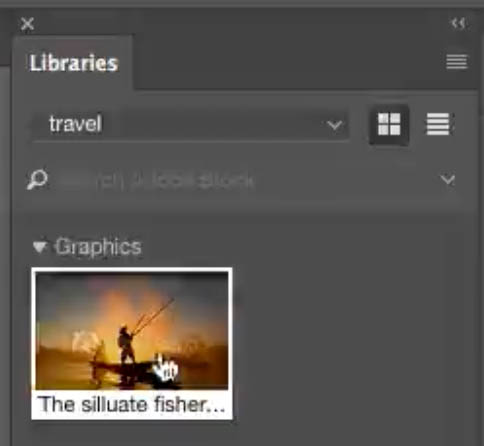
In Photoshop, go to the Library panel. Notice the “travel” library is created and and there’s our photograph right there.
Step 18
Drag the picture into our document and resize it to your tastes.
Step 19
Maybe we’ll do something with our text, such as a Soft Light blending mode.
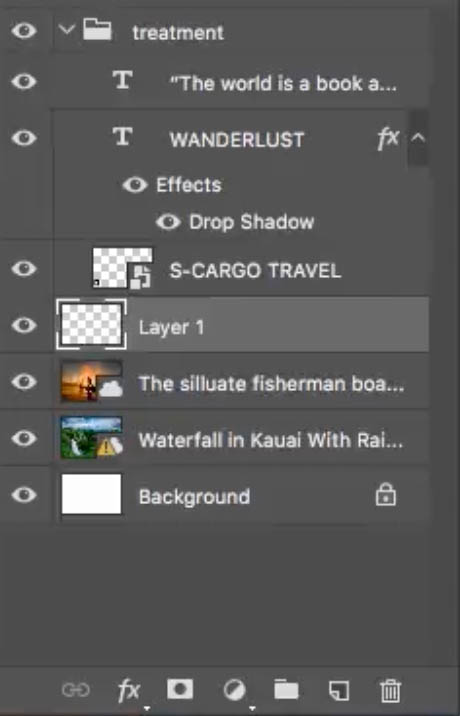
Lets add an Effect. Choose layer Style from the fx menu in the Layer panel and put a Drop Shadow in.

Step 20
Lets create a gradient: Create a new layer
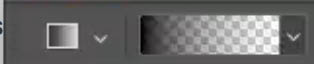
Grab a Black to Transparent gradient
Drag in the document window to add a little gradient at the bottom.

Step 21
Change the size and position of the different design elements.

Step 22
Replacing the comp with a high Resolution Image
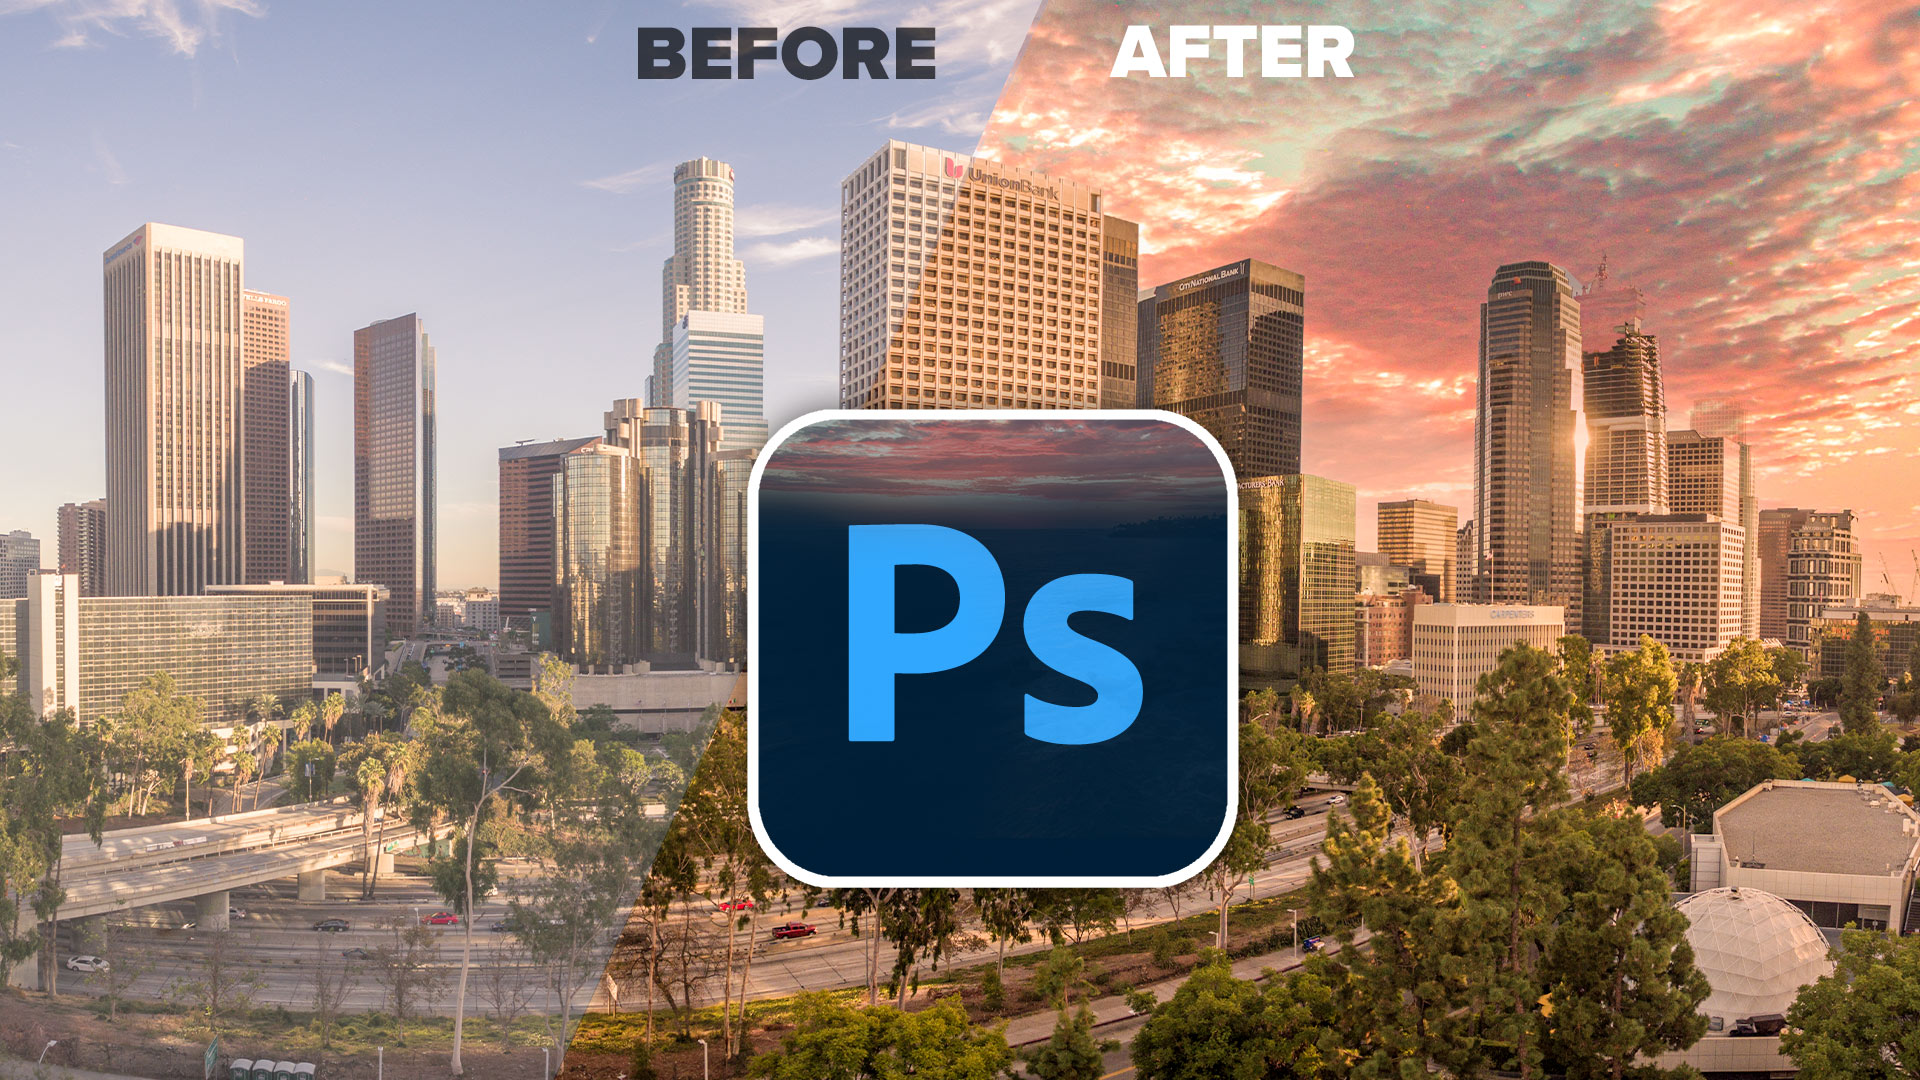
The point is, if you decide that you want to use this image in a final design for your client or for yourself, you can license that image and it will be updated with the high resolution file, without a watermark. You don’t have to redo your design. All you layers and effects will still be intact. Even if you applied filters to the stock photo itself (as long as you converted the stock image to a smart object first).
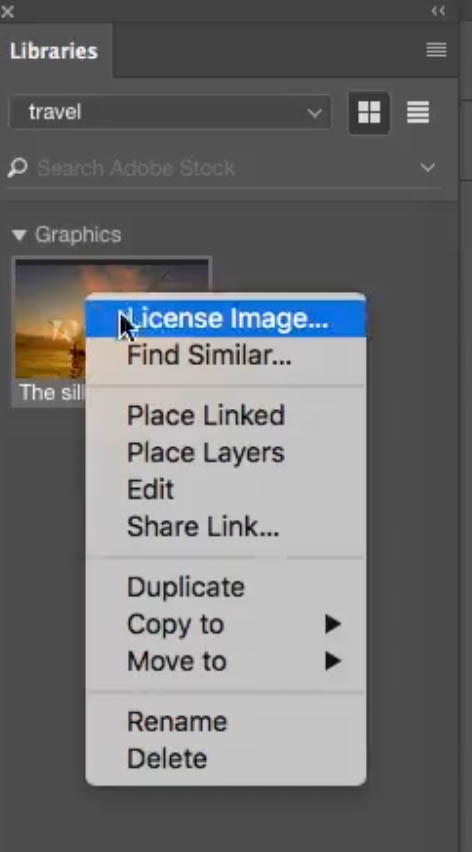
Right click on the image in the Library panel and choose License Image. At this point, you need to have a subscription to Adobe Stock or you can buy the images one at a time.
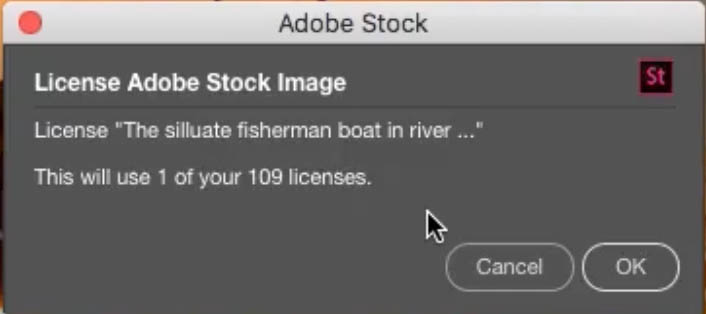
Click OK and you can see the image updates and replaces it with the high resolution version . You’ll notice the quality increased nicely and the watermark disappeared. We have completed our design.
So there we go. That’s how we create a layout using Adobe Stock. Now this is something I wish I had 10 years ago! I remember how difficult it was to find the right images, even for making mock-ups. I remember back in the day–don’t laugh at me–when we used to have to buy bulk CDs. We’d buy all these stock image CDs and DVDs and it was very difficult (and expensive). We would print out the contents on contact sheets and store them in binders. But now, it’s very easy to try out the different images to search and locate the photo that you want.
So thanks for watching. Until next week, I’ll see you at the CAFE.
PS Don’t forget to follow us on Social Media for more tips.. (I've been posting some fun Instagram and Facebook Stories lately)
You can get my free Layer Blending modes ebook along with dozens of exclusive Photoshop Goodies here


How to put a photo onto a new background in Photoshop. Simple steps, best and fastest result in this easy...
How to use the Adjustment Brush in Photoshop. How to edit a photo and discover how the Adjustment Brush works...


