
Expanding a picture with Photoshop Generative Fill ai
Add to the edges of a picture using Generative Fill in Photoshop, powered by Adobe Firefly
Chances are you have heard of Adobe Generative Fill. If not, see my introductory Generative Fill tutorial here. (this also shows you how to access this feature).

My course on Generative Fill in Photoshop: https://photoshopcafe.com/shop/generative-fill-in-photoshop-introduction-course/
This uses ai to remove objects or add them to a photograph or picture. It can also extend a photo and generate the content to fill the new area. This is really useful for reshaping an image without cropping away pixels. For example, you need to make a picture taller, or wider to fix a certain size or aspect ratio. Its great for extending backgrounds when compositing as well. Another really great use for this is filling in the edges when you make a panorama.
Let’s look at how this works. This is a part of a series, where I’m breaking down the Generative Fill into smaller. more focused tutorials.
Expending an Image with Generative Fill in Photoshop
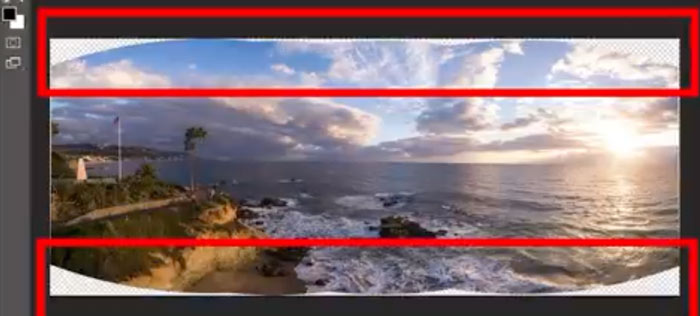
Here is a wide photograph. In fact, its a panorama that I shot in Kaui.
Let’s make it taller for a composition.

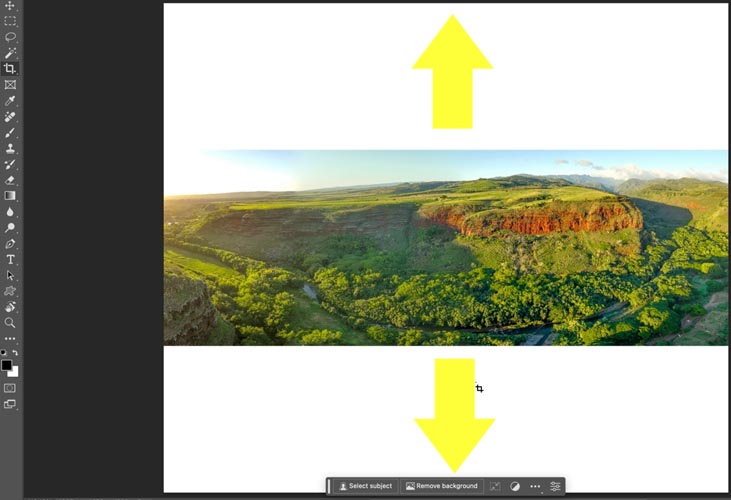
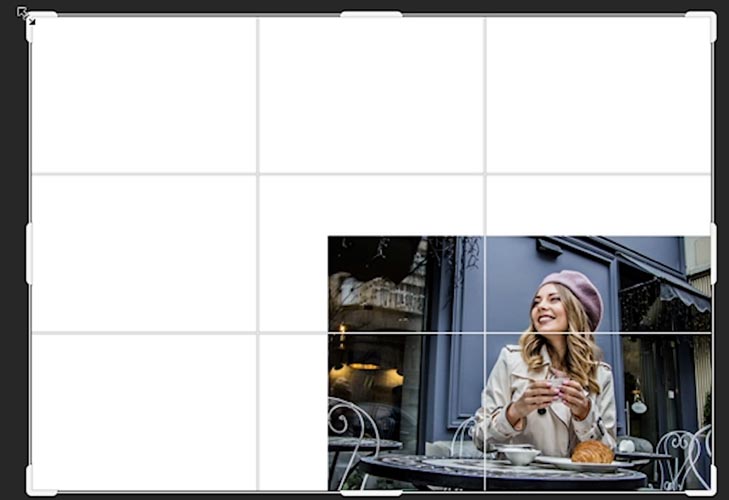
Choose the crop tool. (C key)
Drag the crop up and down to expand the canvas. This is also called outcropping.
Press enter to apply the crop.
The challenge with this is that we now have blank canvas where we enlarged the image. Previously, we would paste in content from other photos and use cloning and Content Aware fill.
Let use Generative Fill (There are a couple of caveats and I’ll address those in this tutorial).
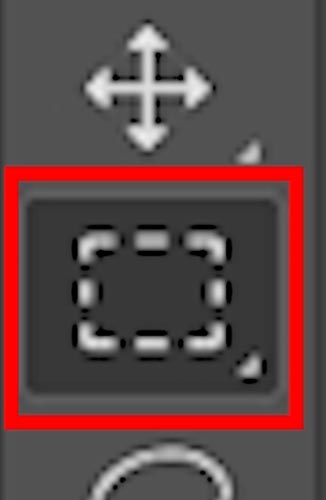
Grab the Rectangular marquee tool
Drag inside the original image, go slightly inside to create a slight overlap for Photoshop to work with.
Inverse the selection so you are selecting the blank areas. Cmd+Shift+I Inverses a selection. (Ctrl+Shift+I on Windows).
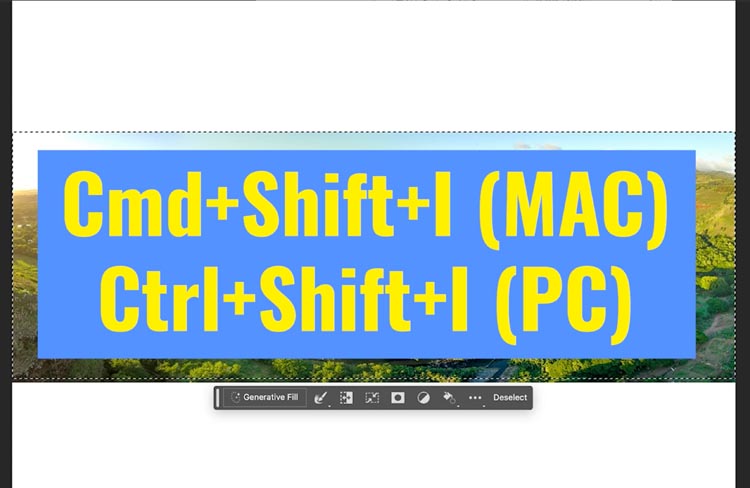
Click the Generative Fill button in the Task Bar. If you don’t see it, Window>Contextual Task bar. (Photoshop beta only at this time)

Don’t enter any text into the prompt box. When you click Generate without text, Photoshop will blend the image into the existing pixels.
Click Generate

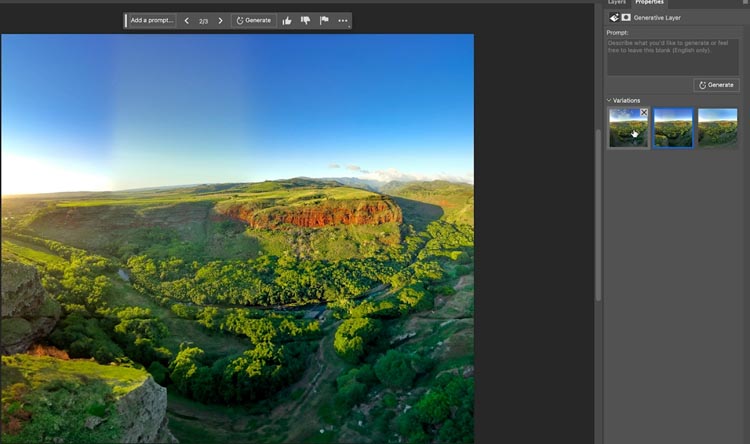
And you will see that pixels are generated by the ai. These pixels have never existed before, they are generated by machine learning in Adobe Sensei.
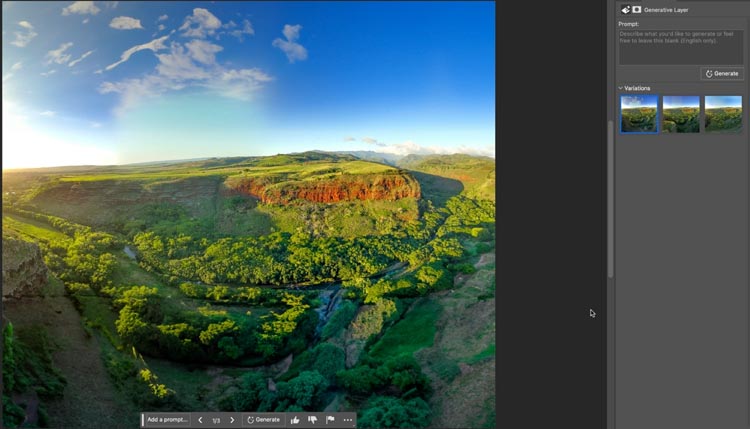
If you look at the Properties panel, you will notice there are 3 options to choose from. Click each thumbnail to see the result.
There are 2 caveats here. Let’s address them.
#1 this is not a real location.
If you are looking for accuracy, this isn’t what the scene really looks like. There is actually a road where the foreground is. (This is just one case where a real photograph and traditional Photoshop skills come into play. Some people say photography is now dea. Far from it. Long live Photography!)
#2 The resolution is low
At the time of this writing the resolution for generative fill is 1k. That 1024×1024 pixels.There are several reasons for this, mainly the massive computing power required and this is currently in beta. Scaling will come later.
But I have an easy workaround for this.
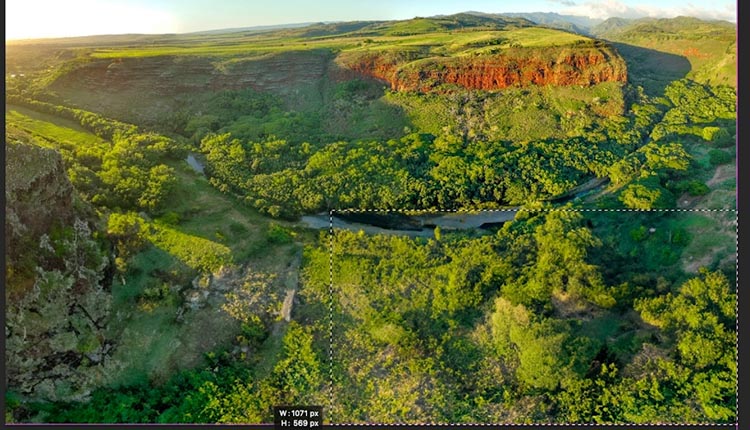
Instead of extending in a single pass and using the 1k on the whole image, try sections at a time.
Make smaller selections of the fill area.
Generate each separately and you can match the resolution of your image with a little extra work.
Adding skies and other elements
The other thing we can do it guide the fill.
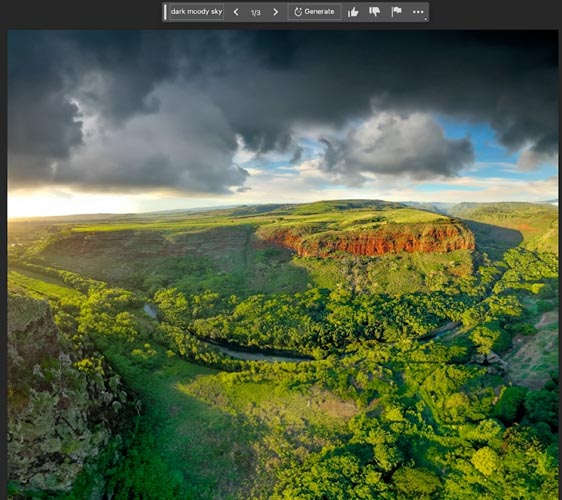
Select the top part of the image.
Rather than just filling in the top, lets add a text prompt. In the box, type “Dark moody sky”.
And now we are adding some drama. If you watch the short video at the top, I also add a lake to this scene.
You can use this tool for all manner of images
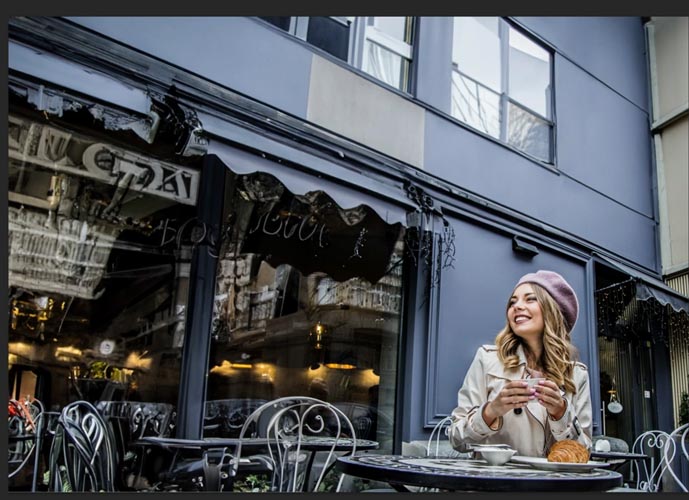
For example, lets expand from a corner in a city. (Step by step is on the video).
And it does a fairly decent job. It’s not perfect, but can be cleaned up very easily with Photoshop’s suite of tools.
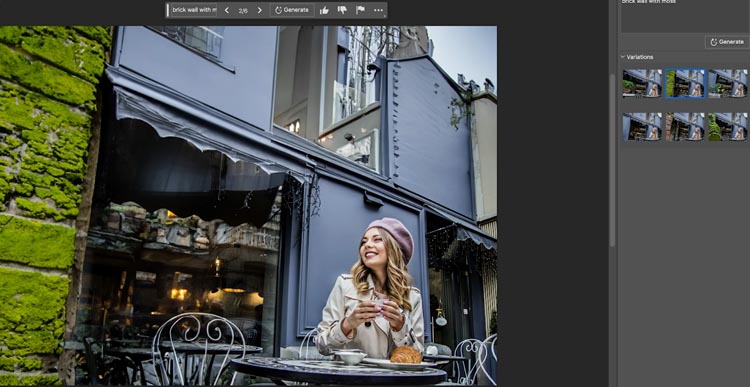
I wanted a mossy brick wall, so I selected the left side of the image and entered in mossy brick wall and lookie!
I hope you found this tutorial useful.
BTW if you are worried about ai replacing photography, watch this short vid I made.
Currently, I’m creating a lot of free tutorials. If you don’t want to miss any, join our mailing list to receive weekly notifications.
Also follow me on Instagram, Tik Tik and Twitter.
Great to see you here at the CAFE
Colin
PS Don’t forget to follow us on Social Media for more tips.. (I've been posting some fun Instagram and Facebook Stories lately)
You can get my free Layer Blending modes ebook along with dozens of exclusive Photoshop Goodies here


Learn exactly how Adjustment Layers work in Photoshop in 4 steps that are packed with little-known tips and tricks. Your...
How to turn a photo into a pencil drawing in Photoshop. Step by step, the most realistic Photoshop pencil sketch...
Top 12 new features in Photoshop April 2026 release.


