How to Combine Photos in Photoshop – New Easy Method
Here is the fast, easy and modern way to combine images in Photoshop. We will combine 2 images, remove the background and match color and light in just a few clicks, using the newest tools in Photoshop. I am supplying the source images for free, so you can follow along.
Check out the more advanced, manual method here (no ai).
Combing and blending images in Photoshop
Choose File>Open and open the 2 pictures in Photoshop.
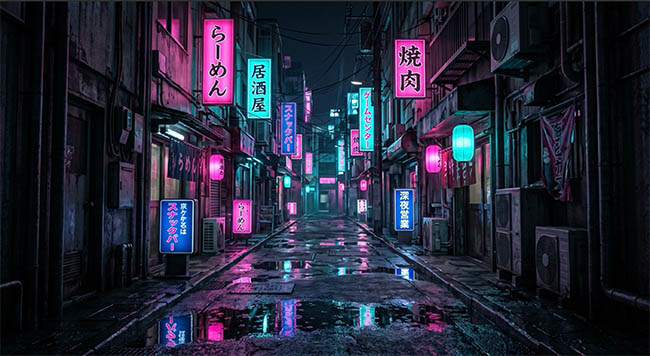
The background. Japanese neon city street.
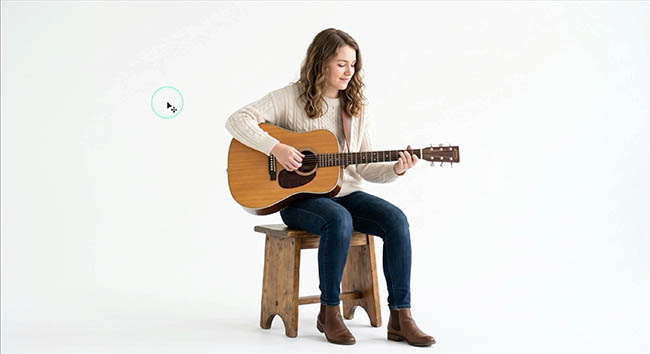
The subject. Young woman playing acoustic guitar.
Step 1 combine the images into a single document.
You will see the 2 images in separate tabs in Photoshop.
Choose the move tool (V key).
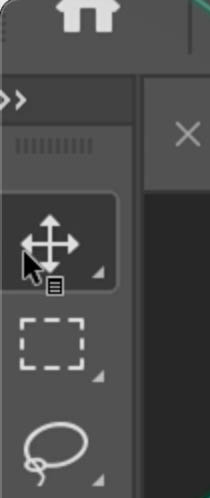
Click in the image and drag to the tab of the other image.
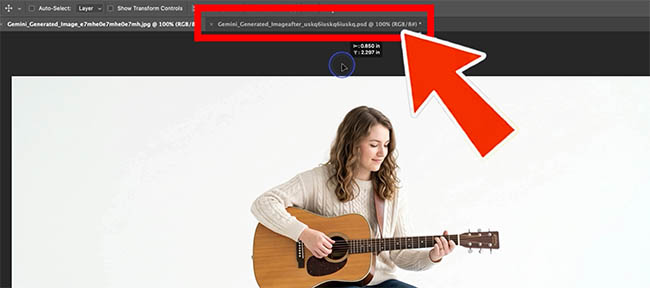
After a moment, the 2nd picture tab will open. Don’t let go of your mouse yet!
Hold down the Shift Key, move your mouse into the image and then release the mouse. Now let go of the Shift key.
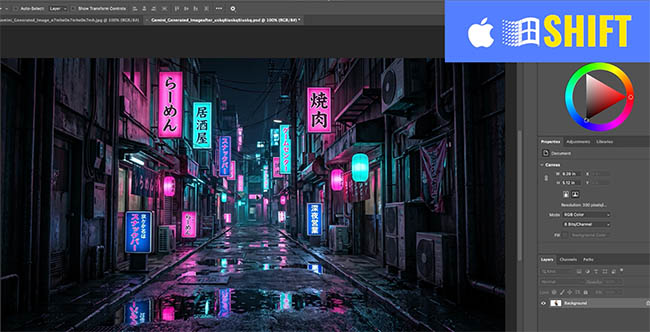
The 2 images are now inside the same document. The Shift key, put the new image in the center.
You will see the image you just dragged in, filling the screen. In the Layers panel, you will see 2 layers.
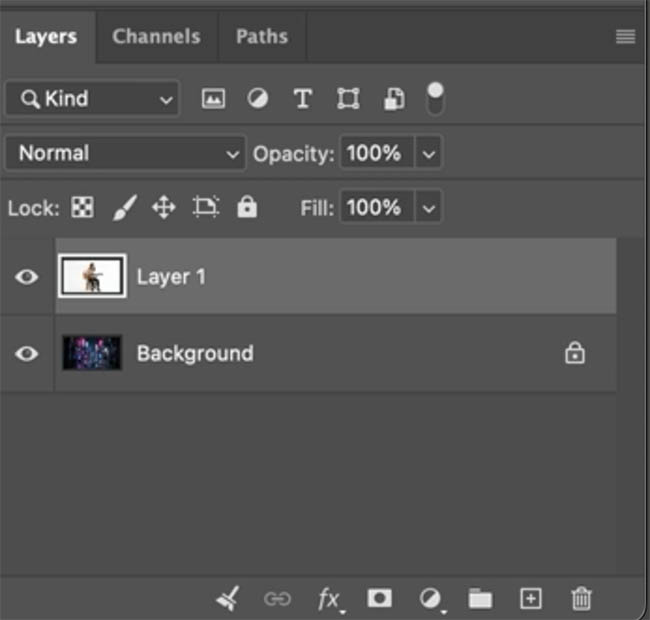
Step 2. Remove the white background
We don’t want the white background. We want to see the city behind our woman.
In the floating task bar, click on Remove Background
tip: if you don’t see the task bar, Window>Contextual Taskbar
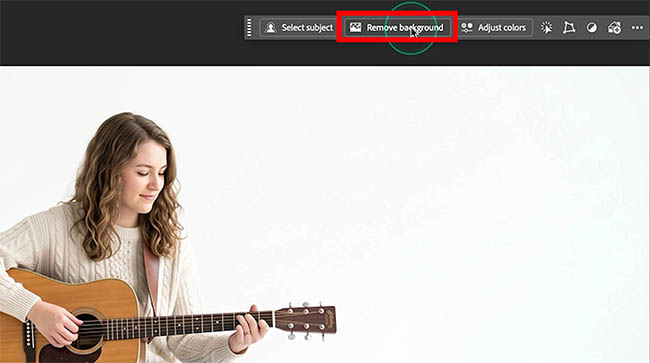
The woman is cut out and you can see the city.
(If you need to improve the cutout or fix the edges, see this tutorial )
We need to move her into position and change the size.
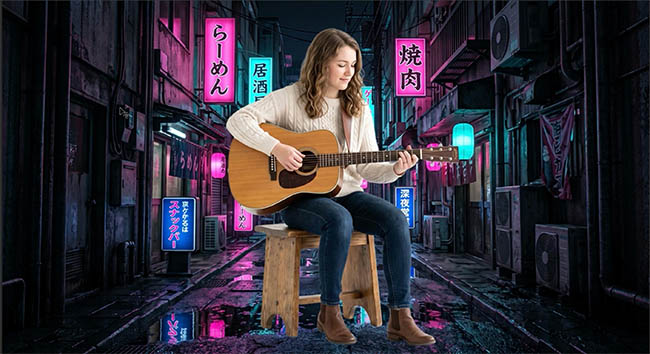
Let’s get the transform handles showing. There are 2 ways, either;
Press Cmd/Ctrl+T for free transform, or..
Turn on Show Transform Controls for the top toolbar.

Drag the corner point to change the size, drag inside the image to reposition it.
When you are happy with placement, press the Enter key.
Ok, the woman is in the image, but she looks like a sticker. It’s flat, the color and lighting don’t match, there are no grounding shadows or reflections.
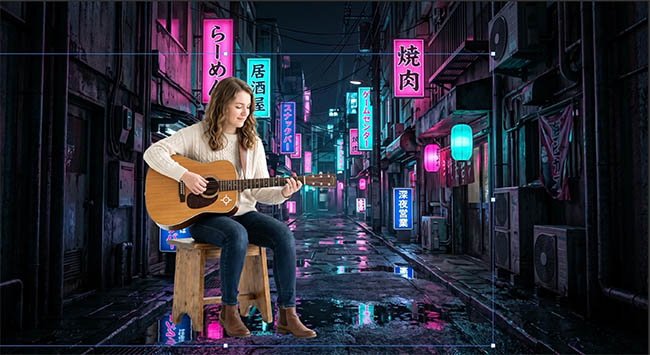
Let’s fix this!
Step 3 matching Color and light, adding shadows
Click on Harmonize in the task bar.

Photoshop will match the lighting and add shadows and reflections.
In the Properties panel, you will see 3 variations to choose from.
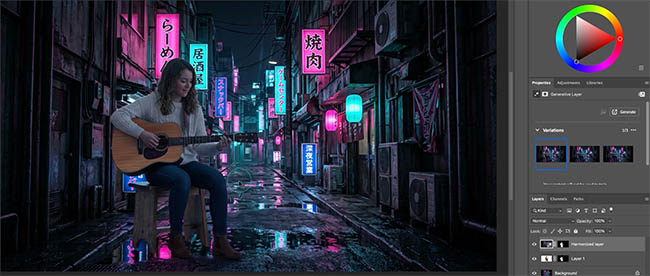
Quite often the harmonize it too strong and dark.
Lower the opacity on the Harmonized layer until the result is what you like.
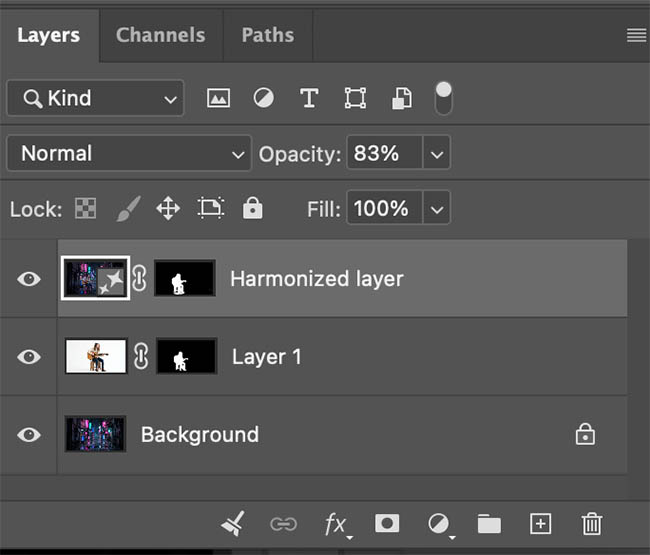
Here is the result. Not bad for a few clicks.
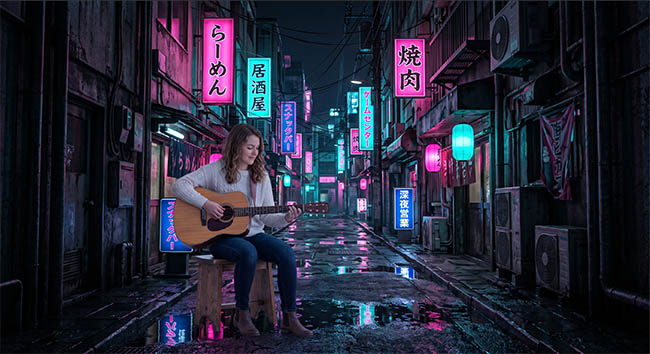
This result is good for social media and online uses.
If you are making something larger and look closely, the harmonized layer is lower res and softer than the surrounding background. Here is a great resolution hack I came up with that will get you much better results and higher resolution with Harmonize in Photoshop.
If you want to dive deeper into the very latest ai tool and techniques in Photoshop, check out my new video course with 29 lessons: The Complete Guide to ai In Photoshop
Thanks for checking out this tutorial! Drop a comment and let me know if this tutorial helped, or if you have any questions, I personally read every comment.
Thanks
Colin
Recommended for this tutorial
Complete Guide to ai in Photoshop 2026
Generative Fill, Firefly, Harmonize and every AI tool in Photoshop, step by step.
$79.00 · one-time purchase · instant download

Free for you
The Photoshop Vault
Get my free Layer Blending Modes ebook along with dozens of exclusive Photoshop goodies: actions, brushes, presets and cheat sheets.
You're on the list, so your free goodies are waiting for you in the Vault.
Get Free Photoshop Goodies Open the Vault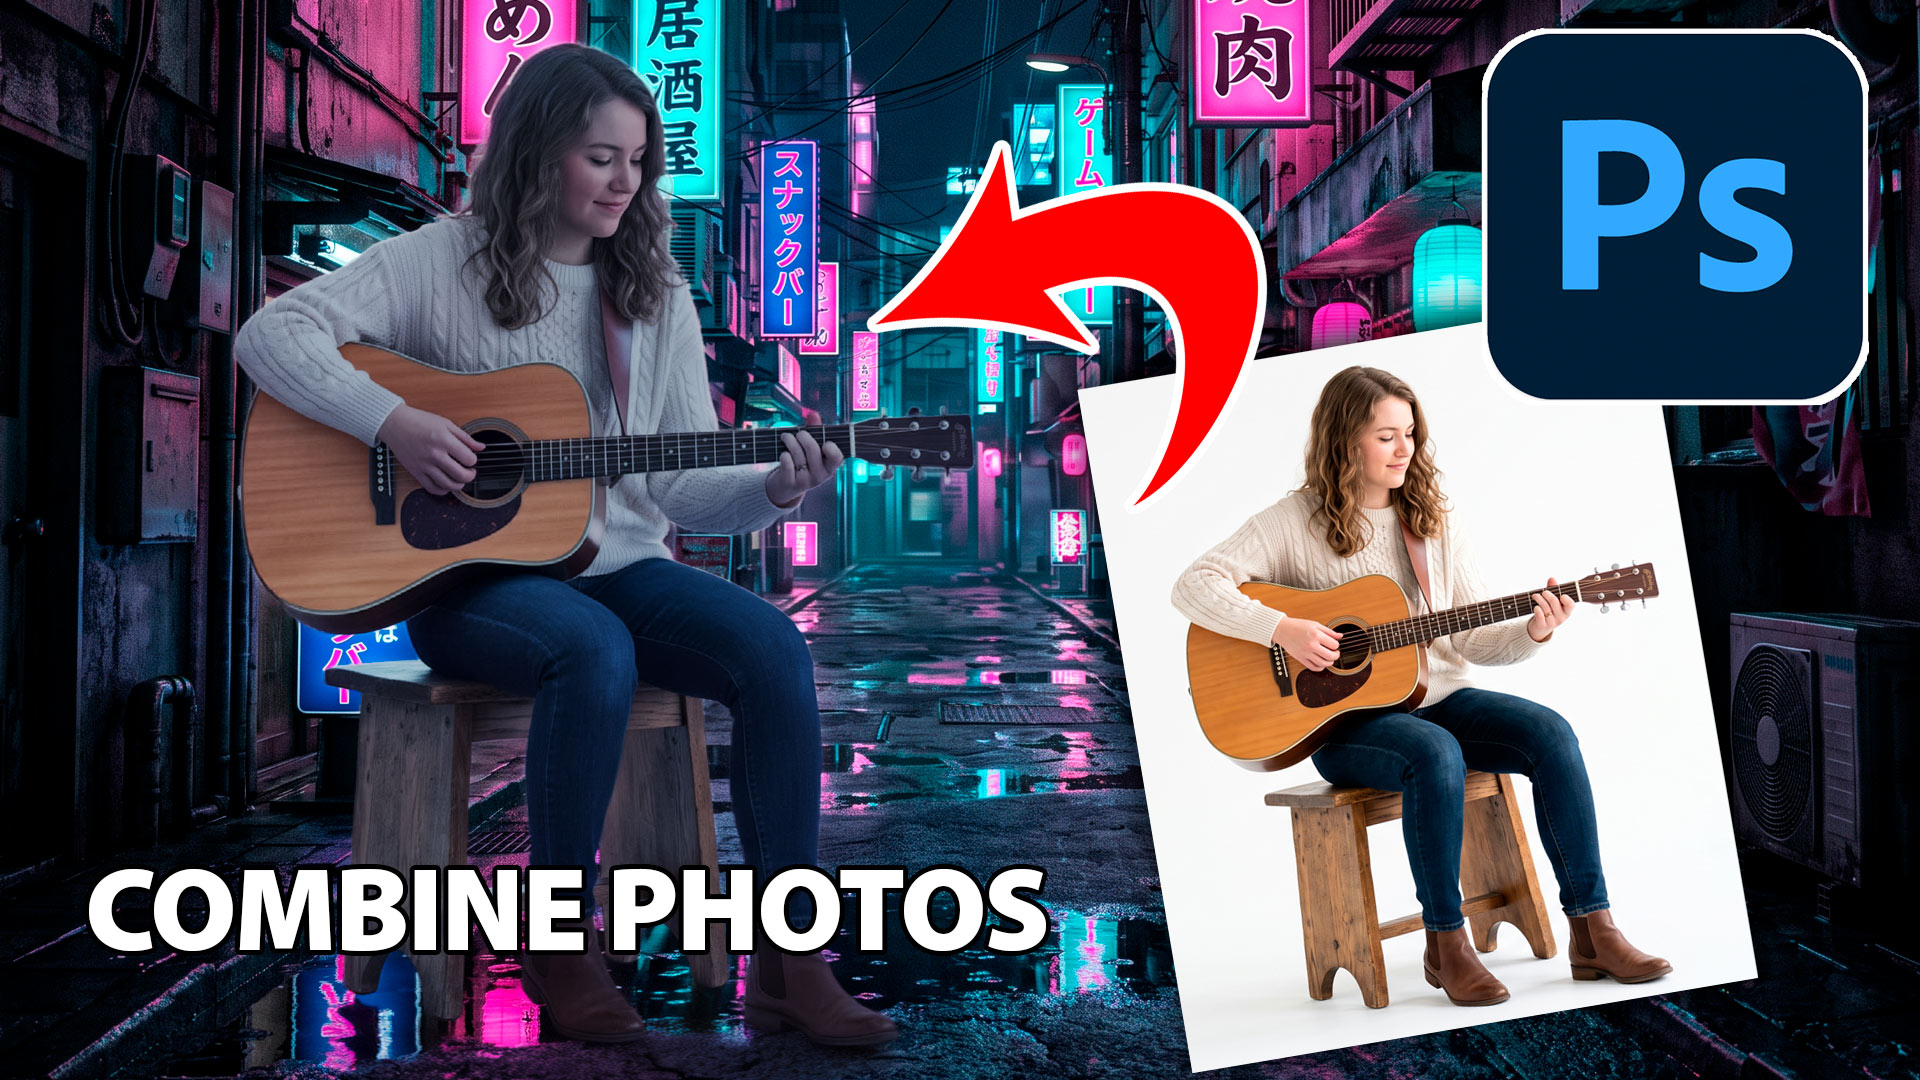
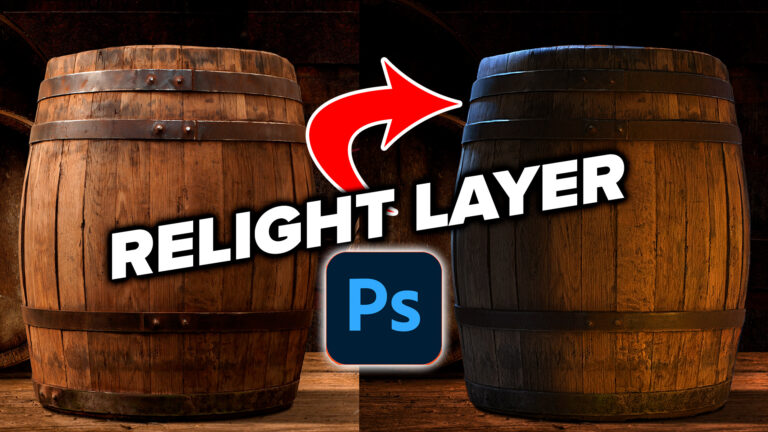
How to Use Relight Layer in Photoshop to Change Lighting
Learn how to use Relight Layer in Photoshop to change light direction, color and intensity, add multiple lights and match lighting in... Read tutorial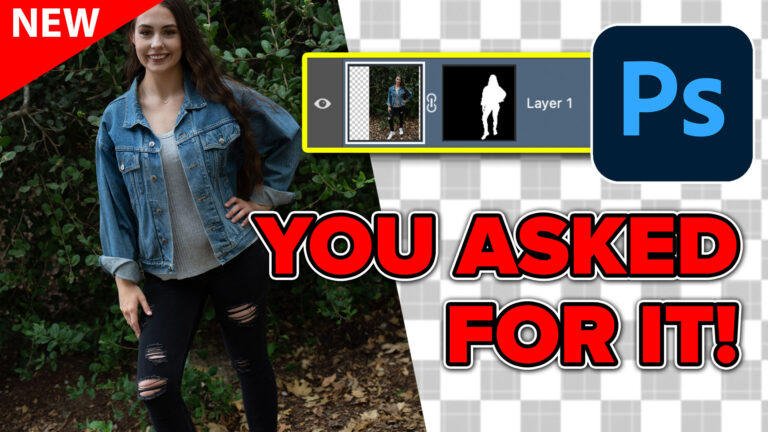
Auto Selections in Photoshop with difficult backgrounds
New Photoshop ai selection against difficult backgrounds. How to make instant cutouts with busy backgrounds in Photoshop Read tutorial
Newly updated ai selections and masks in Photoshop are amazing
Updated ai selection tool in Photoshop is stunningly good now Read tutorial
Revealing hidden features in Photoshop Generative Fill to convert photos to art and more
Hidden way to convert your photos into different art styles using Generative ai inside Photoshop. Access Firefly settings inside Photoshop Read tutorial
Generative ai now Matches your photo or sketch, Structure Reference in Adobe Firefly
How to use Structure Reference in Adobe Firefly to upload a photo or a sketch to guide ai image generation. Read tutorial