How to combine different images and blend layers in Photoshop 5 ways
I’m going to show you how to combine images inside Photoshop.
Watching the video will help you follow the steps easier, especially when we are blending the layers.
Download the lesson images here
I’m going to show you multiple techniques to get those images into Photoshop and get them into different layers on top of each other. And then I’m going to show you a couple of different ways of how to combine those images into a composite using selection’s and another way without selection’s.
How to combine images in Photoshop: First way
I’ve heard from some people. They want to know how to get images in from scratch. Choose file>open navigate to your images, (you can select multiple images at once ), click open.

We have the images in different documents. Now I’m going to show you how to combine them into one document.
With the move to selected click and hold on the image you want to combine, drag it into the tab of thesecond image. Don’t let go yet. That’s the key.


The image will open, move to the middle of the image. Notice the cursor right now is black. That means that it’s loaded with something. Hold down the shift key and this will drop it in the center. Now release. And now we’ve got both of these images on 2 layers. Repeat the steps if you want to add more images. In a moment, I’ll show you how to merge these, but first of all, I want to show you another way to bring them in.

Method 2: getting images into Photoshop layers automatically
Choose file>Scripts>Load files into stack.
This dialog box is going to open. Choose browse. This will take us back to our browser.

Select 2 or more images.

Click open.
Notice that this method loaded both the images onto seperate layers automatically, whereas the first method just opened them.

Method 3 Combining open images.
Choose file>open
Choose your images.
Now we’ve got two images open that we want to combine.
Choose file>scripts>load files into Stack. And this time choose add open files. A new document is created, and all the open images are loaded into layers.


4th method, using panes
Choose window>arrange>four up.

What this does is opens these images inside different panes.

To combine the images, click and drag between panes.

Now if you just want to go back to Tab’s, it’s quite easy. Choose window>arrange>consolidate all to Tabs.

Blending the Layers together in Photoshop
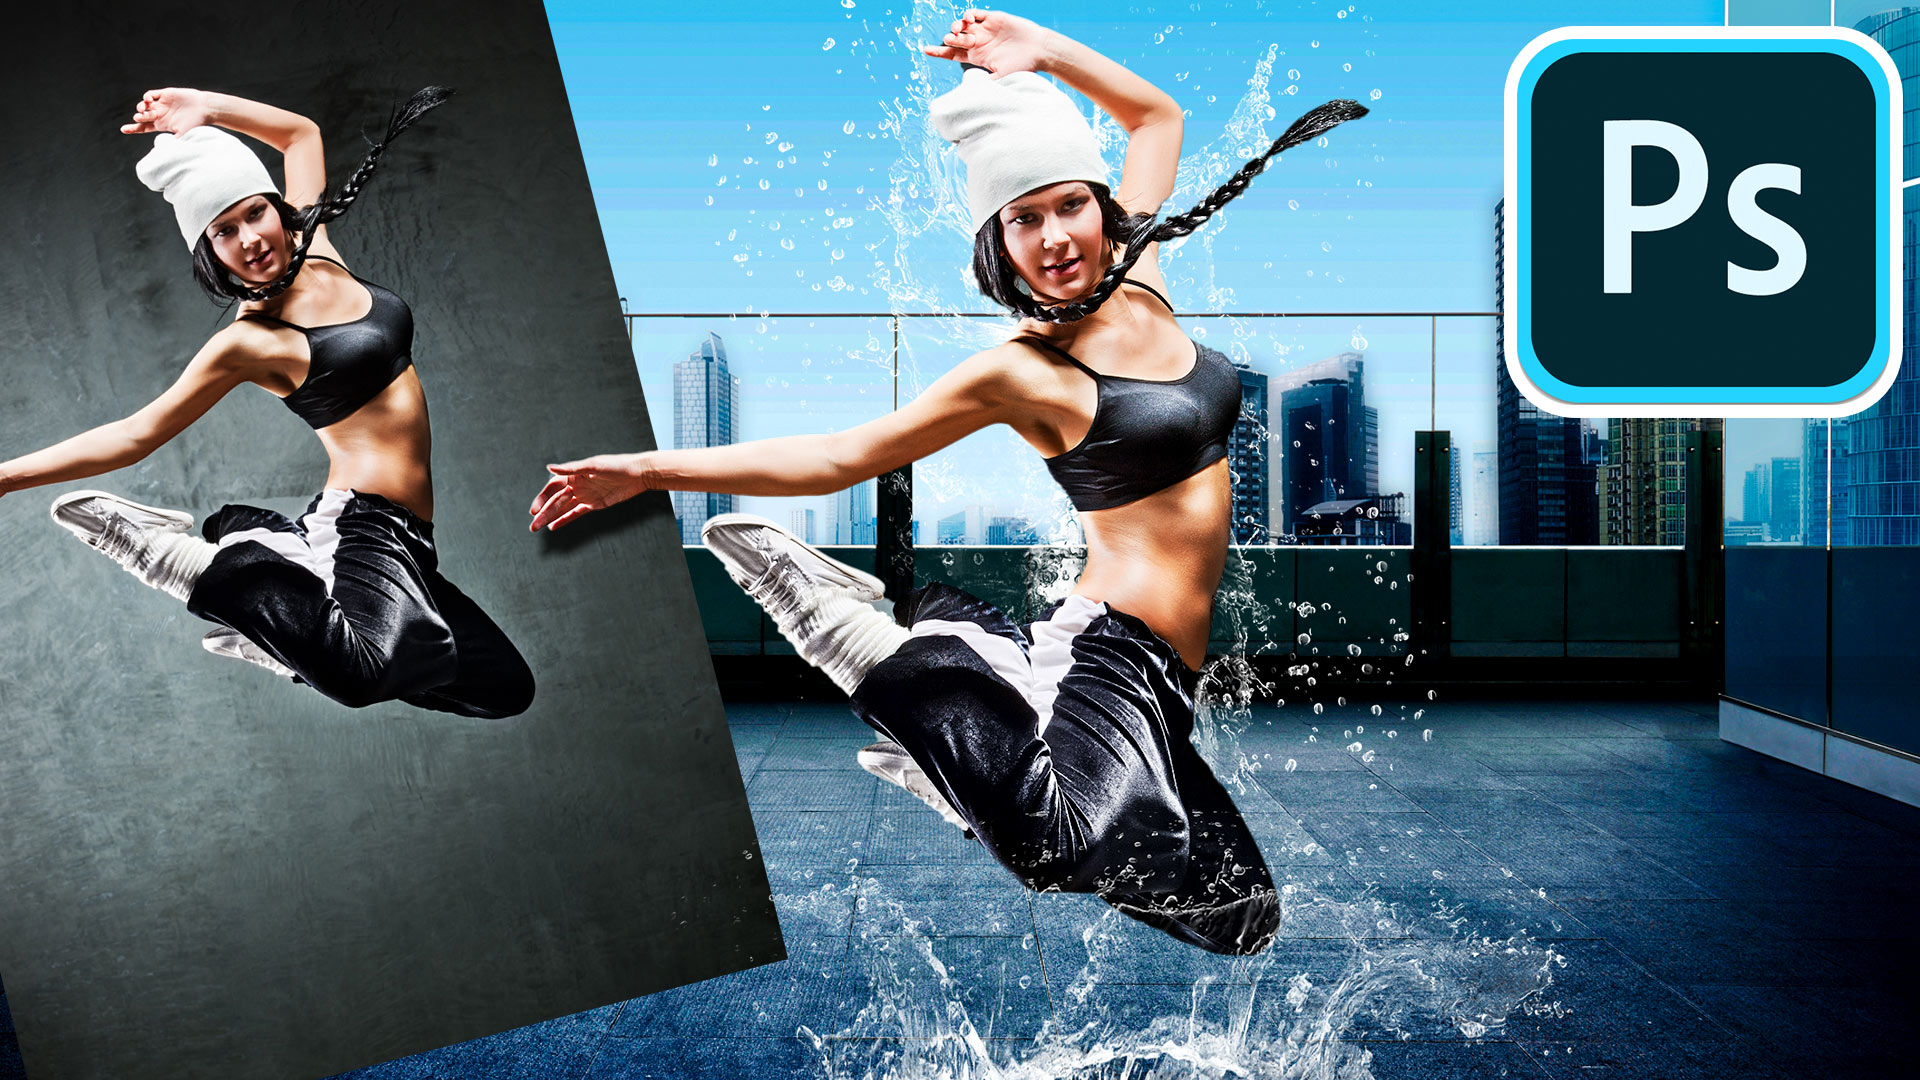
1. Using selections (Images of person on rooftop and city.)
(Image downloads at top of page)
Choose your layer of the person, we need to resize it. Ctrl/Cmd+T for free transform.

Drag a corner to resize.

Looks like we have some extra in our canvas. How do we get rid of this transparency? Simple choose image>trim and click transparent pixels and it trims down to just what we want.


We need to remove the background on the top layer. Grab the quick selection tool and just drag around outside the rooftop. If you go over, hold the alt/option key and drag to add to selection..


Hold down the alt/option key and click on that layer mask and that hides the background.


For realism blur the background a little bit. Select the background, choose filter>blur>Gaussian blur.


That’s the first one, let’s look at the second one
How to Blend Layers in Photoshop Using Brushes
This time we will use the woman touching the screen and the cyberpunk city (Image downloads at top of page)

Press Ctrl/Cmd+T for free transform. Drag the corner handle and resize and reposition the person. Hit enter to apply.

Now we want to semalessly blend the layers together.

Create a layer mask by clicking on the layer mask in the layers panel.

Grab a brush. Make sure the foreground is black.
![]()
Turn the hardness all the way down (soft brush) and make it nice and big.

Paint on that edge and it’ll create a soft edge.

If there’s some areas here you want to tighten up a little bit, then just hit the left bracket key to make it a little bit smaller. Flip the color to white. And just paint in those areas that you want to keep.

You can see it’s really quite easy to combine images inside of Photoshop
Great to see you here at the CAFE
PS Don’t forget to follow us on Social Media for more tips..
(I've been posting some fun Instagram and Facebook Stories lately)
You can get my free Layer Blending modes ebook along with dozens of exclusive Photoshop Goodies here

7 thoughts on “How to combine different images and blend layers in Photoshop 5 ways”
Leave a Reply
How to Dodge and Burn photos in Photoshop, Paint with light and shadow to add 3 dimensional depth to your...
5 Quick tips in Photoshop 2020 to combine images in Photoshop.
How to make a better double exposure in Photoshop with the addition of custom brushes, that you make yourself


Excellent and easy to follow…♫♥ Thank you!
Having the words to refer to after watching the video is a terrific aid. Too often I have to replay parts of the video to be sure of something but having the text gives me a permanent record of what you did. Please supply the words whenever your time allows. Really helpful. And the cursor doesn’t fly all over the page either. Many thanks.
FANTASTIC!!!
Just to concur with Ian otherwise I find myself running the laptop with the lesson whilst I practice on the desktop.
Great idea.
I always find your videos so helpful, thanks so much.
I have 8,00 pic. how do I get only 2 pic?
Thank you, I have no dought your tutorial is excellent but I was unable to get the result to look seamless. I have chosen two images both with water. I want to float an object from one photo to another. It still does not blend. Any other tips please.