
Change day to night in Camera Raw, lighting photos in Photoshop.
Turning Day to Night with Camera Raw
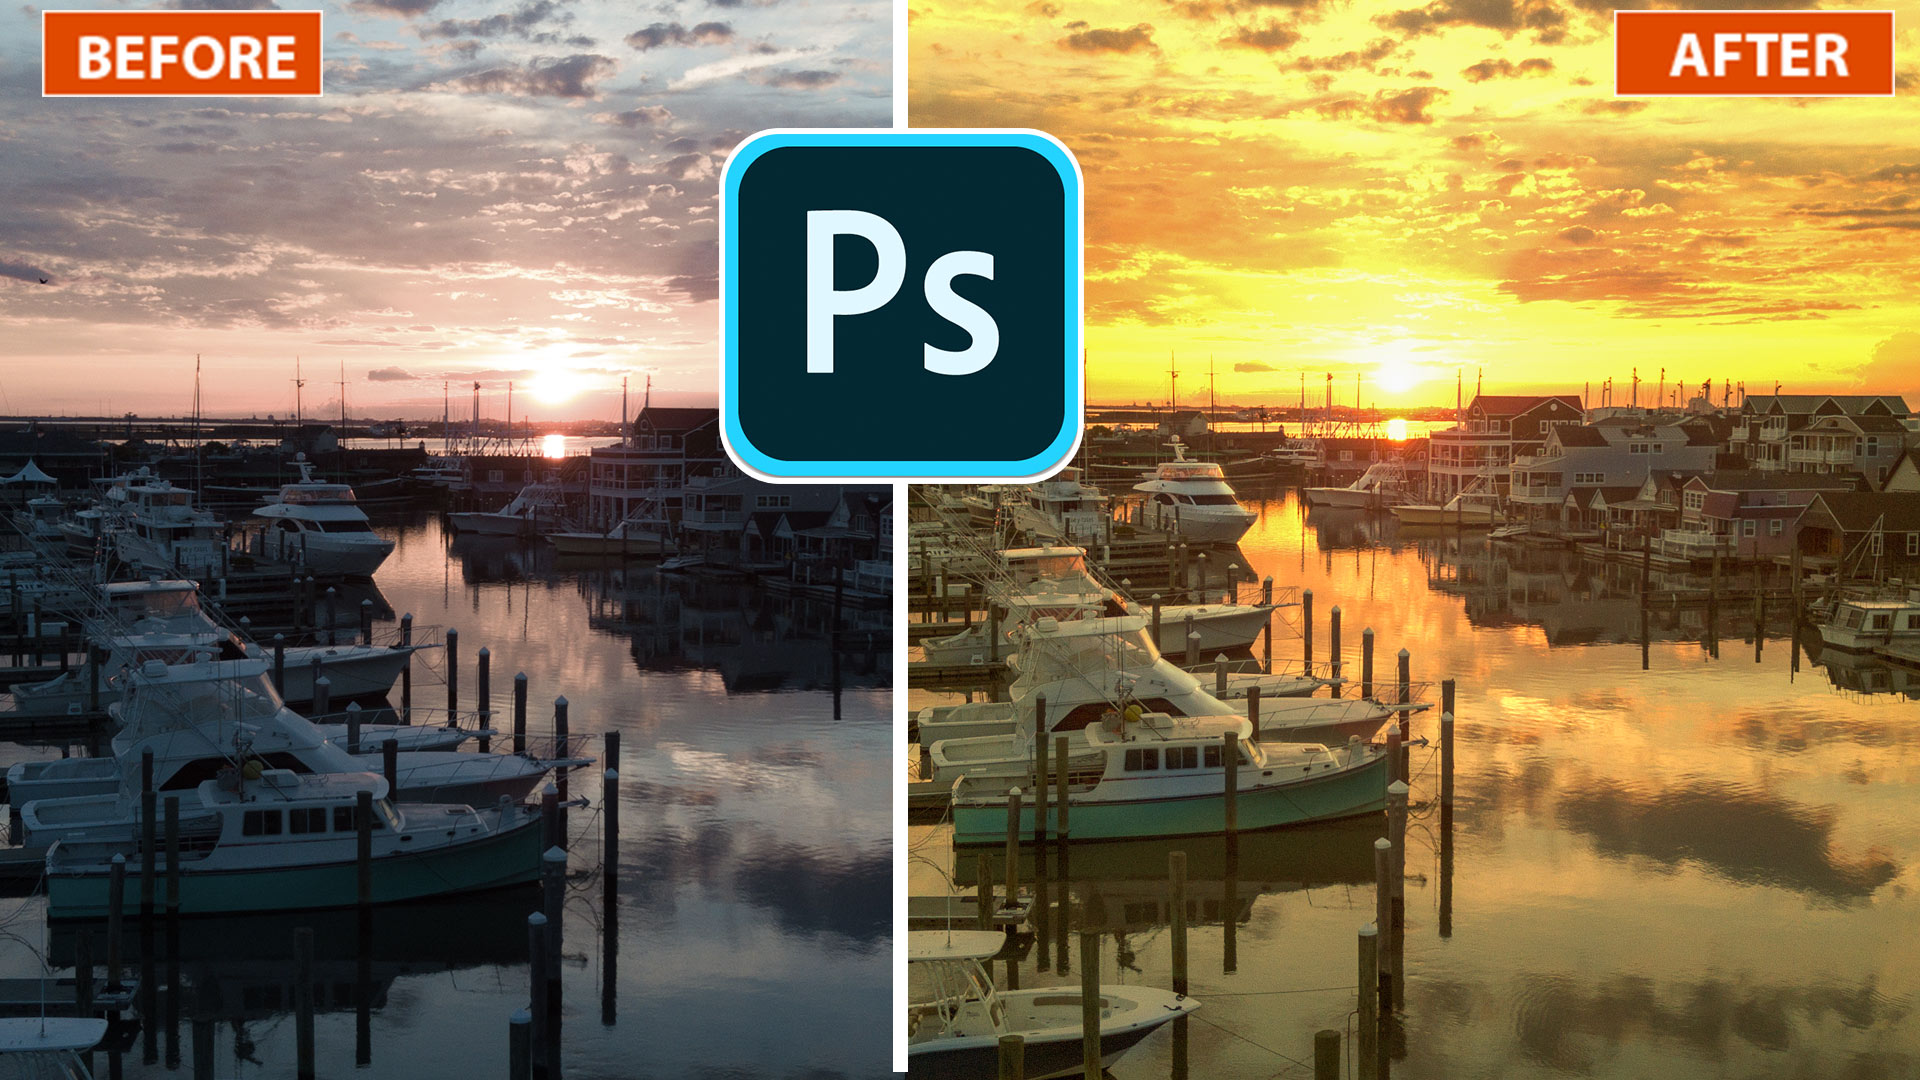
In this Photoshop tutorial, Colin Smith shows you how to take a photo of day time and turn it into a night scene including street lights and window lights.
This tutorial is easy and fun. Watch the video and then use the written steps for reference.
I am showing you the steps here, because this is a hands on style of edit, you should really watch the video above first.
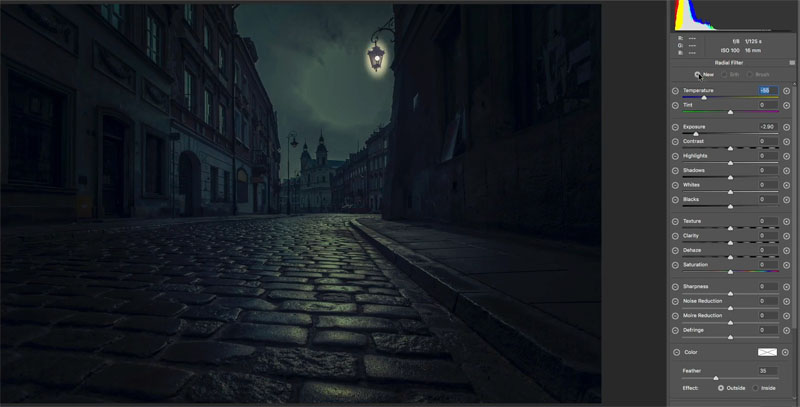
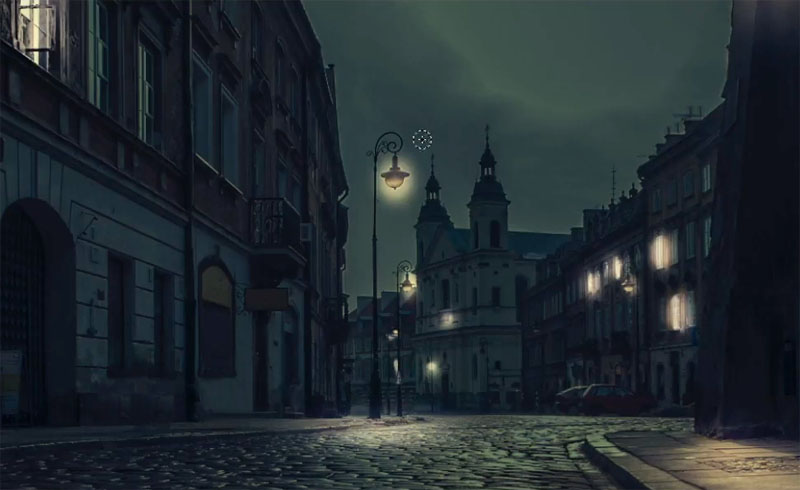
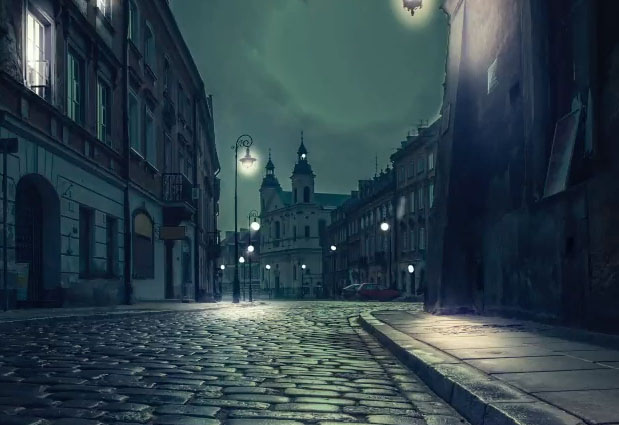
Begin with this photo that I grabbed from Adobe Stock.

1. Choose Filter>Camera Raw Filter (If you are on CS6, right click in bridge and open in Camera Raw)
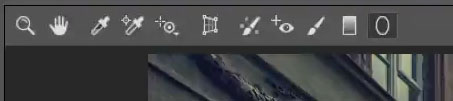
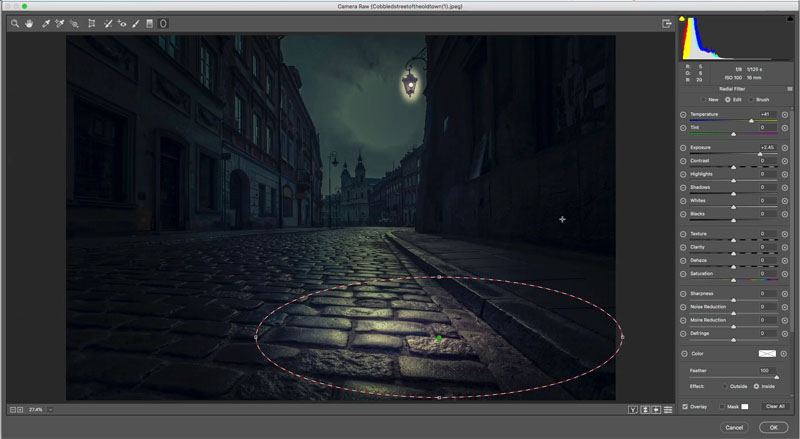
Click on the Radial filter from the toolbar
2. Drag to create a circle with the Radial tool
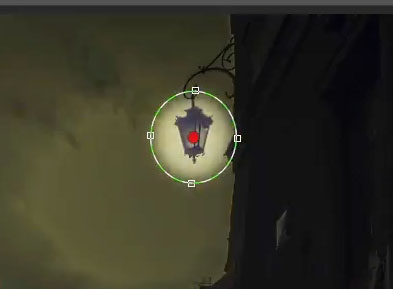
3. At the bottom of the adjustment panel, choose outside, so the adjustment works outside the oval.
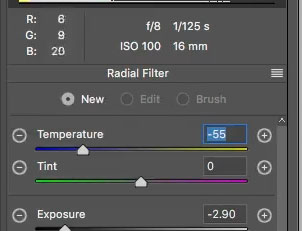
Lower exposure to darken and move color temperature to the left to make the color cooler (blue) so it looks like nighttime.
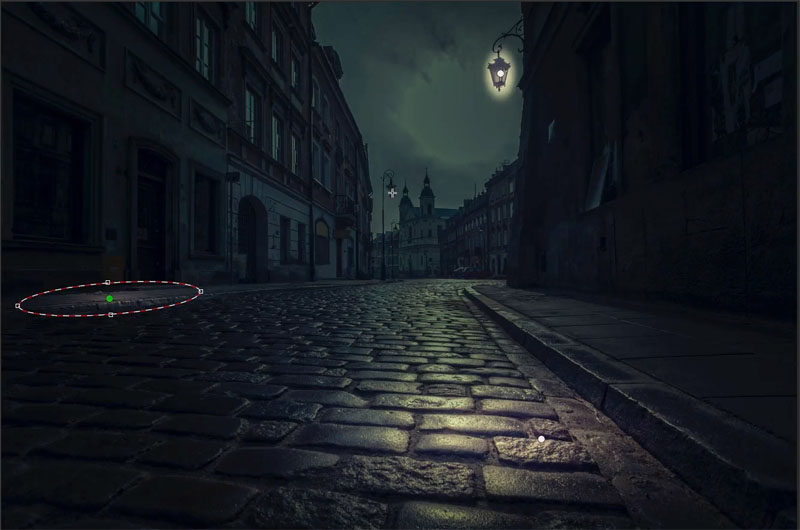
4. Choose the radial tool again (click new, from the top of the adjustment panel to add a new adjustment)
Under effect at the bottom of the panel Change to inside.
Turn up the exposure so you are making it lighter.
Also change temperature to more yellow.
Drag out to create a pool of light.
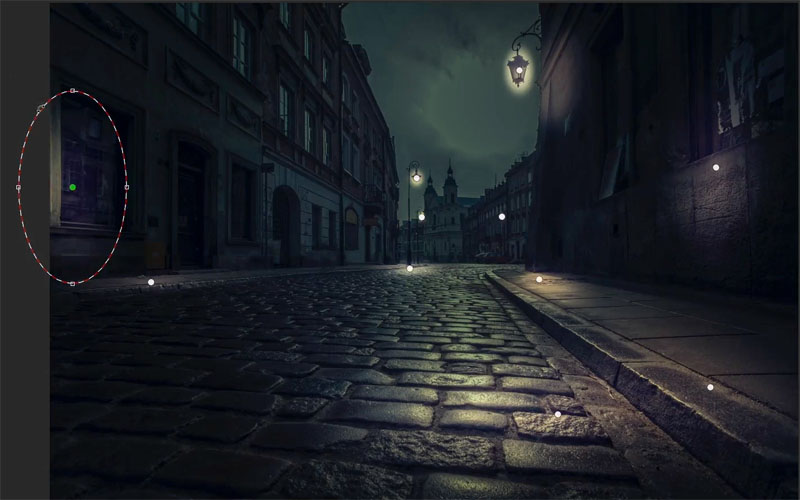
5. With the same settings, drag out another pool of light.
6. Keep adding ovals to look like pools of light that would be under street lights and windows.
7. Using the same method, start to add some light up the walls on the buildings. Don’t be afraid to change the sliders to make the brightness and color look the way you want.
8. Choose the adjustment brush.
![]()
9. Make the settings to its bright and warm
Temperature +77
Exposure +3.55
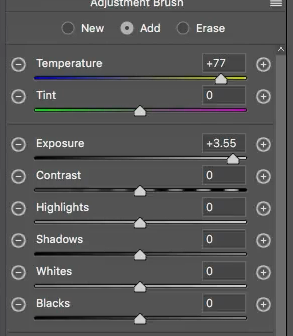
10. Paint in the window to light it up. This is fun!
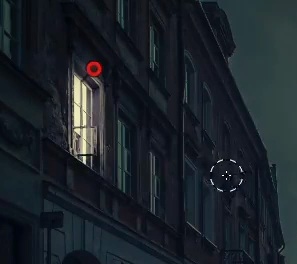
11. Keep lighting windows and lamps with the adjustment brush.
When you are happy click ok.
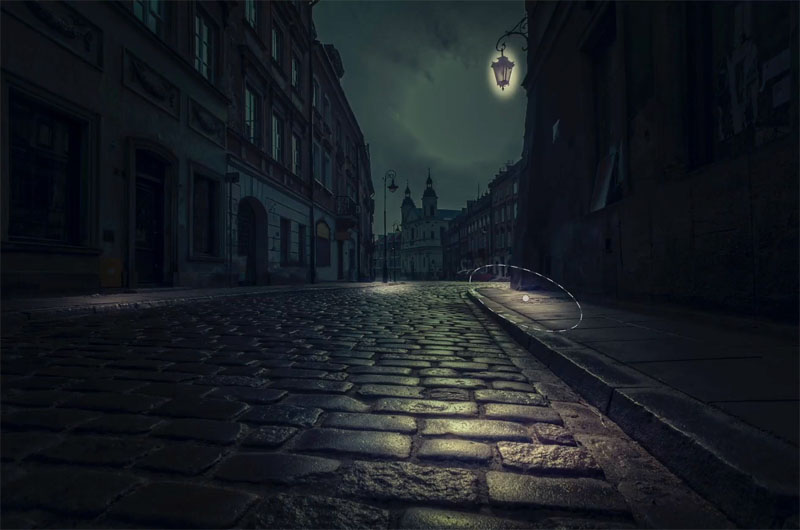
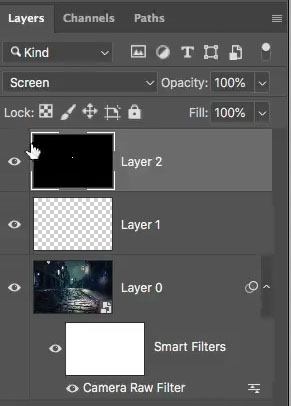
Step 12. Adding bokeh lights
This is a fun things to do to get realistic bokeh (When the out of focus light creates circle in the shape of the camera aperture).
Create a new layer on top and fill with black (D key resets colors. Ctrl/Cmd+Delete fills with foreground color).
13. Choose a small white brush (B is brush tool).
Tap to add dots of light in the distance where the street lamps are.
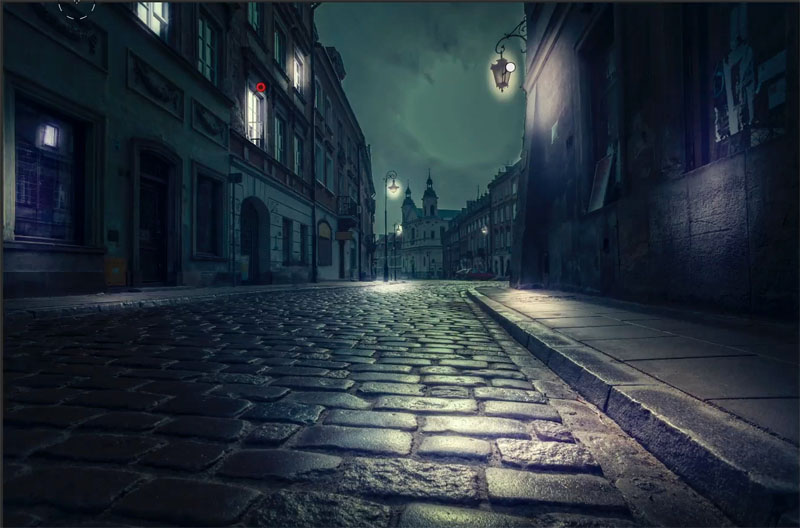
14. Here is one you probably don’t expect. Choose Filter>Blur>Lens Blur
Under Iris change the radius and also play with the specular highlights until they are looking the way you want.
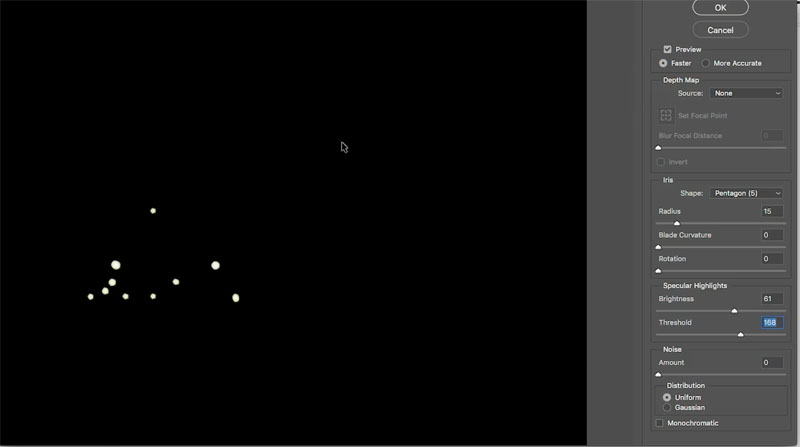
Click ok and you now have super realistic bokeh.
There are some other thimgs on the video that show you additional thing, but these are the basics.
I hope you enjoy.
If you liked it, tell all your friends and join our mailing list. Don’t forget to follow us on Social Media and subscribe to our youtube channel.
Great to have you here at the CAFE and see you next week!
Colin
This is part 7 of a series I’m making on Lighting effects, where we do something different with the lighting on a photo in each one. This series will really make your photos come to life.
If you enjoyed this please share it on social media
Great to see you here at the CAFE
Colin
Check out part 1 here for the basics and using a color channel for texture.
Part 2 is lighting a portrait
Part 3 is embossing a logo
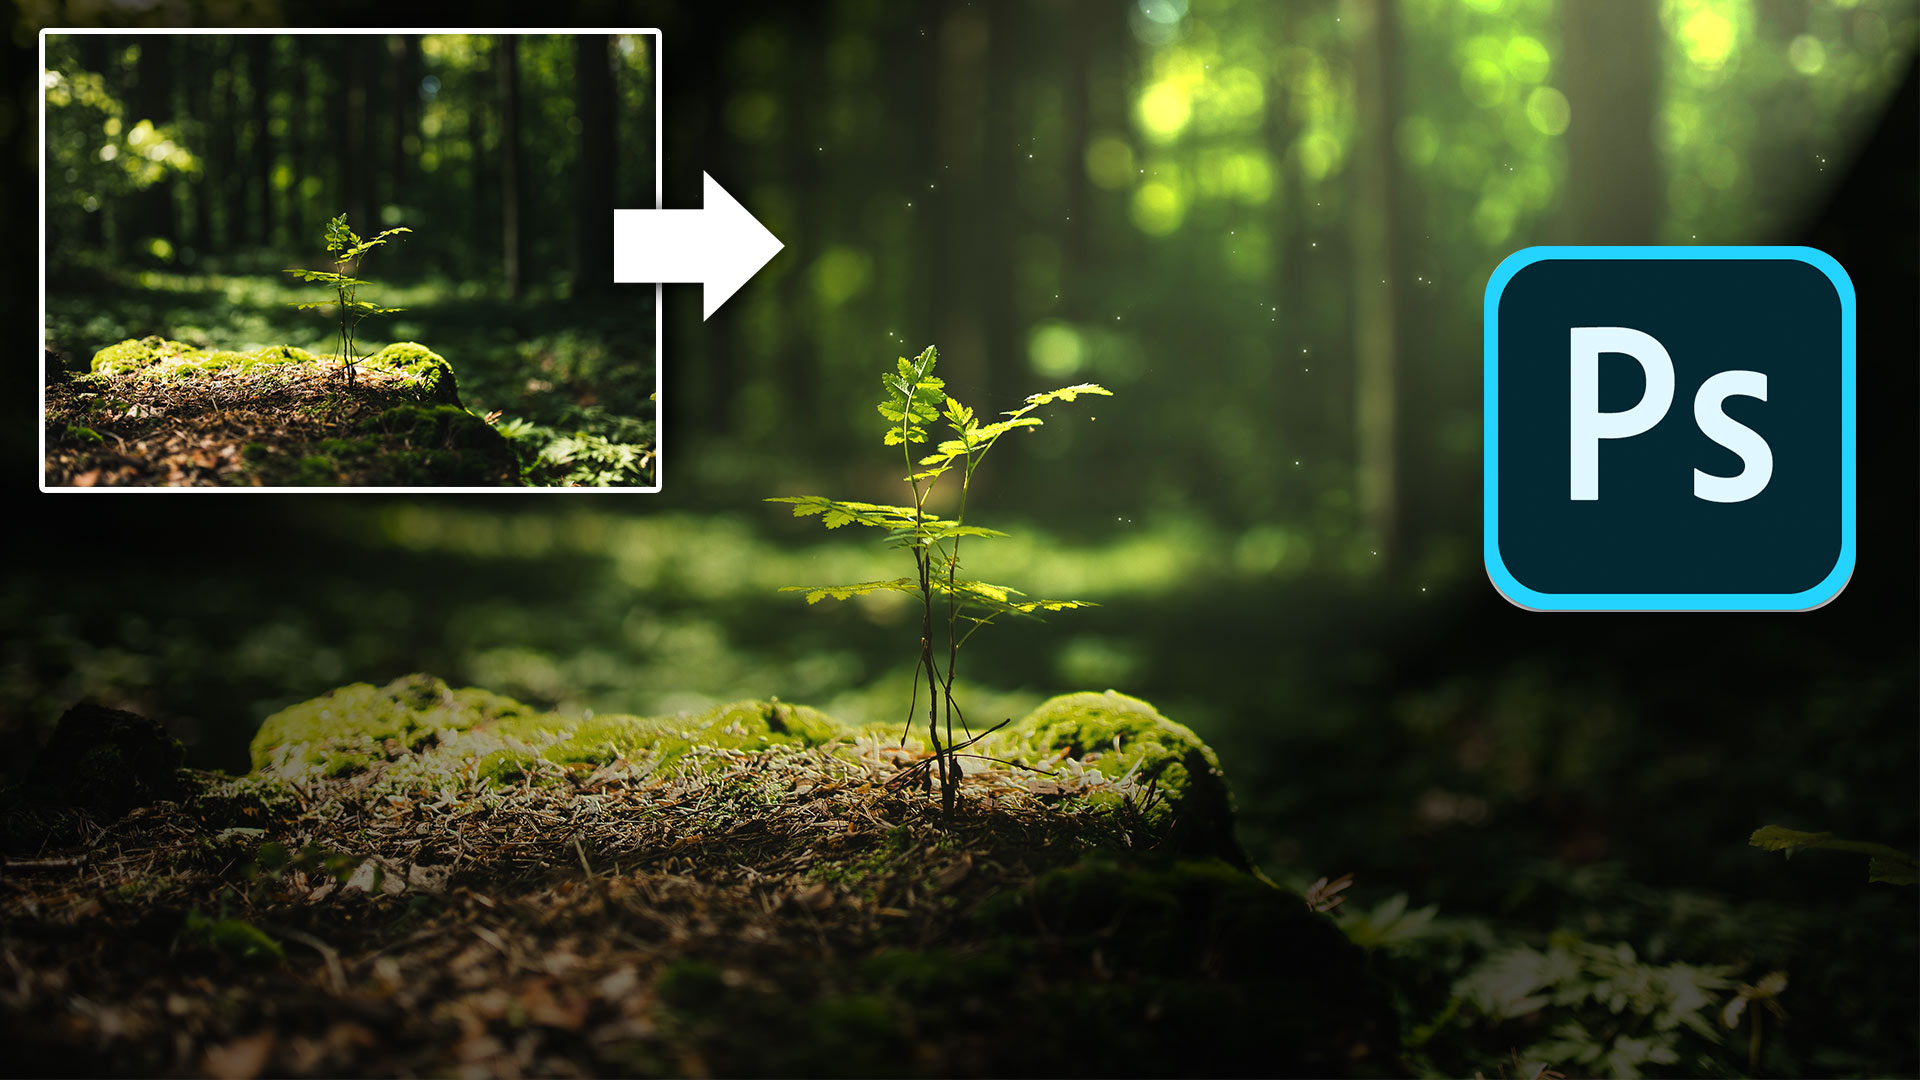
Part 4 is adding a beam of sunlight to a Landscape photo.
Part 5 is making a Sunset.
Browse our hundreds of other free tutorials here, or search for what you are looking for in the search at the top of the page.
If you are ready to get serious about Photoshop, see our full length courses here
Colin
PS Don’t forget to follow us on Social Media for more tips.. (I've been posting some fun Instagram and Facebook Stories lately)
You can get my free Layer Blending modes ebook along with dozens of exclusive Photoshop Goodies here


13 thoughts on “Change day to night in Camera Raw, lighting photos in Photoshop.”
Leave a Reply
How to make Adjustment presets in Photoshop, how to load in more presets and how to make your own presets
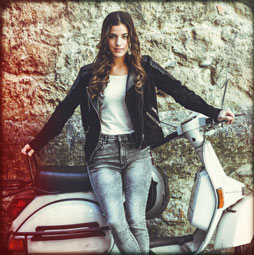
In this Photoshop Tutorial, I'm going to show you how to make a lomography toy camera effect in Photoshop. We...
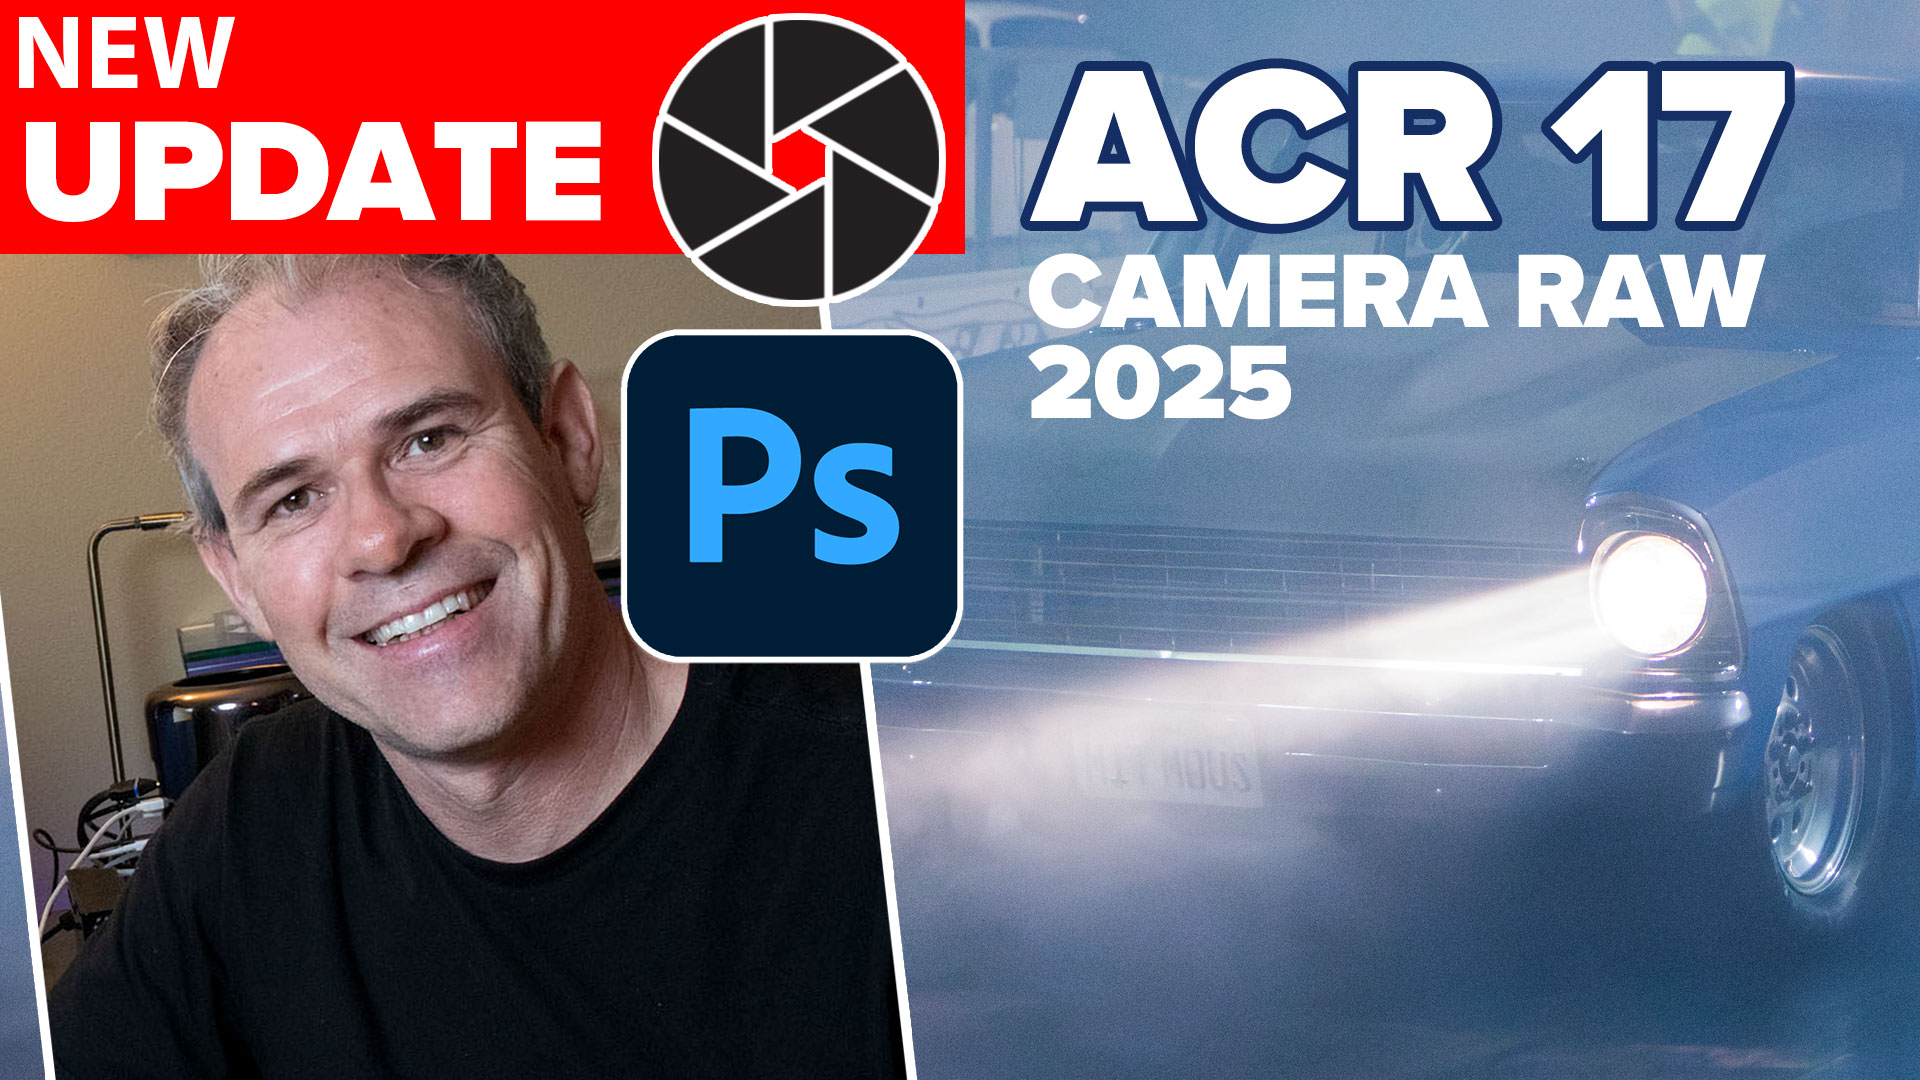
New Features in ACR 17 Adobe Camera Raw 17 in Photoshop 2025


love this tutorial…. very interesting applications
thanks Colin , I found this most interesting I never knew you could do this in raw and I shall be trying it out , over the week end great tutorial
mike yates
Great tutorial Colin. Learned quite a bit
Thank You
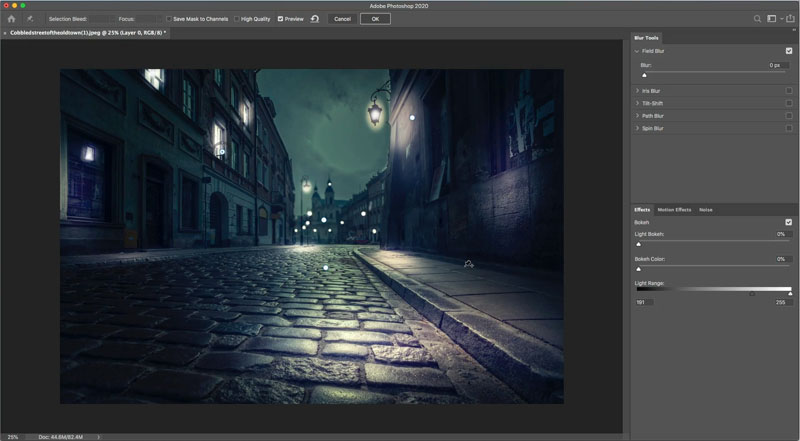
Sorry , When you were in the field blur filter, why didn’t you use the boka sliders .
It’s amazing Colin how you can change the atmosphere of such an image. Great tutorial, thanks for sharing!
Very nice tutprial! I enjoyed it a lot. Can you give a tutorial on creating a Nebula? Thanks!
I was wondering if you were going to add a ‘bulb’….of course you were! Great tutorial!Thanks!
Thank you for sharing your vast knowledge and skills Colin. Much appreciated
Great stuff – thank you!!!
Very good tutorial, learn a lot when I use the “old” Camera Raw, but how do I do the same tutorial with the updated Camera Raw ?
I was just curious if you are ever interested in seeing a viewer’s project based upon and after watching one of your tutorials?
Yes, I am very interested. Can you post in PhotoshopCAFE group on facebook?
Hi Colin,
thanks for this indepth walk through. Lots of interesting features that I knew about but did not think to use them in this way.