Automatically Match colors to the background of an image with harmonization in Photoshop
Match color and tone on background to layer in photoshop
Worth mentioning, although this feature shares a similar name with Harmonize, this harmonization neural filter is a completely different feature.
Use object selection to cut out 2 people from the background. Drop them onto a new background and use the Harmonization Neural filter to make the colors and tones match automatically.
Start with a photo of our 2 people.
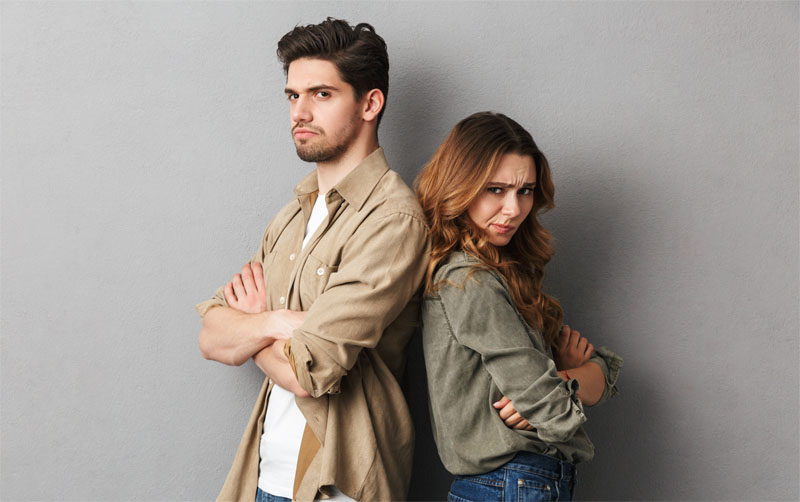
Choose the Object selection tool.

We can automatically select individual objects on screen. As you roll over, you will see an outline. If you click, the highlighted object will become selected. Hold the Shift key and click the second person to add to the selection

In this case, we want to cut out both people. You could also Click on select Subject at the top of the screen if you presef.

You will notice, both people are automatically selected.
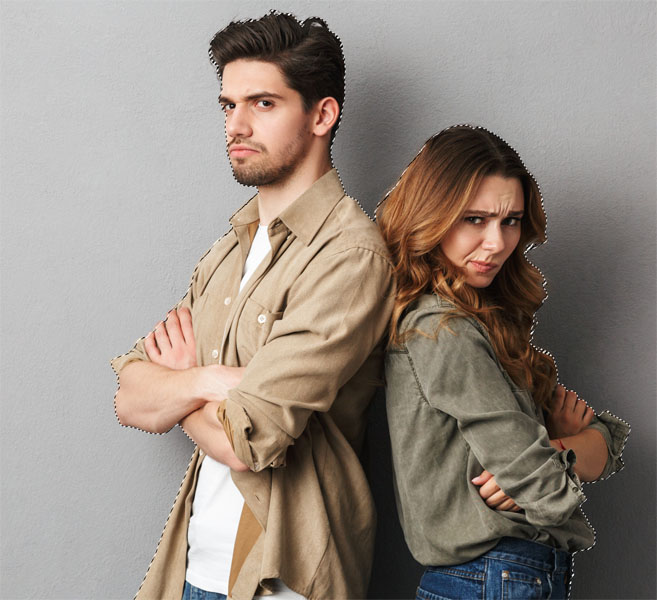
We want to make the edge of the selection better.
Click on Select and Mask at the top
We enter the select and mask workspace, where we refine the edges.
Under View, choose on white, or on black, and push the Opacity to 100%. Now you can see the edge of the selection.
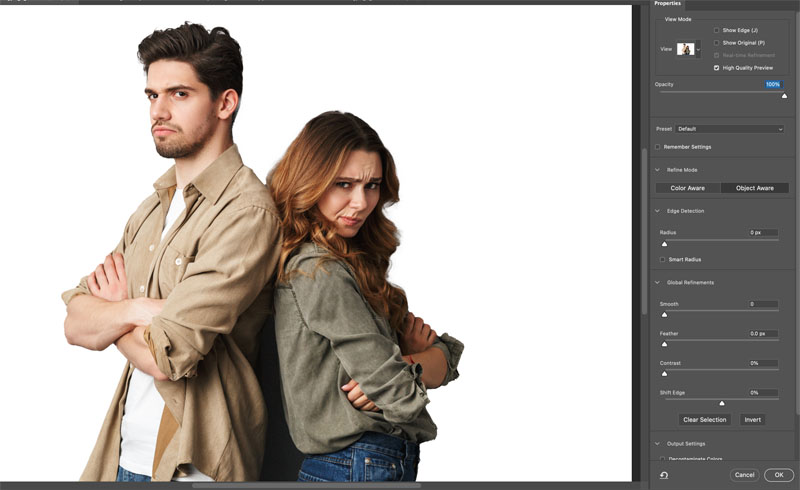
Choose the refine edge brush from the tools on the left.

With the brush quite small, run it around the edges of the hair, and notice the selection of the hair looks better.
Tip: When using the refine edge brush, keep most of the bush outside the hair, with only ¼ to 1/3 of the brush inside the hair.
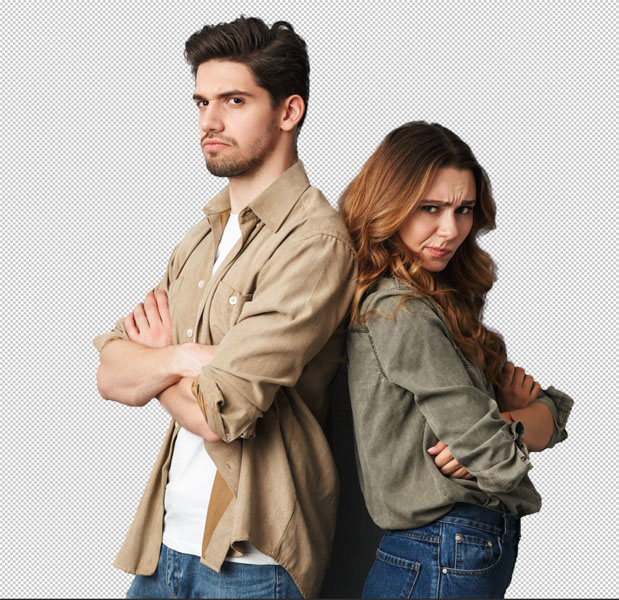
Choose Output to New Layer with Layer Mask.
Click ok.
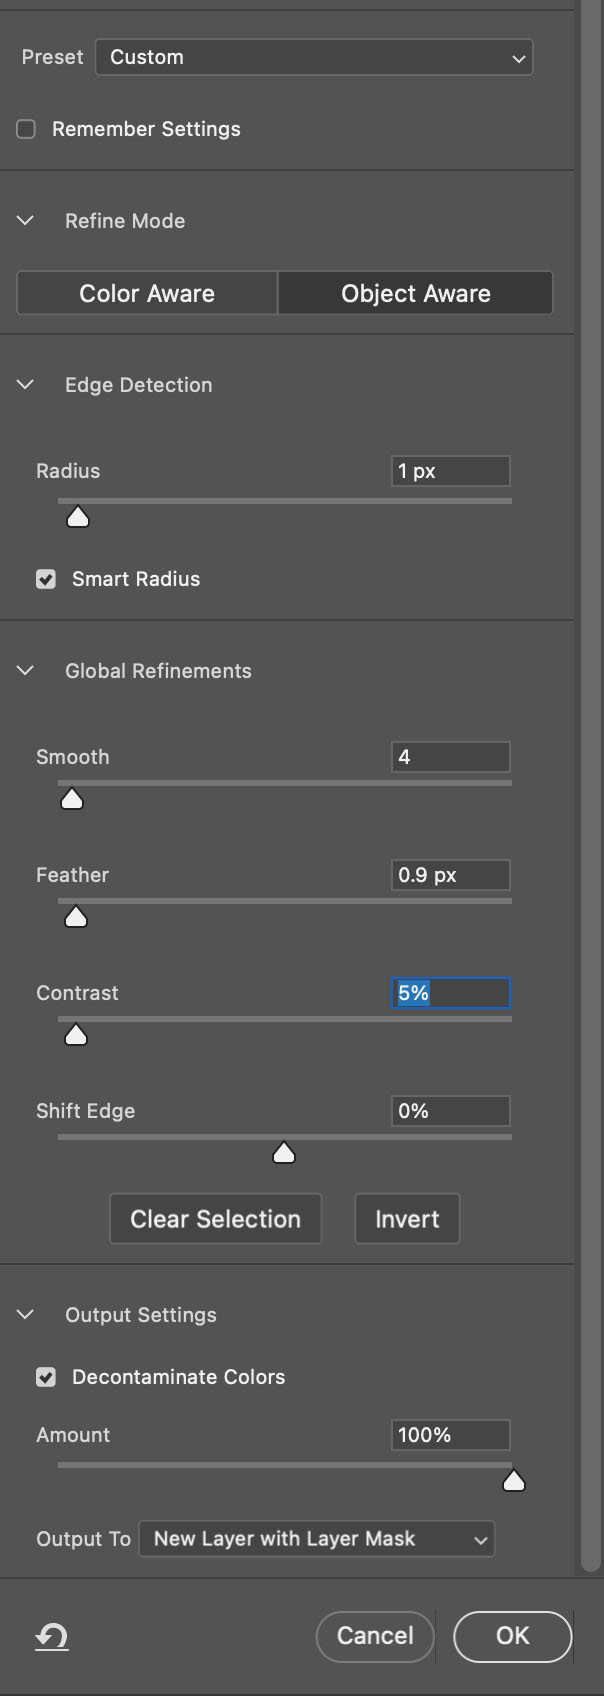
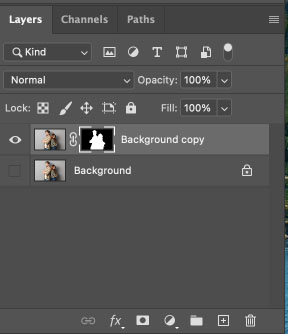
You will see the selection is now cut out using a layer mask. You can further refine your cutout by painting in the layer mask. White will show pixels, black will hide pixels.
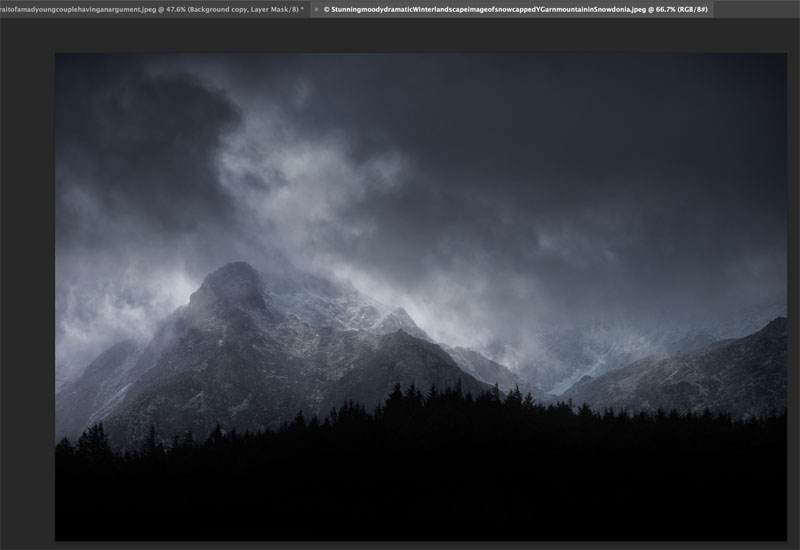
Open the dark moody background image
To combine the images, grab the move tool (V key)
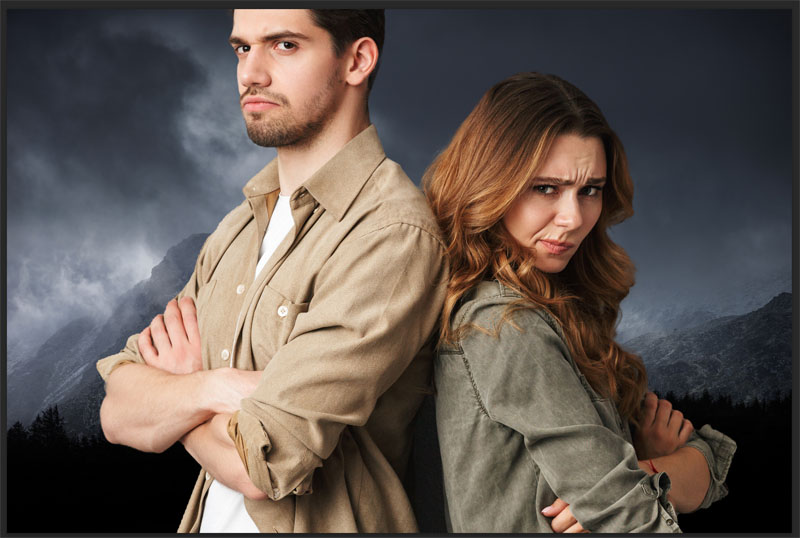
Drag the image of the people into the tab of the background image.
Still holding down your mouse button, the background image will appear. Drag to the middle of the image and release your mouse.
You will see the people have been added as a new layer.
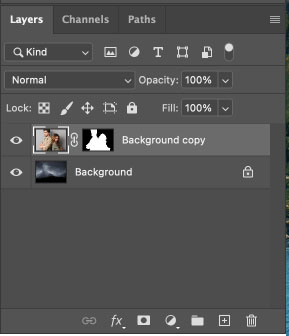
The images are now combined.
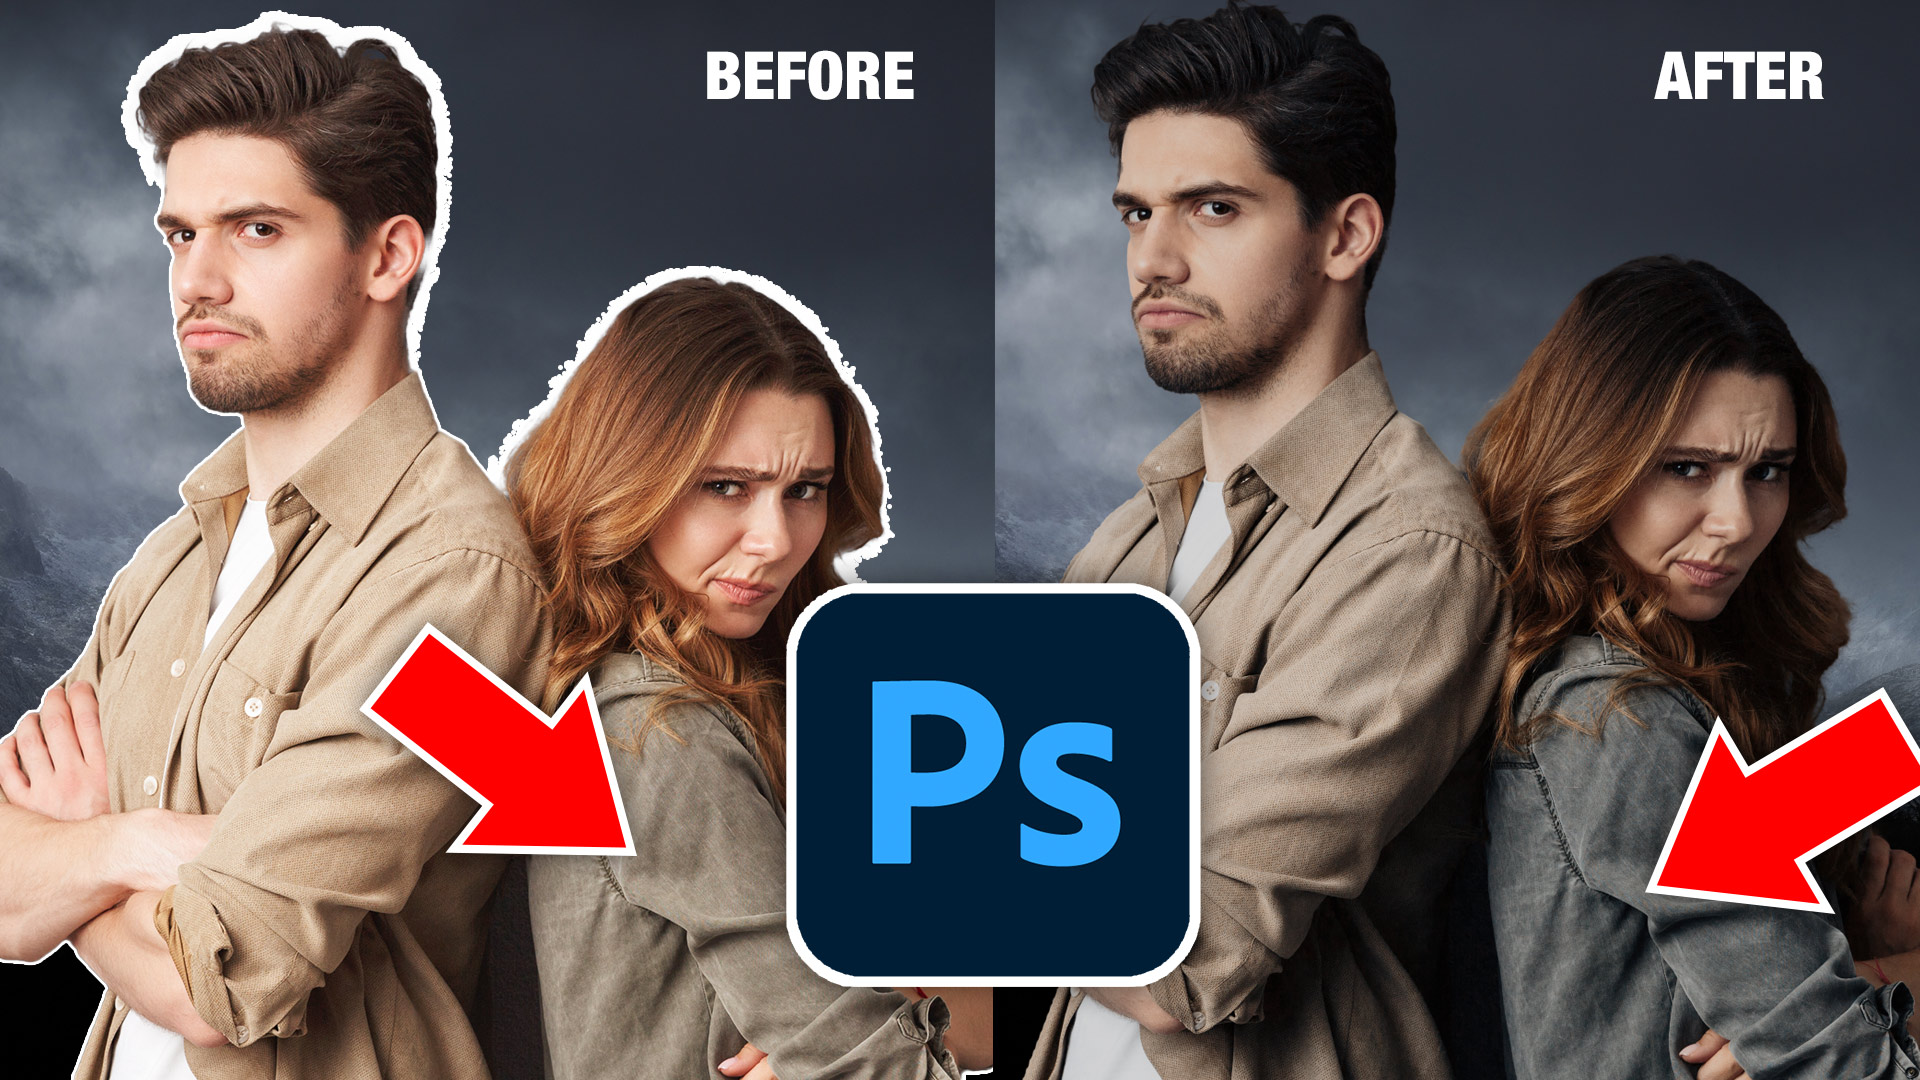
There is a challenge here. The color and tone of the top layer doesn’t match the background
Matching the color and tone
There is a brand new tool to help us fix this.
Filter>Neural filters.
These are a set of AI powered tools to help us work faster.
Click on the Harmonization filter and turn it on. (If you see a cloud icon, click it first to download and install the filter).
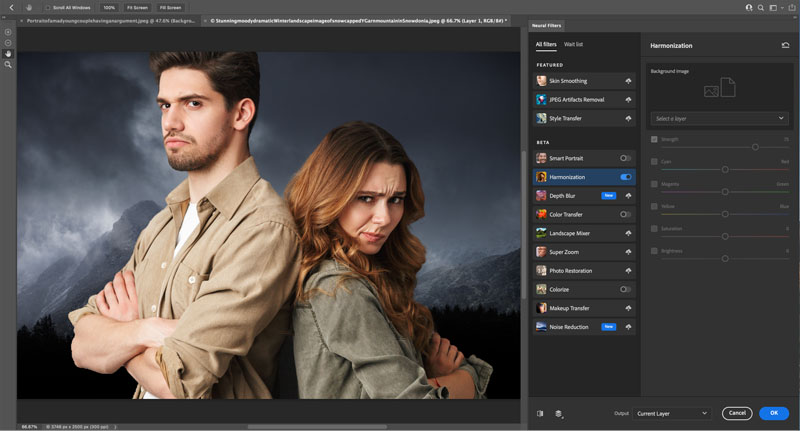
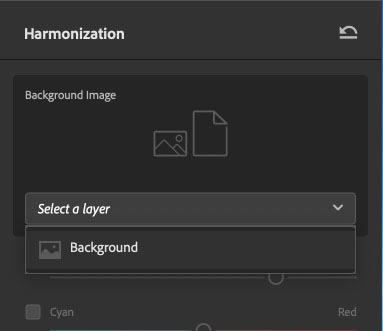
In the properties of harmonization, you will see a selection menu, named select a layer. Choose the background (the only available option in this image).
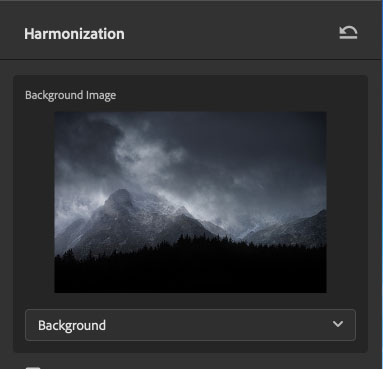
You will see a preview of the image used as the new base color.
The colors of the people will change to reflect the background color better.
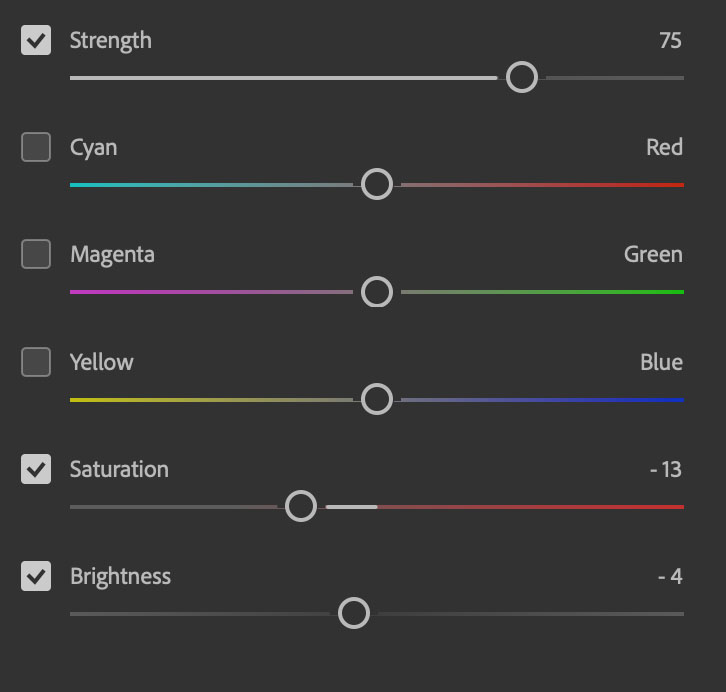
There are several sliders you can use if the colors don’t match the way you want.
In this case, I reduced the saturation and brightness to get a better match.
Choose output to a Smart Filter
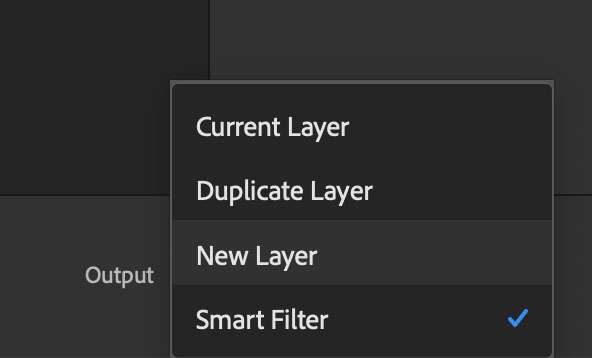
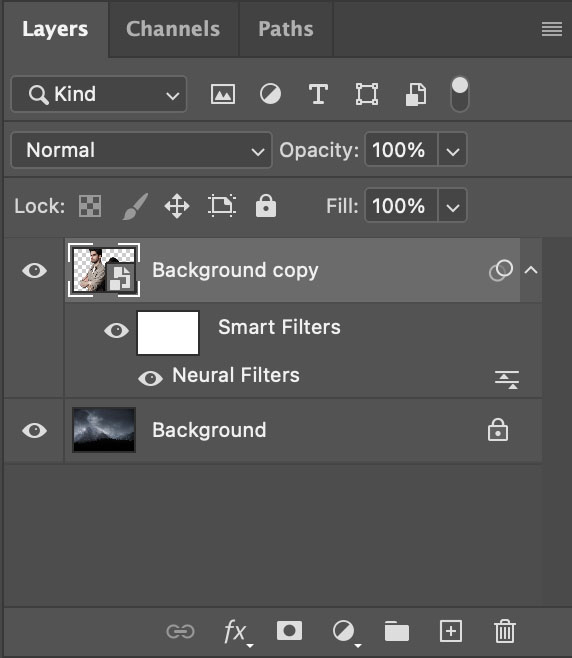
The filter will be applied as a Smart Filter
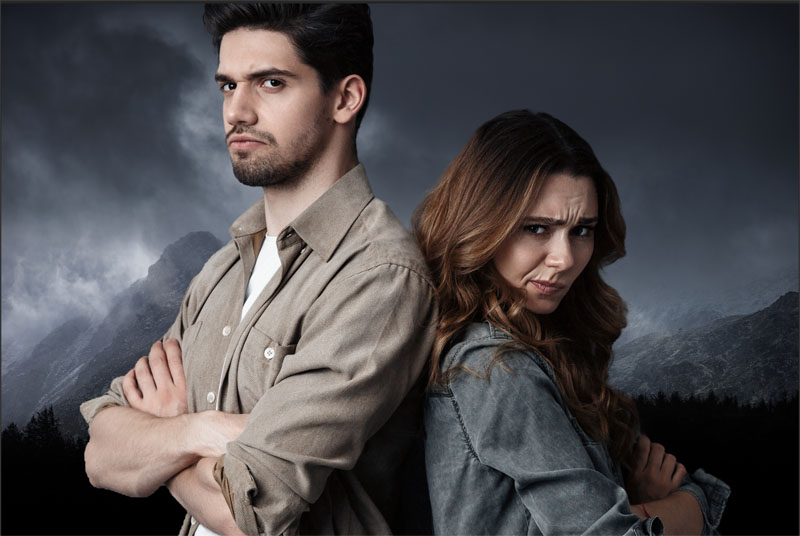
Our result. Things match better. It looks a little bit like the start of a movie poster.
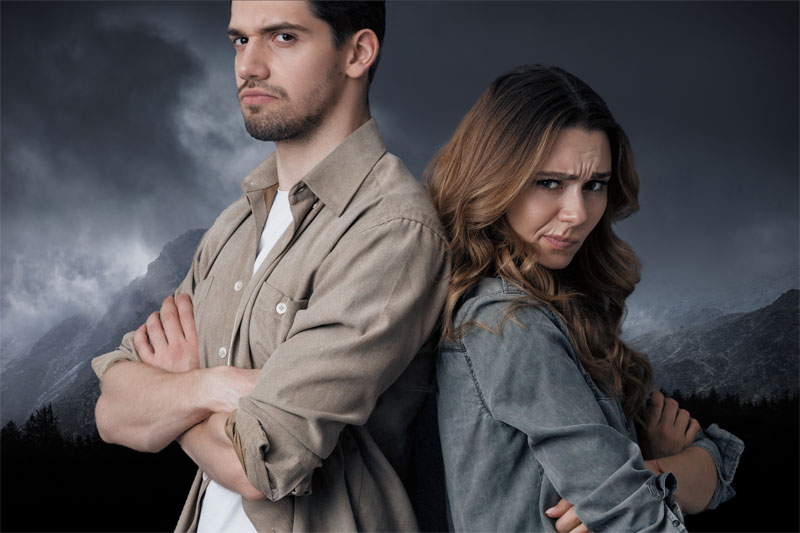
Come back tomorrow for another tutorial on a different new feature in Photoshop 2022
PHOTOSHOP 2022 SUPERGUIDE
- ALL THE TOP NEW FEATURES IN PHOTOSHOP 2022
- LIGHTROOM CLASSIC 2022 NEW FEATURES
- INSTANT SELECTION WITH OBJECT FINDER
- CHECK OUT THIS IMPORTANT TUTORIAL BEFORE UPDATING
- Copy the color Grade of a Movie and use it on your image with new Color Transfer
- Match colors with Harmonize
Great to see you here at the CAFE
Colin
Check out this important tutorial BEFORE updating
See you at the CAFE
Colin
PS Don’t forget to follow us on Social Media for more tips.. (I've been posting some fun Instagram and Facebook Stories lately)
You can get my free Layer Blending modes ebook along with dozens of exclusive Photoshop Goodies here

3 thoughts on “Automatically Match colors to the background of an image with harmonization in Photoshop”
Leave a Reply
New Dust removal in Photoshop ACR automatically removes dust and spots from photos
How to use the unreleased new HDR features in Camera Raw in Photoshop. These new features enable you to output...
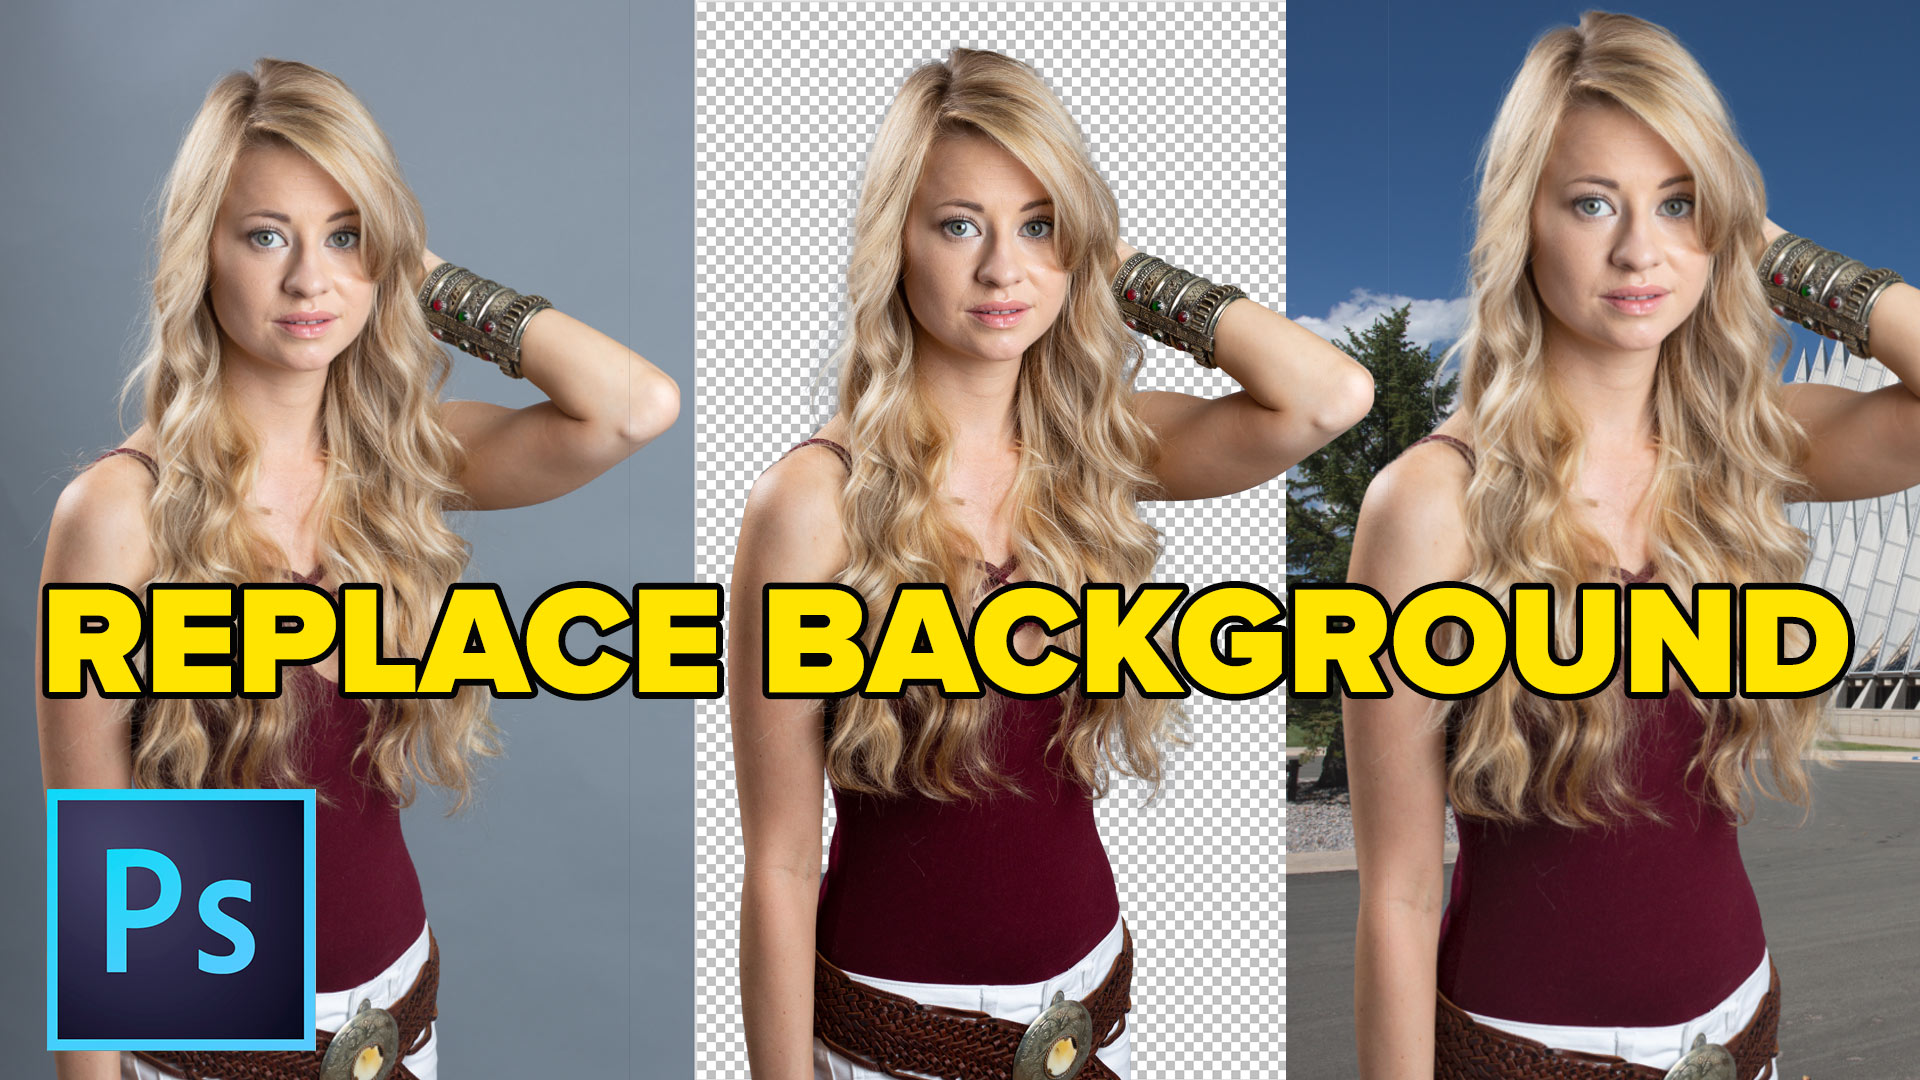
How to put a photo onto a new background in Photoshop. Simple steps, best and fastest result in this easy...





This filter seems a lot like Match Color, at least when matching color and tones of one layer with another layer/image. I use Color Match a lot so your tutorial got me psyched about trying the new filter. After downloading the neural filters, I tested Harmonization a couple times. It seems a little quicker for getting (maybe better) results and it’s a lot more intuitive with its adjustments. Thanks for the heads up on this feature. I would love to see your tutorials on all the neural filters.
I really enjoyed the videos, and I have one question that no one seems to answer. Let’s say you want to use harmonization and you have a photo that is let’s say six layers, each one being a different component. I understand if you harmonize two layers, a background And a subject from the patient works very well. If you’re in a position of having six layers, if you select one layer with the harmonization neural filter work on all of the layers and harmonize them.
Thanks so much.
Hold down Alt+Shift+Ctel+E and make a new composite layer and apply the filter to that layer