
5 ways to fix selection edges in Photoshop
Making clean selection edges in Photoshop
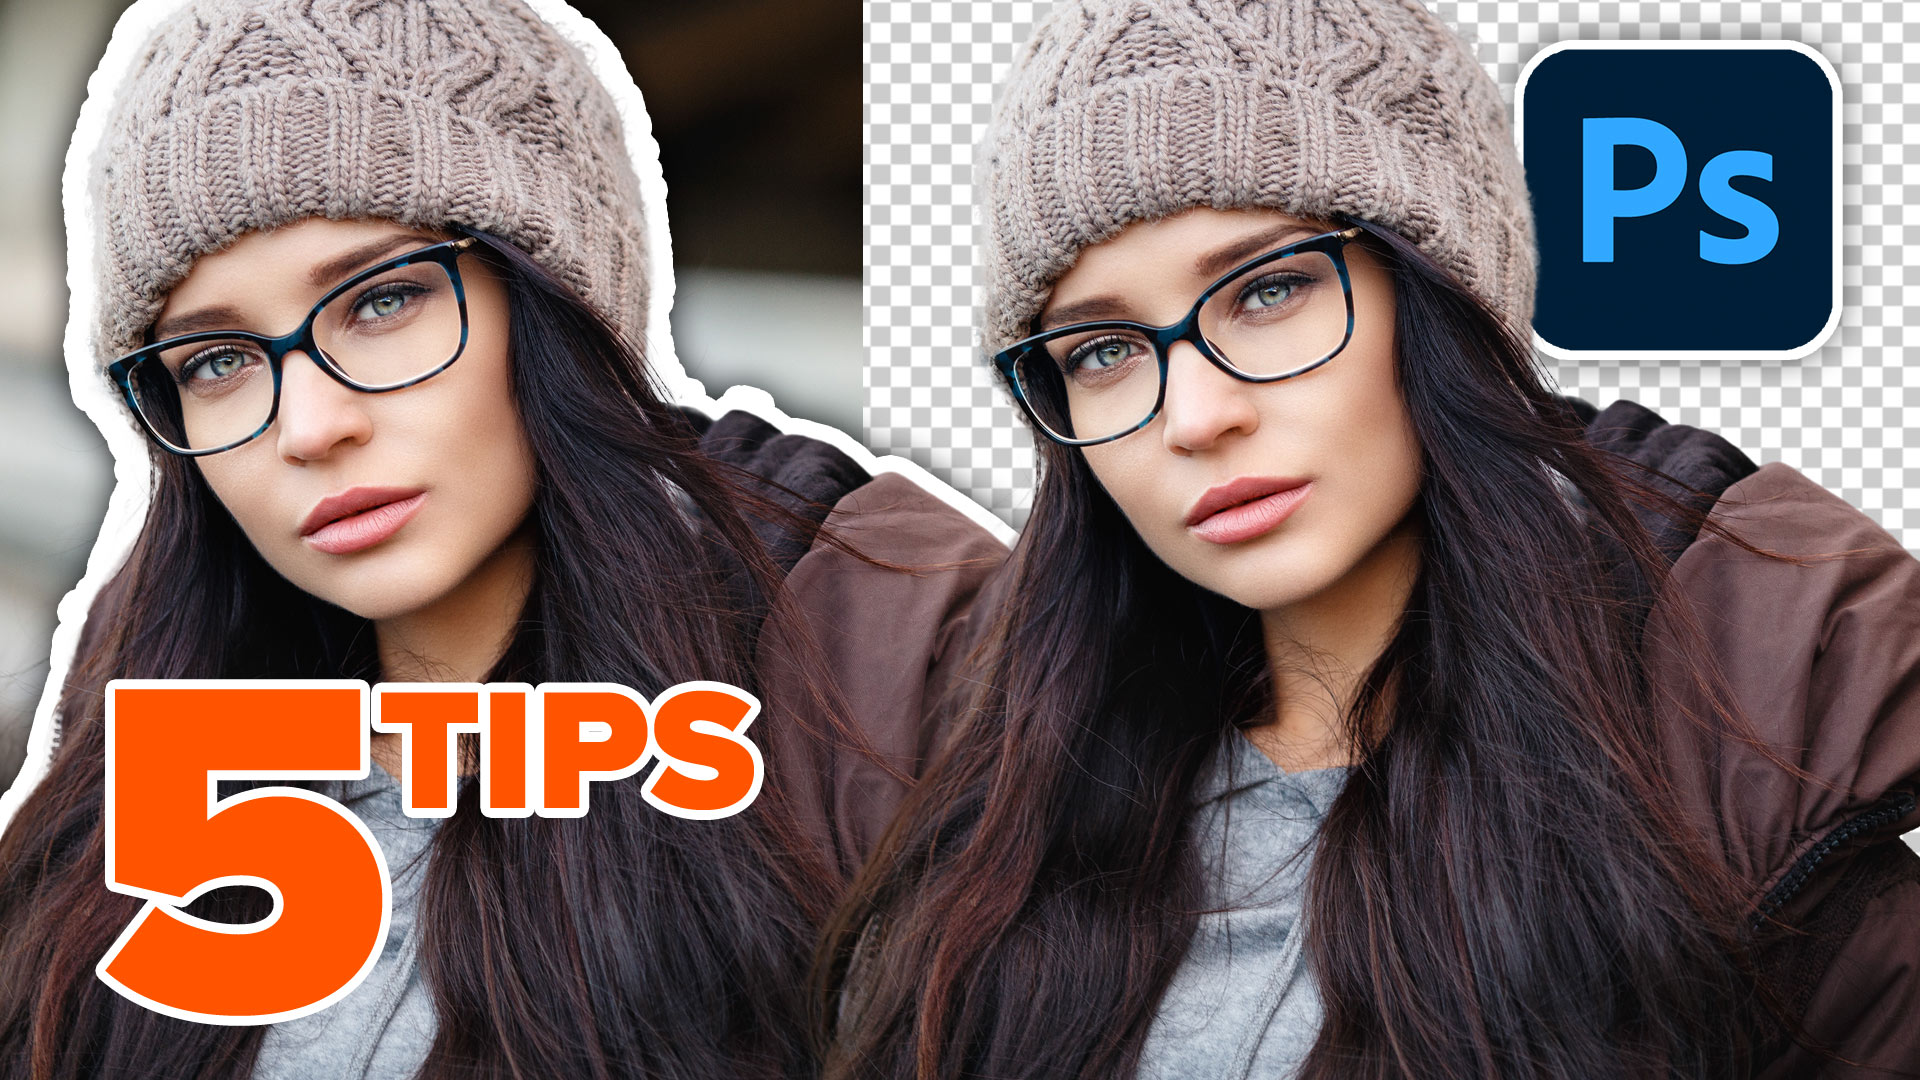
If you want to remove the background, or combine images in Photoshop (called compositing), you will need to use selections.
When you make selections and cutouts in Photoshops and you look at the edges, often you will see 3 main problems. I call these, the Cloudies, the jaggies and the Fringies.
Cloudies: Edges that aren’t 100% transparent, they aren’t clean Such as around hair and fur. (Technical name, ghosting).
jaggies: Smooth edges, that are anything but. This is often seen on the edges of skin and limbs, or hard surfaces. (Technical name, pixelization)
Fringies. Often a light or dark line around the edge. Sometimes a colored edge.(Technical name, halos)
This tutorial gives you 5 tips on removing these issues.

Making a basic selection and using Select and Mask
Here is the workflow to make a quick selection and fix the edges using the standard tools in Photoshop. This should be done first and is often enough for man selections. Be aware, this is a tutorial on edges, not selections. There are many ways to make selections in Photoshop and I cover those in many different tutorials.
Choose the Object selection, or quick selection tool
Choose Cloud option in the toolbar

Click Select Subject
You will see the marching ant selection

Refining a Photoshop Selection
Let’s clean up the selection
Choose Select and Mask

Here we see a dark fringe around the hat

Change to Black Bacdrop and you can see the light fringing around her jacket

Choose the Refine brush and run it around the edge of the woolen hat and hair

2 more settings, I always use
Set radius to 1
Choose Decontaminate Colors Sometimes you need to adjust the Amount slider

When you open, choose the New Layer as Layer Mask setting. Always use masks.
That was the basic workflow. Let’s look at a few more techniques that focus on specific issues.
Fixing the Fringie (Edge Halo)
Lets fix the edge halo on this image.

Click on the Layer mask to edit the mask, not the photo.

Choose Filter>Blur>Gaussian Blur
Enter a number between 2-3
Click ok
This will blur the mask and soften the edge

Press Ctrl/Cmd+L for levels
As you move the black and gray triangles (sliders) to the right, you will see a nice, crisp and clean edge appear.
See the colored edge is removed. This technique works on jaggies too. continue to see.

Removing halos technique 2
There is another, faster way to remove edge halos
With the Mask, selected, choose Filter>Other>Minimum

Change to Roundness and move the slider
As you move the slider, you will see the edge shrink and hide the colored edge.

Fixing the Cloudies on the edges in Photoshop (ghosting)
In this tip, we will fix 2 problems, but also combine techniques for a better all around selection
Choose Select Subject

Go to Select and mask
Notice that the enclosed areas of the hair, still shows the background color

Drag the refine brush over those areas

Click ok the apply and go into Photoshop

Notice, the cloudies. Around the edges of the hair, you can see a cloudy bit of dark gray. This wouldn’t show up if the image was dropped onto a medium or light background. But right now, I’m displaying it on black and you can see the issue.

Choose the Layer mask.
Press Ctrl/Cmd+L (Don’t blur the mask this time)
Move in the middle slider and the black slider o the right. Be subtle and gentle. You will see that you can clean out the cloudies and get a nice clean edge, even in hair.

Duplicate this layer.
Fixing Jaggies on the same image
Because we want to fix more than one part of the edge on the same image, we don’t want to use the same settings for hair and solid edges. The same technique doesn’t work for both. Here is how we combine techniques.
Duplicate the hair adjustment that we just did.
Hide the hair layer and choose the duplicate layer.

Now we want to fix the jaggies. See how the edge on the shoulder and neck isn’t nice and smooth.

Choose the Layer mask
Choose Filter>Blur>Gaussian Blur (sound familiar?It is)
The edge will be blurred.

Press Ctrl/Cmd_L for levels
Move the sliders towards the center and tweak the middle slider until you get a nice smooth edge.
The hair will look bad, but it doesn’t matter, focus on the shoulder.
Click ok

Now we need to combine the 2
Grab the Lasso tool
Make a selection around the parts that contain the hair

Make sure the mask is active and fill with black to hide the area inside the selection. (Ctrl+Backspace (Win) / Cmd+Delete (mac) will fill with the background color).

Reveal the hair layer and now you can see the two layers combined provides the best overall edge. Remember, you can use any technique you like to clean up different parts of the edge and combine them. Speaking of, this last technique is my favorite, read on.

Selectively fixing an edge in Photoshop
This technique can be used to paint away the edge halos and issues on the areas that you choose.
See the white fringe on this edge.

Ctrl/Cmd+Click on the Layer mask to load it into a selection.


Choose>Select>Modify>Contract and enter 1 pixel

Choose Select>Modify>Feather and enter 1 pixel

Now we have a single pixel soft selection. This is something I discovered over a decade ago, while working on print magazines in Photoshop 4 or 5 and my little discovery still works on the latest version of Photoshop. BTW, if you want to find someone that can produce really clean work, find someone who has worked in Print. Unlike online, in high resolution print, you can see every detail.
We need to select everything BUT our object, so that the single pixel is right on the edge.
Choose Select>Inverse or PressCtrl/Cmd+Shift+I

Grab a brush (b key)
Choose black as the foreground color
Make sure the mask is selected and not the layer
But wait, you can’t see the edge because of the selection
Press Ctrl/Cmd+H to hide the selection. It’s still active, but hidden
Drag the brush up along the deg and watch it magically become perfect.


Thanks for checking out this tutorial. I hope you found it useful. Check out all the other tuts here at PhotoshopCAFE
Ciao
Colin
PS Don’t forget to follow us on Social Media for more tips.. (I've been posting some fun Instagram and Facebook Stories lately)
You can get my free Layer Blending modes ebook along with dozens of exclusive Photoshop Goodies here

11 thoughts on “5 ways to fix selection edges in Photoshop”
Leave a Reply

how to photograph a lunar eclipse for beginners, the gear and techniques to photograph the lunar eclipse. Photograph blood moon.

How to turn white into a color in Photoshop. In this photoshop tutorial, Colin Smith shows how to add color...

in this free Lightroom tutorial learn how to make an HDR image in Lightroom 6 / Lightroom CC. Shoot bracketed...


Thanks Colin! Very helpful in the restoration of some 100-year old photos in a museum I am supporting to digitize their precious artifacts. I need to be careful not to manipulate these photos, but to keep to only the careful restoring thereof.
Great tutorial. I use some of these but now I know some new techniques. I’d forgotten about the Minimum adjust meant. And I learned about using blur and curves on the mask. Thanks.
MAKING CLEAN SELECTION EDGES IN PHOTOSHOP – Photoshop Cafe
I am using Photoshop 2021 as my operating system does not support t 2022
Here is the workflow to make a quick selection and fix the edges using the standard tools in Photoshop. This should be done first and is often enough for man selections. Be aware, this is a tutorial on edges, not selections. There are many ways to make selections in Photoshop and I cover those in many different tutorials.
Choose the Object selection, or quick selection tool
Choose Cloud option in the toolbar – I cannot find this option in my toolbar so I cannot proceed to the next steps.
That was new in v 2023, everything else works the same though, its just a lesser quality selection without cloud option.
Very helpful!
Got to try these solutions!
Another excellent tutorial Colin – thank you! I dread doing selections -especially selections against complex backgrounds. I look forward to putting these tips to work.
Thank you. I’ve been struggling with this for years.
You never cease to amaze me, in the way you can breakdown and make easy, what seems so hard. I’ve spent hours using masks and brushes trying to eliminate the crinkles in hard objects. Thanks for the great tips
Colin – you are just great. I appreciate every video you provide. I started watching you at the start of the Pandemic when most of us were not able to do photos on location. You kept me totally informed and entertained during that entire time. I am still a loyal follower. You have proven yourself as a great teacher!
Thanks so much! I really appreciate that, and glad to have you on board