
How to remove harsh shadows from a face in Photoshop
I’m going to show you how to remove a shadow from a face inside of Photoshop. Look at this photo and you can see the light coming through the chains and it makes it look like this man has a birthmark on his face. I’m going to show you two different methods.


Method 1. Clone Stamp
1. Create a new layer on top, in the Layers Panel. Its always good to clone onto a new layer

2. Select the clone stamp from the toolbar.
Settings: Sample, set to current and below, which means it’s going to select from the layers underneath. Otherwise it wouldn’t get anything and nothing would happen.

3. Window>Clone Source.
We want to flip the clone source (mirror it) so we can take the texture from the left side of the face and apply it to the right side of the face.

4. When you hold down Alt/Option and sample an area, it allows us to paint with the clone stamp. Hold the Alt/Option key and click on the left cheek and begin working on the right cheek.
I’ve got the opacity and the flow up at one hundred. If you’re not using Pen pressure, drop the opacity down to about 30 percent or 50, just try to see where it works best.
Don’t try to do the whole face in one go. Resample the texture often and just do little dabs at a time on the affected areas.
When you are finished, you could change the blending mode to luminosity, so that the left and right don’t look identical.

Method 2, color and texture
This method is for more stubborn images, or when its looking too blotchy, or the left and ride side are to different, or if the person isn’t straight on to the camera. We will smoothen out the colors first, and then add the texture back in.
1. Create a new layer on top, in the Layers Panel.
We will paint over the shadows on the face and then put back the texture later.
2. Choose the brush tool and use the soft round brush. Keep opacity at one hundred. Drop flow down to about 10%. (Shift+1)
And if you’re wondering what’s the difference between using flow and opacity, check out the tutorial that I did last week.

3. Check the brush settings. Choose Window>Brush settings. Make sure all the dynamics in the top half are turned off except for transfer.
Set the transfer opacity to Pen pressure if your using a pressure sensitive pen. If you’re not using a pressure sensitive tablet, don’t worry about those settings.
You can still follow along with a mouse. It’s just going to be a little more difficult and take a little bit longer. If you’re doing a lot of retouching, you should consider getting a pen tablet. I’m using a Wacom intuos pro small on this tutotial. (My Favorite is probably the Wacom Intuos Pro Medium)

4. Choose the eyedropper we’re going to change the sample size. Let’s do a five by five average. So it’s going to do five pixels at either direction.

5. Adjust the size of the brush with the left and right bracket keys.
We will paint over the affected areas with solid color. Don’t worry about detail, just the color.
Go back to the brush. Sample the color very close to this first mark. Hold down the Option key, it’ll turn into the eyedropper and tap on the color to sample. Notice, the foreground color now changes to that selected color.

Gently just paint over the shadow areas, making sure to resample the color each time you change area. Take your time. Don’t be in a hurry and just work on those little transitions and edges.
Work your way across the photo, getting rid of all the weird colors just blending nice and smooth.

Don’t worry about the fact that we’re losing all the detail. We just want to smoothen everything out.

Once you have smoothened out the color, we need to put some texture back in, so it doesn’t look like a cartoon. (FYI, because of how dark the shadows are, frequency seperation wouldn’t work on this, someone will ask)

6. Adding the texture (Same as we did in first method)
We want to add some texture back, because right now it’s very flat.
Create a new layer
Select the clone stamp from the toolbar. Settings: Sample, set to current and below, which means it’s going to select the layers underneath. Otherwise it wouldn’t get anything and nothing would happen. Window>Brush setting’s make sure all Dynamic are off.
Window>Clone Source.

When you hold down Alt/Option and sample an area, it allows us to paint with the clone stamp.
We want to flip the clone source (mirror it) so we can take the texture from the left side of the face and apply it to the right side of the face. (The reason we didn’t just use the clone stamp in the first place is that it would produce a more blotchy result and we don’t want a mirror image on the other side of the face, just the texture, this will give us a more natural result with smoother tones. )
Hold the Alt/Option key on and click on the cheek and begin working on the texture
I’ve got the opacity and the flow up at one hundred. If you’re not using Pen pressure, drop the opacity down to about 30 percent or 50, just try to see where it works best.
Don’t try to do the whole face. Just do the areas where that texture is missing. Resample the texture often and just do little dabs at a time.
Change the blend mode from normal to soft light or luminosity. Notice how it just blends everything. This is different than the first method because lays down a different color for the foundation, so both sides of the face don’t look exactly the same.

You could spend a little bit more time on it and get it absolutely perfect, and do the same steps under the chin. but I think you see the steps here.
We started with a photo that might have been unusable. Rather then book a new photoshoot, try this technique and see if it helps.
Browse our hundreds of other free tutorials here, or search for what you are looking for in the search at the top of the page.
You can also browse by topics in the free tutorials menu.
If you are ready to get serious about Photoshop, see our full length courses here
Great to see you here at the CAFE,
Colin
Keep growing with Premium Courses
Photoshop 2026 for Digital Photographers
Learn Photoshop properly, from the basics to pro retouching, step by step.
$129.00 · one-time purchase · instant download

Free for you
The Photoshop Vault
Get my free Layer Blending Modes ebook along with dozens of exclusive Photoshop goodies: actions, brushes, presets and cheat sheets.
You're on the list, so your free goodies are waiting for you in the Vault.
Get Free Photoshop Goodies Open the Vault
Hollywood style searchlight in Photoshop Tutorial
Create a hollywood style, spotlight effect. This tutorial came about as a result of a request from the forums. This effect will... Read tutorial
Focus on Nature – International Photography workshops in Iceland
Photography workshops and tours in stunning Iceland Read tutorial
How to create a Design Concept with Photoshop and Adobe Stock
In this Photoshop tutorial, learn how to create a cool mirrored effect that looks like something on a record cover, or movie... Read tutorial
Vintage Photo effects in Photoshop tutorial. 4 popular processing effects
Learn how to make 4 vintage photo effects in thisPhotoshop tutorial. Learn processing techniques that were historically used and how to reproduce... Read tutorial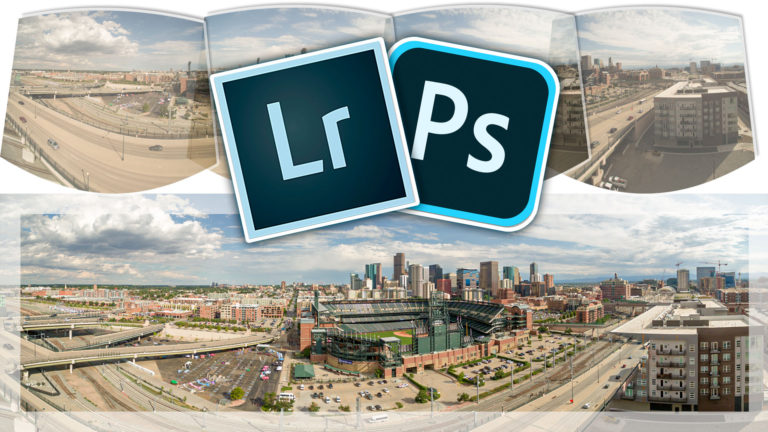
How to Make a Panoramic photo – shoot and edit a Pano in Lightroom or Photoshop
Why Panoramas? Panoramas, or panos are a great way to do a couple of things. First of all, they make it possible... Read tutorial










Never used the clone source panel before-will now!
Also will check the flow vs opacity tutorial.
Thanks,
Barry
Thanks!!!! Once again, Colin another easy, fun and very insightful tutorial. Kudos my friend! Have great week.
Great technique, thank you!
Thank you for letting know how to mirror clone stamp!!! So often came across this problem and didn’t know how to cope with it!!!
Thanks Colin. Another new technique to using the clone stamp. Will certainly be using this one.