
Should you use Flow or Opacity for Photoshop Brushes?
What is the difference between Flow and Opacity in Photoshop?
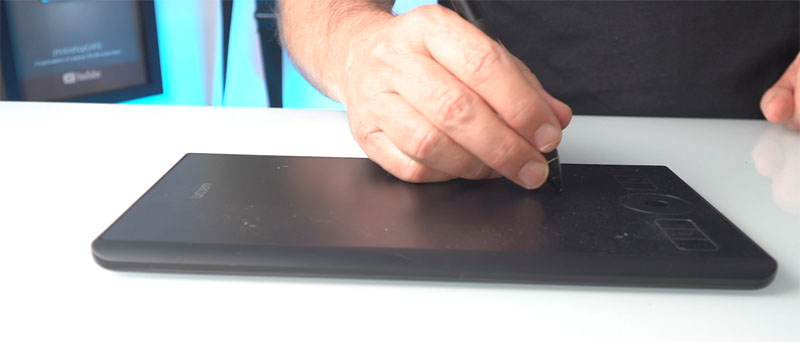
This tutorial shows the difference between Flow vs Opacity in Photoshop. These are settings you use when painting, or retouching in Photoshop. While this tutorial will work with a mouse, you will get better results while using a pressure sensitive pen, such as a Wacom tablet.
In this tutorial, I’m going to show you the difference between flow and opacity in Photoshop brushes and when to use each. I’m using a Wacom Intuos Pro.
When you choose a brush (B) and look at the top option’s bar, there are three settings: Opacity, Flow and Smoothing.

Let me quickly address smoothing: Take the setting to zero and you’re going to get a much more responsive brush. We will only want to use Smoothing if you are doing digital painting or sketching. When you’re doing retouching, you don’t need it.
![]()
Opacity and flow.
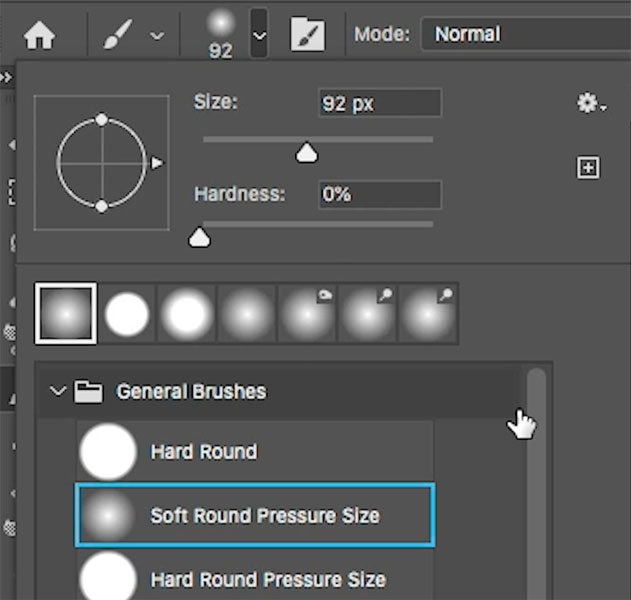
Choose a brush. for this example, I’ll use a black, soft round brush.
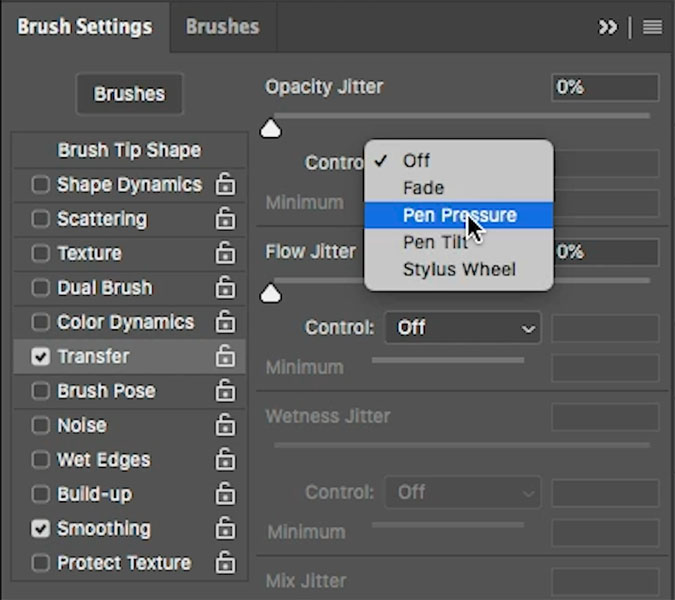
Open Window>Brush>Settings
Turn on shape dynamics and make sure transfer is turned on. Opacity is set to Pen Pressure. When you paint, notice, a light touch will make a faint brushstroke. As I push harder, I’m going to get a darker stroke.
We want to create a smooth blend. There’s two settings that we can use. Some people use Opacity and some people use Flow. They accomplish different things. Let’s look at the difference.
Tip: To change opacity, tap a number key, these will appy in 10’s. For example, the 3 key will change to 30% opacity, the 7 key to 70% etc. If you want to do a number, just type quickly like 12.
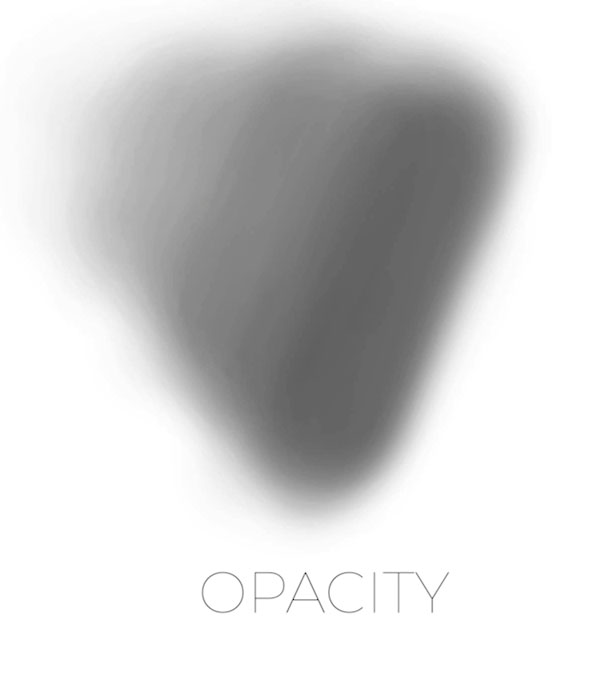
Brush Opacity
Let’s start with 50% opacity to 50, keep the flow at 100 right now.
No matter how hard I press, I’m going to get 50 percent. I’m not taking my hand off the tablet. So I can go over this area as much as I want. It’s not going to go more than 50 percent.

Now, if I take my hand off and paint, I can do another 50 percent and this enables me to build up the stroke over time.

Brush Flow
Let’s hit the flow. By the way, the shift key will enable us to do the same thing with the shortcuts, but for Flow. So Shift five will give us 50% flow. Shift 1 will give us 10% flow.
Why don’t we do 100% opacity, 10% flow. As I paint, I’m getting 10 percent. But as I go back over, I’m not lifting my hand off at all. I’m able to keep going and keep going and keep going until I get to 100 percent.
Flow determines how quickly it gets to 100 percent, where as opacity sets a hard limit. The big difference is if you want to go more with opacity, you have to lift your pen and then apply more strokes with flow. You don’t need to do that.
Flow vs Opacity
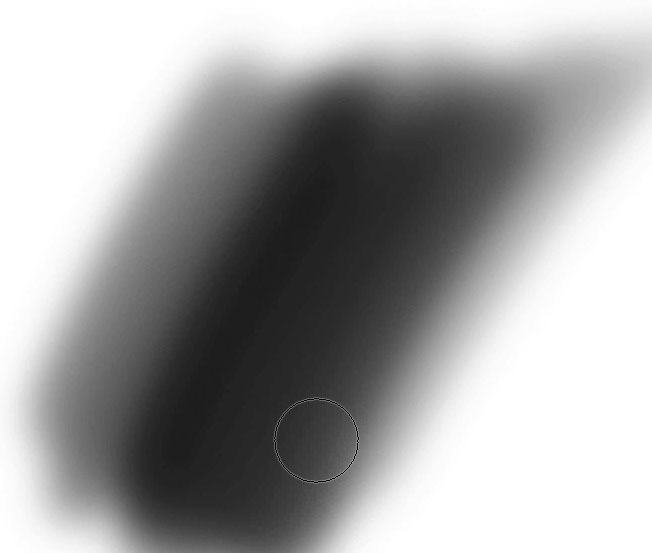
Let’s do an experiment. I want to create a smooth blend. We’re going to use opacity on the left side. On the right hand side, we’re going to do flow. So we can compare. (Watch the video to really see this in action).
So, I’m going to hit the 1 key to for 10% Opacity. (100% Flow).
Start painting on the left side. of the canvas. Build it up. Each time I just take my hand off. Here is the result from Opacity.
Let’s test Flow. Set opacity to 100% flow to 10%.
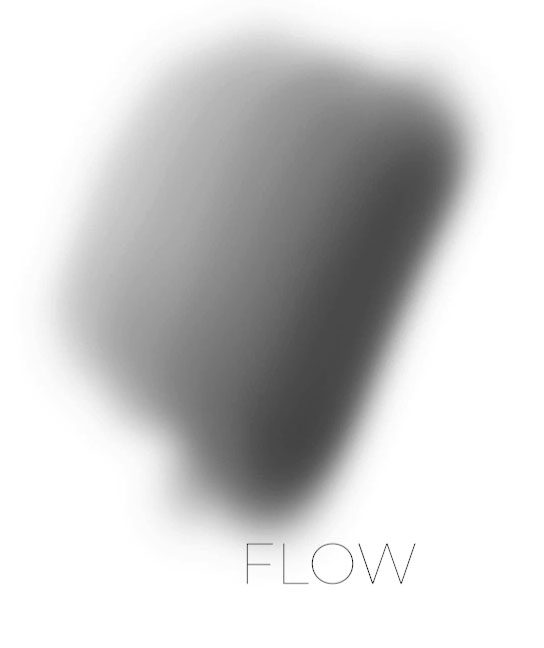
On the right side, we’re going to try and do a smooth blend. Look at the difference.
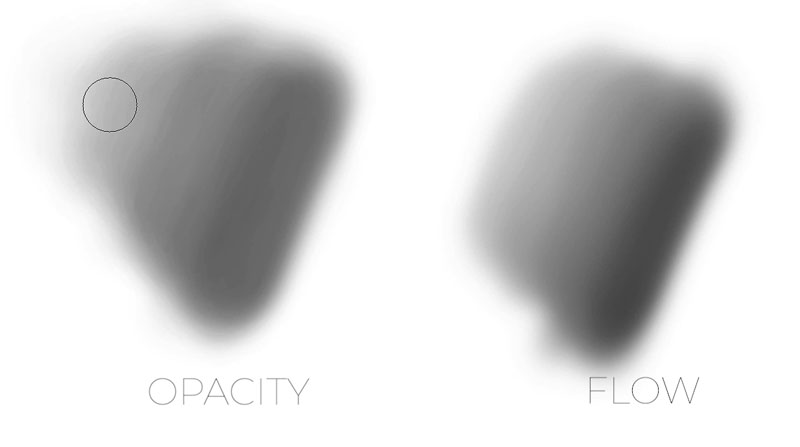
On the left using opacity. We’ve got all this banding on the right using flow, it’s a much smoother result. So if you want to get a smoother blend, you want to be using flow and not opacity. So does that mean opacity doesn’t have a purpose? We shouldn’t use it at all? There are some cases where Opacity is the best choice.
When to use Opacity
if you wanted to get very even coverage, it’s easy with Opacity, as long as you don’t lift your hand.

Try and get a perfectly even coverage with flow. Not so easy.
So if you want to create a very consistent flat amount, you should be using opacity.
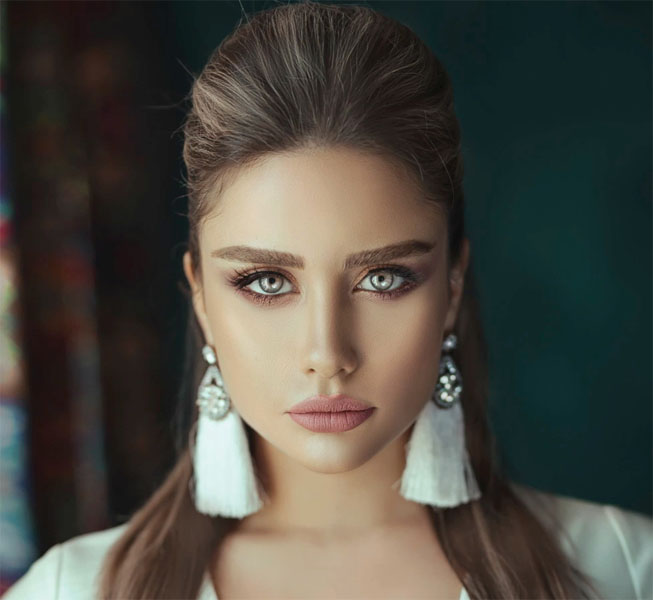
Shadowing with Pen Pressure and Brush flow
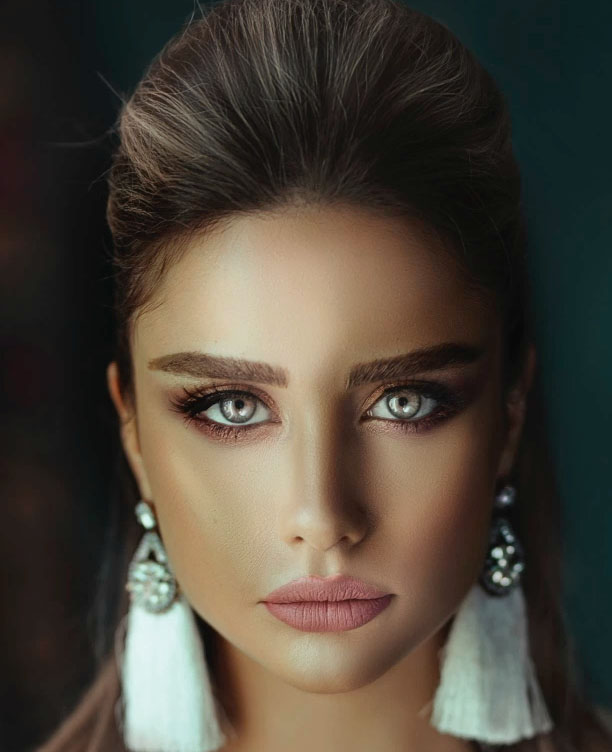
Lets look at a practical case with this image, let’s add some drama.
I’m just going to do this super quick. So it’s not going to be precise or perfect.
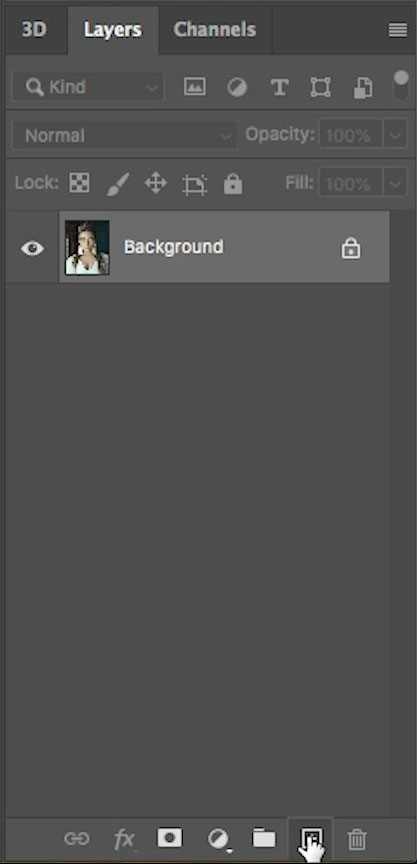
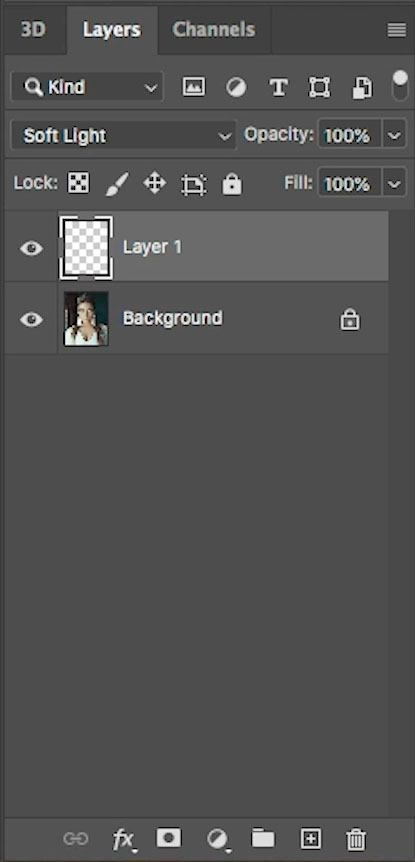
Create a new layer by clicking the new Layer icon in the Layers panel. Change the Blending Mode (Where it says Normal) to soft light and then set the flow to 10% or less. (Often a small number like 6 works really well).

With a larger soft. black brush, paint the side of the face little bit.
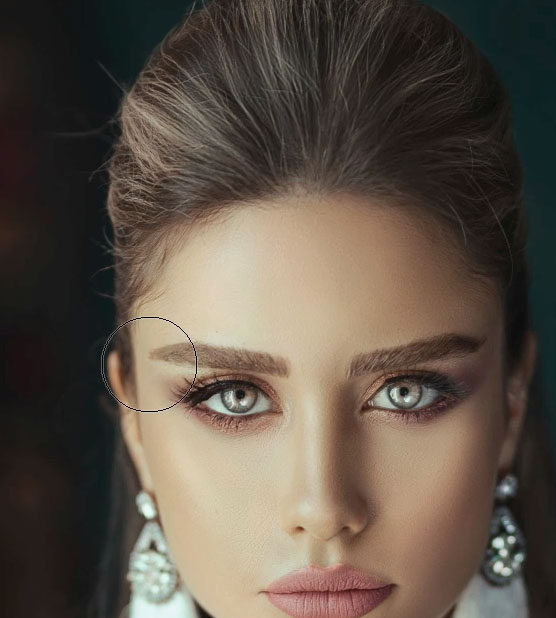
Hit those cheeks and a little shadow on both sides.
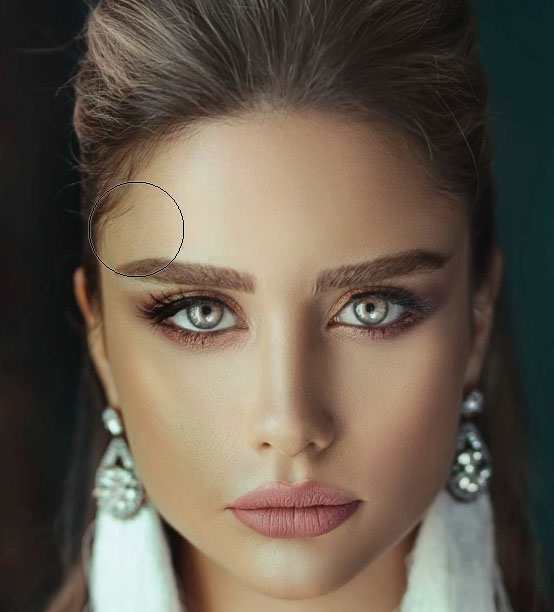
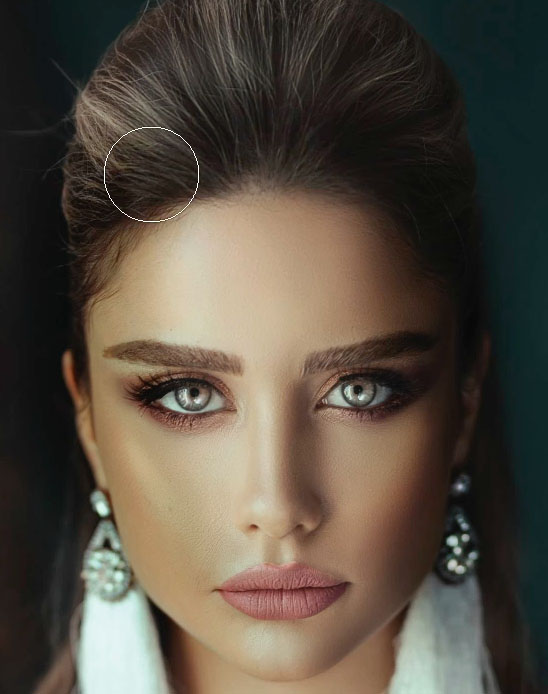
Maybe a little bit on the bottom of the hairline and under the chin
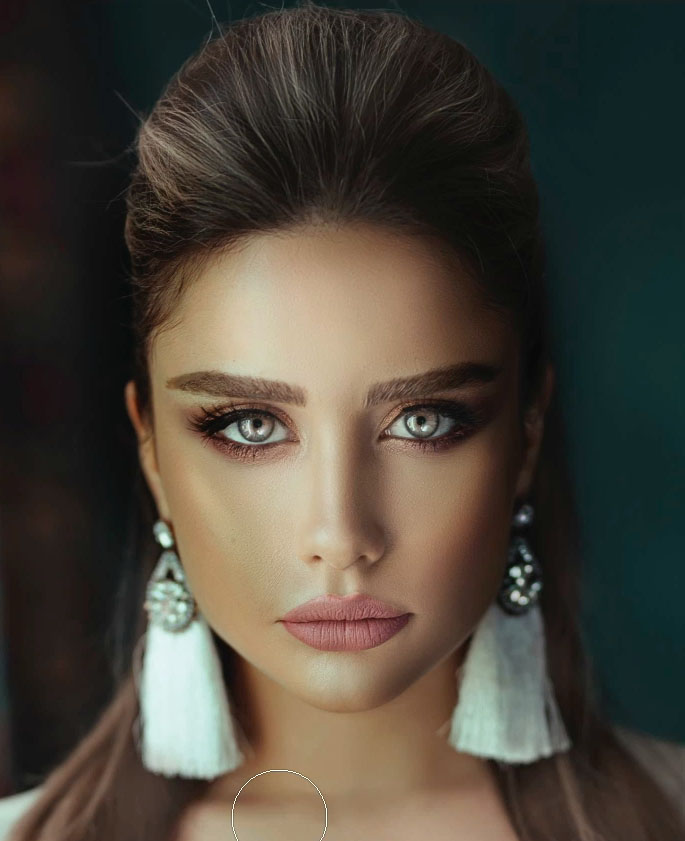
Finally, add a little into the nose area. So it’s more of a Rembrandt kind of style lighting.
And I have other tutorials where we go much more in depth into things like dodging and burning and things like that.
I’m curious, have you been using flow or opacity and has this tutorial changed the way you’re going to be working or has it revealed something that you weren’t aware of? Let me know in the comments underneath.
Until next time, I’ll see you at the cafe.
If you are interested in mastering dodging and burning (Painting with light and shadow), check out my very unique training, I created, that packs everything you need to know into a course.
PS Don’t forget to follow us on Social Media for more tips.. (I've been posting some fun Instagram and Facebook Stories lately)
You can get my free Layer Blending modes ebook along with dozens of exclusive Photoshop Goodies here


One thought on “Should you use Flow or Opacity for Photoshop Brushes?”
Leave a Reply

How to install LUTs in Photoshop, how to use LUTS to color grade your Photos in Photoshop. Download Free Photoshop...
How to turn a layered Photoshop composite into a Facebook 3D photo in Photoshop
In this tutorial we will share some techniques how to shoot and retouch for a high-key effect in architectural photography....


I think your explanation is probably the best I have ever seen…Thanks!