
How to Paint with Light in Photoshop
How to paint with light in Photoshop
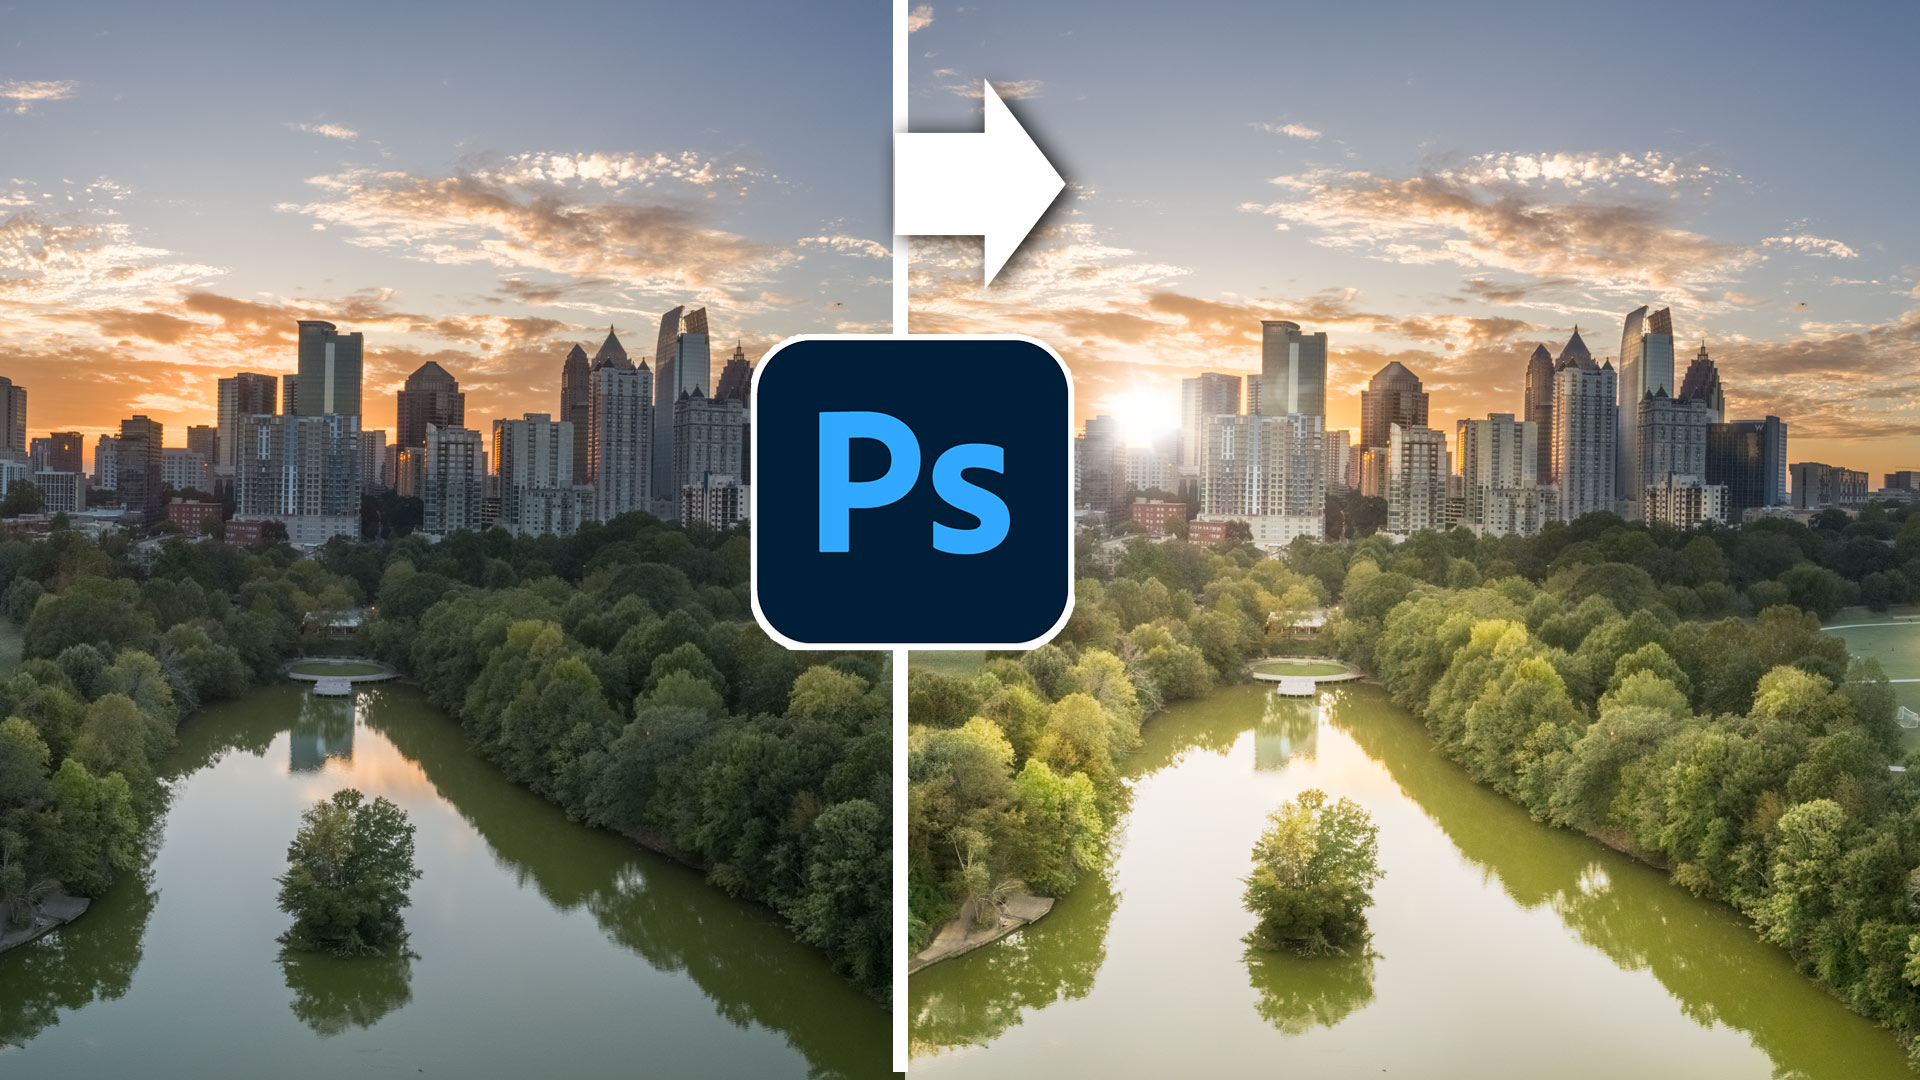
Take a flat photograph. Add some shadows, highlights and color and transform it with Photoshop. Colin Shows you how.
In this Photoshop tutorial, you will learn 2 ways of painting with light, as well as how to add sun flares. We will take a flat photo and flood it with sunlight, as well as adding depth and dimension. We are working on a Panorama. Here is how to make a panorama in Photoshop
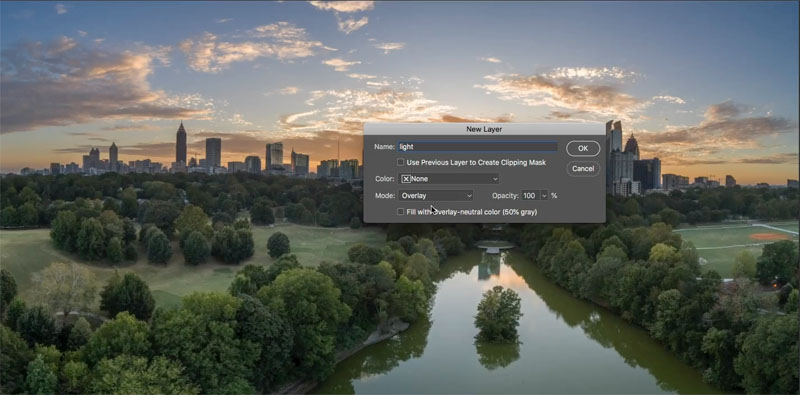
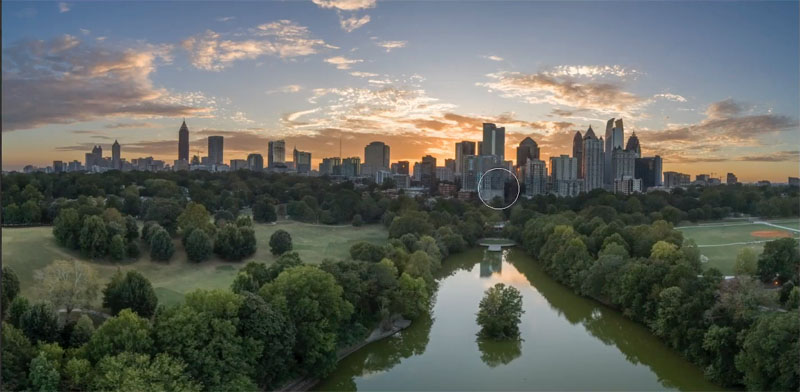
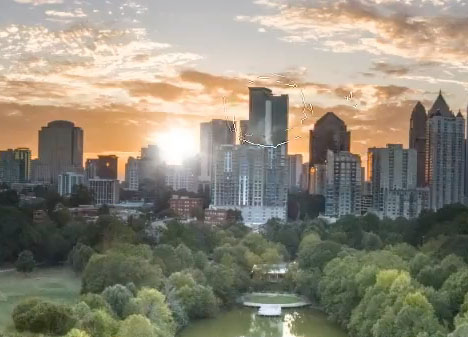
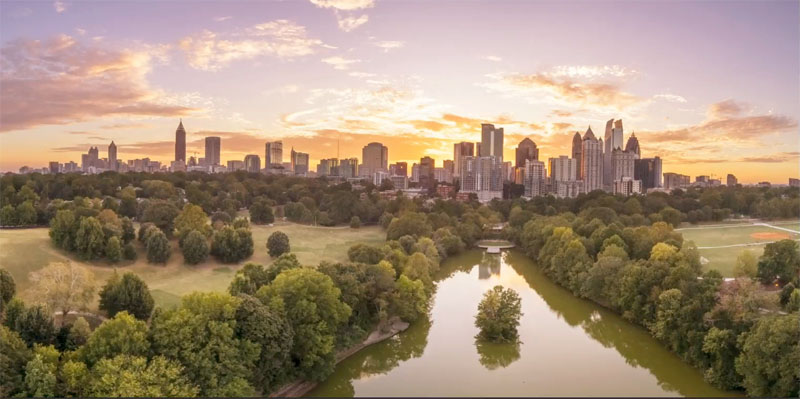
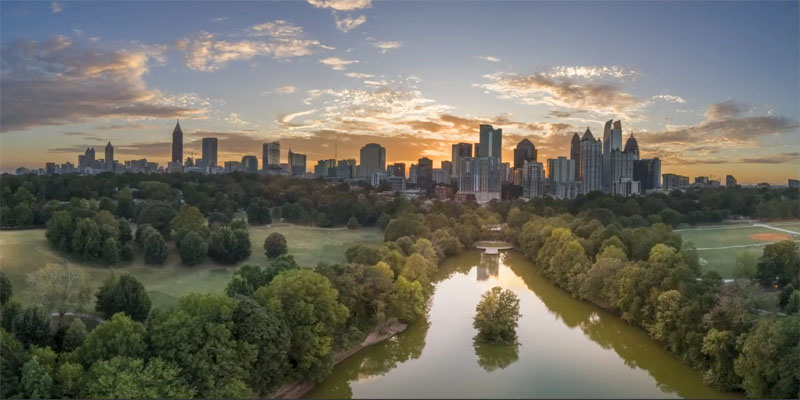
Let’s begin with this aerial panorama I shot with a drone at Atlanta GA. (More of my aerial photography here)
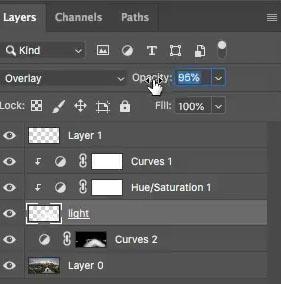
1. Hold down the alt/option key and click the mew layer icon in the Layers panel.
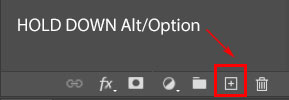
2. This will give us the options box for a new layer.
Change the layer blending mode to Overlay, set the name to light and click ok.
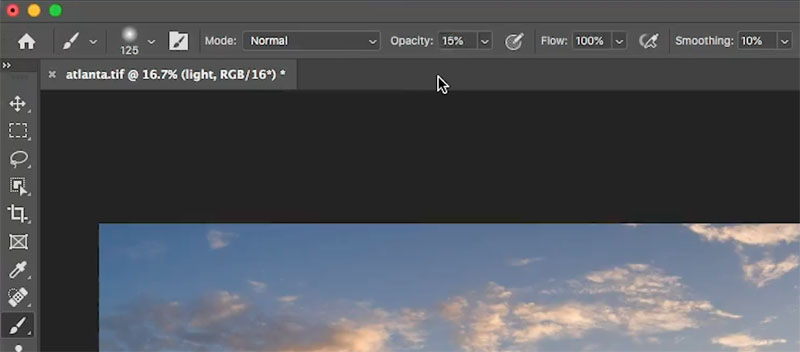
3. Choose the brush tool (B key)
Choose a soft round brush
Select white as the foreground color.
Change the opacity to 15%
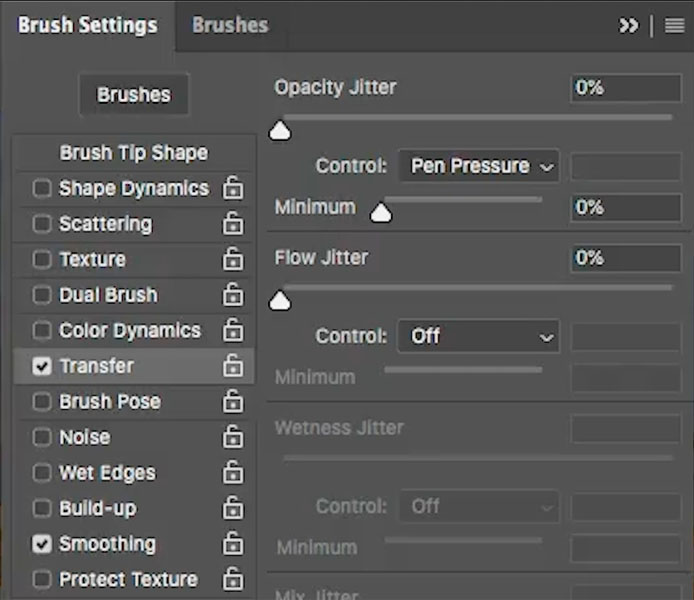
4. (If you are using a pressure sensitive pen, such as a Wacom).
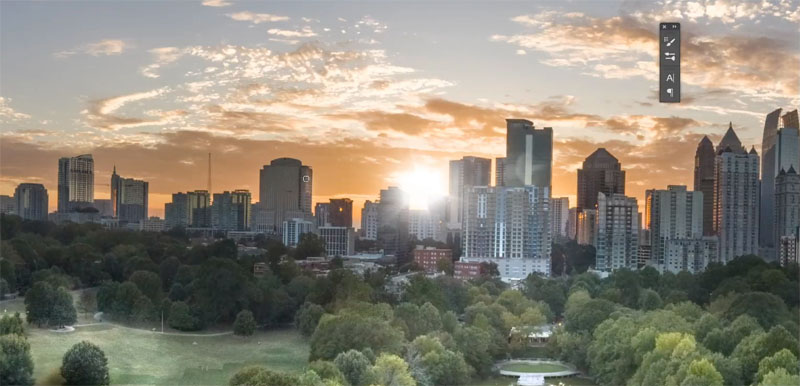
In the Brush Settings Panel (Window>Brush Settings) select Transfer and set the Opacity Jitter control to Pen Pressure.
5. Adjust the size of the brush by pressing the [ and ] bracket keys.
6. Begin to paint where the light will go. (The video at the top, shows all the painting and why I paint where I do).
7. Continue painting wherever you want to see light. (we will add the sunlight in a few steps)
Pay close attention to the fronts of the trees and areas tht will be facing the light source behind the buildings.
8. Change the foreground color to black.
Now, paint on the opposite sides of the objects, that would be facing the viewer. We are now painting in the shadows. This gives shape to the trees.
9. This is a totally option step, and honestly, not one I would do that often myself, but I’d like to demonstrate adding sun flare.
There are many ways to do this, one is the lens flare filter. Filter>Render>lens flare
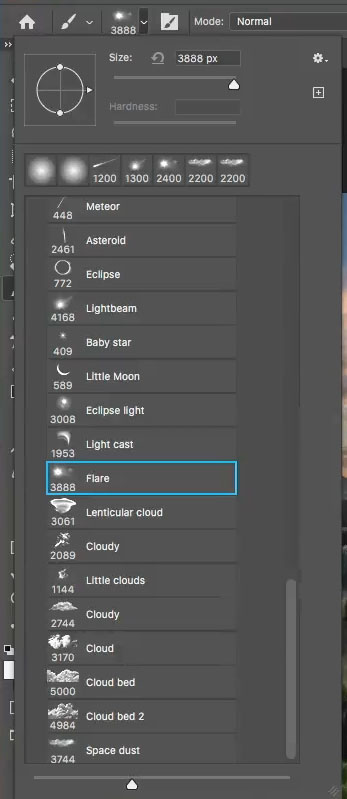
In this tutorial we will use a simple method of a brush. You can find Photoshop brushes all over the internet,
The one I’m using is a paid option from the Universe builder set from Design Cuts.
Choose your brush and set the foreground color to white.
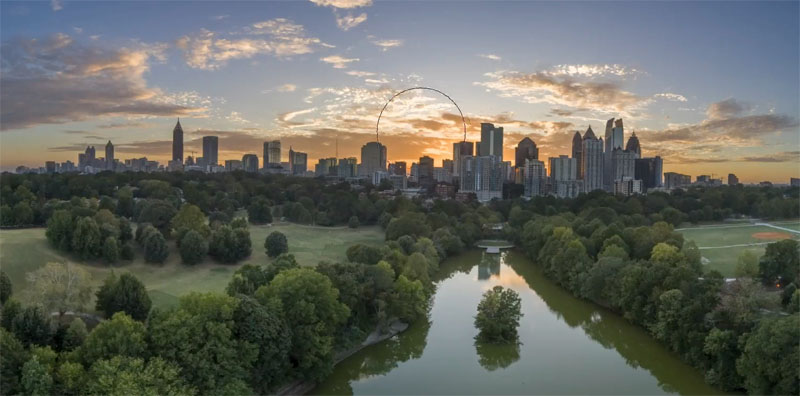
10. Create a new layer and tap once with the brush to apply the effect.
Someone asked me if you should color the sun flare. You can if you like, but often, it’s so bright on a photo that it will appear white.
11. Now that we have the sun flare, we need to add some light to the buildings facing it.
Choose your soft round brush again and choose your original “light” layer.
Paint on the sides of the buildings facing the sun flare.
If you want to adjust this effect you could apply some curves, and hue saturation to tune the colors. (I do on the video)
12. Creating sunlight.
Now we will create some warm sunlight. Often, I will do this at the beginning, but I wanted to wait, so you could see the previous steps more clearly.
Hide all the adjustments you have added to the photo (as shown below).
Choose the bottom layer that is our photo.
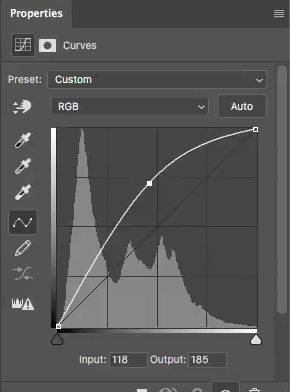
Add a new Curves adjustment layer, by clicking on the yin yang at the bottom of the Layers panel and choosing Curves.

13. Drag up on the middle of the curve to brighten that area.
14. Click on RGB and choose the Blue channel.
Decrease the blue (blue is the opposite of yellow. To get yellow, reduce the blue).

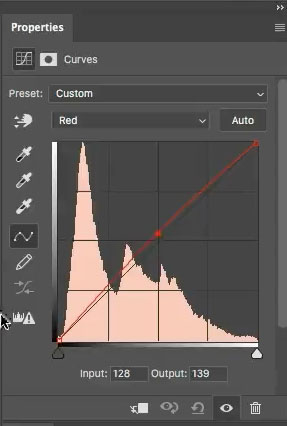
15. Choose the Red channel,
Slightly increase the reds to make the yellow look more orange and golden.
The photo should now have a warm light to it. We only want it in certain areas.
16. Click on the white rectangle next to the curves adjustment.
Press Ctel/Cmd+I to invert it. This will hide the adjustment.

17. With a white soft brush selected, let’s paint in the adjustment.
18. Paint in the areas that you want the sunlight.
Turn back on all your layers, and adjust the opacity of the layers if you feel like the adjustments are too much.
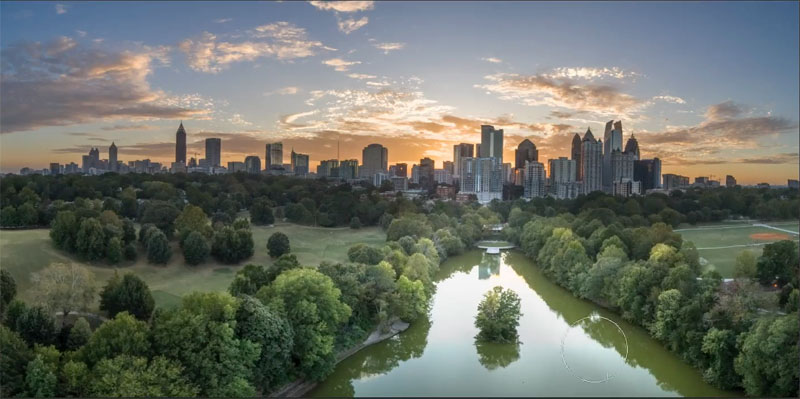
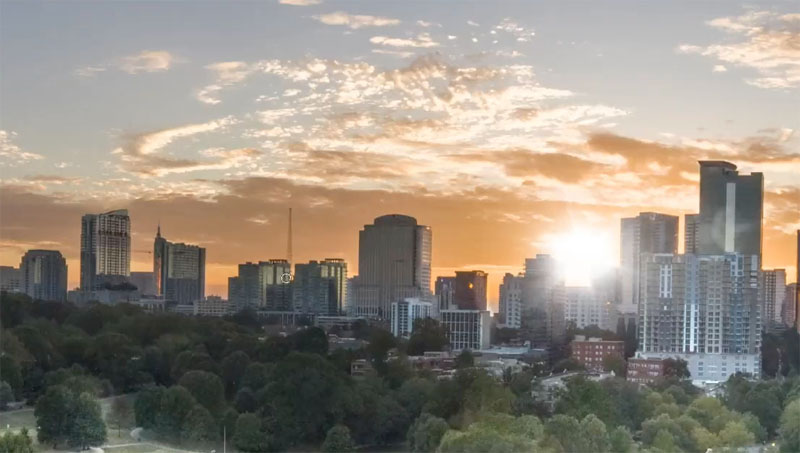
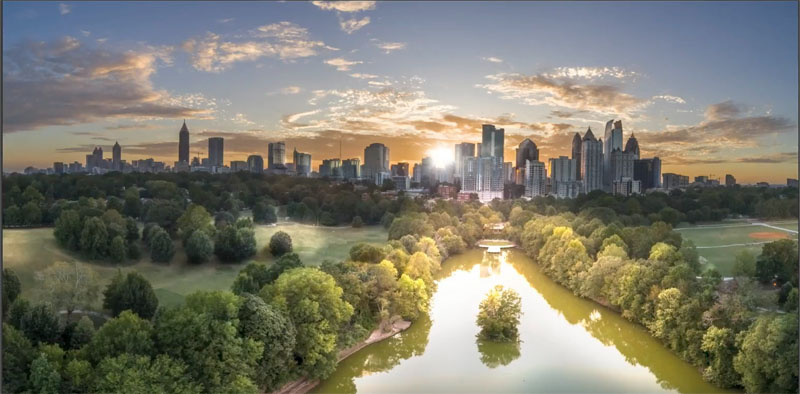
Here is our result. In this case, I have everything turned up so you can easily see the results.
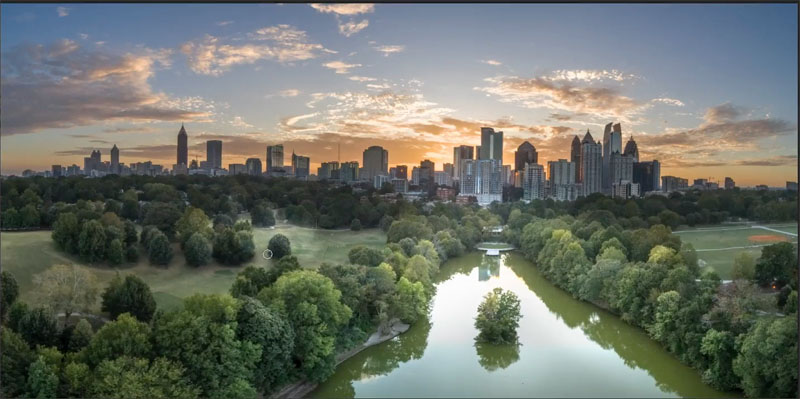
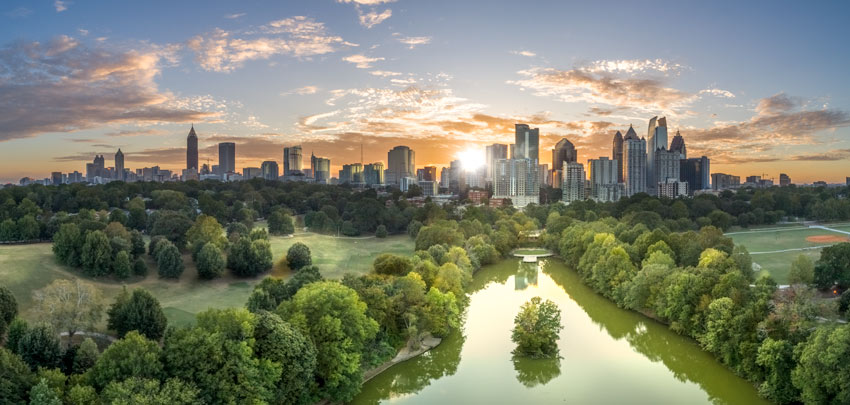
An here is the image after I have adjusted the opacity on the different layers to get a balanced result.
Great to see you here at the CAFE,
Colin
PS Don’t forget to follow us on Social Media for more tips.. (I've been posting some fun Instagram and Facebook Stories lately)
You can get my free Layer Blending modes ebook along with dozens of exclusive Photoshop Goodies here

7 thoughts on “How to Paint with Light in Photoshop”
Leave a Reply

An essential, but unknown tip for using Harmonization to match colors between layers in Photoshop. Match image color in Photoshop...

New in Photoshop CC 2015 release is the ability to merge bracketed photos together in ACR (Adobe Camera Raw). In...

What's new in Photoshop 25.5.1 March 2024 update. How to update Photoshop


Hi Colin,
Very interesting technique, which I have not thought of using. Thanks for the tip
I have created images with actual light from a torch which is another way of painting with light. Taken at night on a long exposure.
thanks Colin. Great video. With the sunflare to me it looks a bit fake as I thought it would have a bit of colour in it. How would you add colour.
I didnt find the downloads to the brushes you used.
cheers
Lesley
Thank you (AGAIN and AGAIN)–wonderful technique. Thank you for showing us the quick and helpful way to create a new layer-that was new to me.
Cool Colin. I have never used this technique very cool.
I want to be able to do this!! The image looks great!
Another fantastic tutorial. Thanks!
Interesting tutorial, but I have a question…aren’t you painting over with a solid color, thereby losing details in the trees or buildings you are lightening? As opposed to using an adjustment layer, masking, inverting the mask and then painting with white on the mask? Or, creating a brighter layer above, and masking & painting. I used to burn my images using a similar technique except painting with black, but I found I was just painting over the image and losing detail. Your thoughts would be appreciated, thank you.
If you go really heavy you might lose some detail, but you would also lose detail with real shadow.