
Object selection tool in Photoshop got an update. How to make quality ai selections
Adobe updated the Algorithm in Object finder and it’s finally a viable alternative to Select Subject.
In this tutorial, we will look at how Object Selection differs from Select subject. Then we will do a comparison between the two tools and I’ll provide some tips and a workflow to get the best results. Check out the video to get more details.
How Object Finder and Select Subject differ
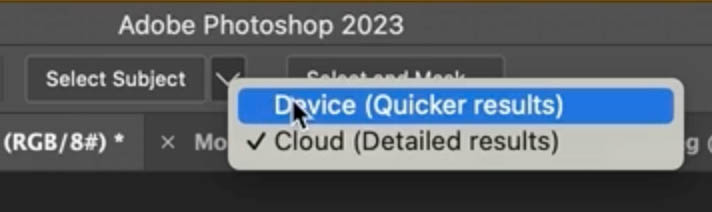
For either of the tools, you will want to choose the Object Selection Tool first.

At the top, choose the drop down menu and select Cloud. This will always give a better result than Device. (You can permanently change it in preferences).
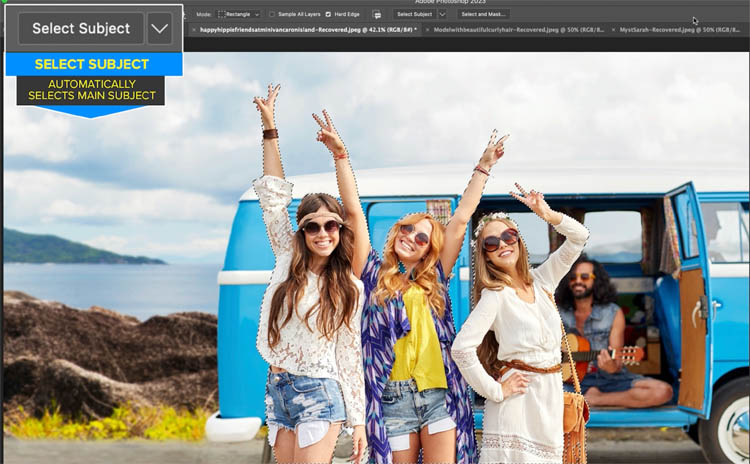
Click on Select Subject and a Marching Ants selection will appear around the main subject(s).
In this case it selected the three woman.
Ctrl/Cmd+D to deselect.
Let’s try the Object finder. With the Object Selection tool still active, make sure Object Finder is on

As you roll lover selectable objects in the photo, they will appear highlighted.
To select them, click and the selection will be created.

The main difference from Select Subject, is the ability to select different objects individually and isolate them. In the past, the quality of the selection was inferior to the selection quality of the Select subject. As you will see, this is no longer the case.
Using Object Selection, manually
Another function of the Object selection, is the ability to tell Photoshop what objects you want to select, these can be large or tiny, simple or complex.
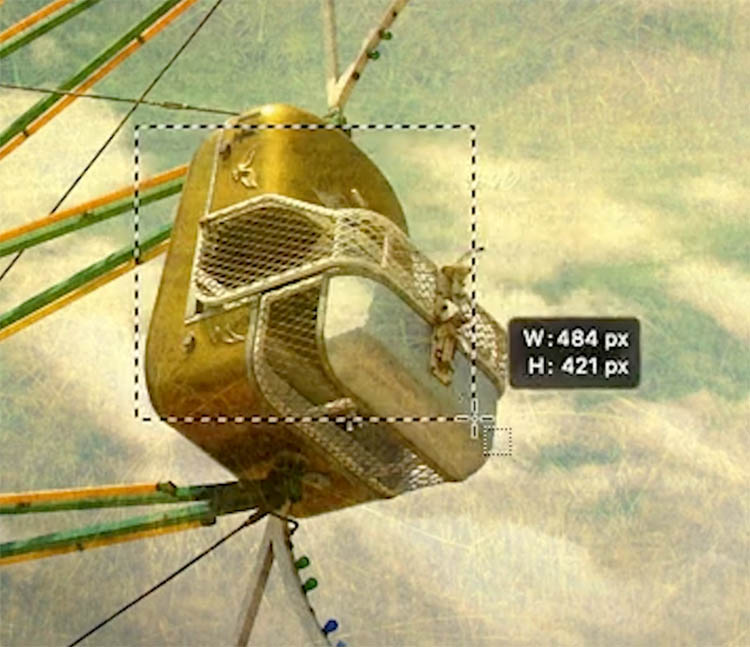
Turn off Object Finder and use rectangle mode.

Draw a box around the object to select.

The ai will make its best selection around the object.

Combination selections
Make a box around part of an object, the box doesn’t even have to be accurate, just good enough to tell Photoshop what you want to select.
The selection will be made.

To add to a selection, hold down the Shift key and make a box around another object

Both are selected.
What if we want to add the shape in between?

For odd shaped selections, choose the Lasso mode.

Hold down Shift and make a selection
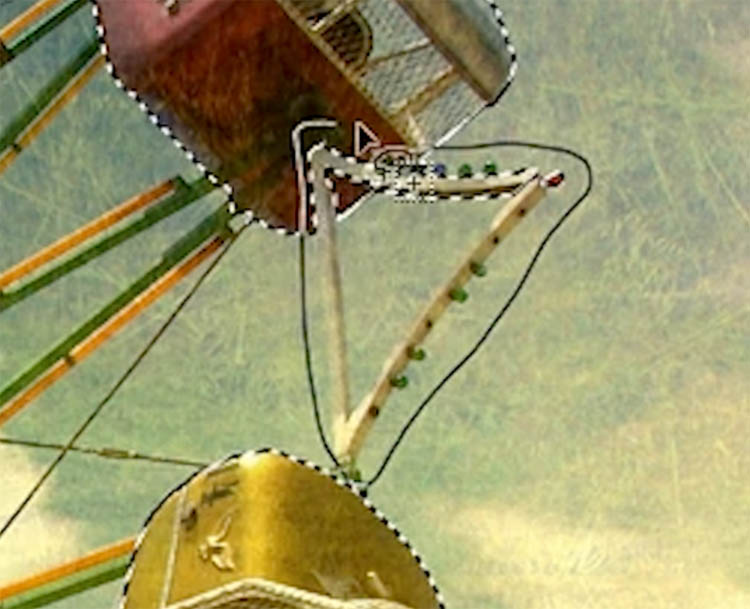
Notice it added to the selection nicely. We need to remove the empty area inside the shape.

Hold down Alt/Option to remove from the selection.
Drag inside the shape to remove the center.

And the ai does it’s thing.

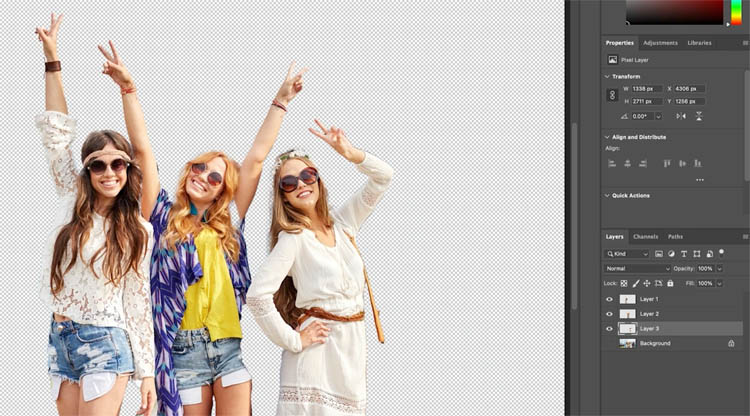
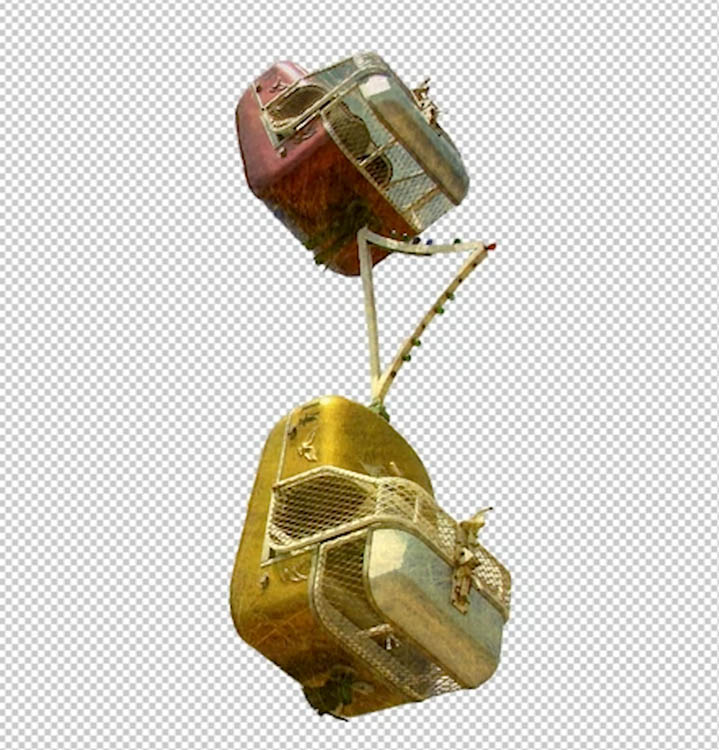
If I add a layer mask, you can see how the selection looks. Not bad, for nat making any modifications.
Select Subject vs Object Finder
Ok, the moment of truth. Let’s compare the quality of selections between the 2 ai powered out selection tools.
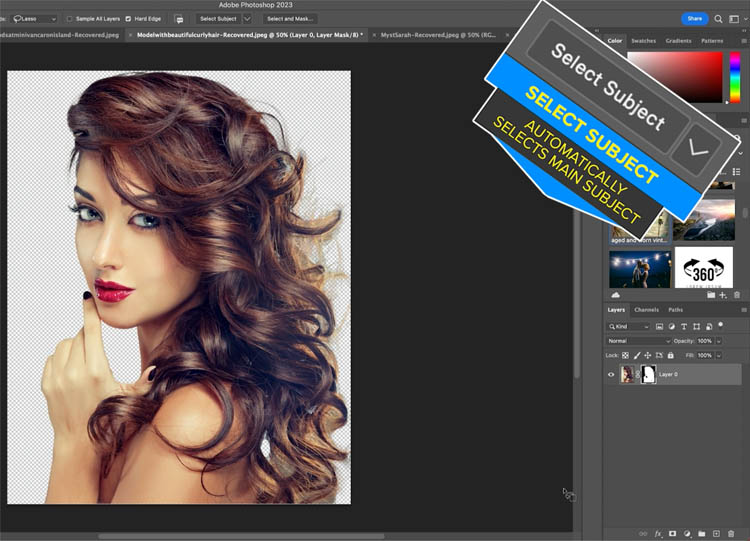
We will start with Select subject and a subject that has a lot of hair. Yes, it’s a simple background, but the point here is to compare the two tools and the quality of the edges, not compete in a difficult selection challenge.

Here is the selection. I won’t make any refinements or modifications in this test, just a single click only. At the end of the tutorial, I’ll show how to refine the edges.

Lets click the layer mask button to mask this Select subject.
Onto Object finder.

Make sure Object Finder is on.

Click to select

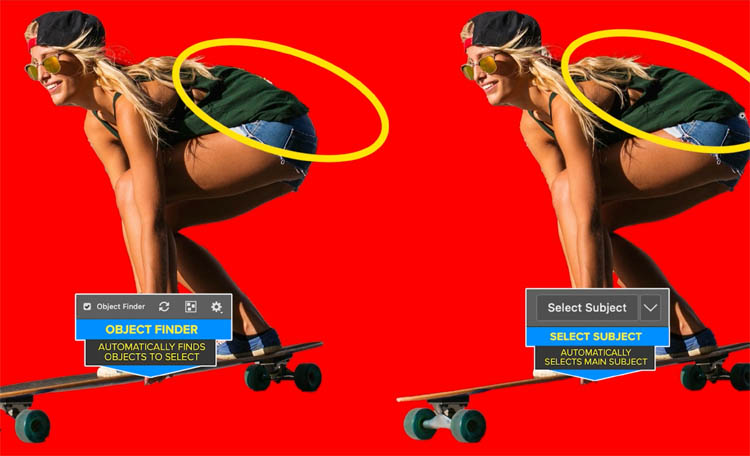
I added a mask to this too. and put the 2 different selections next to each other for you to look at. We have Object Finder on the left and Select Subject on the right.
We will look at different colored backgrounds. The first thing that struck me, is this tool is now usable, the selection isn’t bad at all. Its not perfect, but remember, we haven’t worked it yet and all selection tools, just give you a starting place.
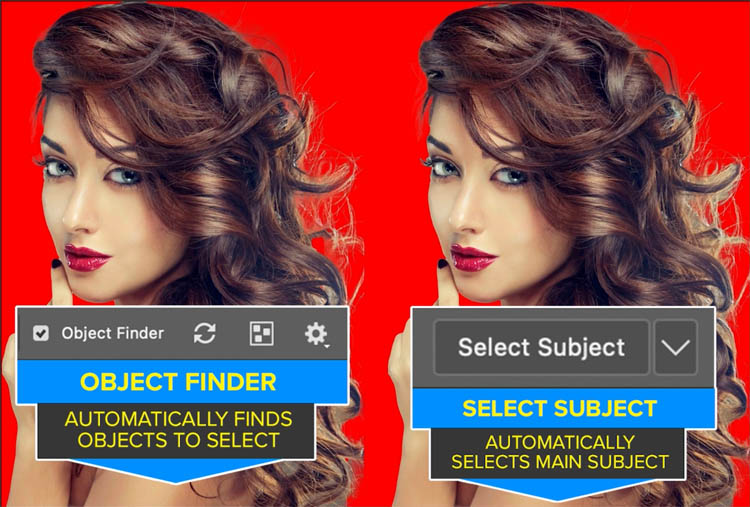
closer up, you can see things like the eyelash.

Here it is on white

and on black, I notice the Object finder (on the left) seems to do a better job with the fine details on the hair.

Here is a different selection. Select subject is doing better with the smooth details on the back of the skater, however its missing part of the board (all of these are easy fixes).
Object Finder Special features
Lets look at some of the settings

If you click this icon, you can show all selectable objects at once.

Each of the highlighted areas can be clicked on to automatically load the selections.

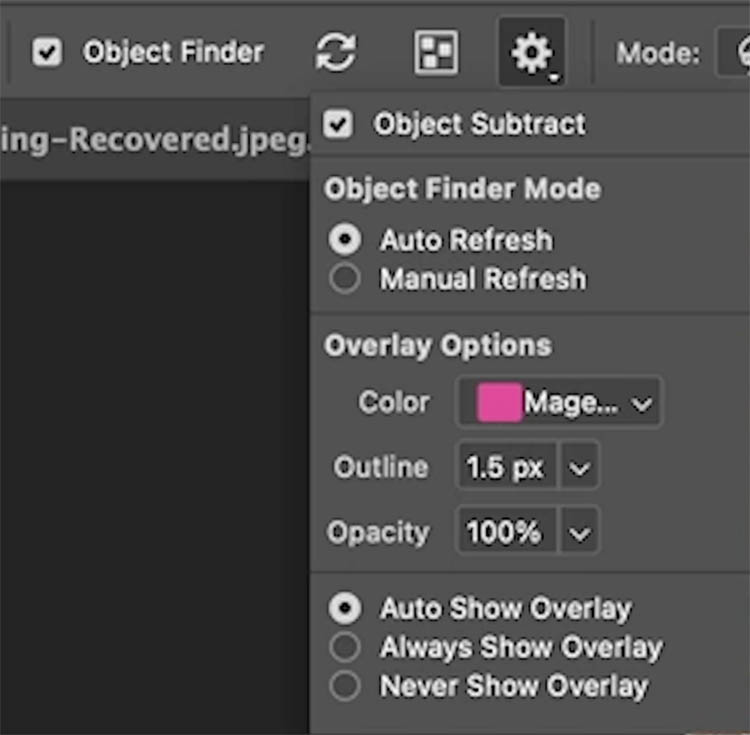
Click the gear to see the settings (these are all covered in the video)
The main ones are the ability to change the way the overlay is displayed.
Refresh is useful when you are compositing. As you work on the image, Photoshop will constantly analyze and update the overlays. If you choose Manual Refresh, the analysis will stop. Click the rounded arrow to manually update (refresh) when you are ready.
Refine the selection
Whichever tool you use, you will still have to refine the selection for production-level selections. I’ll briefly show you the main steps here. I have many tutorials here at the CAFE that show how to refine the edges of selections and they are all still valid. The ai tools, add more tools to make quick selections, but they don’t replace the other tools, which in many cases, can still yield better results with a little more effort.
5 ways to fix selection edges in Photoshop

Make the selection with Object Finder (or any selection tool).

Click on Select and Mask

Now we enter the select and Mask workspace. (Maybe I should do a deeper tutorial on this tool and explain all the options sometime?)
The main settings are here.
First, move transparency to 100%, so you can clearly see what you are working on.

If you have hard edges that are a little uneven, try these settings.
Radius to 1px.
Tiny amount of feather and contrast. Only use smooth if there are objections jaggies, using smooth makes it almost impossible to get good hair edges, but you could work in 2 passes. Beyond the scope of this tutorial.

His jacket it looking really good, but the hair on his temples are semi-transparent.

grab the refine brush from the left panel.

paint over the hair edges

This is a great tool for hair, fur, smoke and glass.

Choose decontaminate colors to remove edge halos

The best way to output is New Layer with Layer mask.

And the Final Cut out. These are good tools to remove the background in a photo in Photoshop.

I hope you found this tutorial useful. Tune in for a new tutorial each week and browse the hundreds of tutorials here at the CAFE (at least bookmark, as PhotoshopCAFE will be a valuable resource for you, as it is for millions of other users.)
Thanks
Colin
Also follow me on Instagram, Tik Tik, Threads and Twitter. for shorts and reels.
My new course on Generative Fill in Photoshop: https://photoshopcafe.com/shop/generative-fill-in-photoshop-introduction-course/
PS Don’t forget to follow us on Social Media for more tips.. (I've been posting some fun Instagram and Facebook Stories lately)
You can get my free Layer Blending modes ebook along with dozens of exclusive Photoshop Goodies here


3 thoughts on “Object selection tool in Photoshop got an update. How to make quality ai selections”
Leave a Reply
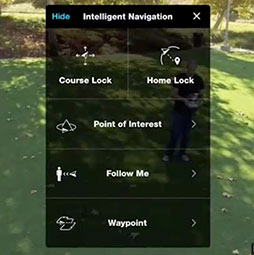
how to use the DJI Intelligent flight modes for the Phantom 3 and the Inspire 1. Course lock, home lock,...

Use Path blur in Photoshop CC to add a custom motion blur to an object in a photo without any...
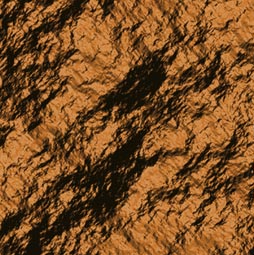
How to create rock textures in Photoshop. It's surprising how you can create stunning photorealistic rock and stone texture so...


ri
I have the latest update to Photoshop but cannot get it to work as you demonstrate. Can yo assist please?
I find that you must have Use Graphics Processor selected. Edit, Preferences, Performance, Use Graphics Processor (ticked).