How to Fade an image in Photoshop
Seamlessly blending layers in Photoshop
This is one of those fundamental skills in Photoshop. I’m making this tutorial because some things have changed in photoshop and I want to show the newest and best way to achieve the blending or fading effect. I’m also offering a way to have more flexibility and some different options to blend all the edges, not just one edge.
Here I our Photo on a layer, with a pattern in the background that we will fade into. (How to combine images here If you don’t know how to get to this point.)
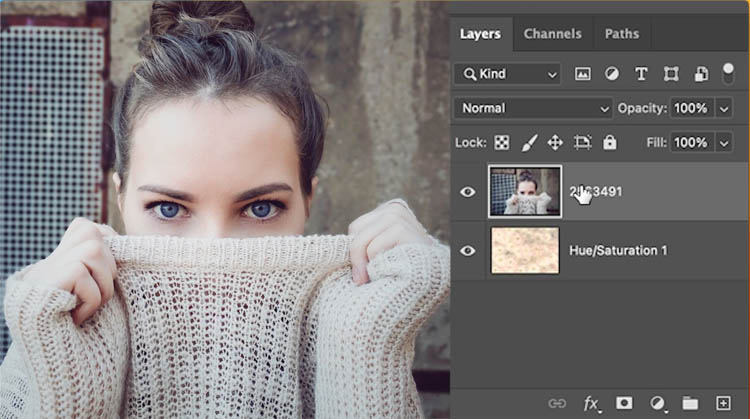
Add a layer mask on the top layer

Press the D key to reset colors
Choose the Gradient tool or hit the G key
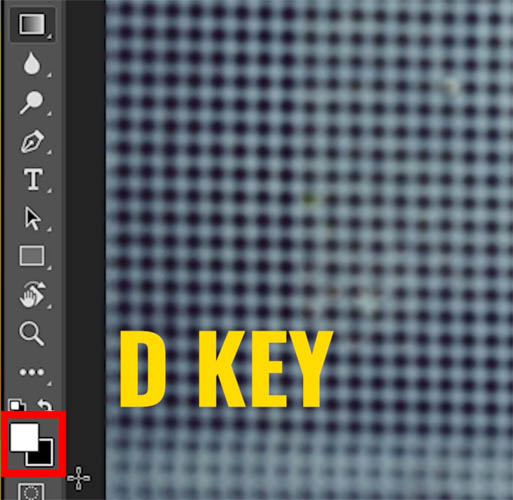
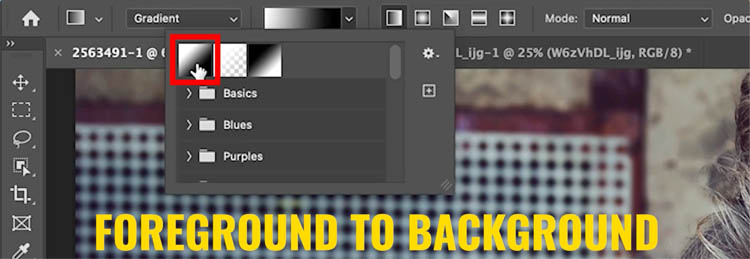
Choose foreground to background and linear for the options as shown. Mode normal, opacity 100%
Drag on the image to apply the gradient.
Black hides the layer and white shows. Because it’s a gradient, you get a smooth blend.

The new gradients allow you to drag the points to change them.
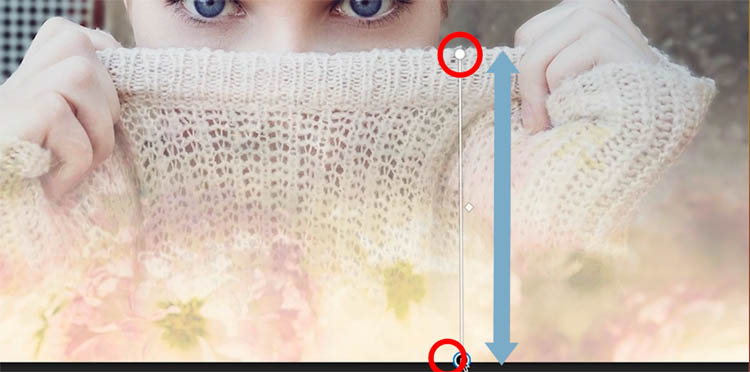
On white so you can see better. (I created a white layer)
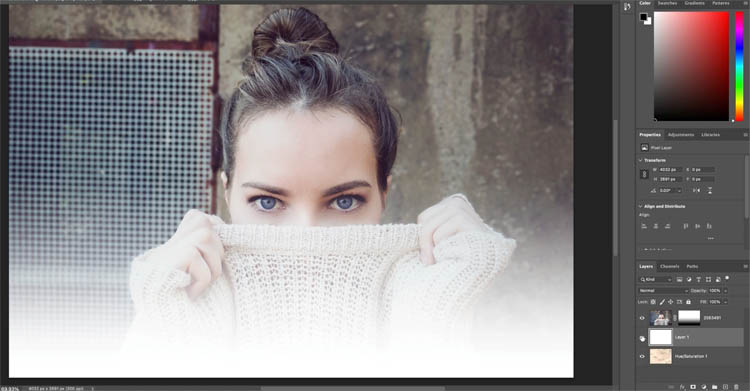
What if you want to fade the top too?
In the past, I would have said grab a black to transparent gradient. This still works, but the following gives more options for you
With your Layer selected, Press Ctrl/Cmd+G
This puts your layer in a group
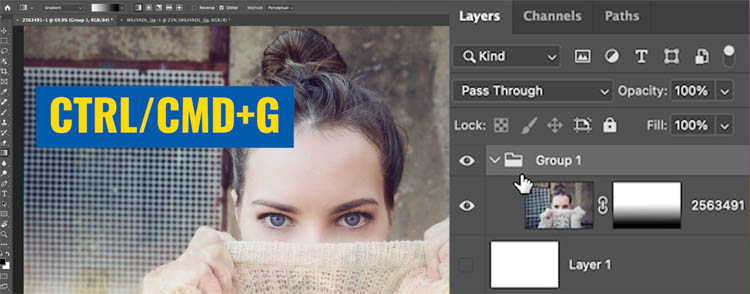
You can add Masks to groups
Add a layer mask
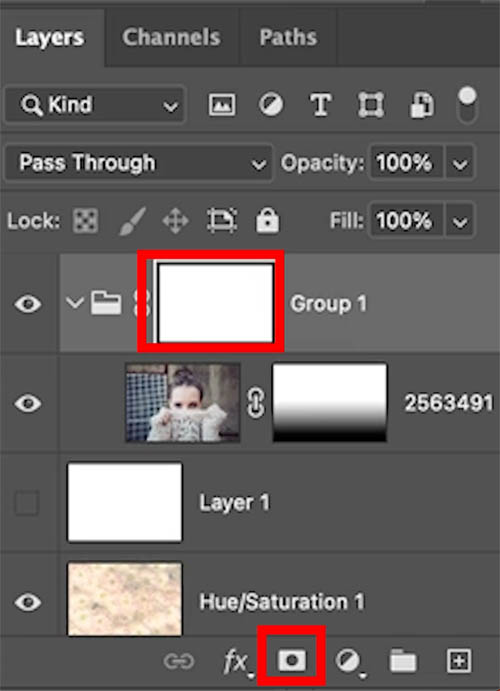
Apply the gradient at the top.
Notice it doesn’t affect the gradient at the bottom
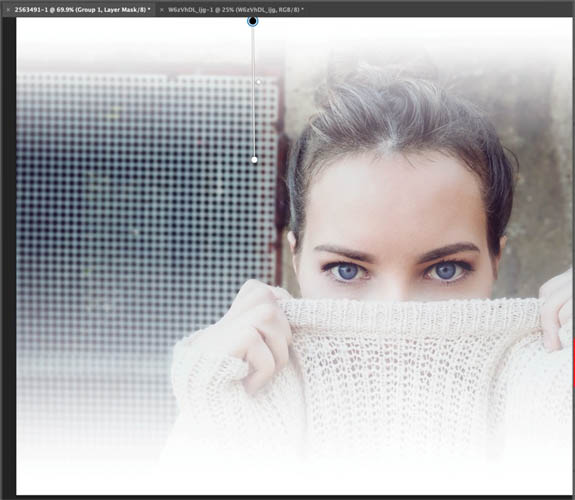
If you want more, select the top group (Its already selected unless you clicked somewhere else)
Press Ctrl/Cmd+G to put the group inside another group.
Add a mask, apply a gradient on the left.
Repeat for the right side. As you can see, you can keep nesting Layer groups and adding masks to each one. This is handy to know.

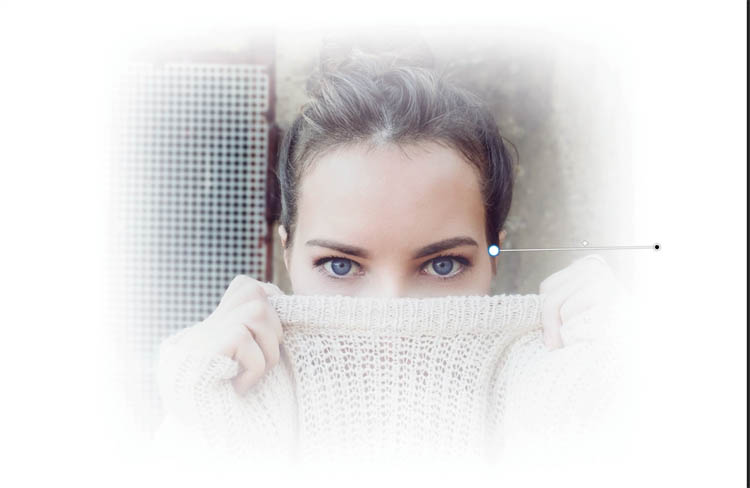
Another option is to choose. a radial Gradient instead.

Now you can do everything in one gradient. Here is a tutorial on using the radial gradient for blending layers, it shows the basics and goes into more depth
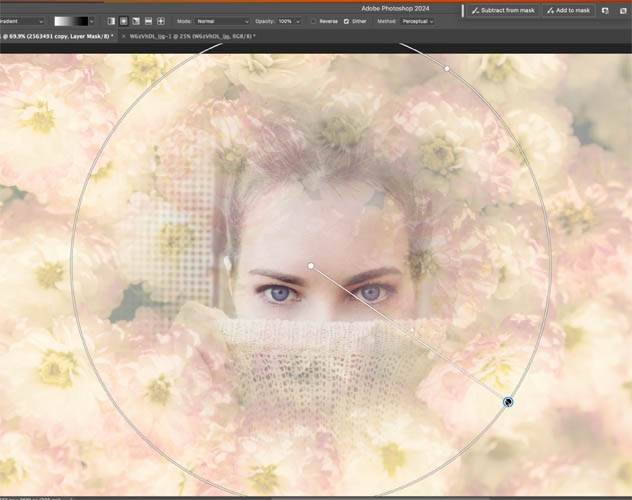
I hope you found this tutorial useful!
Thanks
Colin

Keep growing with Premium Courses
Photoshop 2026 for Digital Photographers
Learn Photoshop properly, from the basics to pro retouching, step by step.
$129.00 · one-time purchase · instant download

Free for you
The Photoshop Vault
Get my free Layer Blending Modes ebook along with dozens of exclusive Photoshop goodies: actions, brushes, presets and cheat sheets.
You're on the list, so your free goodies are waiting for you in the Vault.
Get Free Photoshop Goodies Open the Vault
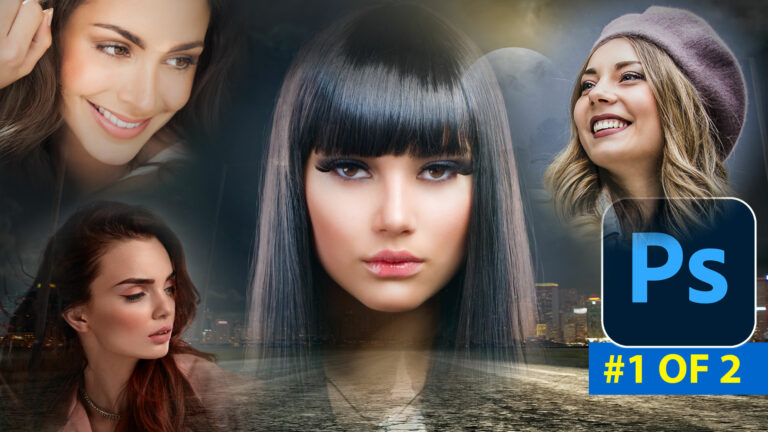
How to Seamlessly Blend faces into background in Photoshop using new radial gradients
How to seamlessly combine pictures in Photoshop to make the floating heads effect on posters, magazine and album covers. Read tutorial
Cast Shadow in Photoshop Tutorial
What do you do when a drop shadow isn't realistic enough? Create a cast shadow. When you see an object in a... Read tutorial
Collaging in Photoshop Photoshop Tutorial
More collaging techniques for Photoshop, using channels and layers.This is a bit more in depth than some of the other tutorials, you... Read tutorial
Realistic Spotlight Effect in Photoshop Photoshop Tutorial
I am going to show you an alternative to lightening your photographs. This technique will add depth to your lighting and emphisis... Read tutorial
Blending photos together Photoshop Layer Masks Tutorial
Collaging - Merging 2 images with a layer mask. This is a very requested technique and will be the first in our... Read tutorial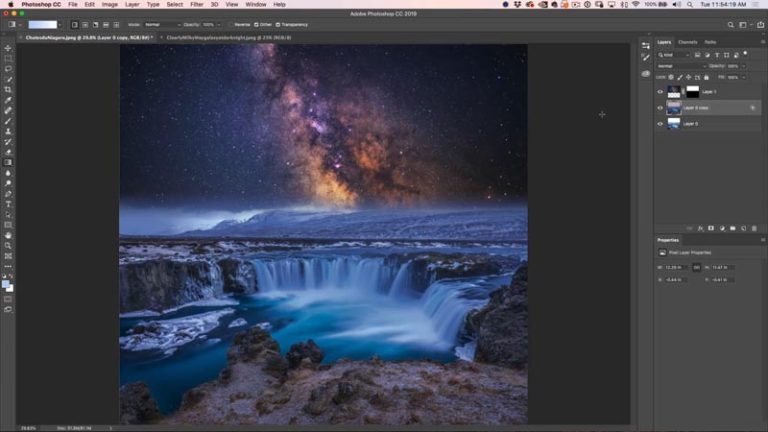







This is a neat trick. Thanks.
So simple, but yet so helpful.
Many thanks
That was a quick reminder of what I have in PS. Thanks for the walk through. I will use it more.
Thanks again.
Super
Thanks for slowing down your explanation
Thanks Colin, great tutorial as always.
I tried blending earlier and it did not really work. Thank you for this tutorial. It reminded me to use layer masks, not just new layers (which is probably why it did not work properly). I had not thought about grouping – this really helped!
Cannot get this to work either in Photoshop 25.3.1 or Beta version. Any suggestions please?
The layers panel looks exactly the same but when I do the second gradient it doesn’t do anything. I am using ps 2024.
You can do this easier by setting the blending mode of the gradient to Multiply and do all of you gradients in a single layer mask. The only caveat is that once you apply a new gradient, the previous one(s) are no longer editable.