
Dodge and Burn Photos in Photoshop with the Adjustment Brush
Advanced tutorial for Photoshop Adjustment Brush, Dodge and Burn
To dodge and burn is to paint with light and shadow. By doing this, we can add depth to photos. We can also use it to tame the light in certain areas of image, or change the emphasis of what people mostly notice in the image.
This is a follow up to the Adjustment Brush Basics in Photoshop tutorial, where a lot of people indicated they wanted a more in depth look at this adjustment tool
Currently, the adjustment brush is only found in the Public Beta Version of Photoshop
How to use the adjustment brush
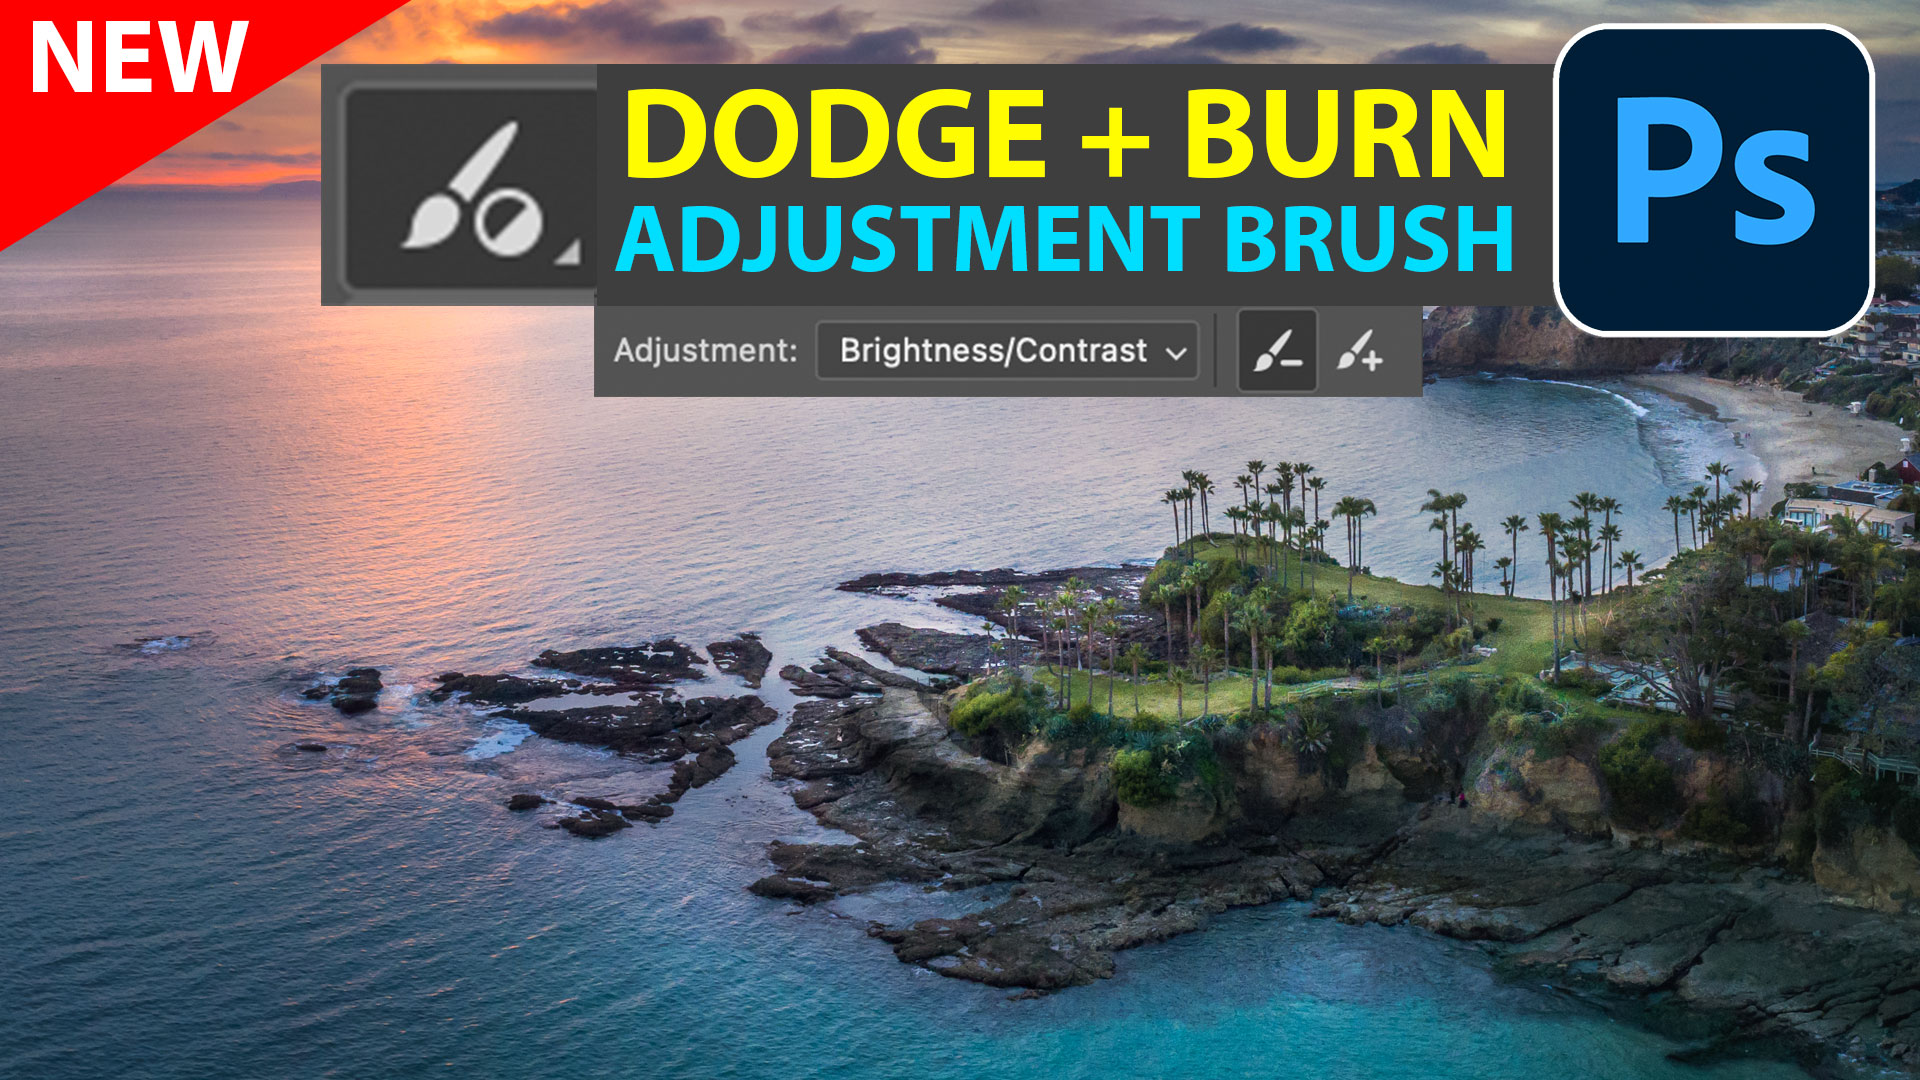
Choose the Adjustment Brush for the toolbar.

Set the adjustment to Brightness contrast

Once to click on the image, or begin painting the tool is activated.

You will see a new Adjustment Layer with a mask.
(This is the same adjustment layer if you added it from the layers panel, its just a simpler way of getting there).

Turn the brightness all the way up so we can easily see the adjustments. Don’t worry, you can reduce this later if you prefer a more subtle adjustment.

Brush settings
Let’s look at brush settings, including pen pressure for a Wacom, Xencelabs or Microsoft Surface type stylus. (The tutorials still works with a mouse, just not the pen pressure settings).
If you click the icon to the left of Opacity, pen pressure controls brush size.


If you click the icon to the right of the opacity you can control opacity with pen pressure.

This enables you to blend in the adjustments because you can shade like a pencil, adding more density by pressing harder.

If you want more advanced settings choose Window>Brush Settings
Shape Dynamics changes size, Transfer controls opacity with pen pressure.
For dodge and burn (painting with shadow and highlights) I like to use pen pressure for opacity and turn off size.

One more adjustment, lower the flow to around 7%


How to Dodge and Burn
Burn is to darken shadow areas and to Dodge is to brighten the highlight areas, or add highlights, I think of this as adding light.
You will lighten the areas facing the light source

You will darken the areas that are shaded from the light source

Tip for Brush Size, Control+Option+Drag your cursor to change brush size and softness. (Alt+Dight Drag on Windows). Or use the square bracket keys [ and ] keys change brush size, add the Shift key to change softness.

Dodging and Burning
Lets start with Dodge, or lighten.
Paint the areas you want to lighten.

Here is the image with the light areas painted (you can see it in action on the video at the top).

Hiding the Adjustment layer, shows you the before image.

Burning the image (Darken)
Let’s paint some shadows.
Click the background

With the Brightness / Contrast still selected and the Adjustment brush the selected tool,
Click to add a new adjustment layer
Turn the brightness all the way down

Paint in the shadow areas.

Reusing your masks
Lets create a new Exposure adjustment, just to show how easy it is to reuse your work.
Choose exposure

As soon as you click on the image a new Adjustment layer is created.
We want the same brush settings we used on the highlight area, but don’t want to have to paint it again.

Here is a trick. Hold down Alt/Option and drag your highlight Mask into the Exposure layer mask

The mask will be duplicated and added to the exposure.
If we hide the highlight area, we will see that the exposure can now be used to control the effect of the brushwork.
If you wanted to tint the color, such as warm uo the highlights, do the same thing, use a Photo filter of hue saturation adjustment.

Trick for straight lines
It can take a steady hand and some patience, to paint these columns at Petra.
As soon as you begin dragging down with your brush, hold the Shift key and it will constain the movements in the direction you are moving the brush.

This makes it easy to get the highlights on one side of the pillar.

Repeat for the other side of the pillars with a darkened adjustment to darken them

To make the shadows blend a bit more, drop the flow to 2%

Paint over the shadows to blend them in more.

When you are done, you can adjust the opacity of the adjustment layers to tone down the adjustments a bit, for a more natural result,
I hope you found this tutorial useful.
Check out another of our 700 free Photoshop tutorials here at the cafe
Great to see you here at the CAFE
Colin
PS: Get over $200 worth of valuable Photoshop Add ons, brushes, presets, cheat sheets and ebooks abolulutely free, right here.
PS Don’t forget to follow us on Social Media for more tips.. (I've been posting some fun Instagram and Facebook Stories lately)
You can get my free Layer Blending modes ebook along with dozens of exclusive Photoshop Goodies here

One thought on “Dodge and Burn Photos in Photoshop with the Adjustment Brush”
Leave a Reply

How to use a LUT in Lightroom and Adobe Camera RAW
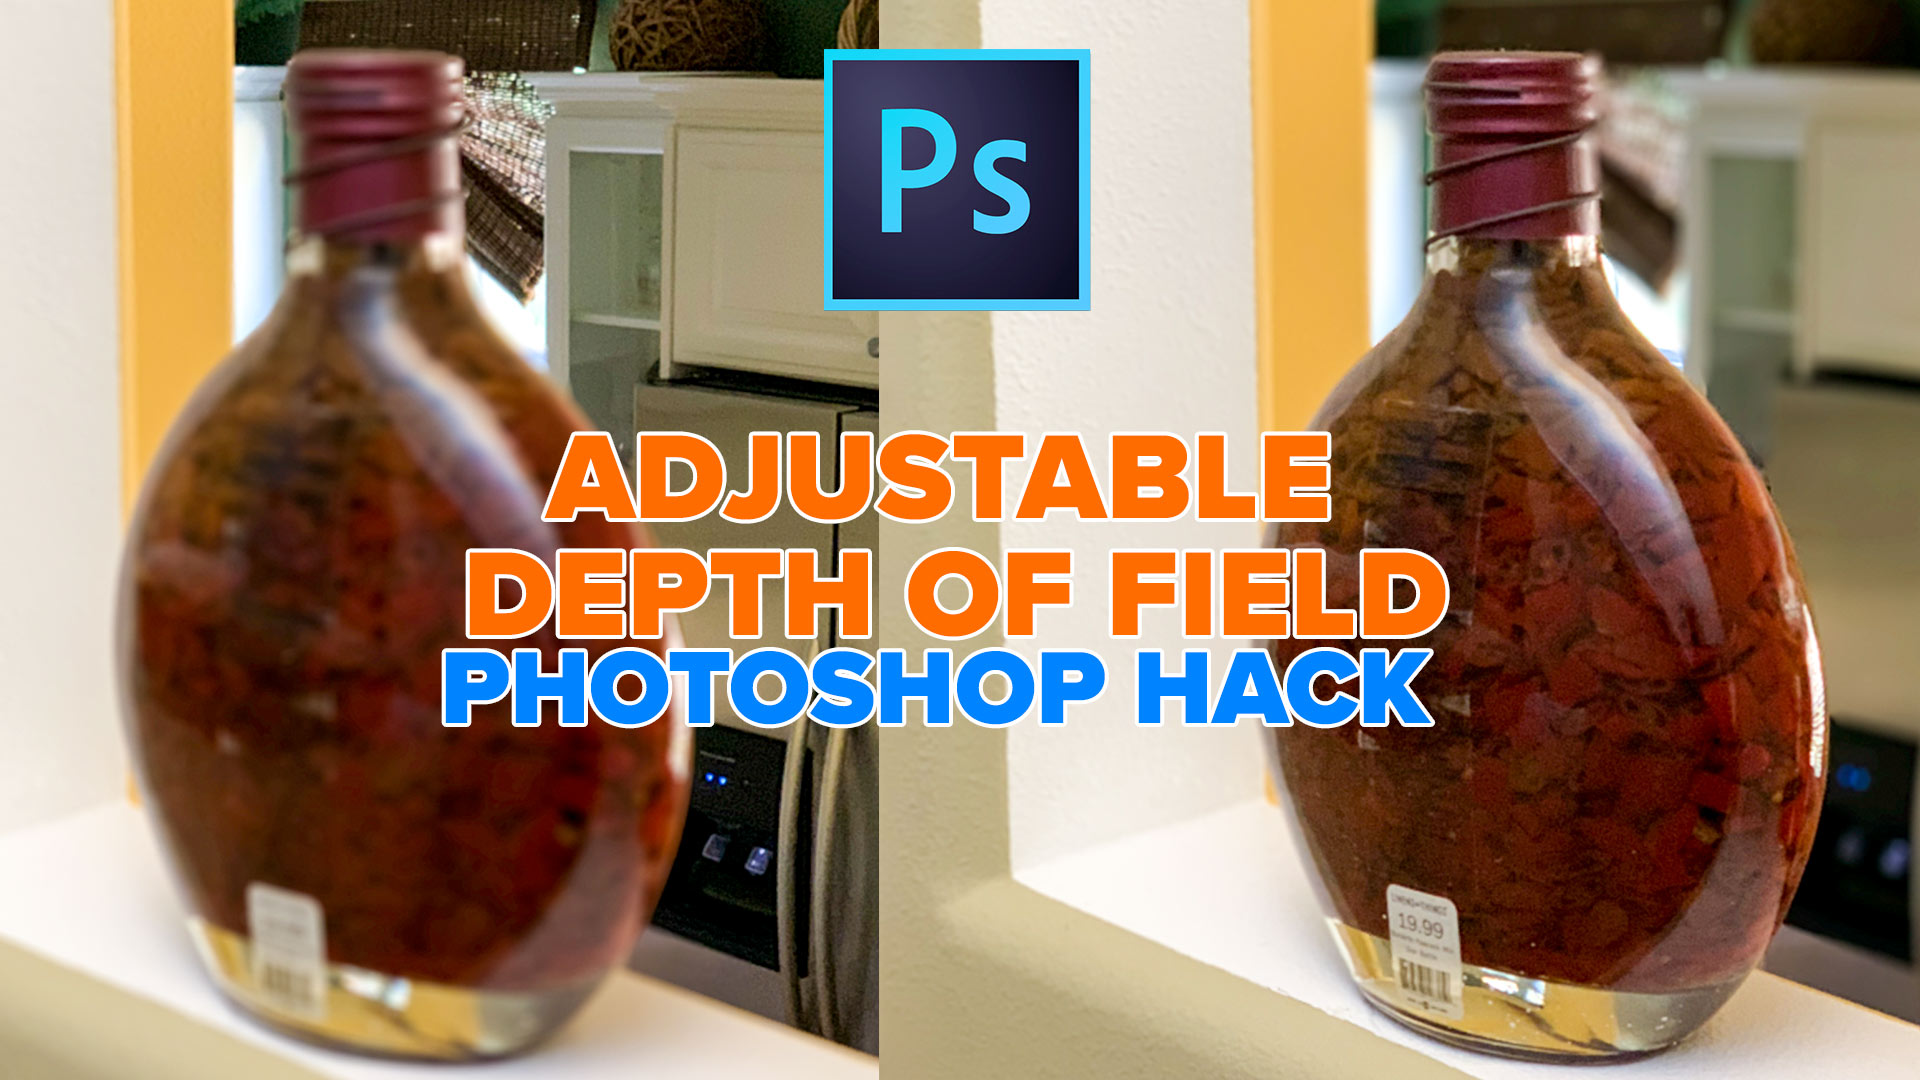
Refocus your photo in Photoshop using this sneaky hack I came up with. You can adjust the depth of field...

Best ai 1 click selections in Photoshop. Object Finder vs Select Subject


I think the majority of you viewers, myself included, don’t have tablets and pressure sensitive pens. Maybe you can do another video showing how to dodge and burn using a mouse?