
How to easily add Bleeds and Crop marks in Photoshop for print
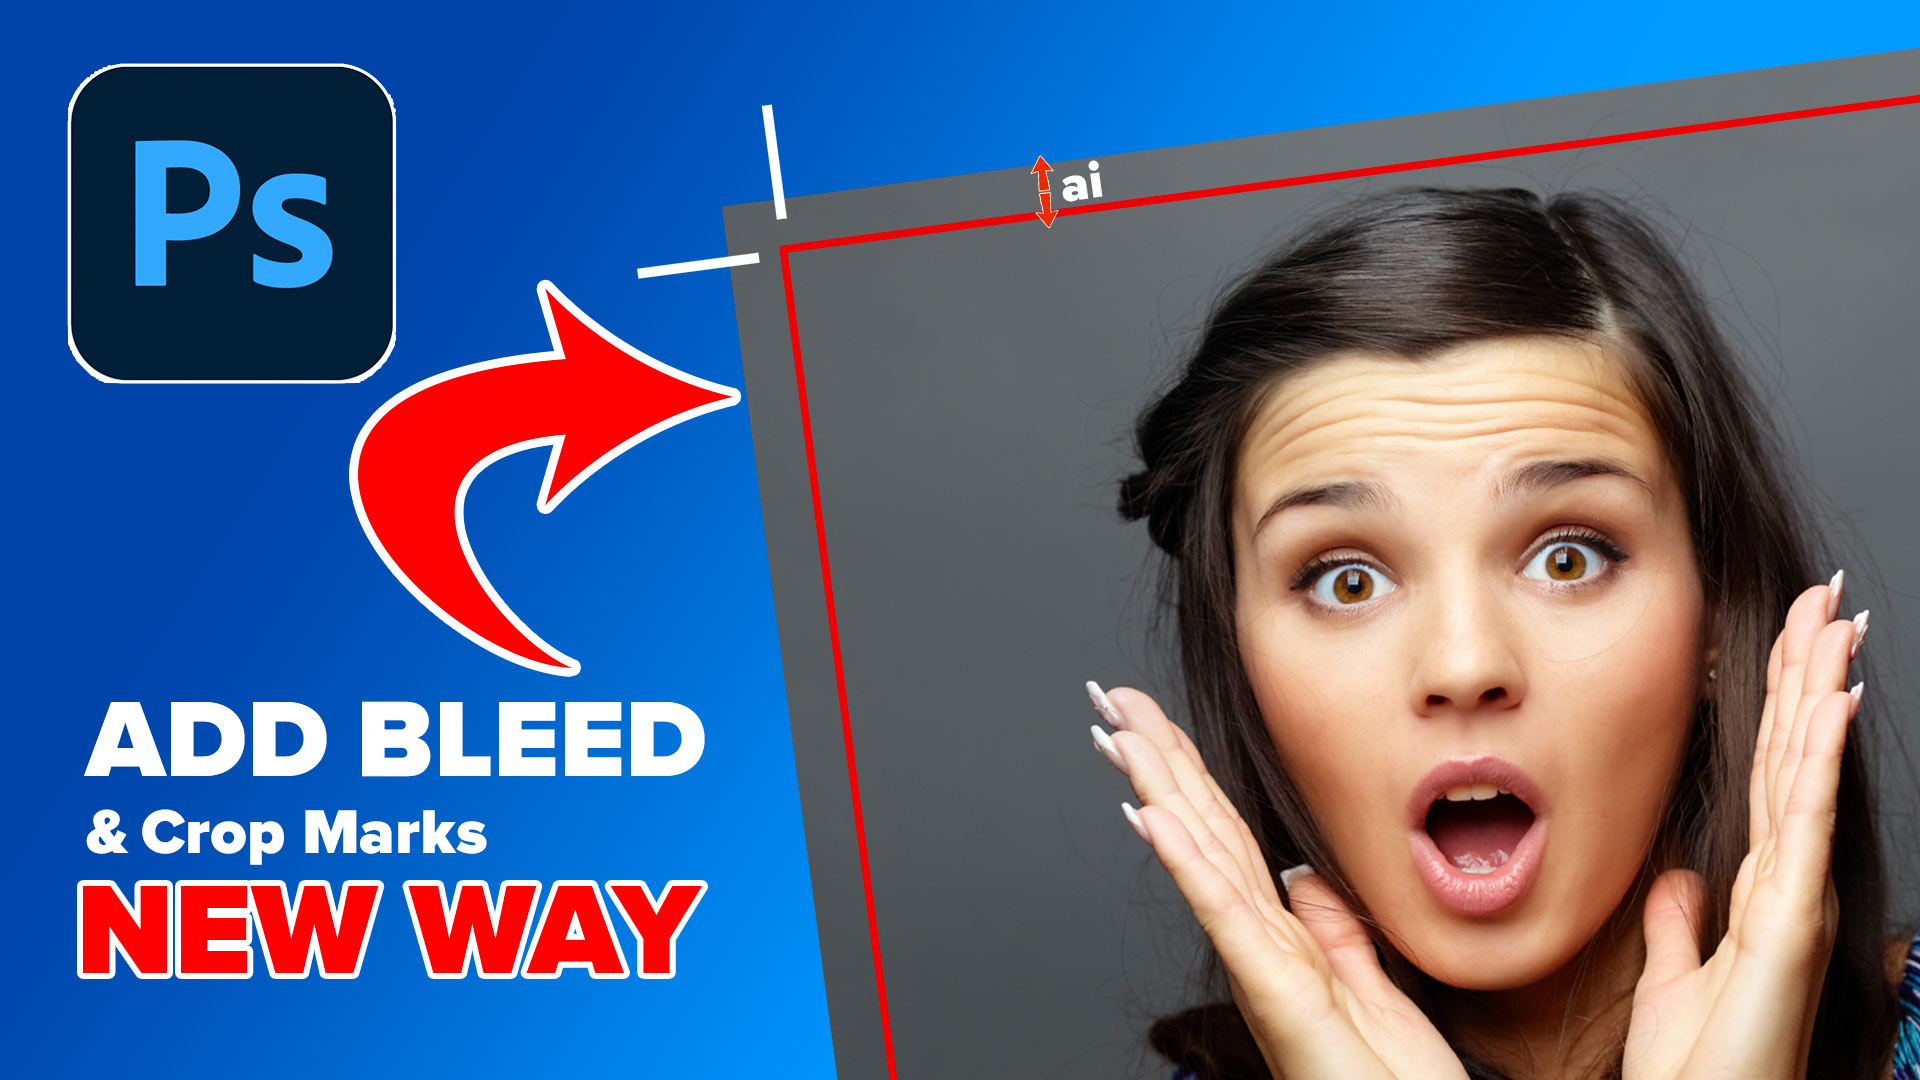
The easiest way to add bleeds to artwork in Photoshop, has changed. This tutorial shows you the fastest and best method using the latest tools in Photoshop.
Here is the challenge: You created or acquired some artwork that you want to send off to the printshop, but there is no bleed area set up. If you were to have it printed “as-is”, when the printer trims the final piece, there will be white slivers showing around all the edges, because the printed area is right up to the edge of the trim. Especially if we get slippage on the press, those white borders can become very noticeable. (Printers already know this and will usually reject the artwork or charge you an extra fee to fix it).
It’s standard to add an extra 1/8″ inch (3mm) to the edges, the trim happens inside the artwork and thus no white edges. This extra space is called a “bleed”. An experienced designer will already know this and create the document with this “trim safe” area built in. You could just enlarge your artwork, but then you might be trimming off important information on the edges, or just messing up the balance of the design.
The best solution is to extend the size of the document and add more artwork to the edges. There are many ways we have done this in the past, from painting color, using pixel stretch techniques or other methods. These days, this is the perfect job for Generative ai. Because it’s on the trim area, resolution isn’t important, we just need matching colors.
The crop marks are the overlays that show us where to cut. There is no bleed or crop mark features built directly into Photoshop. Yes, a PDF can create crop marks for us, but what if it’s a one-off printed directly from Photoshop and you are manually using a guillotine (paper cutter) to trim the page.
Here are the simple steps to do this yourself.
Making a Bleed in Photoshop
Say we have a design that doesn’t have a bleed area built in (There have been many reasons for this in my decades of experience). We need to add a 1/8th inch (3mm) bleed.
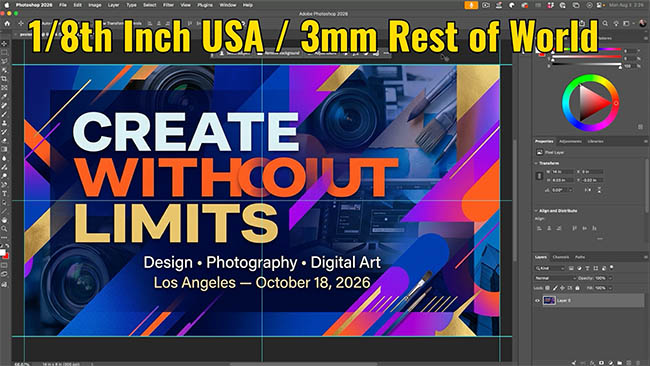
This bleed will need to go on the outside of our doc. This means we will have to make the document dimensions larger.
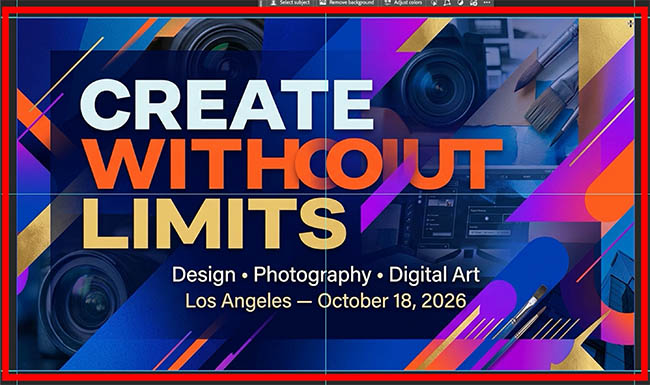
The first thing we need to do is add guides to mark the live are of our artwork.
Fortunately, Photoshop has made it so much easier to add guides than in past days.
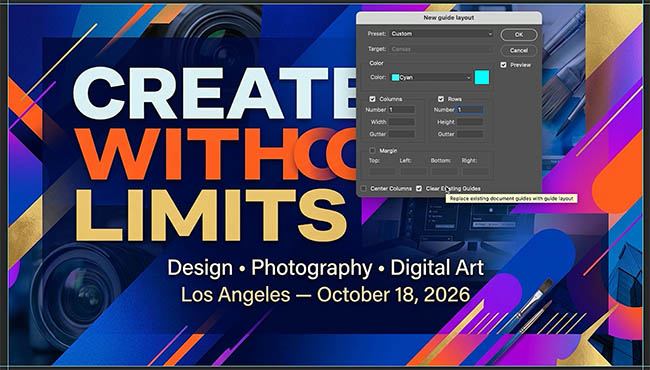
View>Guides>New Guide Layout
Set it to 1 column and 1 row. leave everything else blank, no gutter or margin.
Turn on Clear Existing Guides, so that only the new guides will show.
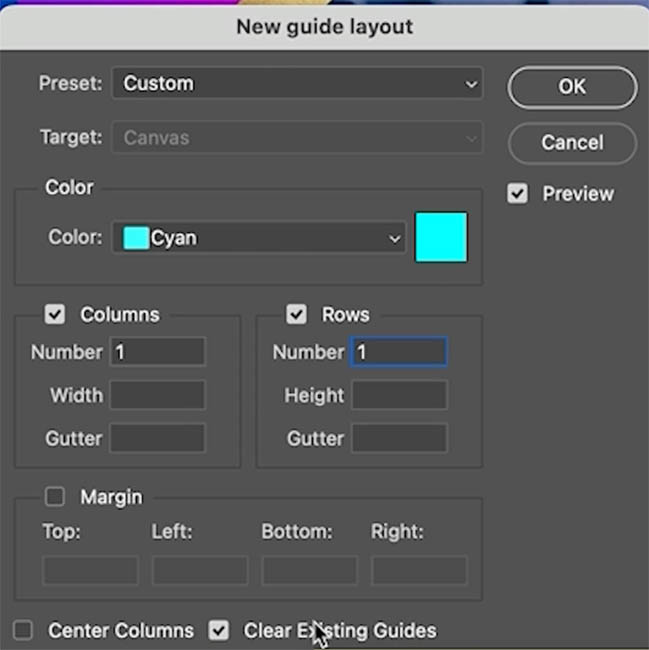
And you can see the guides around the edges. Press OK.
Changing the canvas size for the bleed
We should be working on a flattened version of the art at this point. If you need to choose save as, save the layered work separately, we will work on a flat doc. (Right-Click on a layer in the layers panel and choose Flatten Image.)
We now need to make the document larger on each side.
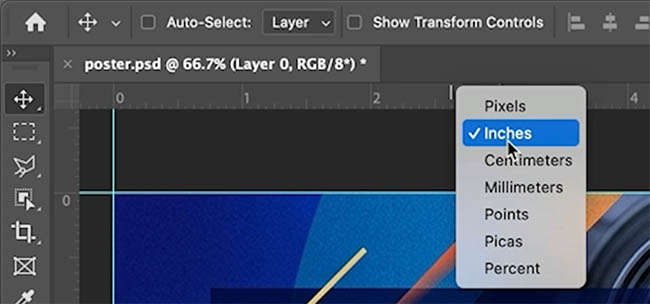
(optional) Easy way to change the unit of measurement: Press Ctrl/Cmd+R to show the rulers. Right click on the ruler and choose Inches, mm or whatever measurement you want to work with.
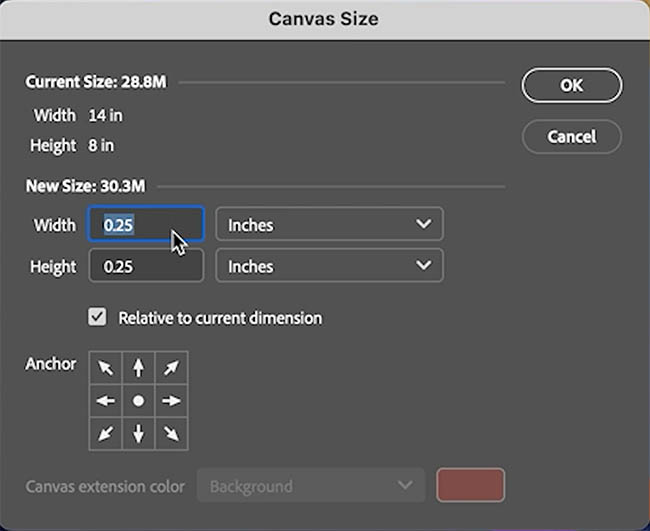
Image>Canvas Size
Choose the Relative button. We don’t want to calculate the entire size, just add what we need.
Now, we want to make the canvas larger and add 1/8″ or 3mm to each edge.
Because we need to add the extra to both sides, (and top and bottom) double the number. That would be 1/4″ inch which is .25. 6mm if you are outside the US.
Click ok
Now we have a transparent area running all the way around.
We need to fill it with something. The lazy way is to press Ctrl/Cmd+T and stretch the artwork. We will use a better way.

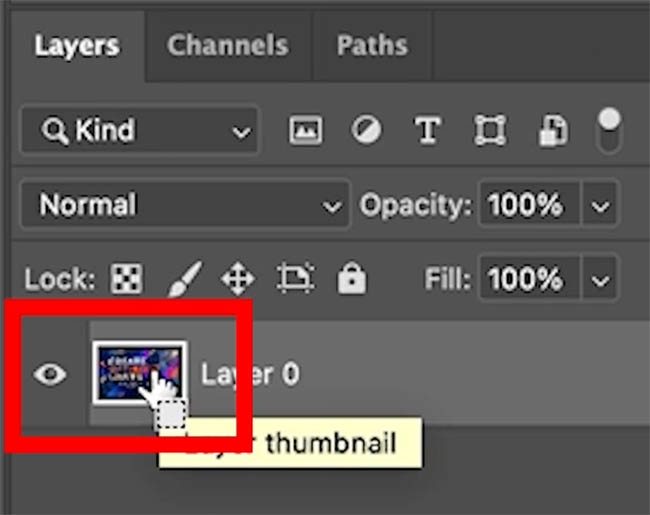
Hold down the Ctrl (windows) / Cmd (Mac) key and click on the thumbnail in the layers panel.
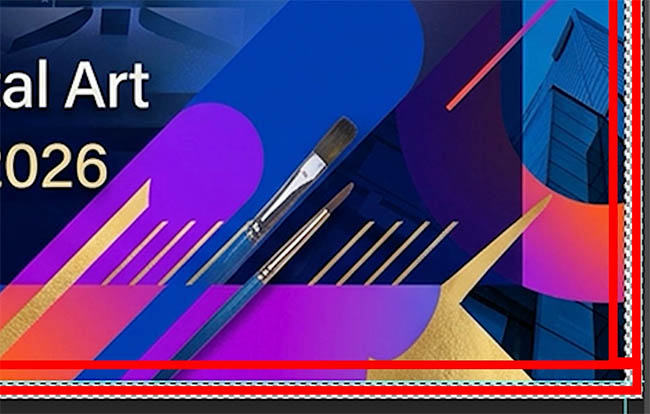
The pixels will all be selected and you will see the marching ants around the edges.
Because the selection is right on the edge, we need to slightly contract the selection, so there is no seam.
On the Menu choose Select>Modify Selection>Contract.
Or choose it from the taskbar as shown.
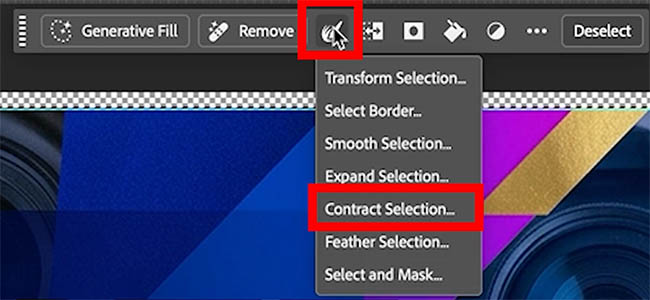
Enter 2 pixels and click ok.
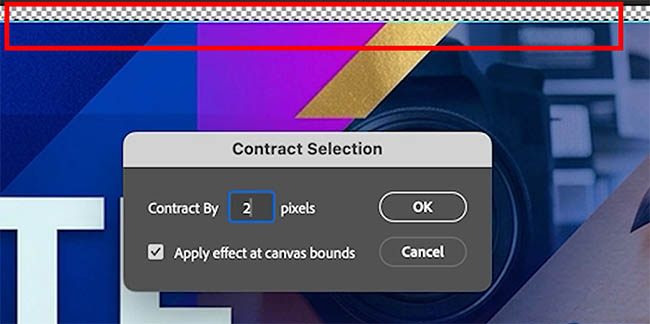
Too how we don’t have a gap anymore.

Select>Inverse or choose it from the taskbar.

Now we have a selection around the edges that starts 2 pixels within the art.

In the taskbar, Click on Generative Fill
Choose Adobe Firefly Fill and Expand for the ai model. Ai Model Cheat Sheet here.
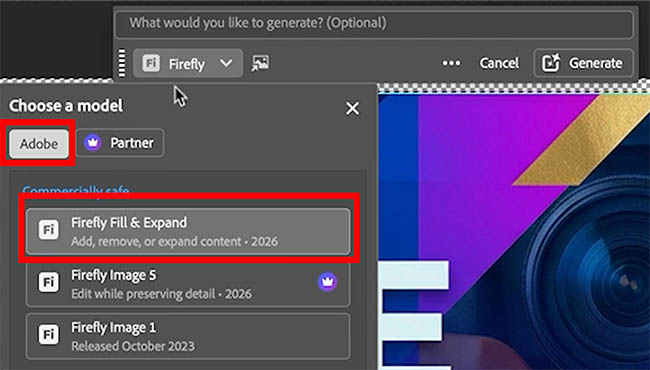
Click Generate

Now we have a perfect bleed generated. This is one of the most practical uses of Generative ai out there.
If you don’t require crop marks, you are done! I made this into a free action you can download, see more info at the bottom of this page.
If you want crop marks, read on.

Adding Crop Marks in Photoshop
Create a new layer, name it crop.
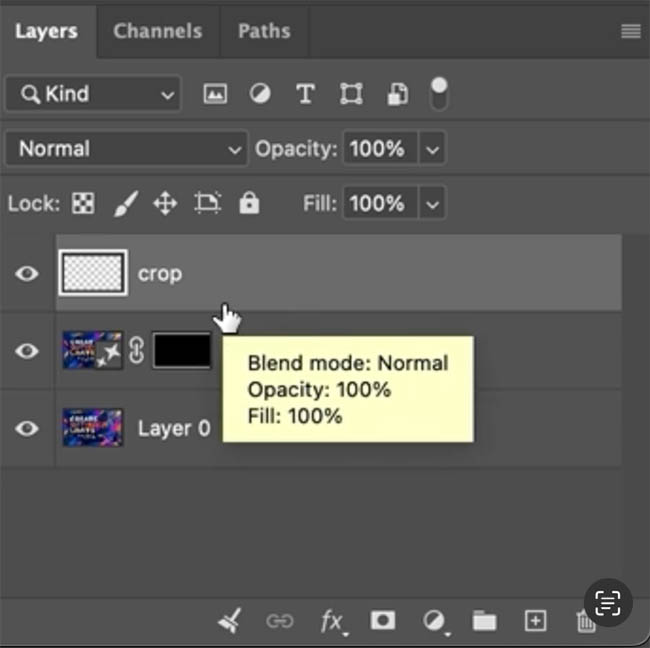
Choose the line tool and select a color that will be easy to see against your artwork, usually black or white.
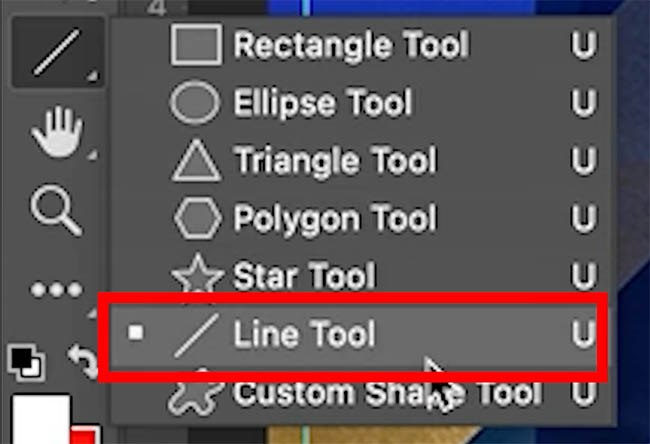
In the tool option bar at the top, choose Pixels.

I like to set it for 1 pixel, choose 2 if you prefer a bolder crop mark.
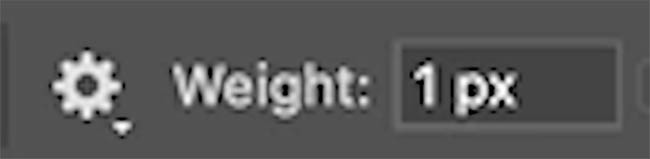
Drag the line across each of the 4 guides.

Make sure you start off the canvas to make sure the lines are all the way to the edges.
You can hide the guides if you like: view>show and click off the guides

Let’s trim the crop marks.
Press Cmd/Ctrl+A to select all.

Choose Select>Modify>Contract or use the task bar.
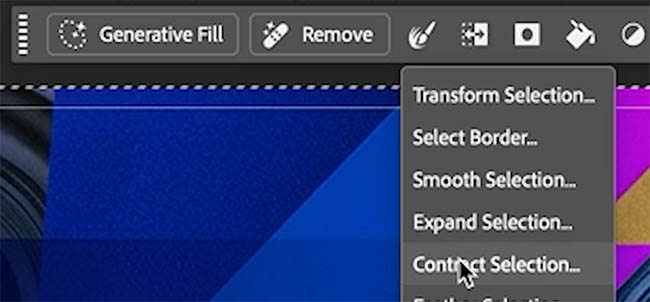
Enter 20 pixels and click ok.
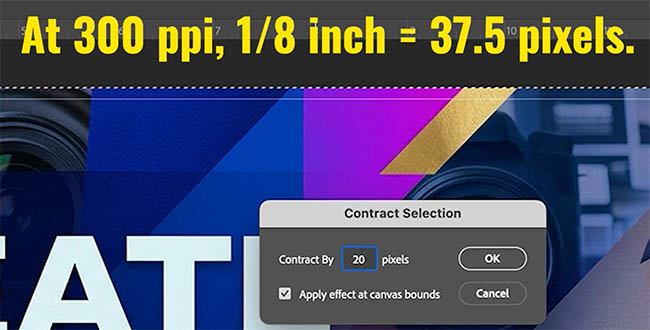
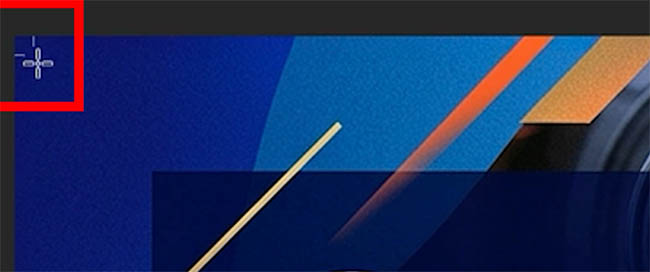
You should see your selection cover all the lines except the corners.

Press Delete.
Here’s your crop marks in each corner.
That’s it!
To make it easy for you, I have created an action. It’s called Add Bleed and Crop. You’ll find it under Colin’s Bonus action group when you have download the free actions from the vault. You can access all the freebees at the vault here.
I hope you found this tutorial useful!
Colin
PS Don’t forget to follow us on Social Media for more tips..
(I've been posting some fun Instagram and Facebook Stories lately)
You can get my free Layer Blending modes ebook along with dozens of exclusive Photoshop Goodies here

4 thoughts on “How to easily add Bleeds and Crop marks in Photoshop for print”
Leave a Reply
How to use the 3 Brush trick to easily dodge and burn in Lightroom.

The Face Aware Liquify in Photoshop C enables you to easily change someones face to look like someone else. See...

How to change the color of anything in Photoshop instantly, including white or black.








Hi Colin, this is especially handy for the printing industry.
I was hoping your tutorial would be explaining a new automated feature though, rather than the steps for an extremely manual process. Let’s hope Adobe can make this an auto feature. Love your tutorials.
Thanks. Adobe didn’t add it as a new feature, but you can automate it with the action at the end of the tutorial
Hi Colin, I’ve just tried your Bleed action in the Actions Pack. For me it doesn’t quite work correctly, as having created the 4 lines, when the action executes the ‘delete’ command it just deletes the last line that I drew, not the parts of the lines within the selected area.
What am I doing wrong?
Thanks, Geoff
Also make sure you are using “pixels” for the lines and not paths or shapes