How to create a Design Concept with Photoshop and Adobe Stock
In this tutorial, I’m going to show you how to create a cool mirrored effect that looks like something you would see on a record cover, or movie poster. This tutorial also shows you how to use Adobe Stock from within Photoshop.
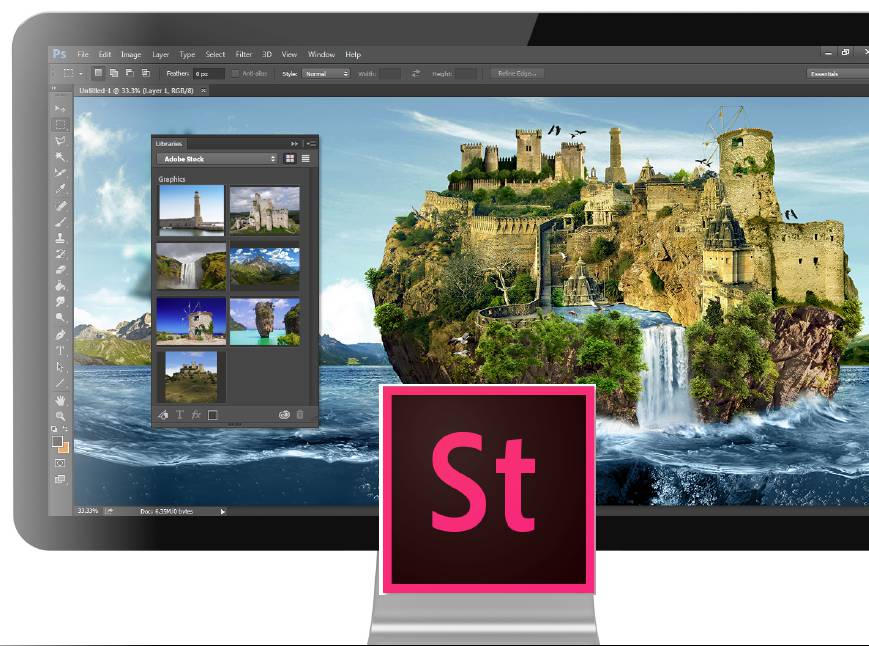
Adobe Stock integrates really tightly with Photoshop.
This enables to to browse all the photos from Adobe Stock (Formally Fotolia) and bring them into your Creative Cloud Library. You bring them in as watermarked comps. You can add as many as you like and this step is free.
Mock up designs in Photoshop and present these ideas to clients. Once they sign off, you can then license the image you choose at a very reasonable price. All the images that are in your PSD as Linked Library Smart Objects will be automatically updated in your Photoshop comp. The watermarks will disappear and your photos will suddenly become High Resolution. This is very convenient. Watch the Video to see how it all works.
Adobe Stock
A new addition to Creative Cloud Libraries is Adobe Stock. You can add a watermarked image from Adobe Stock and use it in your comps, even apply smart filters to it if you like.
When you are ready for a final, you can license the photos and the full resolution un-watermarked images will replace the comps. You can access this by clicking the St logo from the bottom of the Library Panel.
Let’s start with some quick history. Many moons ago, Adobe shoved Stock Photos into Bridge and it eventually failed. One reason for this was because it was just essentially a marketplace without adding any real integration. Last year Adobe made the surprising move by purchasing the micro-stock Photography company, Fotolia. Everyone wondered what they planned on doing with it. Here is what happened, as of today it became what is now Adobe Stock. Not to be confused with the Adobe Stock ADBE trading on the NASDAQ.
Using Creative Cloud Libraries, you can now access the vast collection of photos from within Photoshop and search for your photo.
When you see something you like, save it to your Library (watermarked version). You can drop them right into your document and start playing around with the layout and trying different stock photos. When you like something, Right Click and choose License Image. The watermarked image will be replaced by the High-Res licensed image all ready for your use. All Layer effects, smart Filters and Adjustment layers are automatically applied.
This is the kind of integration that was missing from the old Adobe Stock Photos, it certainly does seem like a good idea and worth the time for designers looking to quickly add royalty free stock photos.
PS Don’t forget to follow us on Social Media for more tips.. (I've been posting some fun Instagram and Facebook Stories lately)
You can get my free Layer Blending modes ebook along with dozens of exclusive Photoshop Goodies here

3 thoughts on “How to create a Design Concept with Photoshop and Adobe Stock”
Leave a Reply
Powerful Landscape Masks, make easy, precise photo editing in Lightroom and ACR in Photoshop
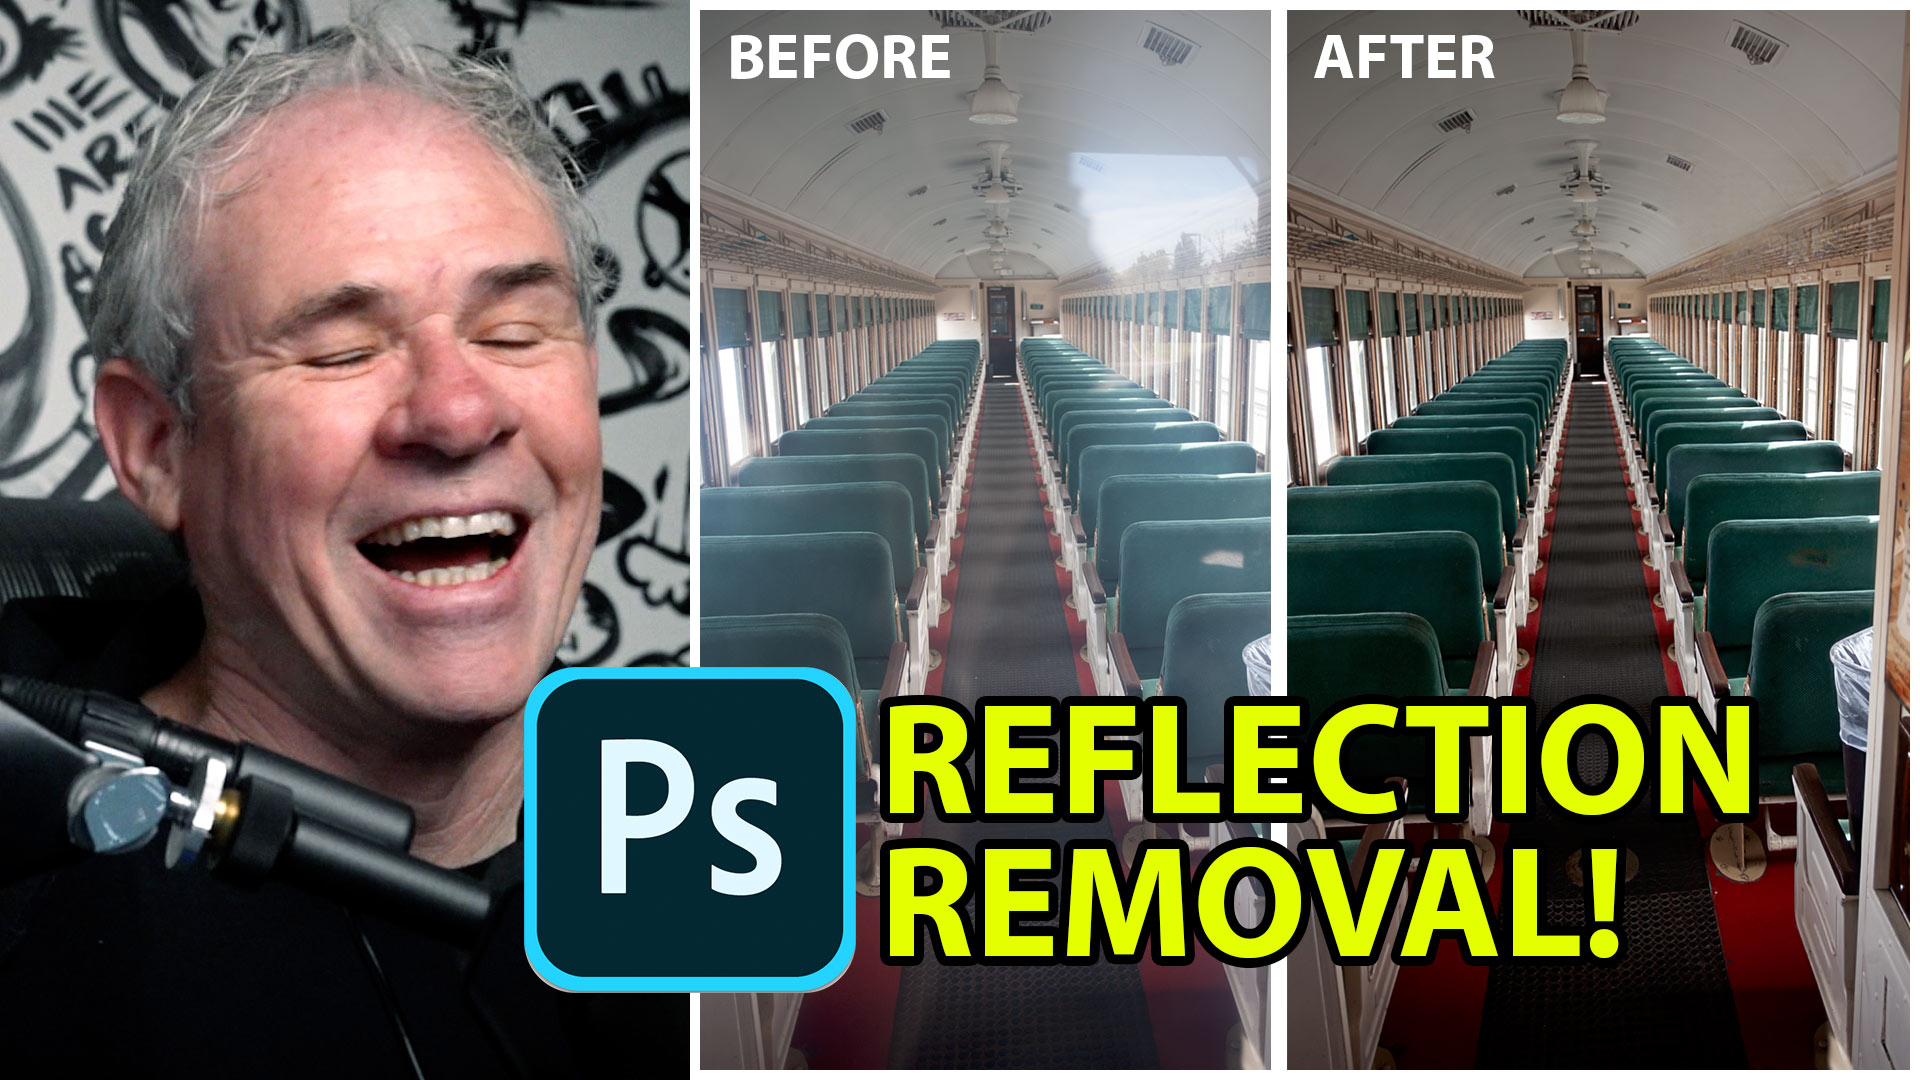
How remove reflections from glass in Photoshop, using ai Reflection removal in ACR
Stop ruining your photos in Photoshop because it will make you look like a noob. Here are 3 things to...






Great tutorial it helps me very much.
Nice post and providing more information. Thanks
Great blog post and the tutorial is professional . Love this tutorial . Must be i’ll try to doing this work . I’m applaud you tutorials . Thank you so much .