
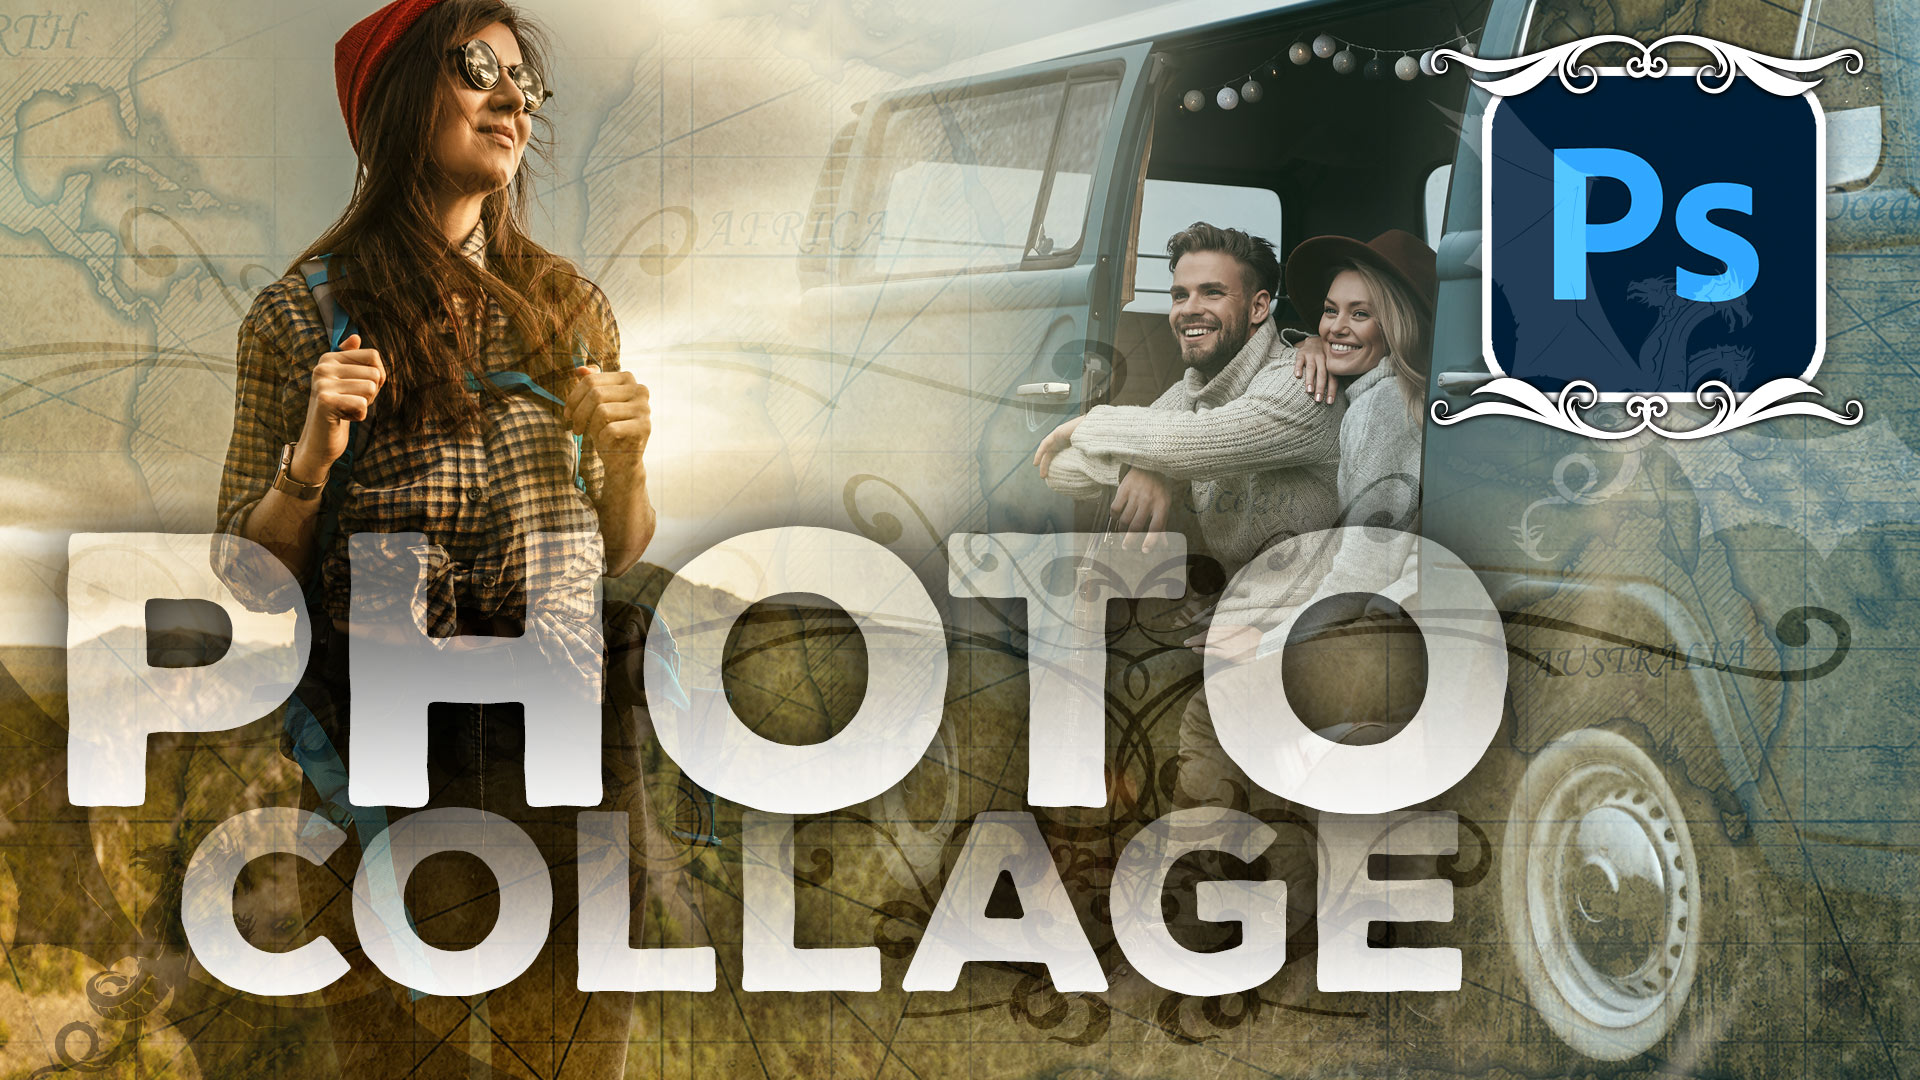
How to make a photo collage in Photoshop
How to composite a collage in Photoshop
In this Photoshop tutorial, I’ll show you how to merge photos together to make a creative collage. This is the kind of style used in posters, record covers and such. I hope you enjoy it.
Check out the video, because it covers each step and additional techniques and tips not covered in these written steps, as I like to keep the brief and easy to follow.
Bring the photos into Photoshop
Start with your photos, I’m using 2 photos and a third as a texture. I put them all into a folder.
I got the photos from Envato Elements here: https://1.envato.market/c/1981284/298927/4662

To load the images into Photoshop and put them on layers in the same document choose File>Scripts>Load Files into stack
Click on Browse and find your folder.
Click OK

The images are opened into a layered document. See this tutorial on combining images if you are stuck
2. Position the images
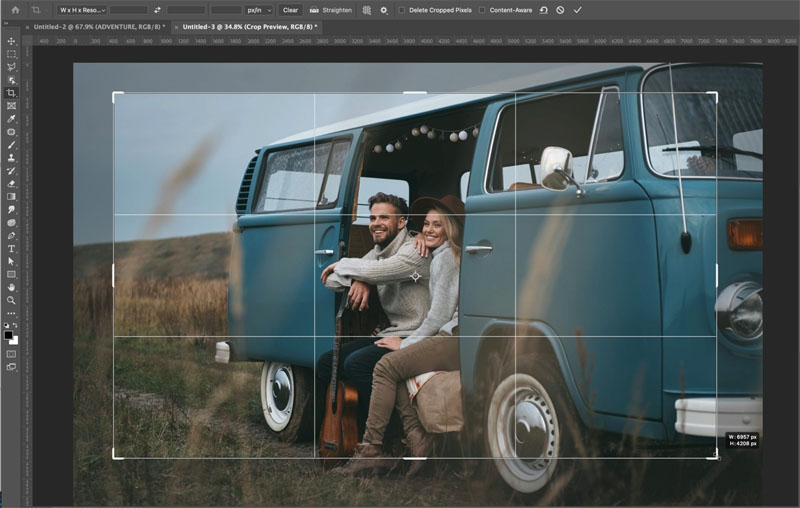
Position the first layer and scale it, this is the photo that will go on the right side of the collage (The VW Bus).
Choose the crop tool (make sure delete cropped pixels is OFF) and drag to set the shape for the collage.
Press enter to apply
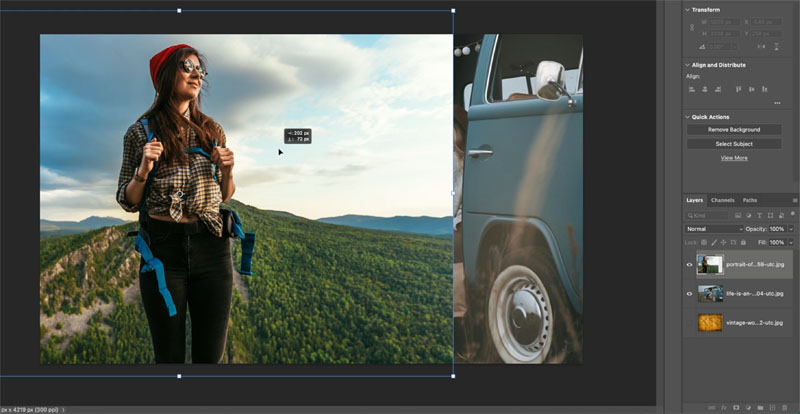
Choose the layer that contains the 2nd image with the move tool (V key).
Press Ctrl/Cmd+T for free transform.
Drag to size and position the image on the left side.
Press enter to apply the transformation
3. Blend the photos together
Choose the gradient tool for the toolbar
Choose the black to white gradient.
Make sure it’s set to linear, Normal blending mode and 100 opacity.

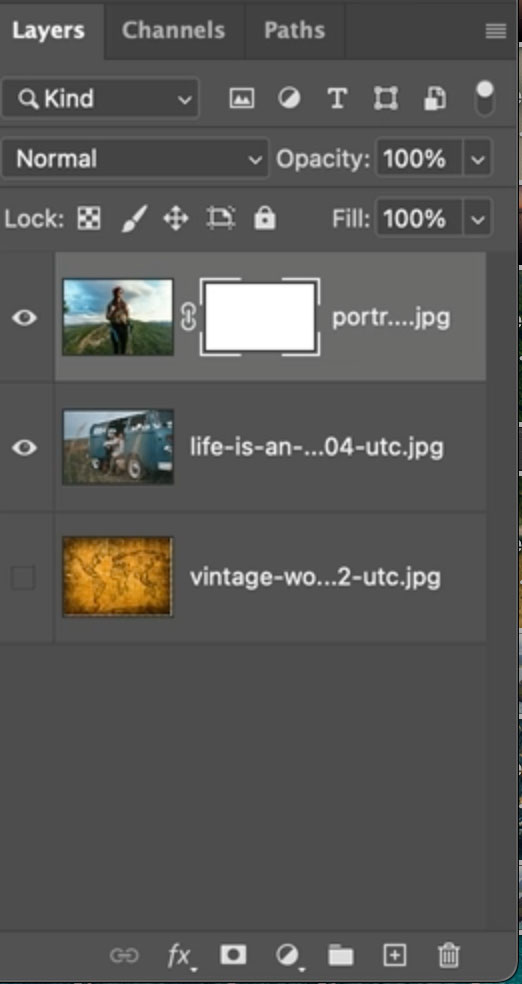
Click the new Layer Mask icon in the bottom of the layers panel (Rectangle with circle in it).
You will see a white Layer Mask next to our layer we are going to blend.
With the gradient tool, drag from the right to the left to apply a gradient over the seam. (remember to make sure you are working on the mask).
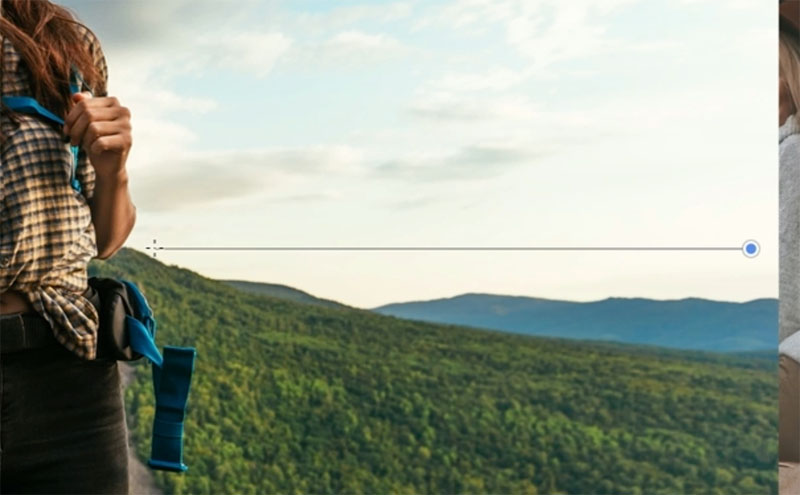
You will now see a nice seamless blend. If you don’t like the result, try drawing on the image with the gradient tool again until you see a blend you like.

Create an overlay texture in Photoshop
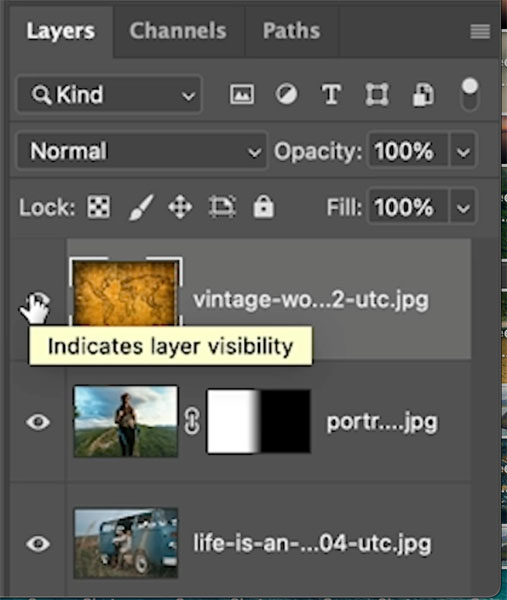
Drag the map image to the top of the layers panel and turn on the visibility eye.
Press Ctrl/Cmd+T for free transform.
Drag the corner point to enlarge the map image until it covers the entire document window.
Press enter to apply.

This time we will use a different way to blend the top layer.
Change the Layer blending mode from Normal to Overlay.
Adjust the opacity to somewhere round 50% to find a nice mix of texture and phots underneath.
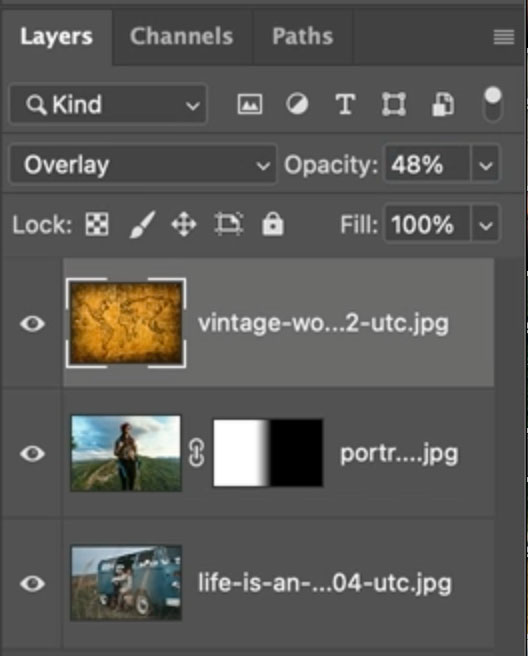
Now you can see how it blends nicely.
If you want to paint away the map texture from the faces, choose a soft round black brush, and with the layer mask still selected, paint over the areas you want to hide the texture. (This is shown on the video).

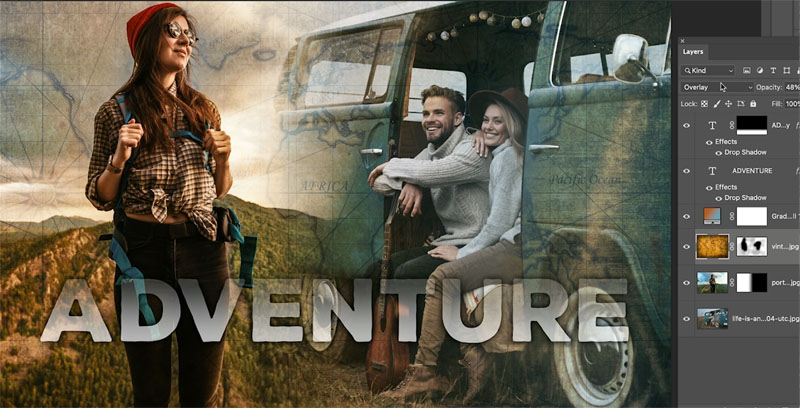
Add a Color Overlay
Now we want to tie everything together, as well as flavor it with a gradient color grade.
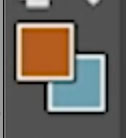
Chose a warm color for the foreground and a cooler color for the background.
Choose The layer Styles in the Layers panel and select Gradient.

Set the gradient to the Foreground to background option.
Change the angle so that the gradient goes horizontal.

Change the layer blending mode to color.
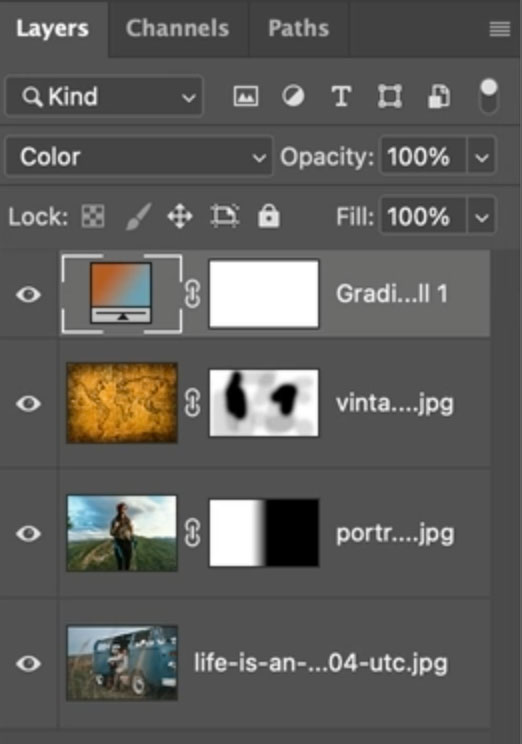
Now you see the color of the gradient shows with the image.

Lower the opacity of the gradient layer to mix the original colors with the gradient colors.

To finish it off add some type or other elements. If you want to see how I created this fading type effect, its on the video at the top.
A variation
I hope you enjoyed this this tutorial, let me know in the comments if you want more like this. Also follow me on socials (or my mailing list) for other Photoshop tutorials and tips.
See you at the CAFE
Colin
PS Don’t forget to follow us on Social Media for more tips.. (I've been posting some fun Instagram and Facebook Stories lately)
You can get my free Layer Blending modes ebook along with dozens of exclusive Photoshop Goodies here


6 thoughts on “How to make a photo collage in Photoshop”
Leave a Reply
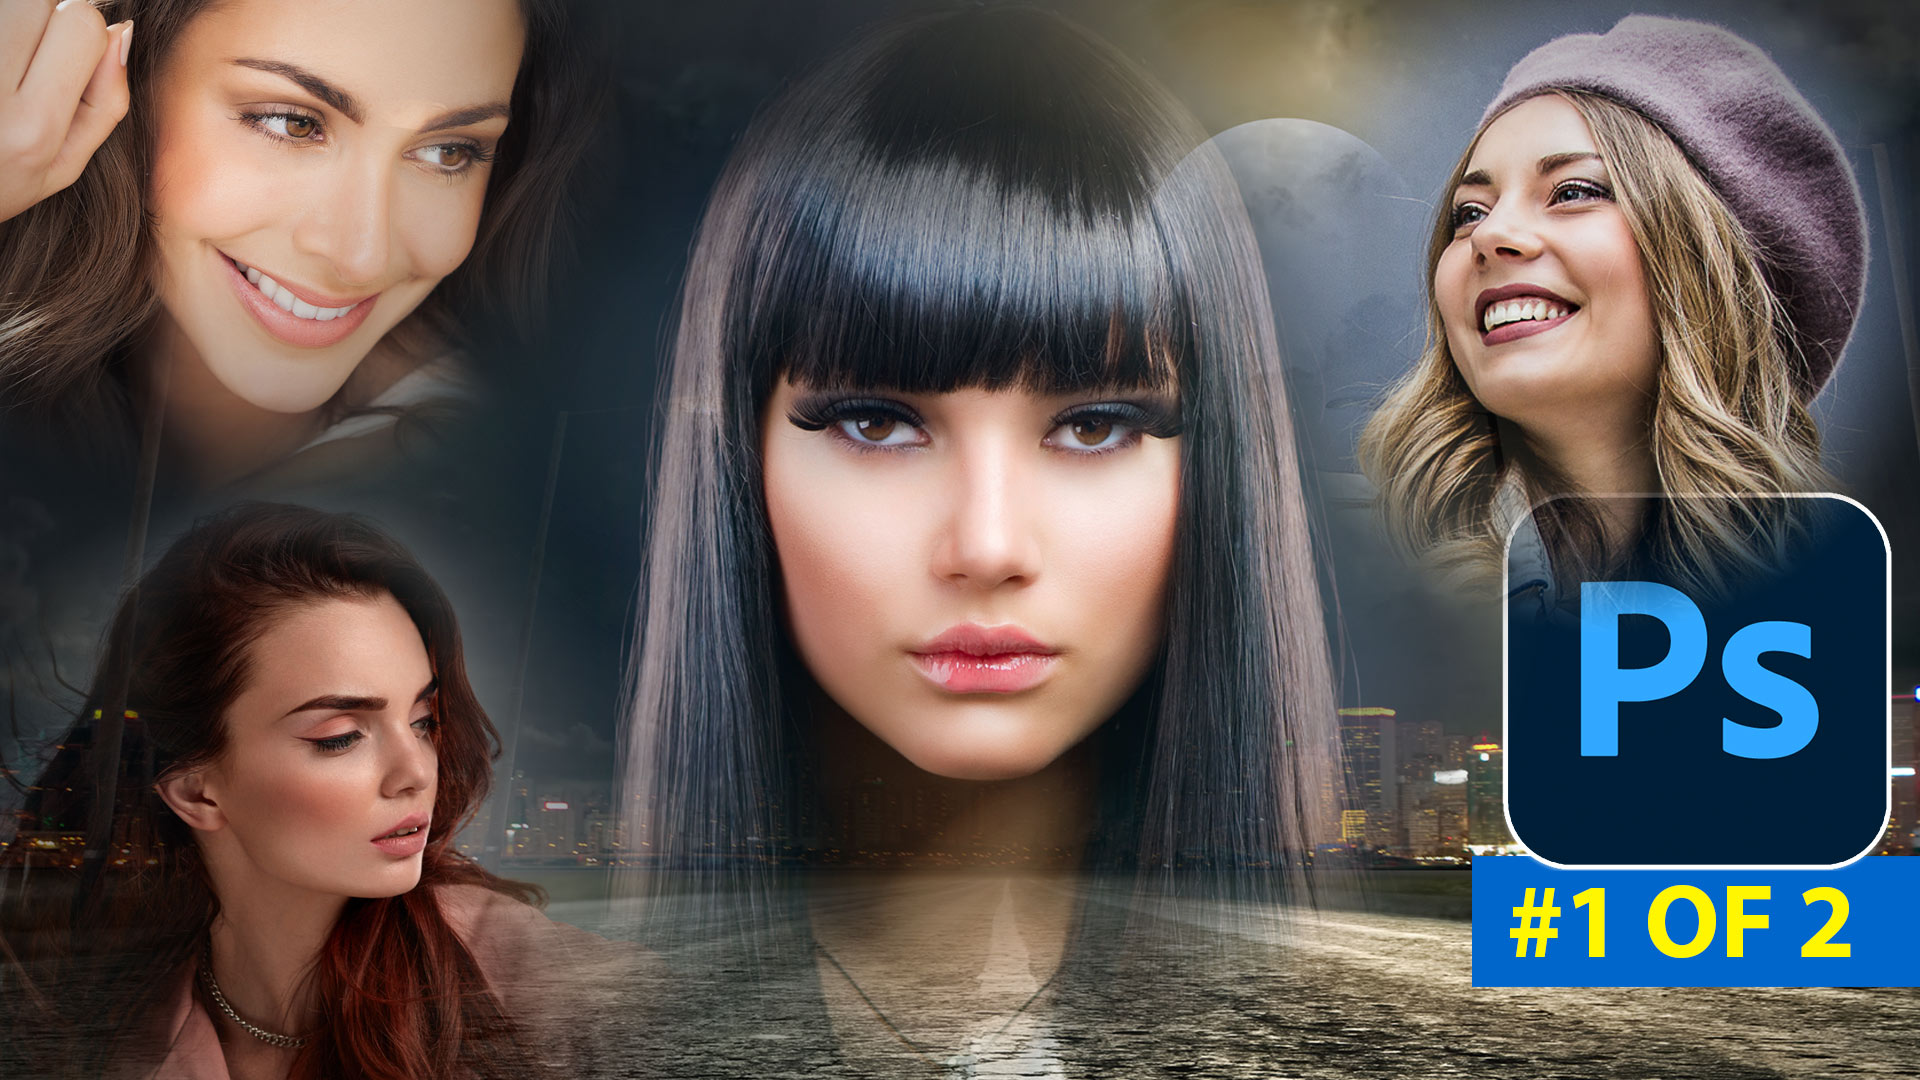
How to seamlessly combine pictures in Photoshop to make the floating heads effect on posters, magazine and album covers.

Update September 01 2025 New Website We just launched a brand new site. The focus is on speed and ease...
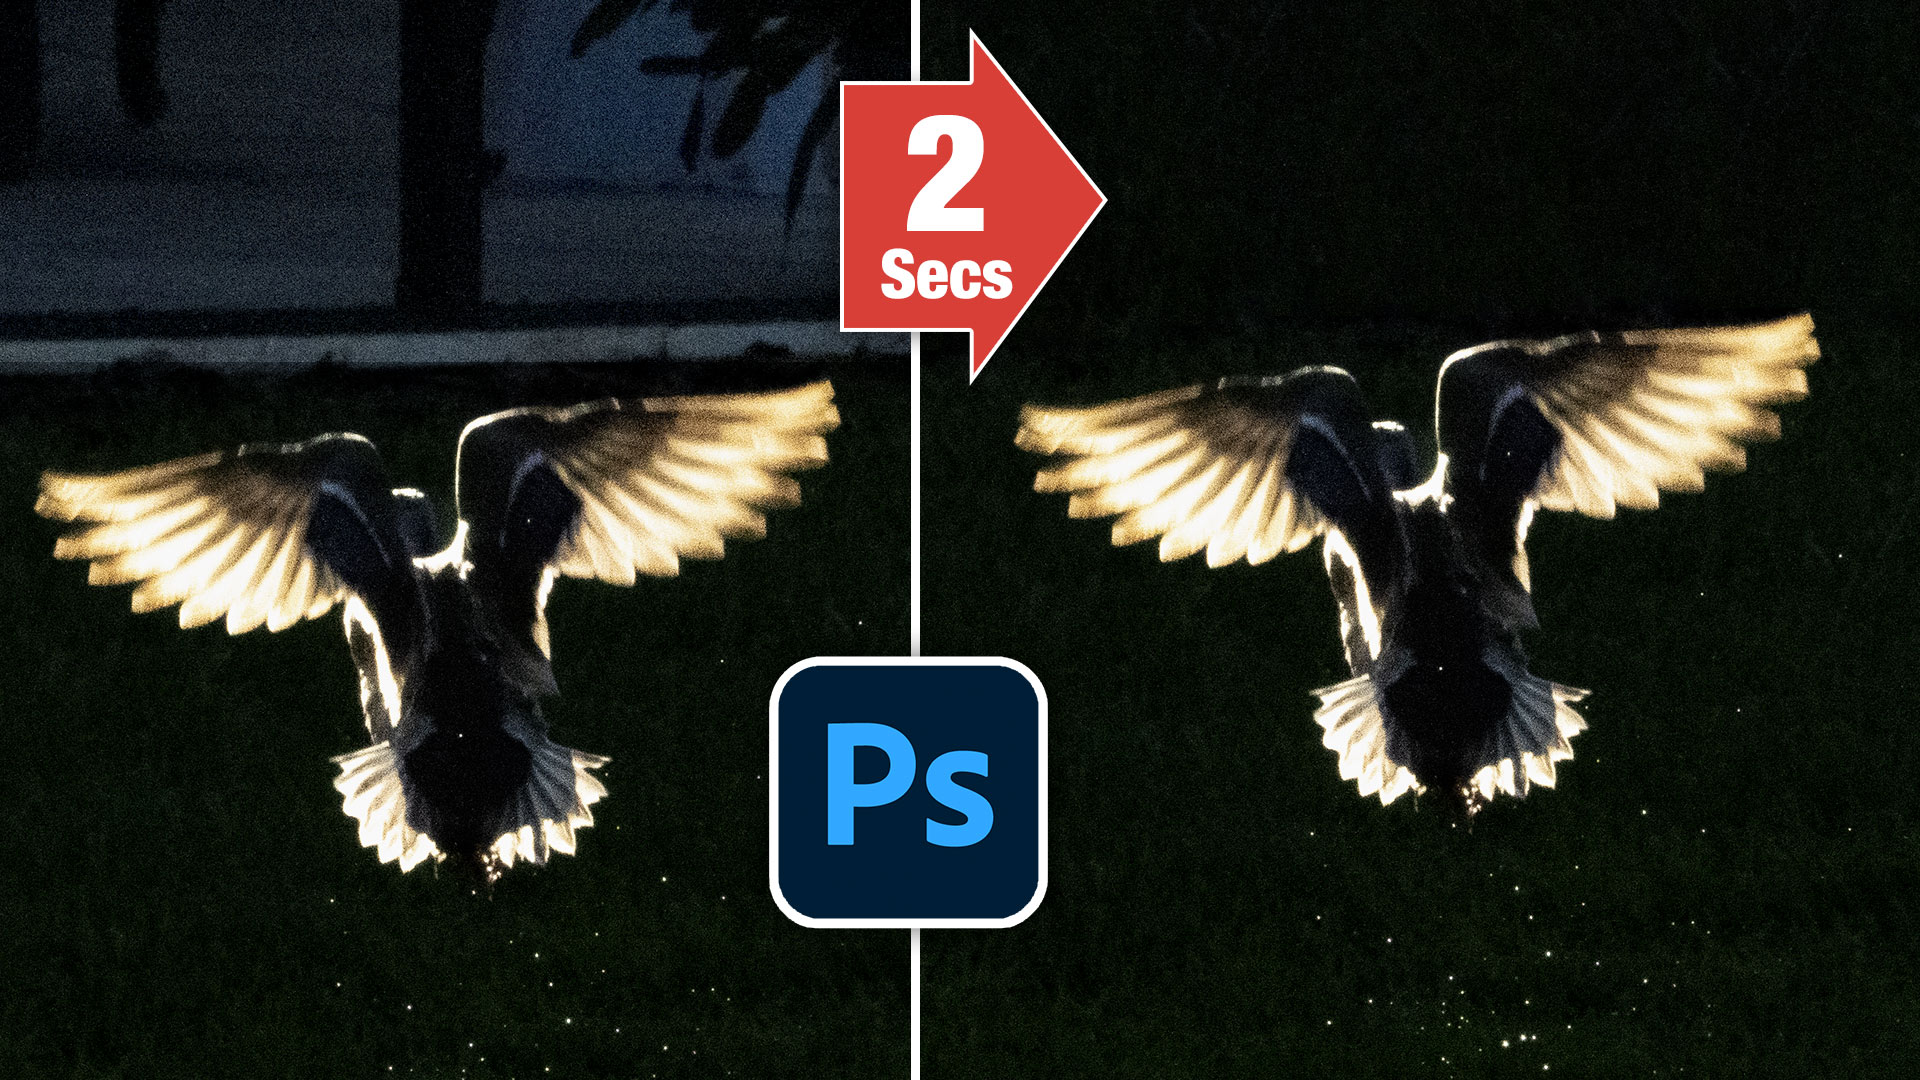
Easily remove things from photos with advanced content aware fill options in Photoshop. When Content Aware Fill doesn't work as...


A great demonstration of the power of blending modes in the creative process.
I would appreciate if this was explored more.
Many Thanks
Excellent and so easy to follow. Than you
Love this, Colin! One thing I do differently is to use the radial gradient (foreground to transparent) in lieu of a brush to mask away the portions of the texture overlay where I don’t want it. The gradient allows me to create a softer edge (better blend) than even the 0% hardness brush.
Your tutorials are amazing, they are easy to follow and understand. I appreciate that you write the instructions out, not having to take notes and watch the video at the same time is awesome. Thank you so much!!!!
Bev
Great tutorial Colin, so easy to follow, thanks for sharing this
Thank you for the tutorial and written content, makes learning easy.