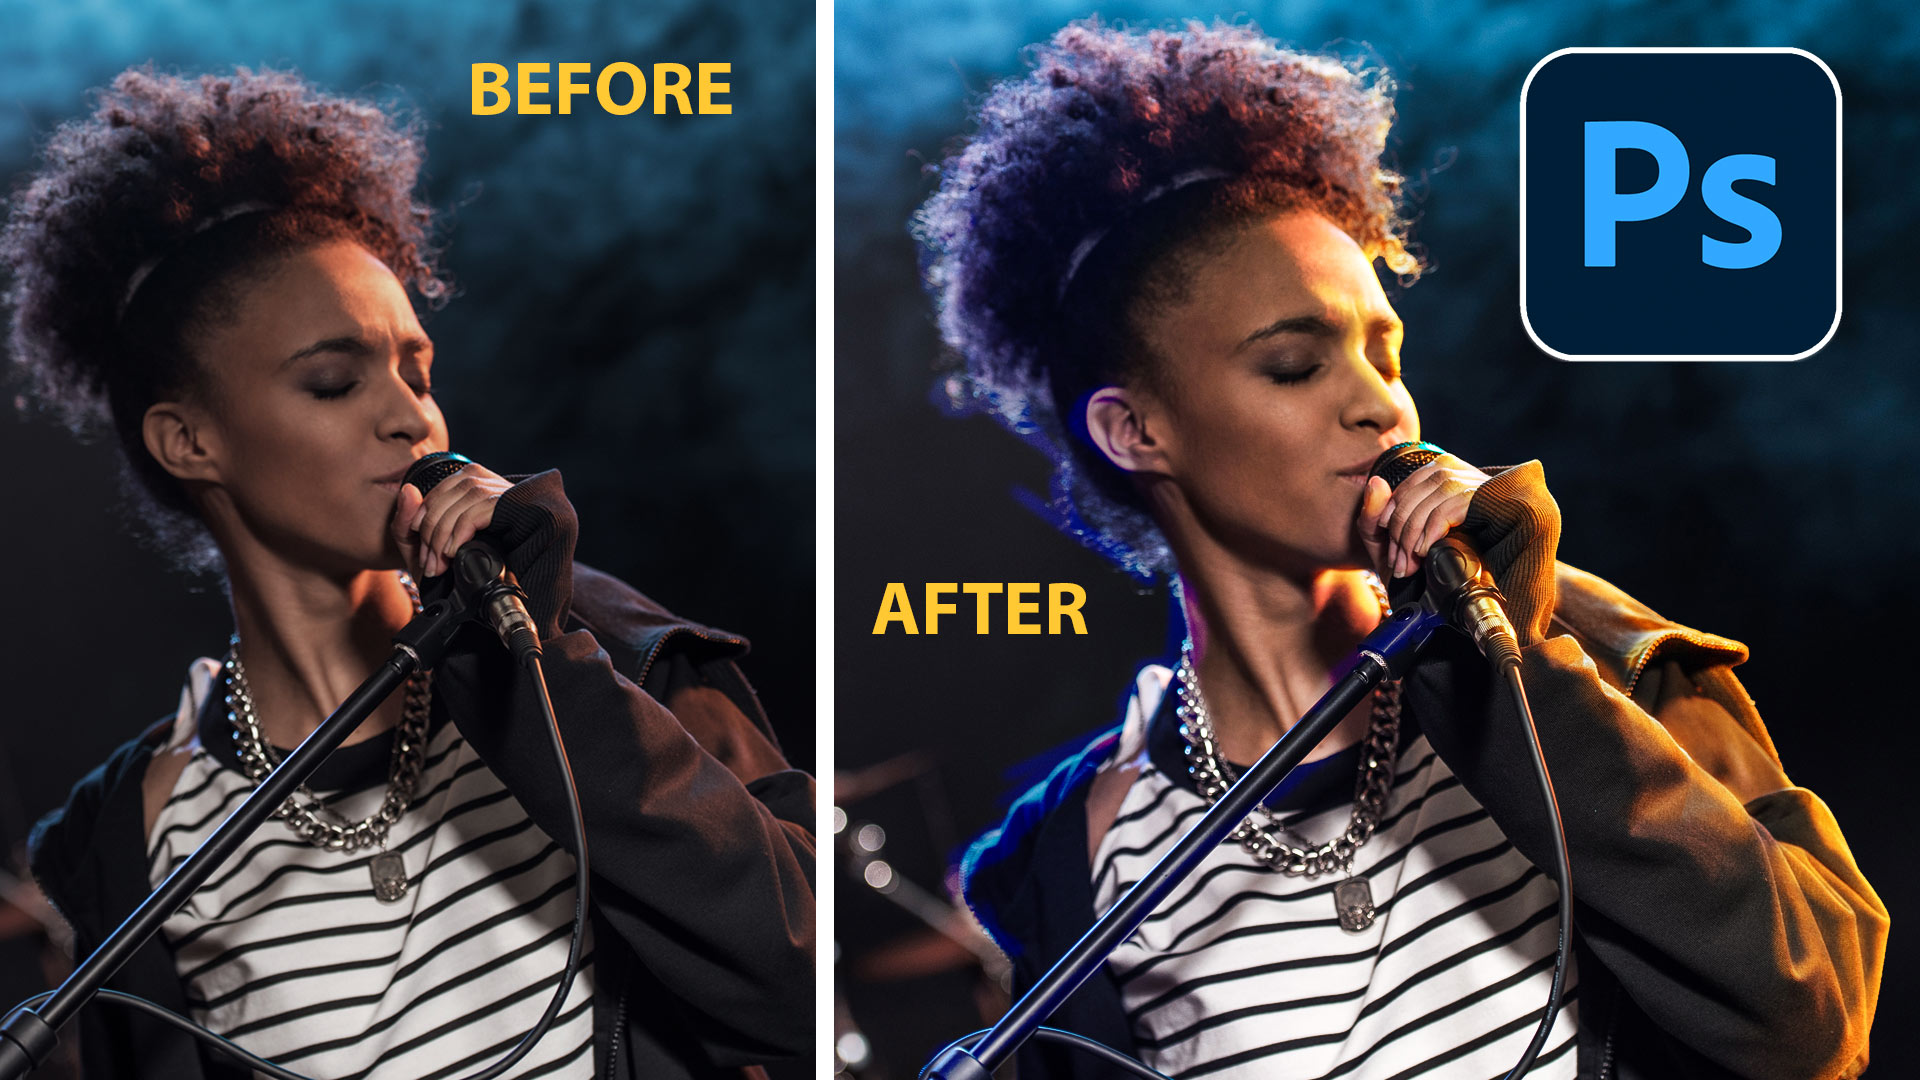
Secret setting in Harmonization, to match colors between photos in Photoshop
Match Color has long been the best way to match the color and tone of different layers in Photoshop, for believable compositing. However, the AI powered, Harmonization Neural filter, looks set to offer a viable alternative workflow, although Match Color has some special features. (Learn about match color here).
For a simple tutorial on using Harmonization, use this tutorial.
Not to be confused with the newer Harmonize ai layers 2025.
While recently talking to the Adobe Photoshop engineering team, I discovered something I didn’t know about the Harmonization filter and I immediately began experimenting. This bit of knowledge will help get better and more predictable results. I want to pass on this important knowledge to you. First I’ll demonstrate this discovery and then I’ll show you a practical way to use this.
Cut to the chase; Where you position the layers above the background affect the way the ai calculates the new color tones. It only calculates the visible areas. Let me demonstrate quickly, then we will work on a picture. All of this can easily be viewed in the short video above
How Photoshop Harmonization works
To demonstrate, I created a 2 colored gradient, for the background.

Create a new layer and fill with neutral gray. Position to the left. Notice this is covering most, but not all of the red.


Filter>Neural Filters>Harmonization.
Choose the gradient for the background, notice the gray shifts to a reddish-green.

Lets hie that layer and add another gray box. This time hiding almost all of the green.

Applying Harmonization produces a reddish tone.

You can clearly see that we get very different results based on positioning.
Ok, onto a practical use case. Knowledge without a use is pointless.

Matching colors more accurately between layers in Photoshop
Here is quick cutout of a musician placed over a San Fransisco street. The woman is warmer and more saturated, as well as higher contrast than the background. We need the colors and tones to match, so that the picture doesn’t look fake.

Choose Filter>Neural Filters
Turn on Harmonization. For background choose the image of the street.
See the result, it’s better, but not as good as it could be.

This time position the woman to the left of the image.
This covers up some of the red on the building, but more importantly, it allows more of the ambient color to show through on the right.

Run the filter again and this time it’s a different result. Let’s examine.

Side by side. #1 on the left is the first test. #2 is the second test, where she was covering the building when we ran the filter. #2 is the more accurate result, let me prove it.

Open the info Panel Window>Info
Let’s get a white balance reading from the background.
Choose the eyedropper. When you rollover the white cross walk you can see the red, green and blue all equal 230. This is the desired white value.

Let’s sample the first example.

looks like 247, 247 and 252, giving it a slight bias towards blue, but overall a higher value from the background.

When we sample the second example, where we covered most of the red building with the top layer, the results are in the 230s, this is very close to the background.

The takeaway from all this is that you can improve the results by positioning your layer strategically before running the filter. Rather than matching with your layer in the final placement, use it to cover areas that might negatively influence your matching.
Now you won’t have to do this on every image. But next time you get a poorer then expected result from Harmonization, you have a strategy.
I hope you found this article useful.
See you next week
Colin
PS Don’t forget to follow us on Social Media for more tips.. (I've been posting some fun Instagram and Facebook Stories lately)
You can get my free Layer Blending modes ebook along with dozens of exclusive Photoshop Goodies here

7 thoughts on “Secret setting in Harmonization, to match colors between photos in Photoshop”
Leave a Reply
How to make a multilayered effect on a single layer in Photoshop using Smart Filter Blending. Make an Orton effect...
How to Light a photo in Photoshop with Clipping masks. Simulate Lightroom _ ACR Masks in Photoshop


Hi Colin. This is really interesting! I do a lot of compositing work. I’ll definitely experiment with this. It never would have dawned on me that positioning of my composited in elements could impact the color harmonization to a total scene. One thing you said confused me… Why did you say the girls arm wouldn’t get the color adjustment when you moved her over in front of the red building? Wouldn’t the adjustment apply to the full subject on a transparency layer? If not, why not? Do we have to create a mask or something to deal with that? Thx for the hack!
Fascinating! I never considered moving the main subject. Thanks again.
It’s great to have you do all the research and we reap the benefit. Thanks!
Thanks Colin. I haven’t experimented much with this filter, but have an image that I thought it may be useful on. So will bear this in mind. I enjoy all your hints and Tips
Thanks
Martin
Very intuitive in using the white balance to compare the results. Excellent tutorial
Cool! Who knew?
Will be handy when I need to replace backgrounds.
Thanks Colin, I am new to composites, it is really fascinating everything you can do with a photo. I appreciate your tutorials they have been very helpful.