How to edit a photo in Photoshop using Pen Pressure & Wacom Tablet
Using Pen Pressure in Photoshop to edit a photo with a Wacom Tablet
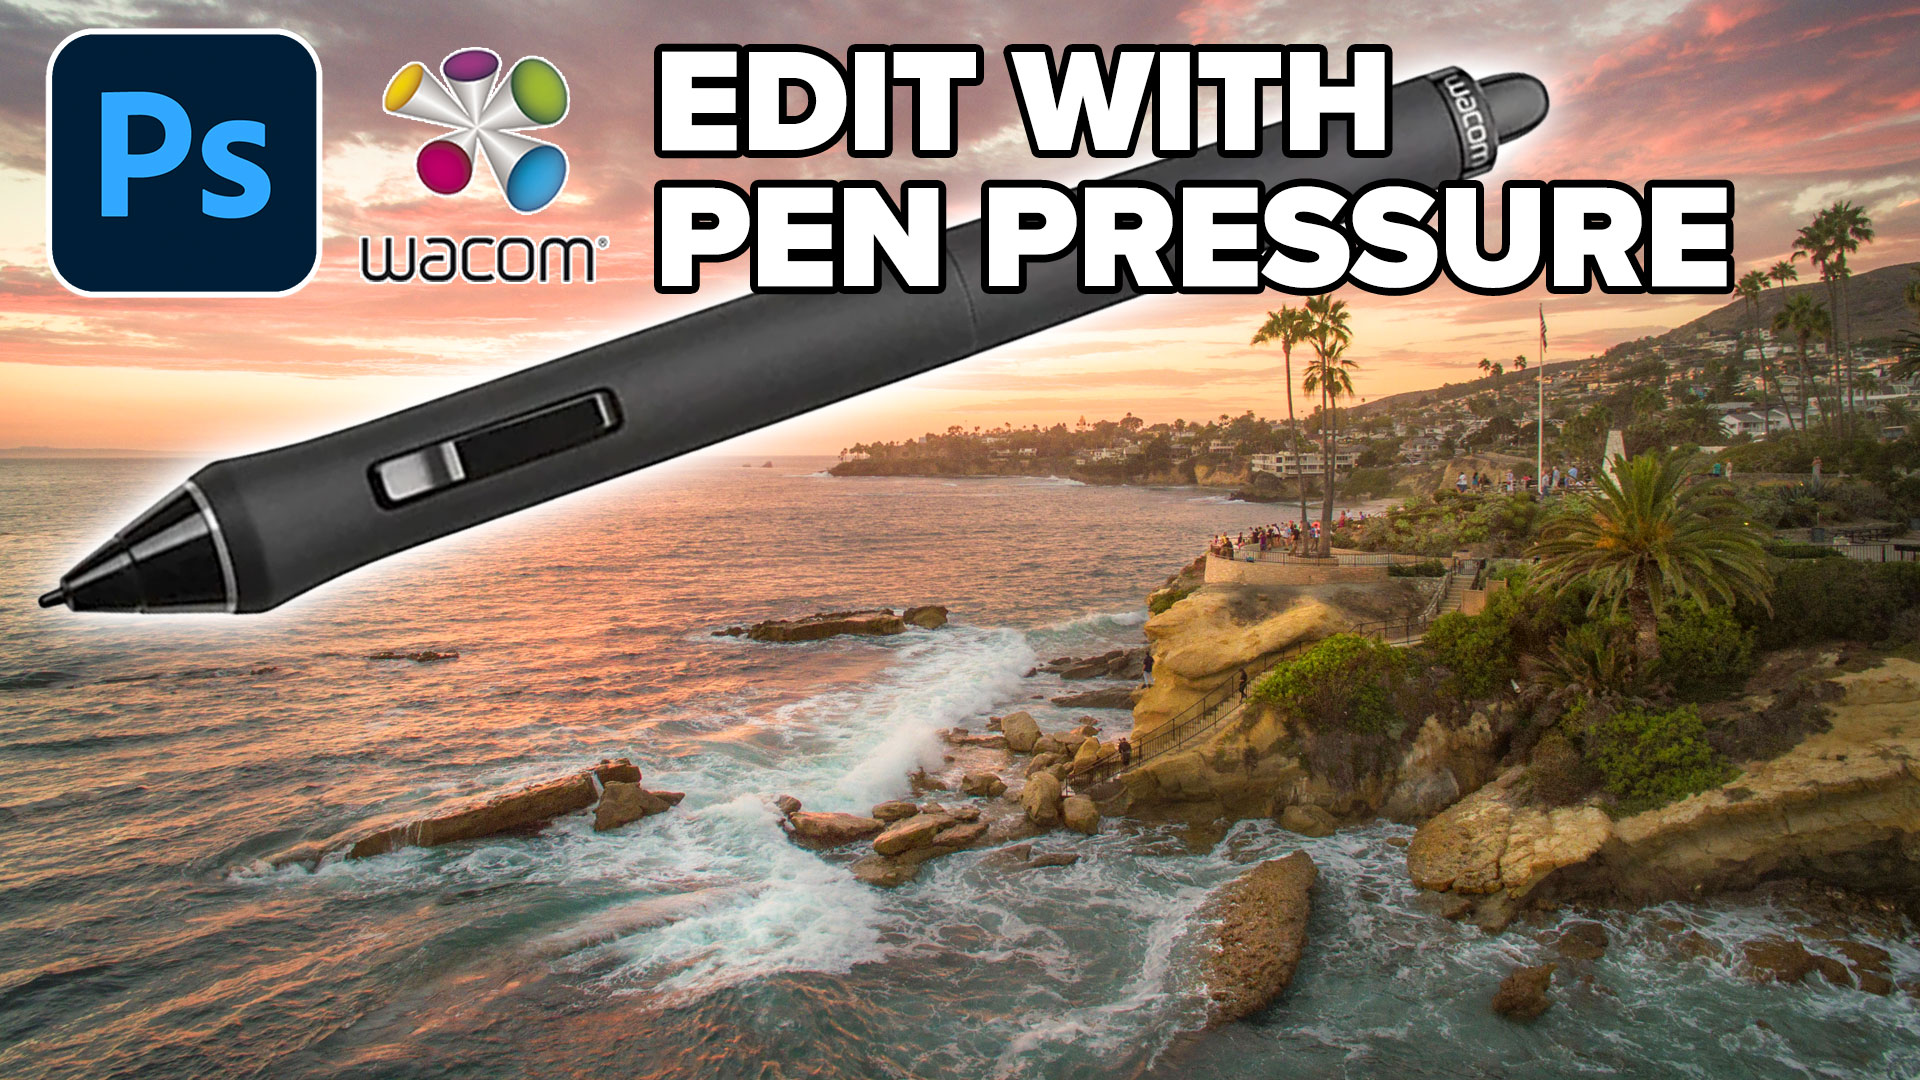
This tutorial shows you how to paint on adjustments with pen pressure to add depth and drama to a photo in Photoshop 2024. For tips on using a Wacom tablet, check out these tips.
This works like the Adjustment brush, but it’s a more advanced way to create this effect and gives us more control and power.
Lets start with this picture I shot, it is an interesting subject with a great sky. Its just a little flat. Lets fix it now.
How this works
We will make some adjustments to the image. These adjustments will be our “paint”.
We will hide all the Adjustments with a black mask.
Finally, we will paint with a white brush to add the adjustments exactly where we want them. By using Pen pressure, we can shade and blend the adjustment like we would with a pencil. This is my favorite way of working,

Choose new adjustment layer in the layers panel.

Grab a curves adjustment.

Increase the midtones and brights, we are looking to set the new maximum highlights.

See how the land is looking better. Yes, the sky is blown out, but don’t worry. We won’t be applying this adjustment to the entire image, just certain area.

Add a second adjustment layer. This time, Vibrance.

Add a third, levels adjustment.
(Despite what some people say, Levels has a very valid use alongside curves, it gives a linear midtone /highlight boost, that’s hard to accomplish with curves without introducing banding).

Now we have several adjustments, lets combine then together into a “super adjustment” that we can paint onto our image.
Click, Ctrl+Click on each layer to select all three.

Press Ctrl/Cmd+G to group the Adjustments together.
Click the layer mask icon to add a layer mask to the group.

Click the mask to select it. Press Cmd/Ctrl+I to invert your mask.
(If you hold down the alt/Option key as you create the mask, it will make a black mask).

The Adjustment will now be hidden because of the black mask. The image should look like the original again.
Choose the brush tool and a soft edged brush. Set foreground color to white.
Click the brush options

Under transfer, choose Pen Pressure for opacity jitter. This will only be available if you are using a pressure sensitive pen and tablet, such as a Wacom, Xence, Microsoft Surface etc. When you press harder, the effect will be stronger than when you brush lightly.
You can still adjust your images without a tablet, just use a lower opacity, you obviously won’t be able to use pen pressure.

Optional: You can use selection tools such as object selection to isolate regions that you will paint.

In this case, I selected the rock, because I want to constrain the brush strokes to the structure and not on the water. We will use different strokes on the water.

Paint the areas that will be facing the sun to accentuate the highlights and add depth to the image. It’s like painting with light. See the video at the top to see this in action.

Add more highlights on the ocean by gently brushing with the pen.

If you want to increase the effect, duplicate the adjustment group by clicking it in the layers panel and pressing Ctrl/Cmd+J.
Here we have painted on highlights. Lets also do some shadow.

To set up a shadow adjustment.
Click the New Layer icon while holding down alt/Option.
This gives us a dialog box, change it to overlay mode. This will hide gray.

Here is our new adjustment, notice its overlay blend mode. Understand Layer Blend modes in Photoshop here.

This time, choose a brush and set foreground color to black.

Paint on the shadows to chisel some depth into the image. If you like this look and want a deeper walkthrough step-by-step, check out my course on dodge and burn in Photoshop, it will transform your images!

The tablet used in this video, Wacom Intuos Pro Medium
I hope you found this tutorial useful! Check out our other tutorials here at the CAFE, there are over 800 free Photoshop tutorials here.
Colin
PS Don’t forget to follow us on Social Media for more tips..
(I've been posting some fun Instagram and Facebook Stories lately)
You can get my free Layer Blending modes ebook along with dozens of exclusive Photoshop Goodies here

2 thoughts on “How to edit a photo in Photoshop using Pen Pressure & Wacom Tablet”
Leave a Reply
New features in Camera RAW 16 ACR in Photoshop 2024
In this photoshop tutorial you will learn how 3D works in Photoshop. Colin Smith walks you through the new features...
All the new Features in Photoshop Beta April 2024, one of the biggest updates ever.


Love all your lessons. So much to learn! Aloha from Kauai.
You’re from a beautiful place!