
How to remove distractions from a photo in Photoshop Tutorial
How to remove anything from a Photograph in Adobe Photoshop and make a clutter free background.
This Photoshop tutorial shows you how to make distractions vanish. Sure, you will learn how to use the Patch tool, layer masks and the clone stamp tool. Most importantly, you will learn a strategy and the best steps to take when you are replacing a background. Watch as Colin Smith reveals how to retouch a messy backgrounds and clone out the distractions in Photoshop CC
Learn how to remove anything in Photoshop and simplify the background. In this Photoshop tutorial, Colin Smith shows you 3 steps to removing anything from a photo in Photoshop.
Start by covering up distractions in the background, then use the path tool and finall the clone stamp tool to get a perfect finish. Plus a few Photoshop tips along the way.
Thanks for checking this out!
Don’t forget to subscribe for more free tutorials
Colin

Keep growing with Premium Courses
Photoshop 2026 for Digital Photographers
Learn Photoshop properly, from the basics to pro retouching, step by step.
$129.00 · one-time purchase · instant download

Free for you
The Photoshop Vault
Get my free Layer Blending Modes ebook along with dozens of exclusive Photoshop goodies: actions, brushes, presets and cheat sheets.
You're on the list, so your free goodies are waiting for you in the Vault.
Get Free Photoshop Goodies Open the Vault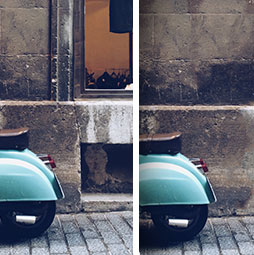

How to use the clone stamp in Photoshop
Learn how to use the clone stamp tool in photoshop to remove distractions and duplicate objects. Photoshop tutorial. Read tutorial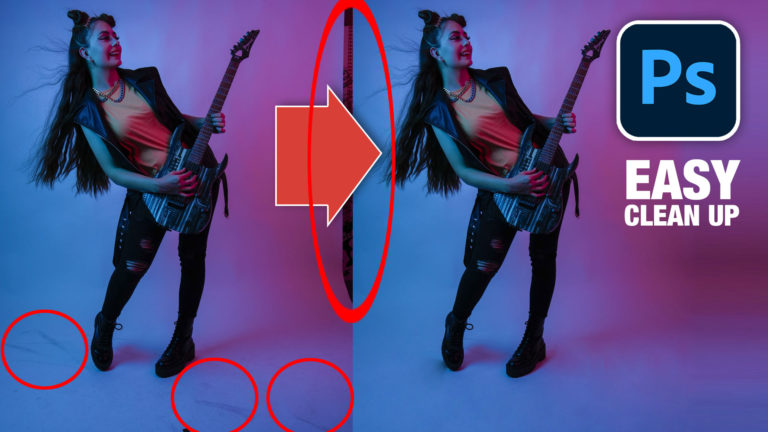
Clean photos and remove distractions with the patch tool in Photoshop
How to use the patch tool in Photoshop to quickly clean up smudges and dirt and remove distractions. Difference between Source +... Read tutorial
How to remove difficult objects from photos. Removing distractions from photographs.
How to remove difficult subjects from photos in Photoshop tutorial. Remove anything using healing brush, Content aware fill, clone stamp and more.... Read tutorial
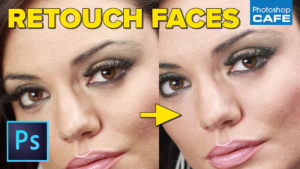
How to Retouch a face in Photoshop, workflow tutorial
How to retouch a face in Photoshop. Learn how to retouch skin, enhance eye and do contouring to define the shape of... Read tutorial
How to remove logos from a photo in Photoshop tutorial
How to easily remove a logo from a photo in Photoshop. Learn 2 easy ways to remove logos from clothing and cars... Read tutorial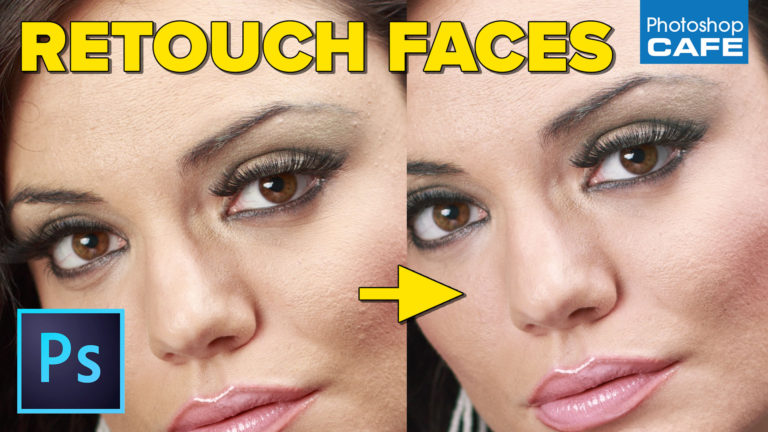




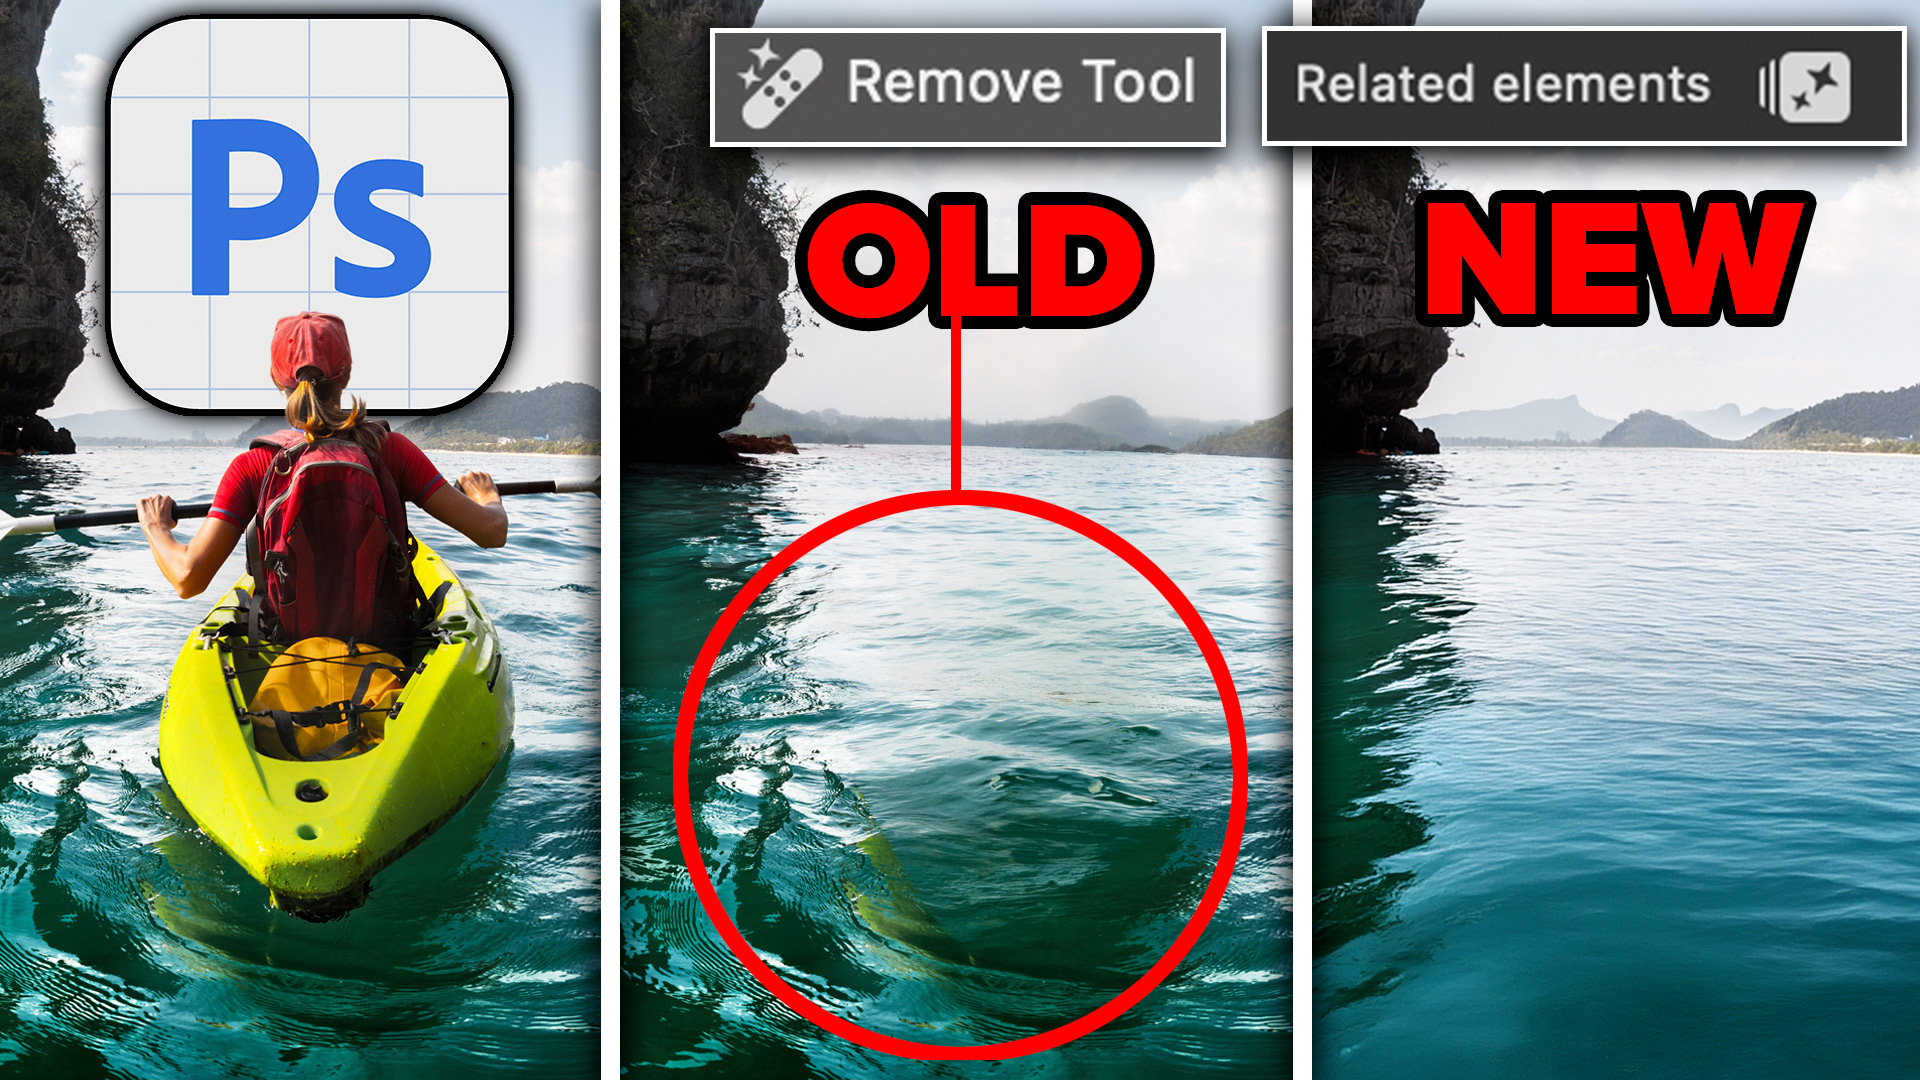






I definitely lean in the direction of the Clone Stamp tool, usually with Content Aware. Lately I’ve been doing a lot of my work in Luminar, which has excellent cloning tools as well. I guess I’m pretty adept because viewers never question it. In fact, I’m often tempted to say, “You should see what the BEFORE looked like. You wouldn’t believe how much work I did on this.” ;-}>
Thank you for this presentation, although I use photoshop a little I found this tutorial very useful for my future work.
Loved this tutorial – and will try to so some serious cloning and content aware – to date I seem to use both tools interchangeably – great job. Where is the bell to be hit so I register my LIKE???
Hi Carole, I had that problem too, then I realised I’d followed the link, rather than watching the video in Youtube, once I signed into Youtube and looked for the Cafe crew videos up came the one I wanted – with bell and like button!
ps Colin – I loved the video too, I use both tools in equal amounts, but this vid gave me new insights, so thanks!
Thanks for this tutorial!!! Although I do not have the latest version of Photoshop, and I’m sure the one that I have used is quite ancient!!! I really like the Content Aware tool. I have used that and the Clone stamp as well, but not so much the patch tool. Don’t think that the college I went for graphic design didn’t go through every single tool and show how to work them. I do have a question. I’ve done this before but forgotten how it’s done. In order to affect one layer without affecting all the others, do you hover between the layer you wish to affect and what key is it that you hold down? As in the past, I’ve tried to increase the opacity in one layer without affecting the background or other layers.
There were some things you had mentioned which were good tips!!!
Thanks!!!
its the alt/option key you hold down
Great tutorial!! Thank you, Colin! I just recently upgraded to CC from CS6. Lots to learn and you help!!
Insanely brilliant, and so well explained Colin. Thank you so much. I enjoy these advanced tutorials very much.
Great demonstration on the use of duplicating image sections onto other layers by using the patch, clone stamp and content fill. Although my fave is the content-fill tool yet you’ve open my eyes on how powerful the patch and clone tools really are. Thanks I really enjoy these.
Hi Colin,
Love this tutorial because I have found that it will helpful. Sometimes I use the content aware, and other times I use the clone tool, or the healing tool (which I prefer over the clone tool). Sometimes I may use all three while editing my photos.
I’m learning Camera Raw for the first time – so very useful,and also how to use the patch tool! I relied so heavily on the clone tool – it’s nice to see how to use these other tools for faster easier results. Thanks so much – again.
This is a brilliant tutorial. I’ve watched it three times and learned something each time. Now I apply it!!
Thanks.