
How to retouch a face in Photoshop

Professional High End Retouching techniques in Photoshop.
This Photoshop tutorial shows you how to retouch a face in a natural looking way while using best practices.
You will learn how to tone a face, remove acne and blemishes, reduce the appear appearance of wrinkles as well as the correct way to whiten eyes and dodge and burn.
We will not blur the skin or change the bone structure in this tutorial. This is also a very natural way of retouching which works on all people young and old. We are also not going to use Frequency Separation on this, these are the kinds of techniques used in professional retouching and photographic studios.
I hope you enjoy this tutorial and the workflow that you learn. Here are a few more retouching tutorials for your reference.
Retouching eyes
Frequency separation
Change hair color
Clone stamp
Dodge and Burn
Gradient maps for high-end toning
Thanks for checking this out!
Colin
PS Don’t forget to follow us on Social Media for more tips.. (I've been posting some fun Instagram and Facebook Stories lately)
You can get my free Layer Blending modes ebook along with dozens of exclusive Photoshop Goodies here

4 thoughts on “How to retouch a face in Photoshop”
Leave a Reply

Should you use Opacity or Flow when using brushes in Photoshop for painting or retouching? This tutorial explains the difference...
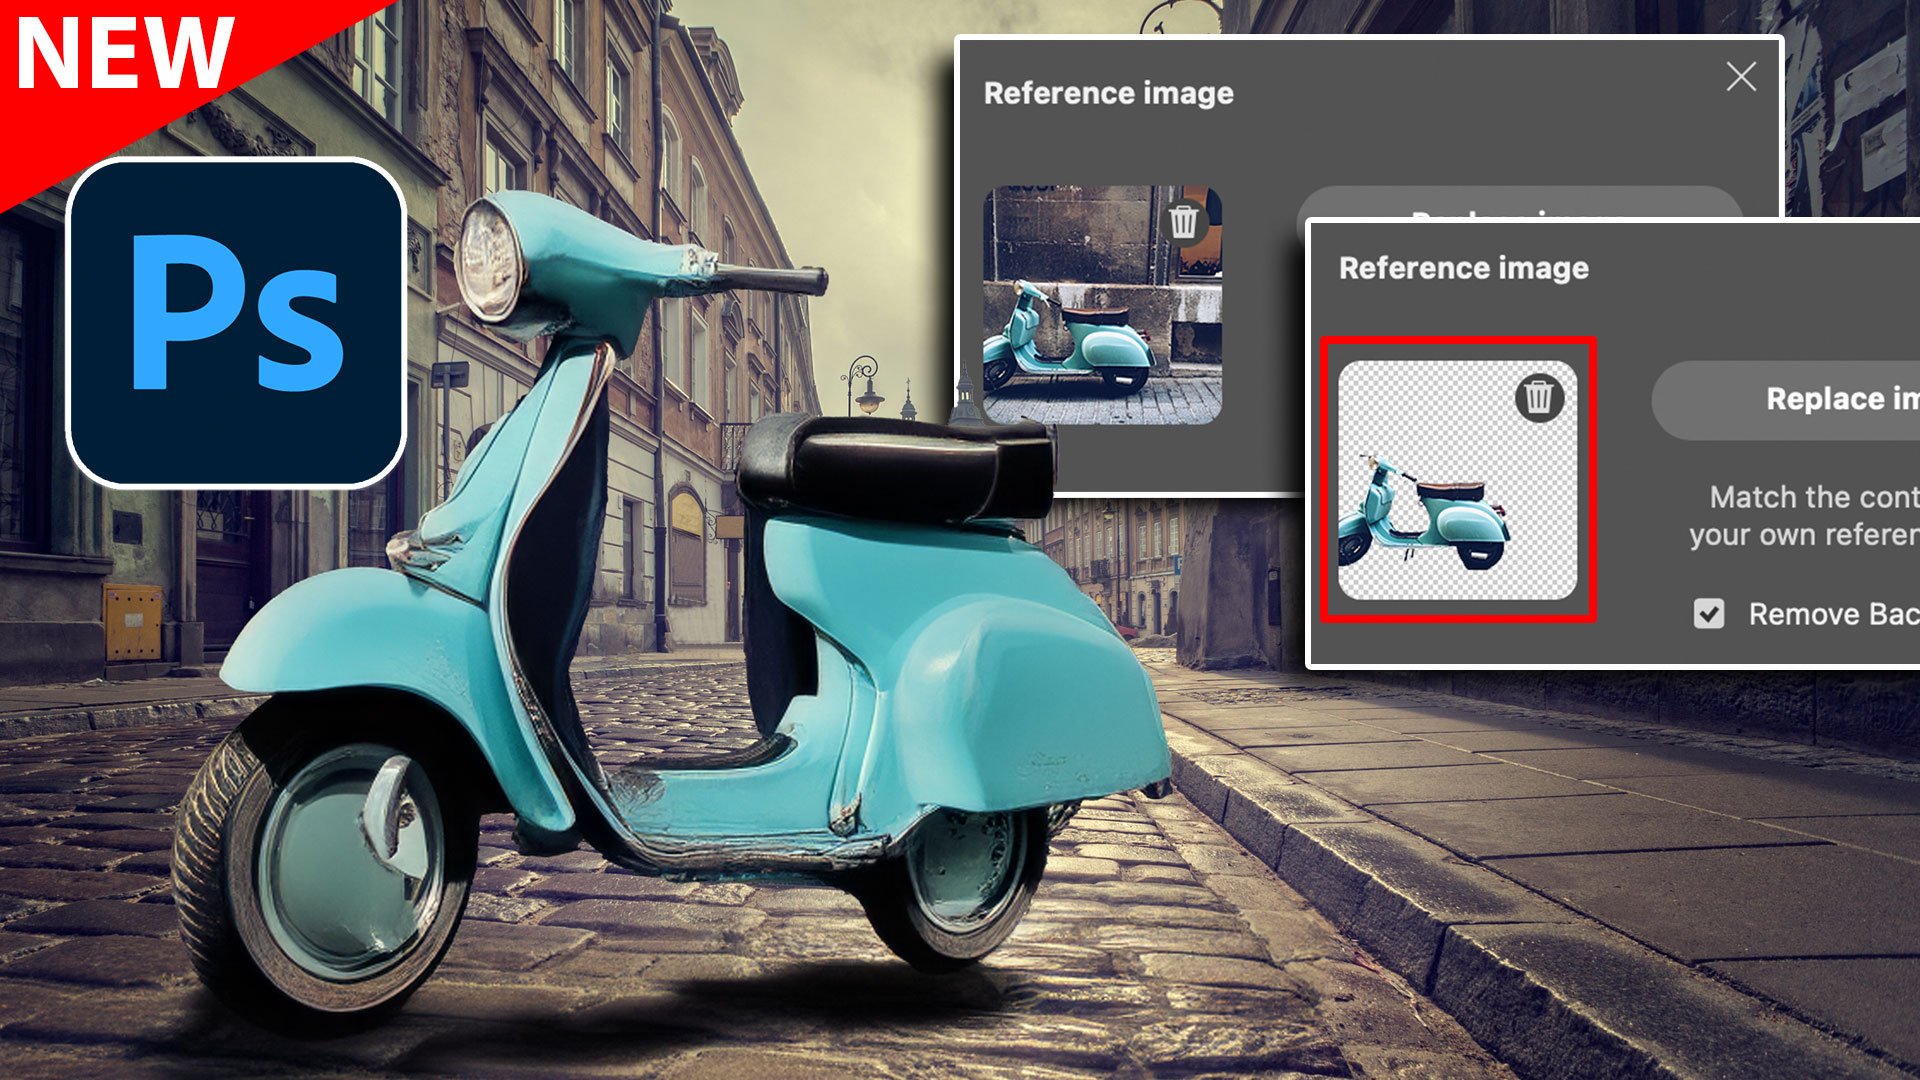
New feature, Remove Background for Reference image in Photoshop Generative Fill
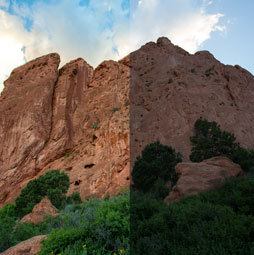
Photo editing in LAB color in Photoshop to get amazing texture and color and how to mask your photos for...


Thanks very helpful
No more waxworks for me!
Good points about subtle editing.
Thanks Colin. You have explained the “happy medium” of retouching the best that I have found.