How to add dimension and shape with Dodge and Burn in Photoshop Tutorial
Dodging and burning has been around a long time. It was used in the darkroom by photographers to shape a photo. They would cup their hands in front of an enlarger to add more light to areas, this was called burning and would darken the photo in the areas that light was directed. (Remember, they were using negatives). A mask was cut out and dangled on a thin wire to cover portions of that photo to be dodged, or lightened. I remember the smell of these chemicals, as my father had a darkroom, that he would allow me into sometimes.
Dodging and burning are excellent ways of making images more powerful, you can bring back detail to certain areas, bring emphasis on the subject or deemphasize the background.
Have you ever noticed that when you use the dodge and burn tools, the skin tones begin to turn a little red when your hand’s a bit heavy? On top of that, if you change your mind, it’s really difficult to go back if you change your mind on the way you have presented the image.
Anyone in the know (That now includes you) doesn’t use the old fashioned dodge and burn tools. Its new school baby! Here is how you can use blending modes to achieve the result.
Check out this video and see how to add shape an dimension to a photograph using non destructive dodging and burning.
Watch the free tutorial on how to Dodge and Burn in Photoshop
This is just one use for dodging and burning. I like to use it to draw the viewers eye, change the toning and mood, add dimension and shape, sculpt a photo, create a soft painterly look, enhance details and much more.
4 Steps for Dodging and Burning
1. Create a new layer while holding down Alt (Option). This will bring up the New Layer dialog box. Choose Overlay from the mode dropdown menu. You’ll now see an option enabled that says Fill with Overlay-neutral color (50% gray). Click this box to enable. Remember that the contrast Blending modes ignore 50% gray. Bnd01
2. Time to dodge. Choose a large soft brush. Set white as the foreground color and drop the opacity to a low number. 20% is used in this example. It’s better to use a lower number and build up your results slowly with consecutive strokes. Paint over the areas where you want to bring back some detail, and the areas that are a little dull in the foreground object.
3. Choose black as your foreground color. Time to begin burning. Brush over the sky to restore the detail in the clouds. Brush the horizon to bring back the detail and add contrast to the hazy areas.
4. Compare the beginning and ending images. Dodging and burning really makes a difference. If you want to lesson the effect, you can lower the opacity of the top layer that was used to paint the adjustments onto. 50% gray has no effect
If the dodging and burning looks a little rough, applying a blur filter to the Dodge and Burn layer can sometimes help achieve smoother results.
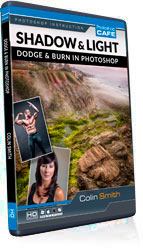
For a more in depth look at dodging and burning as an art form and essential tool, check out my premium tutorial. Here, I explain the fundamentals clearly, as well as provide multiple photos for you to follow along with. You will learn how to enhance landscape photos, oceanscapes, portraits, digital makeup and even how to sculpt a human body. Free action is included.
PS Don’t forget to follow us on Social Media for more tips.. (I've been posting some fun Instagram and Facebook Stories lately)
You can get my free Layer Blending modes ebook along with dozens of exclusive Photoshop Goodies here

5 thoughts on “How to add dimension and shape with Dodge and Burn in Photoshop Tutorial”
Leave a Reply
How to find and search photos easily in Adobe stock. How to use Adobe Stock in Adobe Photoshop with CC...
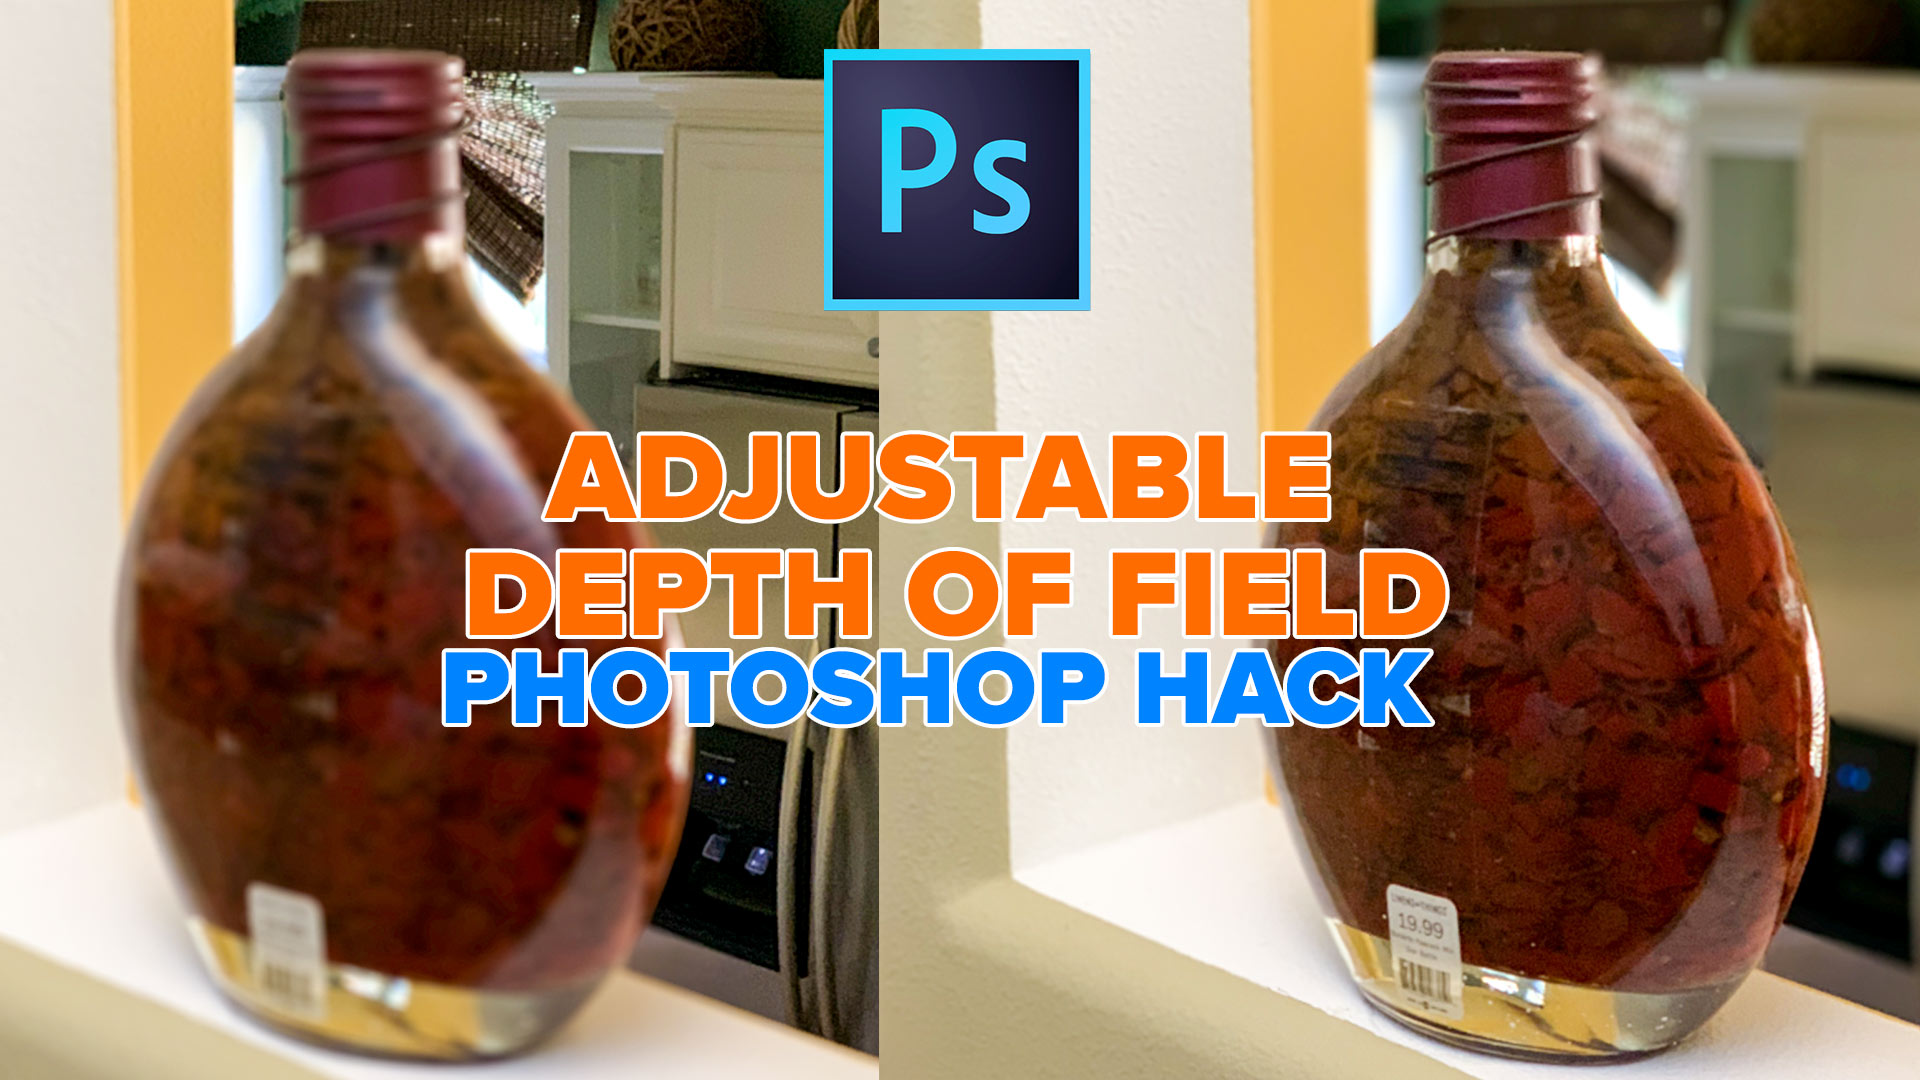
Refocus your photo in Photoshop using this sneaky hack I came up with. You can adjust the depth of field...


Excellent tutorial, really shows the value of using a drawing tablet along with non-destructive “overlay” blend mode. People are usually turned off by the default settings with the dodge & burn tools, so your approach is a big improvement.
Thanks for your comment. I agree, you have to play with settings and find what works for you. Some people may need to go a little heavier than 30% and some a bit lighter, depending on how you work.
I learned to use separate layers with 50% grey a while back, so, I am familiar with this method. I, too, use the brush, rather than the dodge and burn tools. But, I had seen a tutorial way back when where the author suggested reducing the Flow, rather than the Opacity of your brush. His logic was that you can change the opacity in the layers panel, if need be. Also, the way the brush strokes ‘build’ up differently with opacity from flow. I only use a mouse, so, I wouldn’t have that opacity setting. But, with opacity, don’t new strokes build up ONLY to the limits of the percentage and flow continuously builds up to 100%? I may have that backwards. What I am curious about is, in dodging and burning, would you want there to be a limit on the opacity, rather than using flow that continuously builds up?
I hope that made sense! LOL
I have wanted to learn how to do this adding depth stuff for such a long time! THANK YOU! This was great! Maybe I can get the Premium version soon. I still need to work on cast shadows and other shadows, but, I had not ever seen a tutorial where the person shows one how to shade the scene for depth! I am happy, now! LOL
Thanks, Again,
Su
When using a mouse, the flow would probably be a good option. I haven’t painted with a mouse in years, I love my Wacom too much. I know some people also do more with flow on their Wacom, I personally like to use opacity and pen pressure, I dunno, I just feel I have better control this way and its more like a pencil, flow feels more like a marker to me. I was always good with a pencil, but suck with markers 🙂 It’s all about what works best for you personally.
Your create wonderful training videos – easy to follow.
Regards,