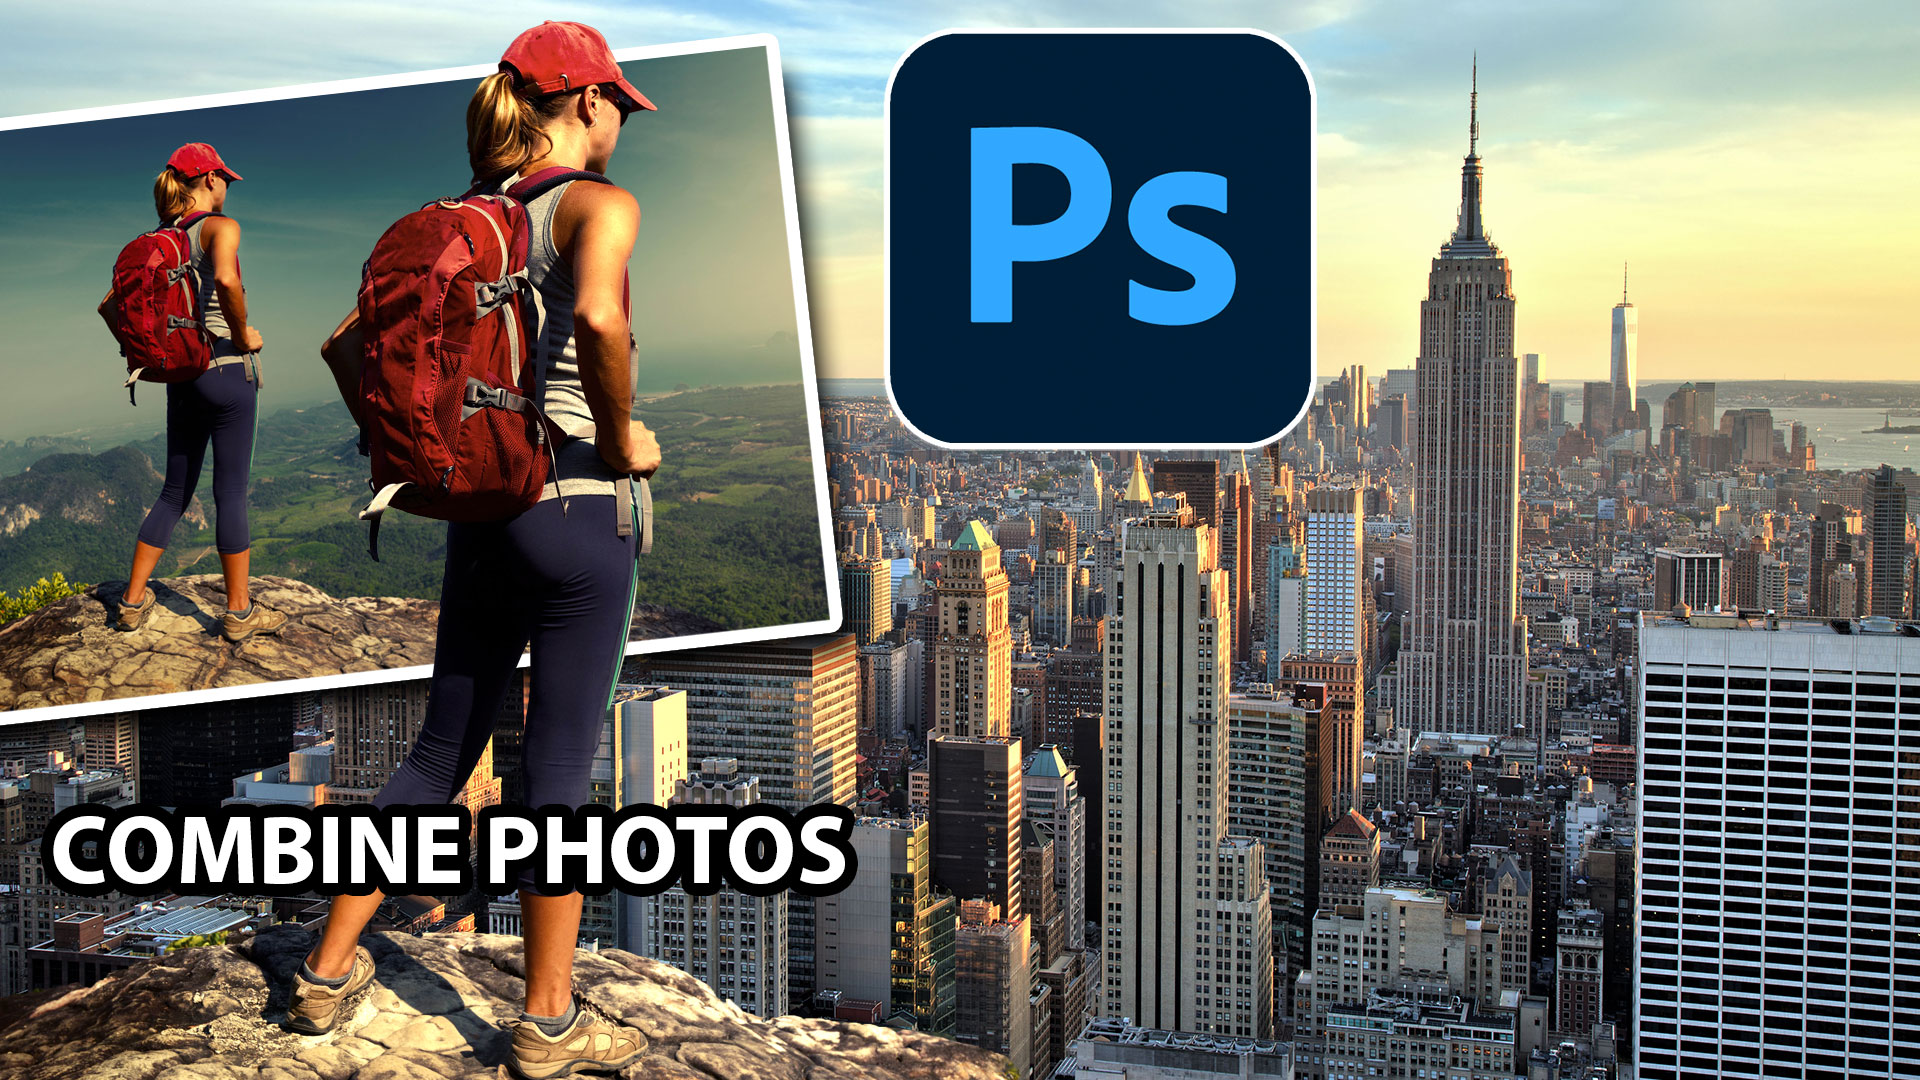
How to combine photos in Photoshop for beginners
How to combine images and add people to photos in Photoshop 2024
This easy Photoshop tutorial, shows you the steps to combine photos and match the colors in Photoshop. We use Photoshop 2024 and this is suitable for beginners or newer users of Photoshop but it also contains some useful tips for all users.
How to Get Images into Photoshop
To get images into Photoshop, choose File Open
Navigate to the image you want to open, Select one or multiple images, and click Open.

You will see each image is open in its own tab.

How to Combine images in Photoshop
Let’s combine both these images into a single layered document.

Click and drag into the tab of the document that you want to move the image into.

Don’t let go of the mouse button.
Move to the middle of the image on the window that opens.

Hold Down the Shift Key (to center the image) and release
You will see that both images are in the same tab

Notice, they are on different layers (See more about layers here)

How to Remove the background of a photo in Photoshop
Now we want to remove the background on the top layer, so we can see the layer underneath
Choose the Quick Selection Tool

At the top, look for Elect Subject. Choose the Cloud option (better quality selection).

Click Select Subject

You should see the marching ants selection around the person.

To refine this selection, use the quick selection tool. By default it is set to add.

Drag with the tool to add to the selection.
Hold down Alt/Option and drag to take away from the selection.
Lets add the ground.

To amass this out and hide the background, either
Option 1.
Click the mask tool. or..

Option 2.
If you want to further refine the selection, click on Select and Mask.

You will now go to the select and masks workspace, which has lots of tools. Learn how to use Select and Mask in Photoshop here.
Id you see a colored fringe around the image, choose decontaminate colors

Make sure Output is set to New Layer with Layer Mask
Click ok.

If you used option 1 o2, you should see th background hidden and our person against the city.
Use Ctrl+T and drag the corners to scale and move the image if you need to.

How to match colors between layers in Photoshop
Let’s match the colors now.
Choose the top Layer

Choose Image>Adjustments> Match Color
Under Source, choose the document.
You want the same name as the tab you are working in.

Under Layer, choose the layer you want the image to match to. In this case, it’s background.

You will see the colors change. (If not, turn the preview button on in the top right).
Choose fade, and move it to the right for the original color.
This is mainly the hue (but contrast is affected too) move it until the colors match the best

Drag the color intensity slider. Move it until the saturation matches.

Finally, move the Luminance slider until the brightness matches.

When you are happy with the settings, click Ok to apply
You should have a better match now. (Different way of matching colors in Photoshop)

Now, it’s time to blur the background for more realism. How much you blur this is up to you.
How to Blur the background of a photo in Photoshop
With the Background selected, right click and choose Convert to Smart Object. This will let us change the settings later if we want to.
Choose Filter>Blur Gallery>Field Blur

Move the ring to change the amount of blur. Or choose the blur slider at the top left. I used about 4pixels here for a very subtle effect.

Click ok to apply.

I hope you found this simple tutorial useful. There is a lot more you can do with this and I have hundreds of free Photoshop tutorials here at PhotoshopCAFE to help you do almost anything in Photoshop.
Check out the goodies at the vault below if you are new here, they will help you on your Photoshop journey.
Great to have you here!
Colin
PS Don’t forget to follow us on Social Media for more tips..
(I've been posting some fun Instagram and Facebook Stories lately)
You can get my free Layer Blending modes ebook along with dozens of exclusive Photoshop Goodies here

3 thoughts on “How to combine photos in Photoshop for beginners”
Leave a Reply
Photoshop CC tutorial, how to easily swap the background in a photo. Refine Edge in the latest version of Photoshop...
In this Photoshop tutorial, I’m going to show you how to turn on the lights in a photo. I made this car...
How to fix blocky artifacts from photos in photoshop


Colin thanks for the basic tutorial I am possibly one of your ‘older followers’ and if one is not using PS every day its so easy to forget some of the basics. So these gentle reminders are so useful for us. We do know what PS is capable of but we must return to basics and review past tutorials to reach our objectives.
The DEPTH BLUR from Neural Filter tab does a much more realistic blur than any of the blur tools.
Thanks for the composite tutorial, I found it very useful, but all the finer adjustments were too fast and confusing.