
Generative Fill in Photoshop Variation Hack
Remove anything with ease in Photoshop with Generative Fill and Variations
Photoshop can easily remove any distraction with generative ai. Generative fill generates 3 different variations that it can use to patch an image. Usually, you choose the best one and bingo. What if you like part of one variation, but a different part of another variation? Here’s a clever hack that I came up with while experimenting. It’s so obvious once you see it. OK, lets go
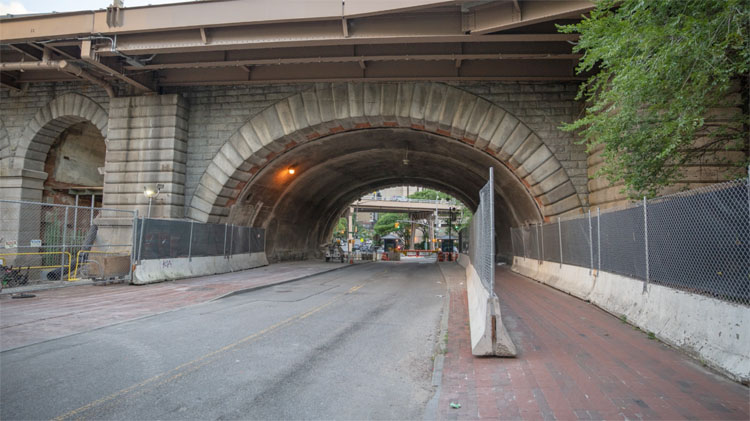
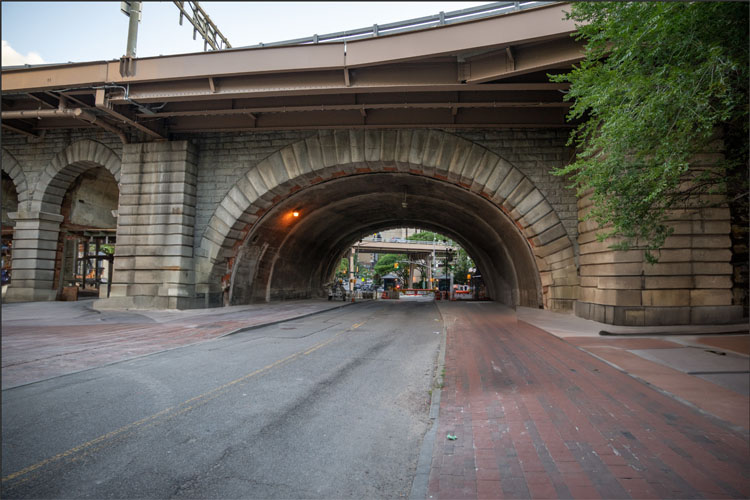
Here is a photo I shot in NYC and as you can see the bridge has fencing on both sides of the tunnel. Let’s fix it.
At this time, this feature is only in Photoshop beta. Here is a short tutorial on how to get the Photoshop beta.
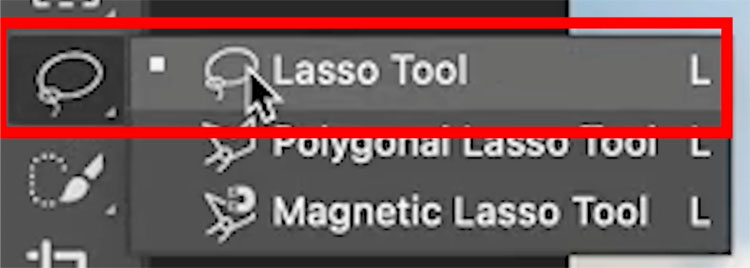
Grab the Ted Lasso tool. (sorry, couldn’t help myself).
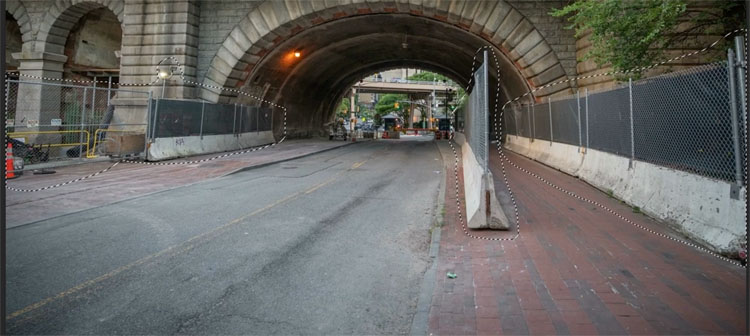
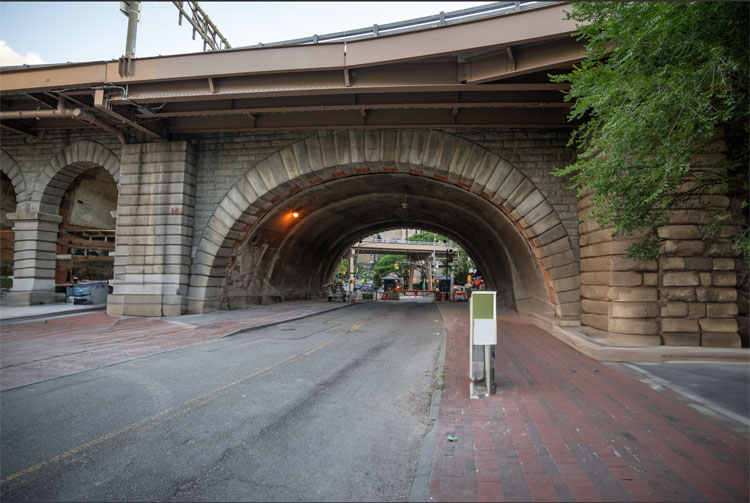
Make a selection around all the areas that you want to remove. Tip: Hold down the Shift key to add to a selection.
(Because the fill is currently limited to 1024px you will get better resolution to do it in smaller pieces, but eventually that won’t be an issue).
Choose Generative Fill (Only in Photoshop beta at the time of this writing)

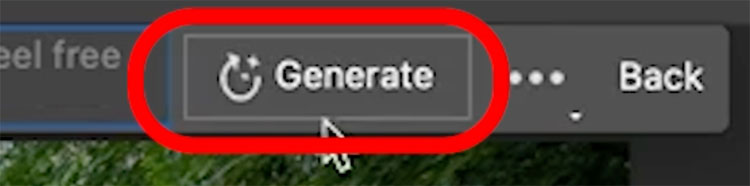
Don’t enter any text in the text field. Click Generate,
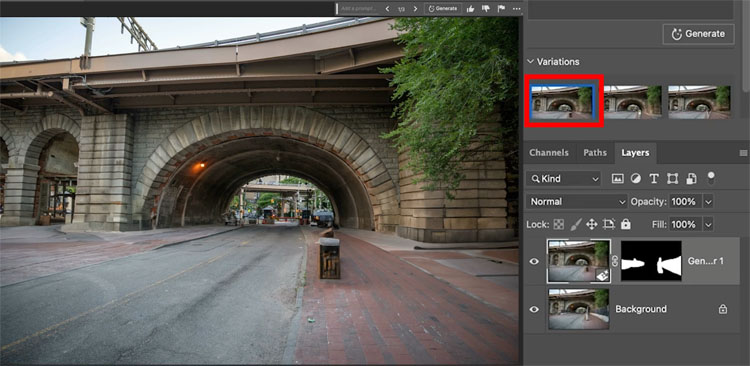
The selected areas are filled with ai generated pixels. There are 3 options in the properties panel. These options are called variations. Here we have the first one selected.
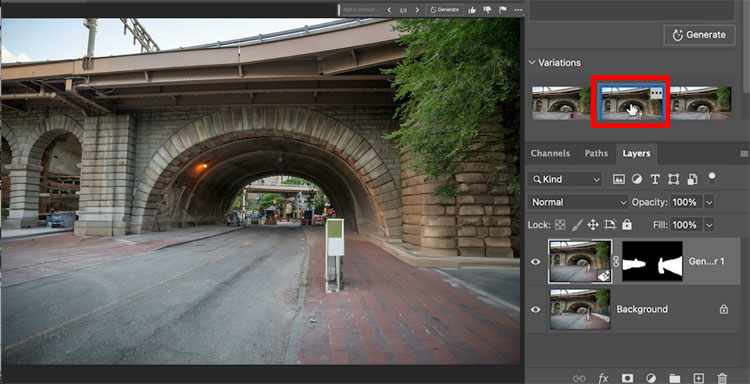
Notice, I have clicked the 2nd variation thumbnail. See how the generated content changed. You can choose any of 3 options each time you press the generate button.
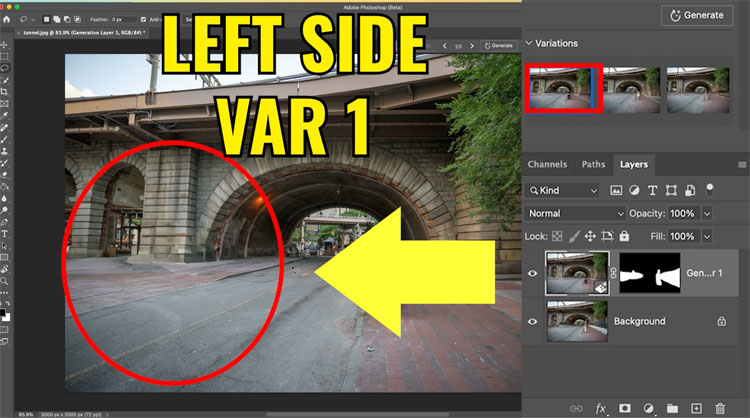
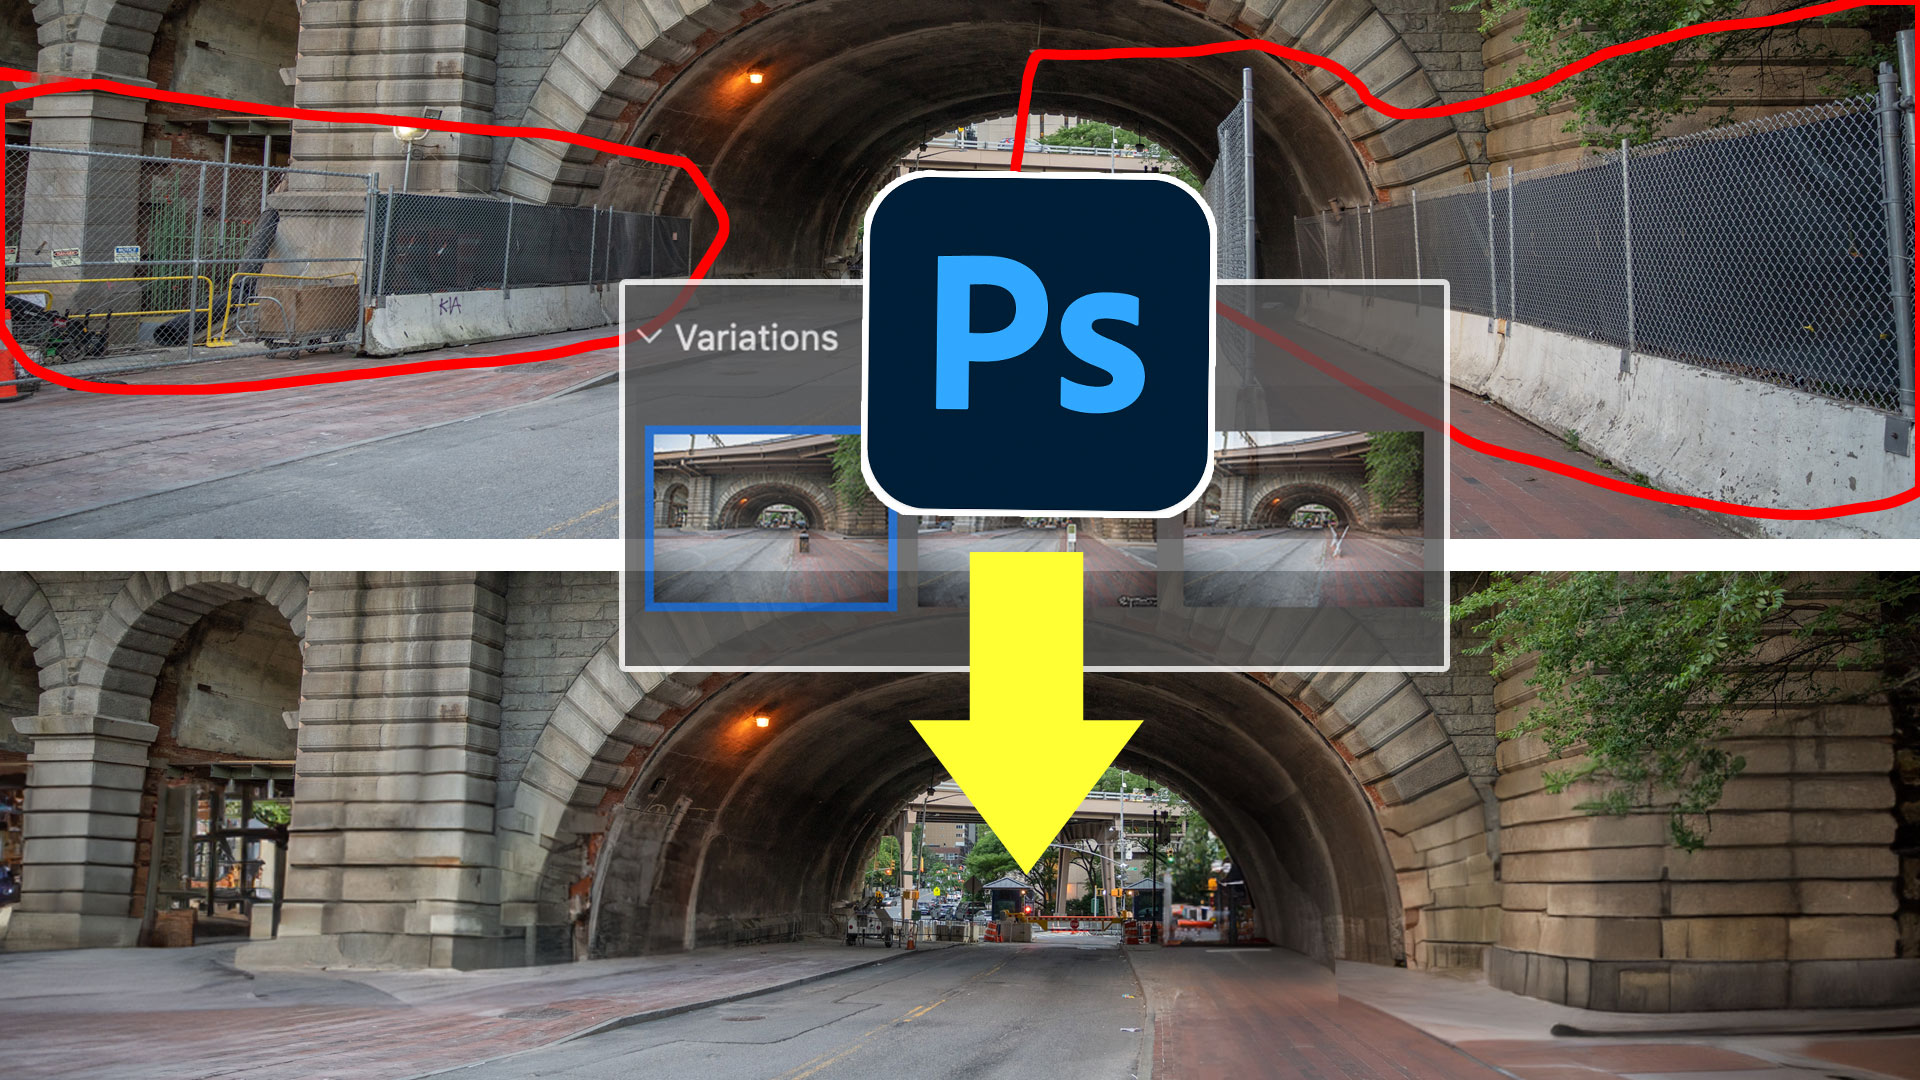
Here is the scenario, and solution.
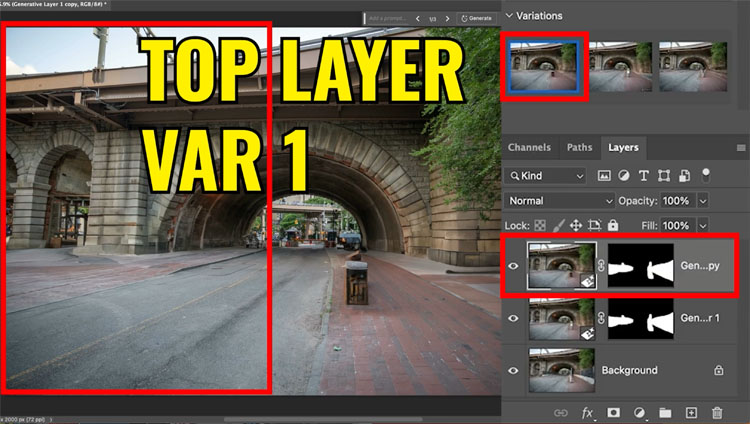
On the first variation, you like the left side of the result, but not the right.
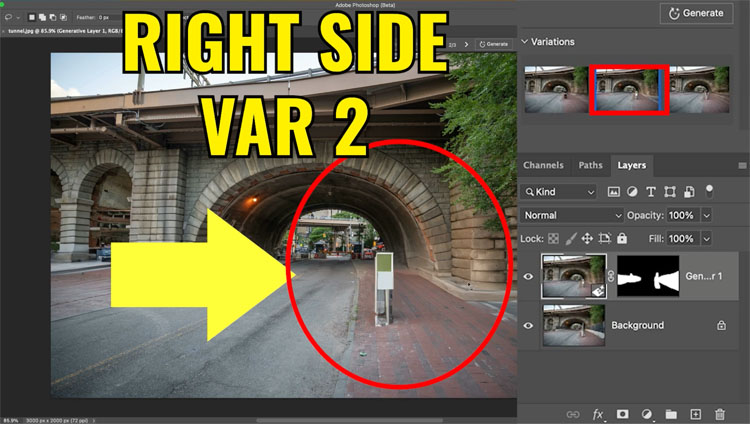
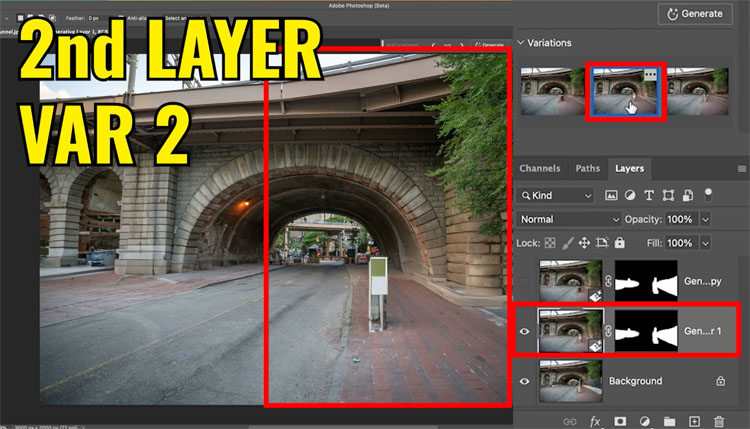
On the 2nd variation you prefer the right side. How do you pick from both?
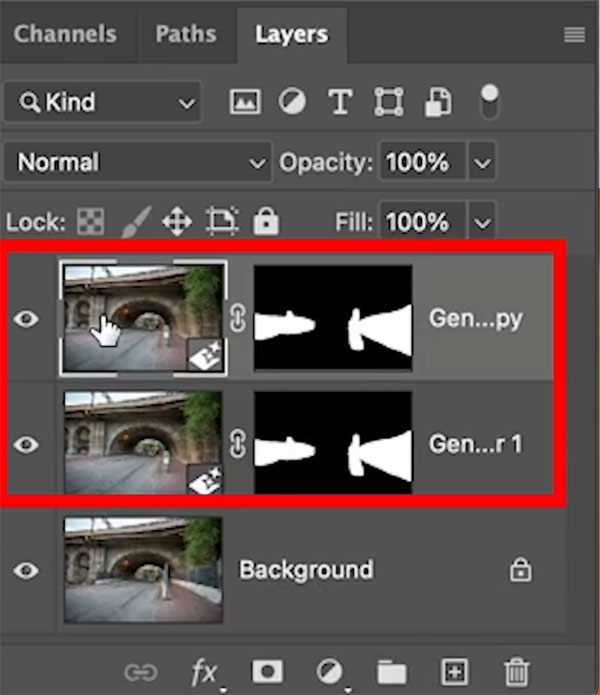
Here’s the thing. The layer is a generative layer and it keeps the 3 variations as part of that layer.
So lets duplicate that layer. Ctrl/Cmd+J to duplicate.
The duplicate layer, also has access to the same 3 variations.
On the top layer, choose variation 1 from properties.
Choose the next layer down and this time, click on the 2nd variation.
You now have 2 generative layers. The top one on shows, because its on top. However the layer under it has a different variation.
The layers also have layer masks, With masks, you hide the contents of that layer by painting with black,
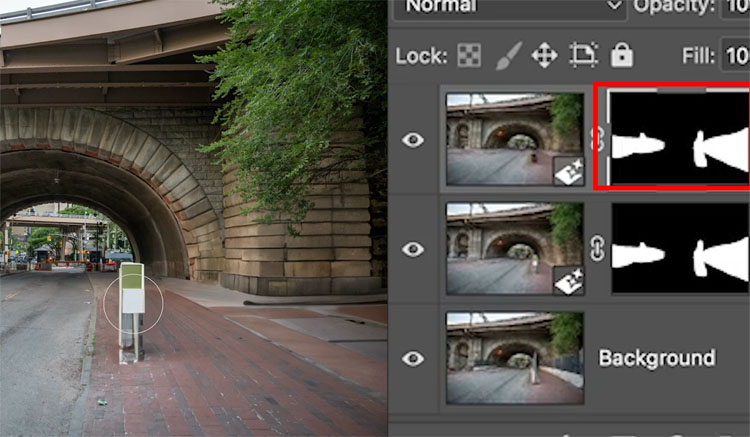
Choose a brush
Select black as the foreground color
Select the mask on top.
Paint away the areas you want to hide and allow the layer underneath to show through.
Here are some different options.
I hope you found this useful.
If you did, it’s a taste of what’s on my new course on Generative Fill in Photoshop, Check it out here.

Also follow me on Instagram, Tik Tik and Twitter. for shorts and reels.
Great to see you here at the CAFE
Happy Photoshopping
Colin
PS Don’t forget to follow us on Social Media for more tips.. (I've been posting some fun Instagram and Facebook Stories lately)
You can get my free Layer Blending modes ebook along with dozens of exclusive Photoshop Goodies here

3 thoughts on “Generative Fill in Photoshop Variation Hack”
Leave a Reply

The biggest feature is selections. There is a new select subject button. This uses Adobe’s AI dubbed as Sensei ....
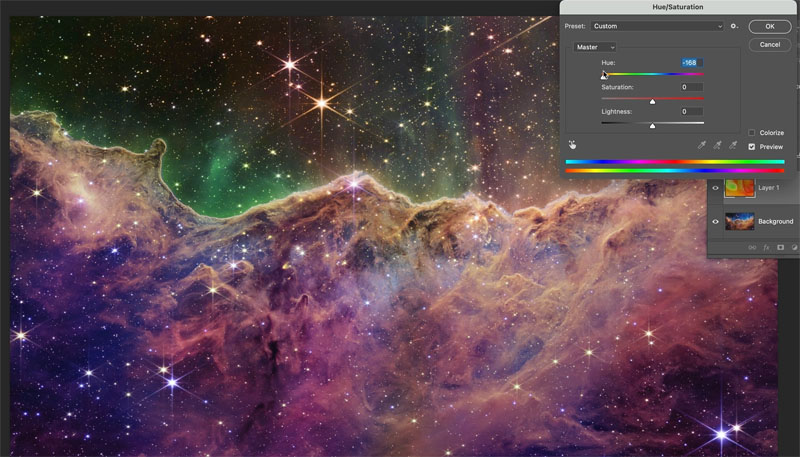
Enhancing space photos from the James Webb Telescope and download free wallpapers
Photoshop tutorial: Learn how to turn Day into Night in 3 steps. Step by step instructions and accompanying video in...


After using Generative Fill, when I then try to do additional editing in Camera Raw or NIK for example, the areas added by generative fill don’t show – I only get a checkered background – how can I get the full image that includes the areas added by generative fill for additional editing?
Ctrl+Shift+Alt+E and then edit the new top layer
I do not know if it was me. But the video seem a bit choppy: 2:50 / 3:20. Looks like the video was cut out?