
Facebook 3D and Photoshop guide. How to turn a layered Photoshop image into Facebook 3D photo
In this Photoshop tutorial, I’m going to show you how to turn your Photoshop composites into living, interactive Facebook 3D photos. This is fun to look at on mobile devices, desktop browsers, but it really shines with 3D goggles. Scroll to the bottom to see the example.
Check out the video tutorial I have here, I also made another tutorial on how to turn a regular photo into Facebook 3D photo, see that here.
Photoshop to Facebook 3D in a nutshell:
For some people, this is all they need to know, for details, read on:
- Select each layer and fill it with gray to create a depth map. Black is back and white is front.
- Save the depth map and the photo as 2 files. They should have the same name, but the depth map has _depth at the end of its name.
- Upload to facebook.
All the instructions are here in the both the written steps and the video.
How to turn a layered composite into a Facebook 3D photo
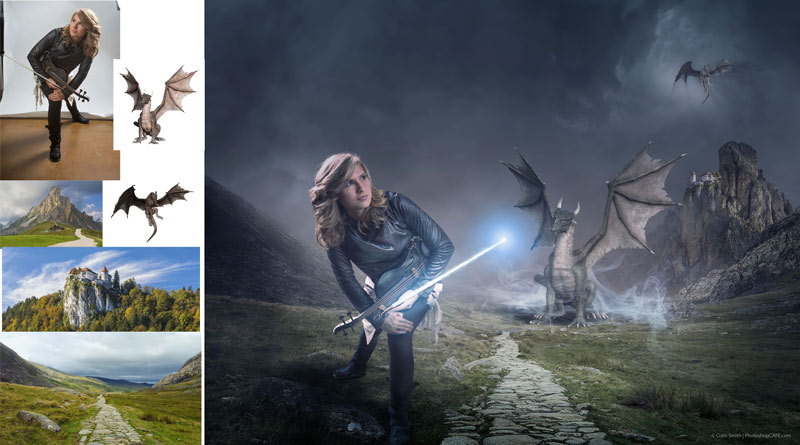
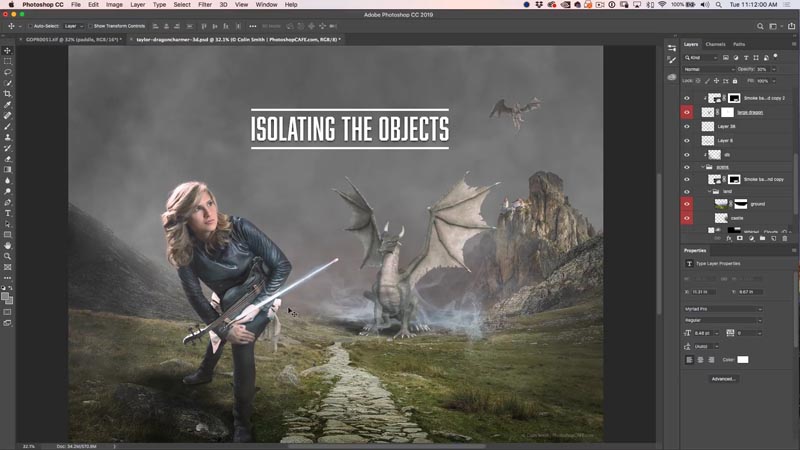
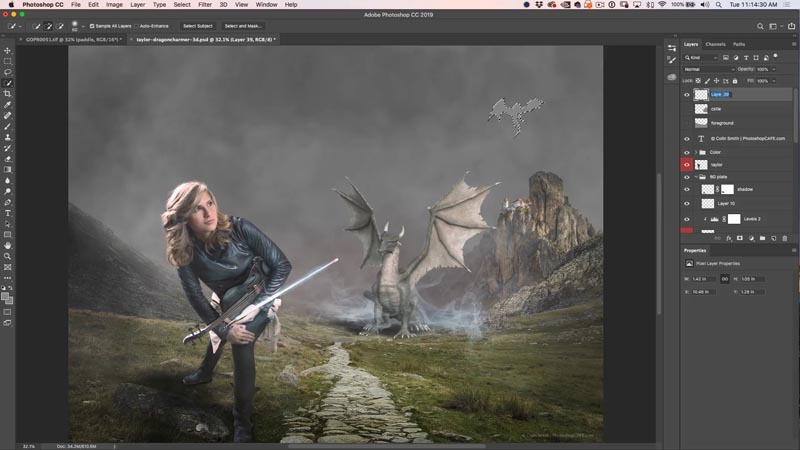
Let’s start with this composite that I just made. The hero is musician, Taylor Davis whom I shot in my studio. The background was pieced together with images and dragon 3D models I found on Adobe Stock.
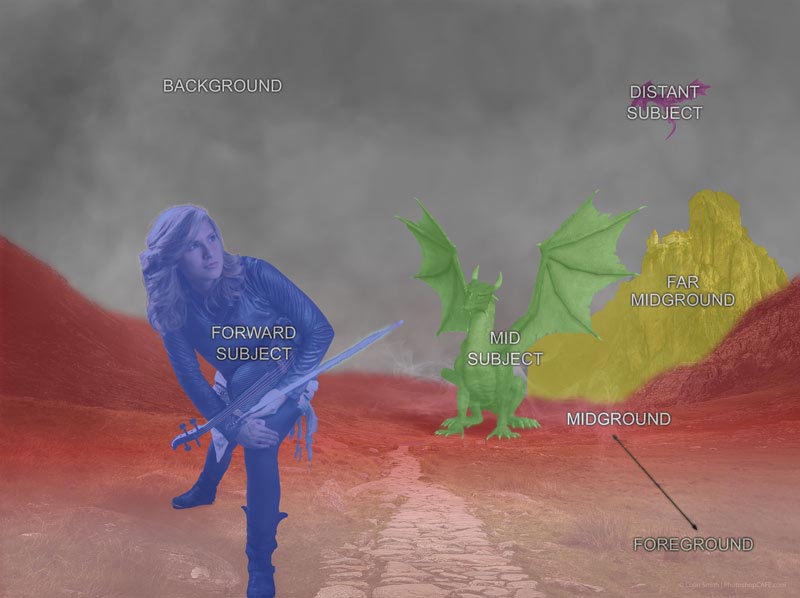
The way a Facebook 3D photo works, is by reading a depth map. This isn’t a new concept, 3D software has been using depth maps for years. Each area of the image is represented as a shade of gray. It puts the lighter areas forward and darker areas back.
When preparing your image, choose which elements you will want to build into planes or regions.
Here I have isolated this image into 6 regions. You can use less or more, you aren’t restricted to 6, or have to have that many, even 2 will work.
Making the depth map
Let’s start the tutorial. Remember, watching the video will help you see each step more easily. Also this tutorial is for a composite, so all the layers are already cut out. If you have a flat image and wish to do this, check out the other tutorial here.
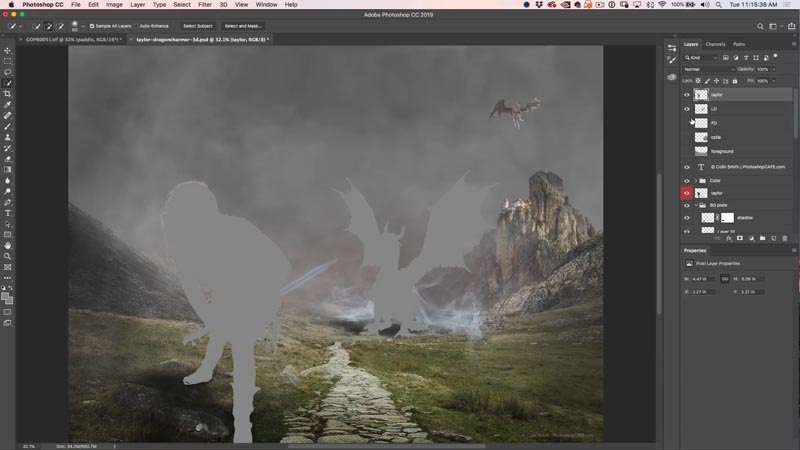
Step 1 isolating the objects.
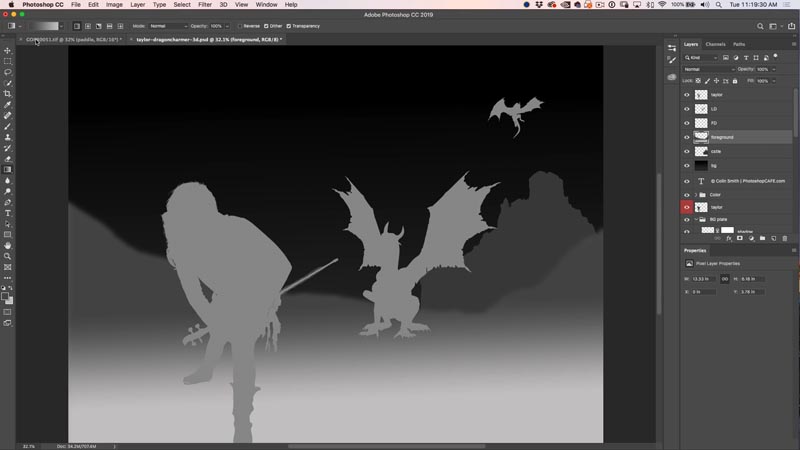
We will make selections and fill then with gray.
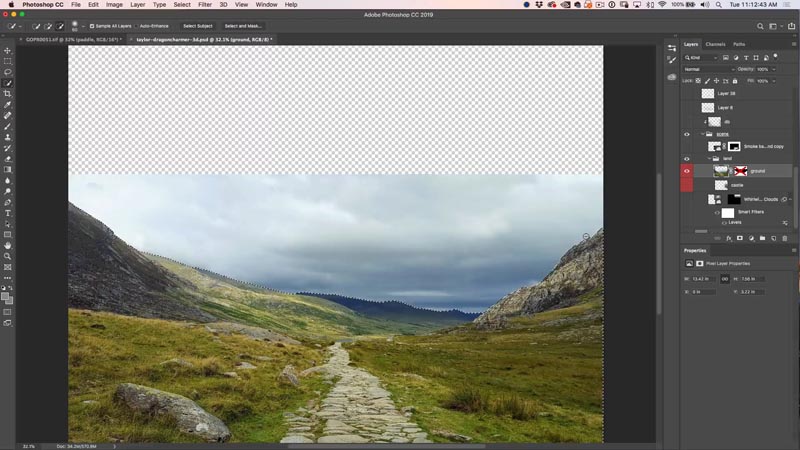
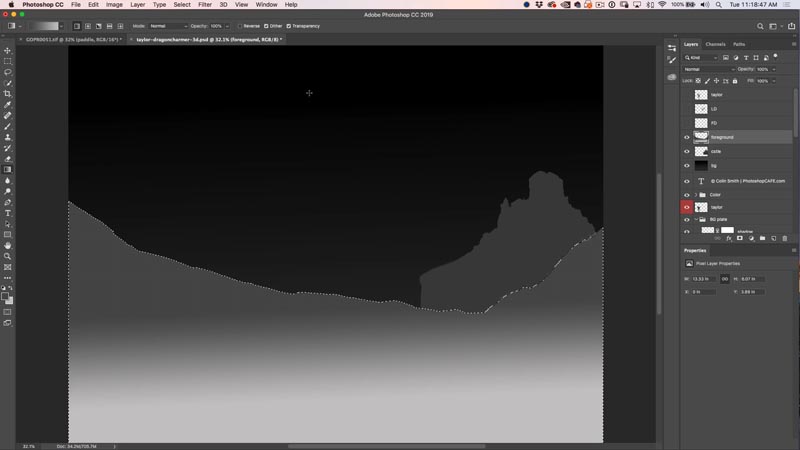
Toggle visibility of layers and masks until you come to your background image.
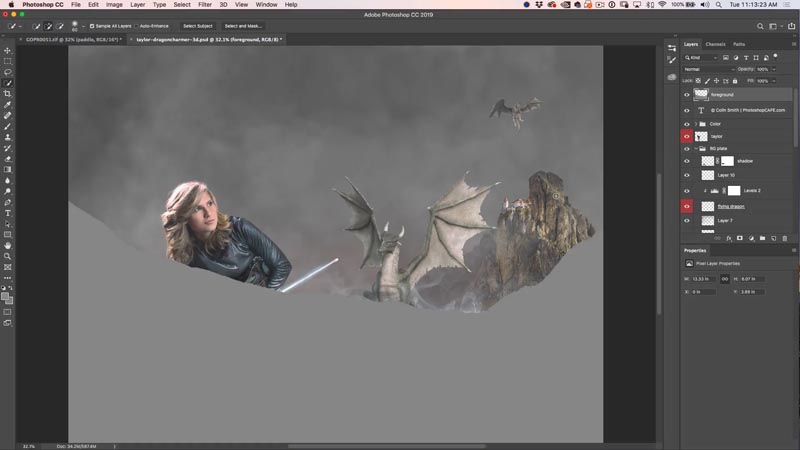
Select the foreground (Holding down Shift and clicking on the layer thumbnail or mask will load its transparency.
Create a new layer at the top and fill with gray. Don’t worry about the shade of gray yet, we will come back to that, lets focus on isolating our areas first.
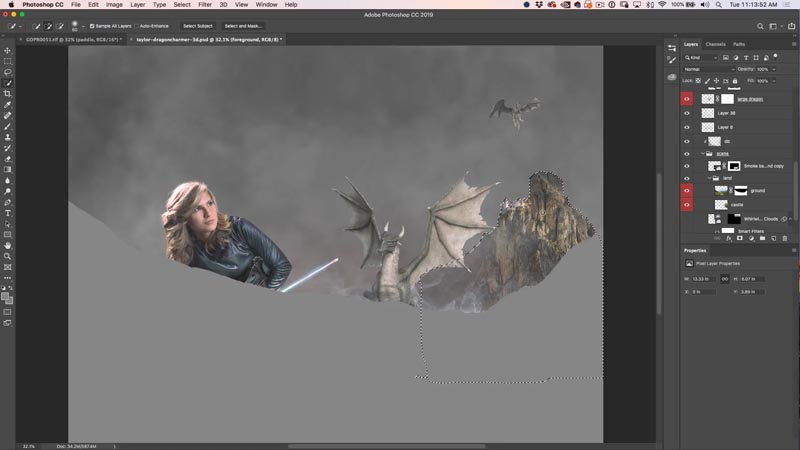
Loading the selection of the mountain an castle in the background. Make a layer and fill with gray.
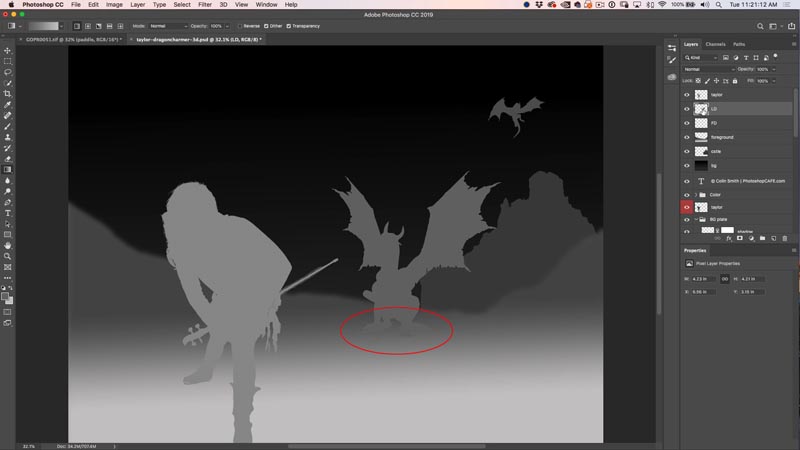
Selecting the distant flying dragon and filling a new layer with gray.
Select our main dragon and fill a layer with gray.
Select Taylor (our hero), make a layer and fill with gray.
Create a new layer and fill it with black, this will be the background.
Eventually you will have something like this. Six layers, each with a region or object in gray.
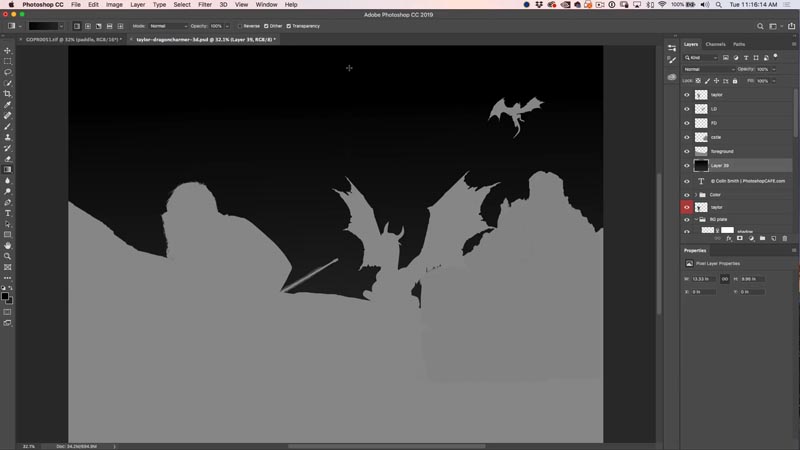
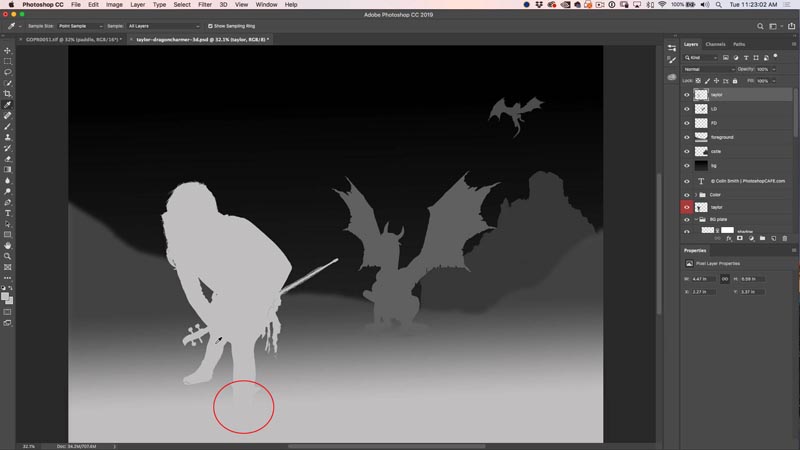
Step 2: Adding the depth
The groundwork is out of the way now. This is where you can use your imagination and have some fun. We are mapping how far forward or back each object will lie on space. Remember darker goes back and lighter comes forward.
This may help you visualize it: Imagine a massive spot light is at the front and the objects are cardboard cutouts. The further back, the less light they will receive.
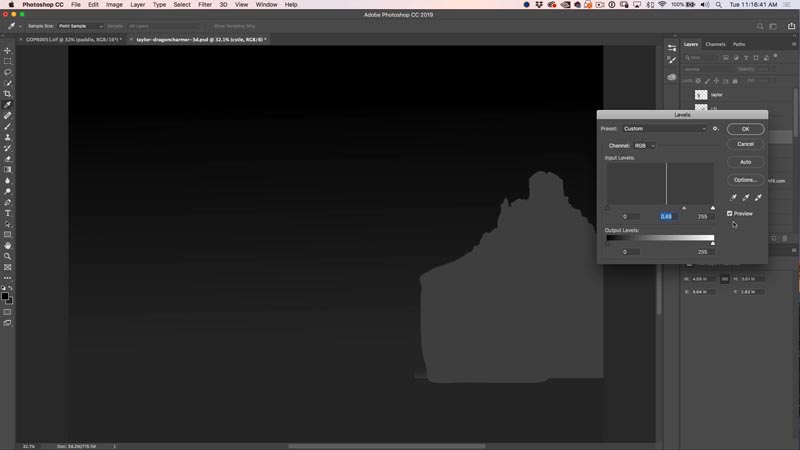
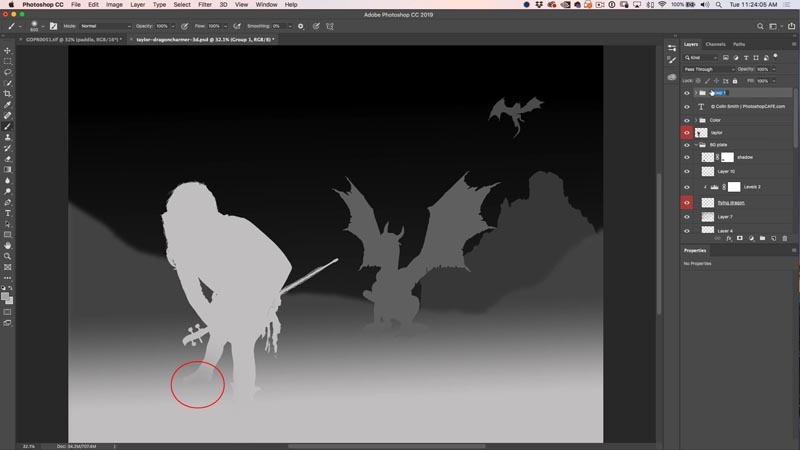
Start with the background mountain. You can fill with a darker gray, or use levels. Select the layer for the mountains depth map and press Cmd/Ctrl+L for levels. Dragging the middle gray slider to the right will darken the gray.
Choose the foreground. If you want it to blend into the distance, then use a gradient. Lighter shade forward and darker shade back. This is a nice way to add depth.
Here we have all the layers turned on. I also blurred the foreground filter>blur>gaussian blur
Notice how it appears that Taylor has a gradient, she is actually a flat shade, but putting that up against a gradient creates an optical illusion. Don’t trust your eyes on this one, make use of the eyedroppers to sample the shades of gray if in doubt. Why do I bring that up? If you want to anchor an object to the ground, it needs to be exactly the same shade of gray at the point of contact, otherwise it will appear as if its floating in space.
Choose the dragon layer. Grab the eyedropper (hold alt/option with gradient tool or brush selected or I key) click on the background right next to the dragon’s feet to sample the gray as the new foreground color.
Press Alt/Option+Shift+Delete to fill the dragon layer. (Shift preserves transparency, so you don’t need to make a selection).
Do the same thing for our hero layer. Fill her with the same shade of gray around her front foot.
Right now her back foot will wiggle around in space when we are in 3D because it doesn’t match the point of contact.
Load the selection for Taylor. Sample the background next to the back foot. Choose a gradient, with foreground to transparent as the option (click on the gradient at the top left and chose the 2nd option).
Drag the gradient to blend the foot in.
Step 3. Preparing the Files for Facebook 3D.
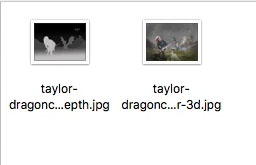
You will save 2 files. The first file with be the original image with the depth map hidden. Save as jpg or png.
The second file will be the depth map.
- Turn on all the depth map layers so you see the gray depth map
- Save as a jpg or png
- Name it the same as the image, but with _depth in the name. For example: dragon.jpg and dragon_depth.jpg
A word about jpg or png: You can save these as either format. For images, a jpg is a smaller file size than a png (10x smaller). For flat areas like gradients and solid colors, png has less artifacts and jpg.
You can mix and match formats. So try saving your photo as a jpg and your depth map as a png. Experiment with the 2 formats and see what works best for you.
Step 4 Uploading to Facebook
Go to your Facebook page. Change privacy to only me for testing
Click to upload a status photo
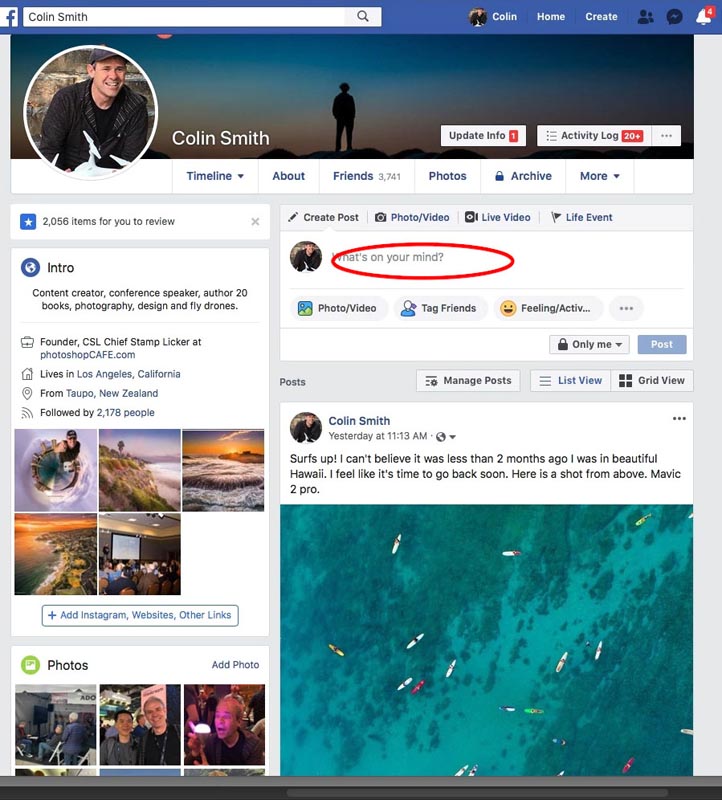
Choose the 2 images, image and depth map
If everything is correct, Facebook will build the 3D image. Make sure the image is less than 4000px at the longest edge (at the time of this writing, I’m sure specs will change over time).
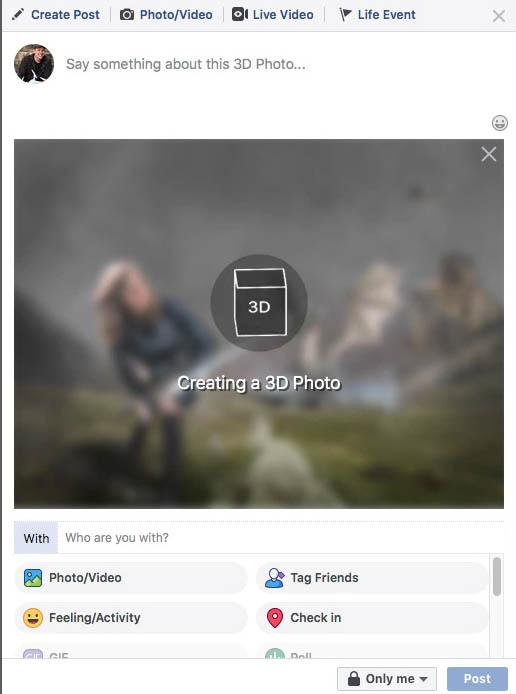
And finally you have your 3D image. move your phone around, or the mouse if you are on a laptop or desktop and enjoy the result.
I hope you enjoyed this tutorial and found it useful. If you did, please share it with your friends and share this tutorial on social media.
Here is is on facebook, click through to check out out and like and comment 🙂
7 rules of 3D photos
- if you want something anchored, make sure its same shade at the point of contact
- Add blur for smooth blend vs hard 3D edge
- Black is far, white is close, the more contrast, the greater depth, be aware of too much
- jpg way smaller (10x) than png
- Gradients will cause movement (stretching within shape, good for BG, but not for subject) solid shade will keep subject from distorting
- Blend gradient where you want to fix perspective
- If there is a missing bit on the final image make sure it’s masked properly with the depth map
Thanks,
Colin
PS Don’t forget to follow us on Social Media for more tips.. (I've been posting some fun Instagram and Facebook Stories lately)
You can get my free Layer Blending modes ebook along with dozens of exclusive Photoshop Goodies here

2 thoughts on “Facebook 3D and Photoshop guide. How to turn a layered Photoshop image into Facebook 3D photo”
Leave a Reply

How to use Repeat Transformation in Photoshop. Save time when making copies of objects and positioning them in Photoshop, this...
This weeks Photoshop tutorial, I'm going to show you how to make the portrait text effect. This takes a photo...

How to combine photos and match the colors in Photoshop. Free photoshop tutorial for beginners.


I created a couple of 3D photos and posted them on my facebook and my grandson’s facebook (John S. Earl, Jr). More cleanup could be done to them but OK for starters.
Because of certain politics on Facebook, I will probably never join. Is there a comparable 3D application available that does a similar job with a depth map and a prime photo? I’ve done depth of field using a depth map (in which the gradients are opposite), but nothing in 3D using a depth map. Using 3D objects made in Photoshop (or by a third party), yes.