
Create Adjustment Layer Presets in Photoshop
New in Photoshop: create custom Adjustment Layer presets and share them.
Adjustment Presets were added to Photoshop recently, but we couldn’t make our own presets until now. They have a lot of advantages over actions and LUTs because we can preview the result before we apply them and we have full control over the settings.
The video above shows the entire process including how I created the presets and accessed Photographic toning Gradient maps.
Start with a photo

Create the look you want using different adjustment layers, blending modes and custom opacity.
See how we have a stylized color look.

Here is another variation I created for a different look. Lets make a preset, so we can reuse it in a single click.
Click the bottom adjustment layer, Hold down Shift and Click the top adjustment layer to select them all.

Under adjustments, look for “your presets”
Click the plus button
Name your preset and click save

Now it will be added to the list.

How to export presets
Choose a photo and click the preset to apply those settings to the new photo. It’s that easy to use.

If you want to export or share your presets, click the 3 ellipsis next to a preset and choose Export preset, or Export all, to export your entire set. (I will share my set with you, instructions at the end).

To load in Adjustment presets into Photoshop
Click the menu at the top right of the Adjustments panel

Choose Import preset

You will see the preset as a .psap

It will load into your panel ready for use.

I have created a custom set of presets used here and I’m happy to give them to you.
Go to the Photoshop Vault and you will find them under the Lightroom/Camera Raw/ Photoshop Adjustment presets

Note: If you are already a member of the CAFE Cup (Our weekly newsletter) I will add a direct link for you to download the new presets
Thanks
Colin
PS Don’t forget to follow us on Social Media for more tips.. (I've been posting some fun Instagram and Facebook Stories lately)
You can get my free Layer Blending modes ebook along with dozens of exclusive Photoshop Goodies here

6 thoughts on “Create Adjustment Layer Presets in Photoshop”
Leave a Reply

All the basics of photography in one easy cheat sheet. ISO, Aperture, shutter speed, exposure, white balance etc. Understand what...

An essential, but unknown tip for using Harmonization to match colors between layers in Photoshop. Match image color in Photoshop...
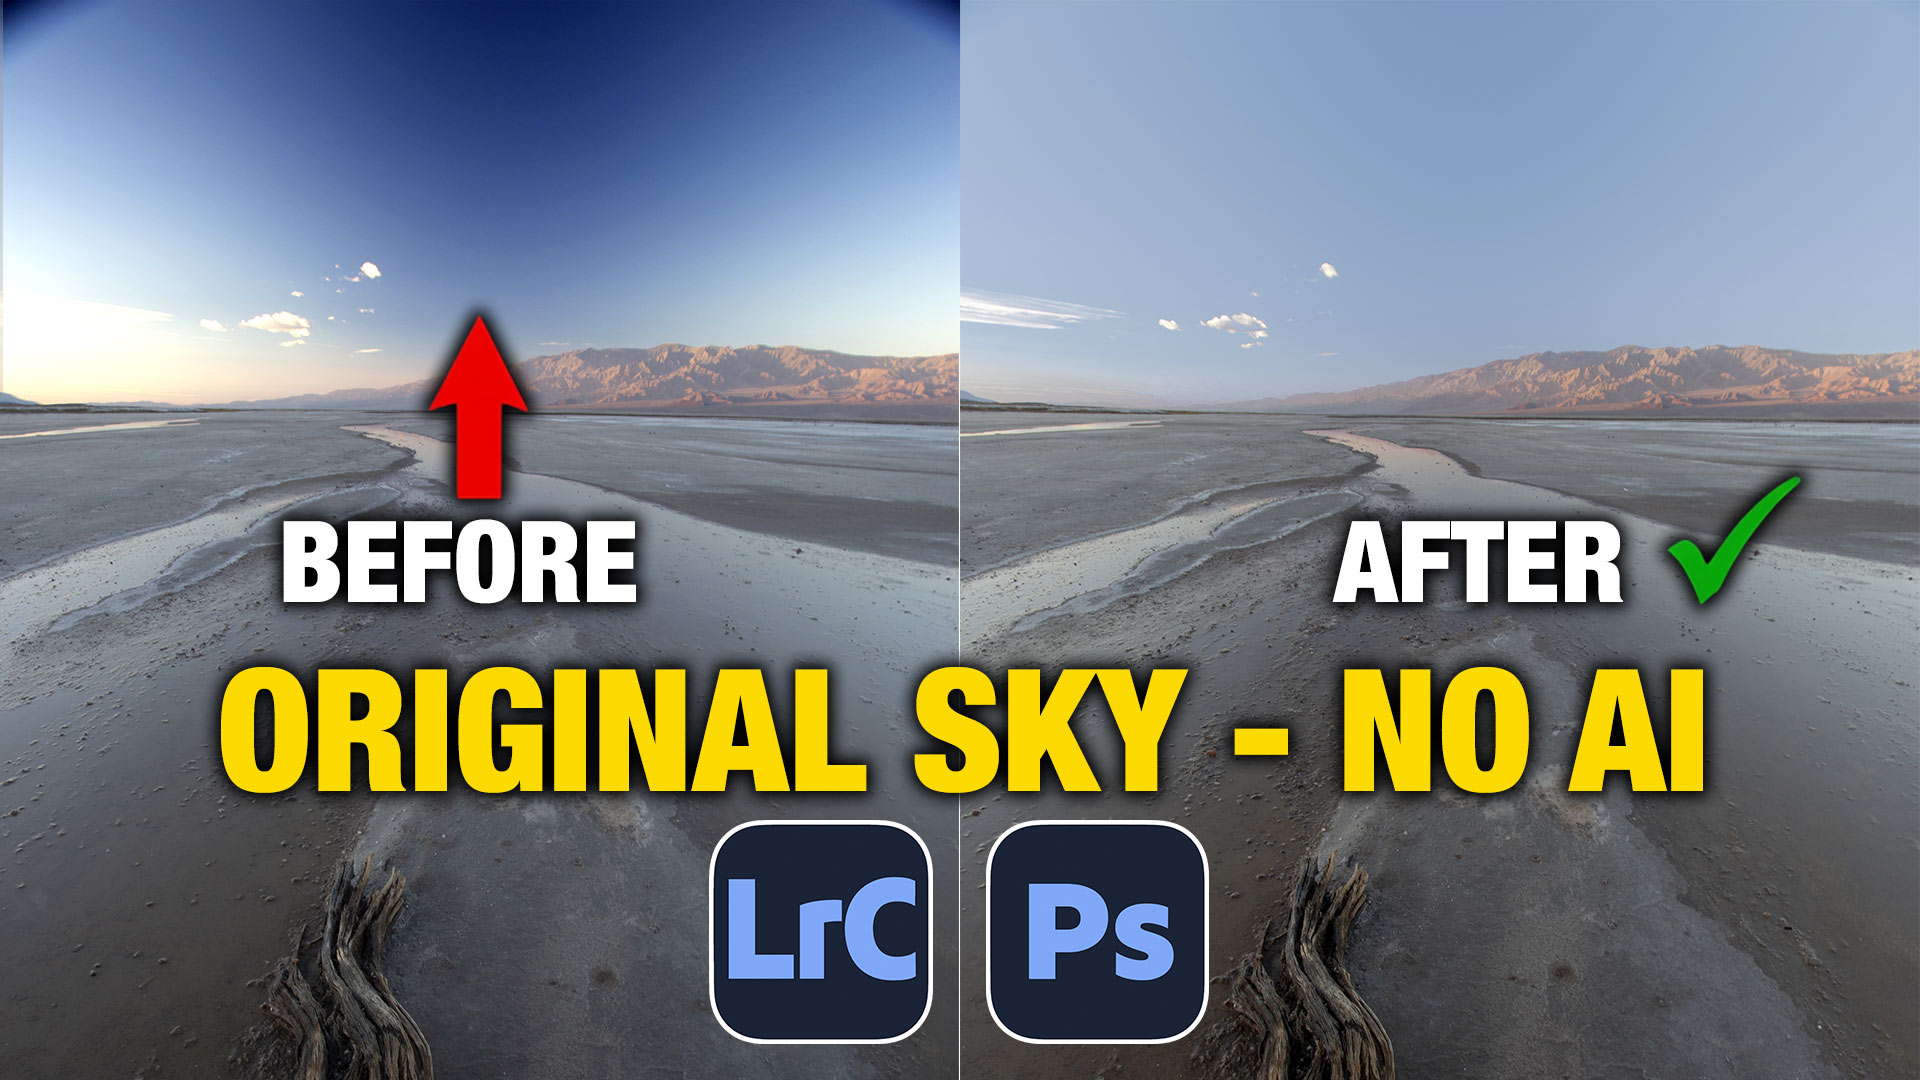
Learn how to fix uneven blue skies in Lightroom or Camera Raw without replacing the sky


Thank you Colin, I didn’t know you but I’m going to follow you now. Very well explained and documented.
Hi Colin. Thanks again for another of your super tutorials, CREATE ADJUSTMENT LAYER PRESETS IN PHOTOSHOP. Always very instructive and easy to follow. I receive your weekly newsletter, and would apprreciate a direct link for downloading the new presets. Thank you👍
Sorry, just realised I have already received the link in your email, my mistake didn’t, check thoroughly enough.
Hi Colen, Thanks for your always great tutorials. At my Korrekturen( Adjusment) I do not have a + sign, also I do not have my preset,
Can you please help me
Tanks Thomas
Wow, this sounds like an amazing addition to Photoshop! Being able to create custom adjustment layer presets and easily share them is going to save so much time and streamline our workflow. It’s such a user-friendly feature that will undoubtedly enhance collaboration and creativity among designers and photographers. Can’t wait to try it out and see how it revolutionizes the editing process! Thanks for the update! 🎨✨
Thank You Colin! You are SO good and easy to follow and SO generous sharing your expertise!