
18 Hidden Tips in Photoshop 2020
18 Hidden Tips in Photoshop
Everyone loves those little tips that save you time, or show you better ways of doing things in Photoshop. Often these involve keyboard shortcuts, or things that are so obvious you may hadn’t thought of them. In this roundup I’ll share some of my favorites. Until I share my favorites next time, let’s face it, all tips are my favorites. These tips work for most versions of Photoshop. Check out the video to see these in action and use the written steps for quick reference.
1. Super Color Picker
The color picker lets you choose a color while using the brush tool. Hold alt for the regular sampler. click to choose a color.
There is also a super color picker that allows you to choose Hue, Saturation and brightness. Shift+Alt+right click in Windows. Cmd+Ctrl+Option on Mac
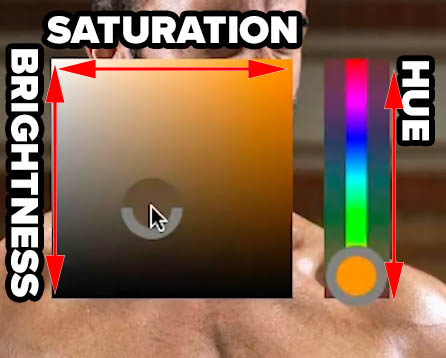
2. Move between Hue and values easily
When using the super color picker, hold Spacebar to move between hue and Saturation/Luminance
3. Scrubby Sliders
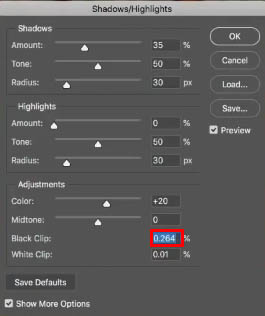
When you see a number field in any dialog box you can drag to change the values. Drag on the word to the side of it, or (in some cases there are no words) Hold down Cmd/Ctrl and drag on the numbers to activate Scrubby Sliders and drag on the numbers.
4. Turbo Mode
Hold down Shift to make Scrubby Sliders 10X as fast
5. Snail mode
Hold down Alt/Option for scrubby sliders to slow down 1/10th for precise work
6. check for empty layer
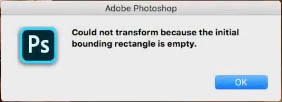
Is that Layer really empty? Sometimes it’s hard to tell. Press Ctrl/Cmd+T to find out.
If you see a dialog box saying “…The initial Bounding Box is Empty” then you know its really blank.
7. Zoom into Layer
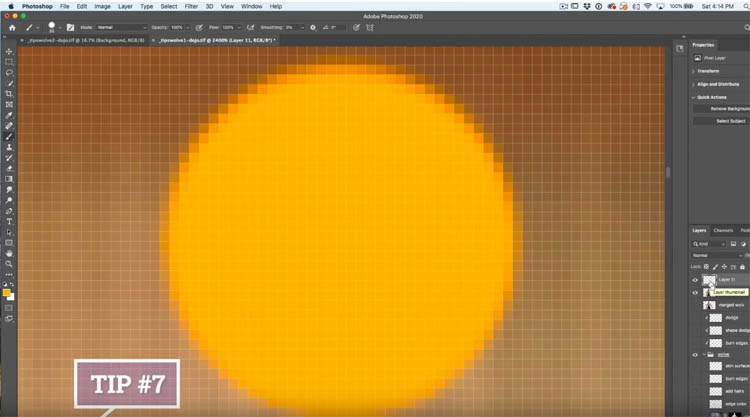
If you alt/Click on the Layer Thumbnail, Photoshop will zoom into the contents of the layer. In this case a tiny dot shows up. (Photoshop 2020+ only)
8. Delete all empty Layers at once
Cleanup time, go to File>Scripts>delete empty layers
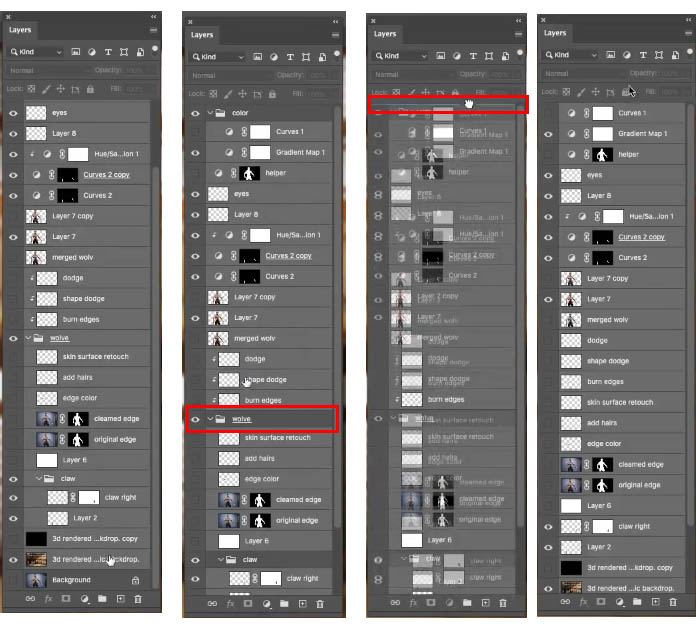
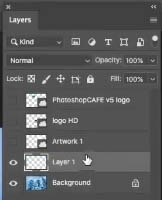
9. Consolidate all layers without groups
Too many groups? Sometimes you want all your layers together and not all in groups. Here is how to consolidate.
a. Click on the top layer, hold shift and click the bottom layer (not background)
b. Cmd/Ctrl+Click on all the groups to deselect them
c. Drag the layers to the top of the layers panel, you will see a line
d. Release and all the layers are at the top and the groups are empty, you can delete the empty husks (groups)
10. copy between documents
Most people choose Cut and Paste between documents to copy over layers. The problem with this is, it fills up your memory and stays there. This causes slowdown for large documents.
A better way is to drag.
Drag the layer you want to copy
Drag into the tab of the document you want to copy to
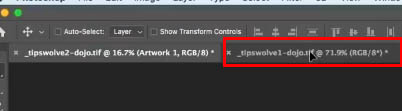
after a couple of seconds the window will open. Drag into the middle
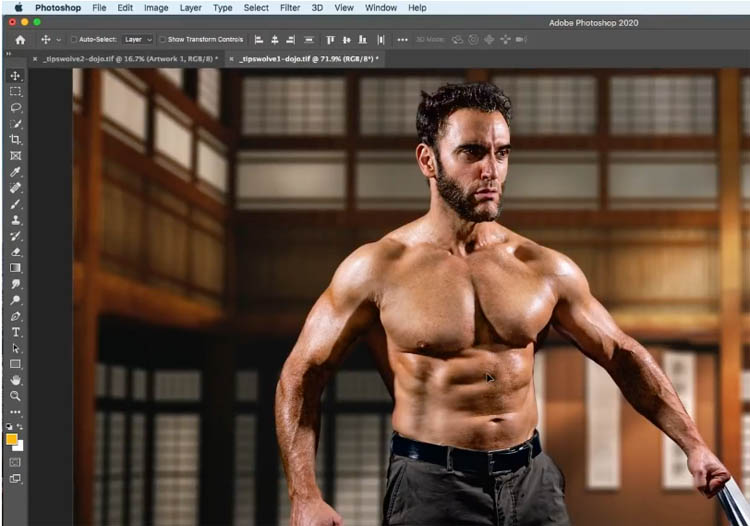
release and you have now copied over the layer.
11. Copy multiple layers
Select multiple layers and drag to the tab
release and its the same for multiple layers as it is for a single layer. But don’t waste time doing them one at a time. (painful to watch)

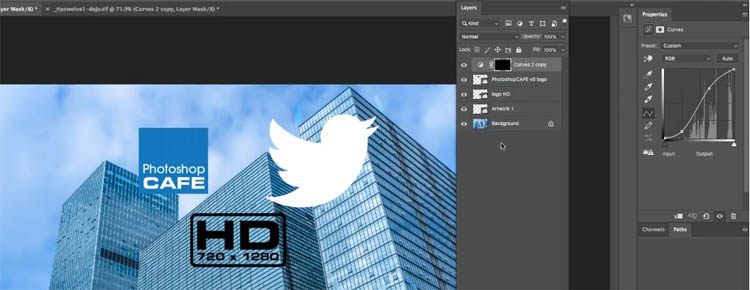
12 copy adjustment layer
Same thing for adjustment layers
Drag the adjustment layer into the tab in the same way you would do a layer.
Release and the curve is copied over. Also works for curves and masks.
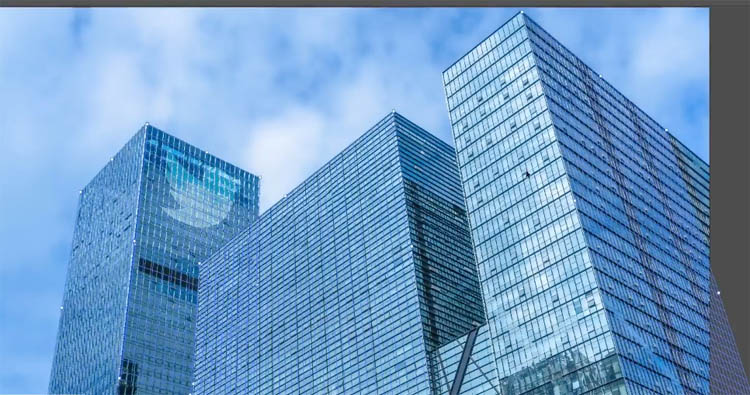
13. Working in Perspective with multiple objects
Maybe you know about vanishing point? If not, meet them now, if so, get ready learn some tips on working with them. Copy a layer. (logo)
Select all (Ctrl/Cmd+A)
Copy (Ctrl/Cmd+C)
Deselect(Ctrl/Cmd+D)
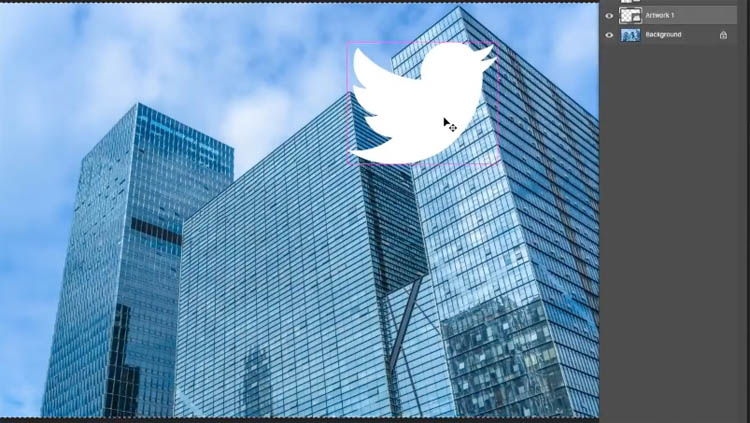
Create a new Layer to work on
Choose Filter>Vanishing point
14. Get precise
in Vanishing point click on the 4 points of a surface to define a plane (see video at top of page)
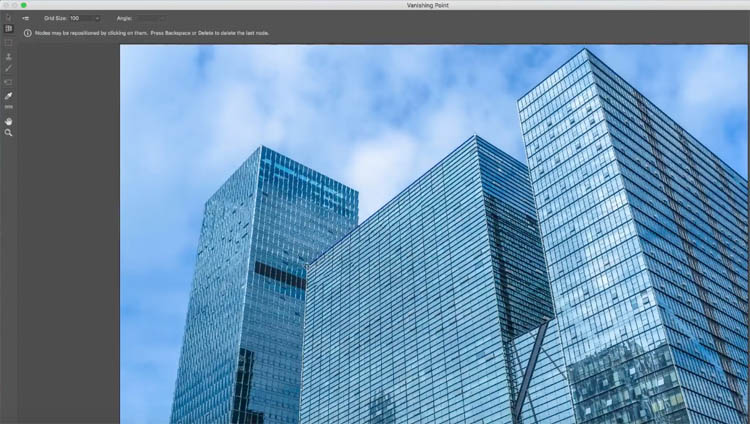
hold the x key to temporarily zoom in for precise placement
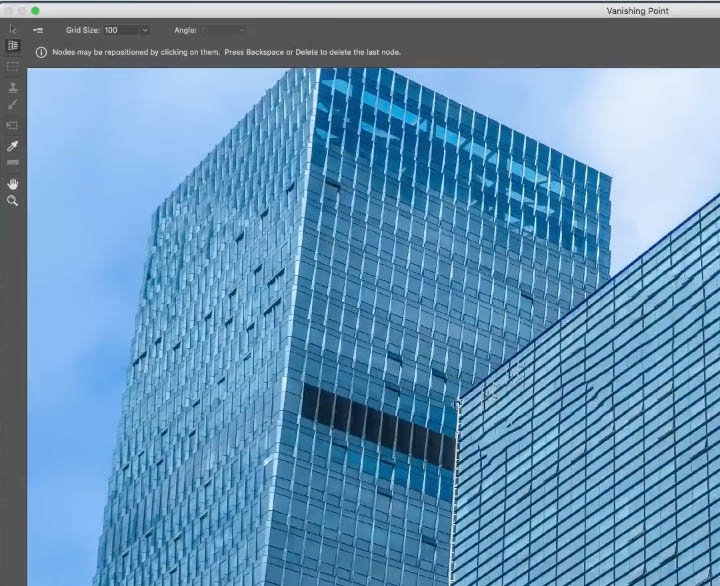
a plane is defined
go ahead and create more planes for each surface that you will use.
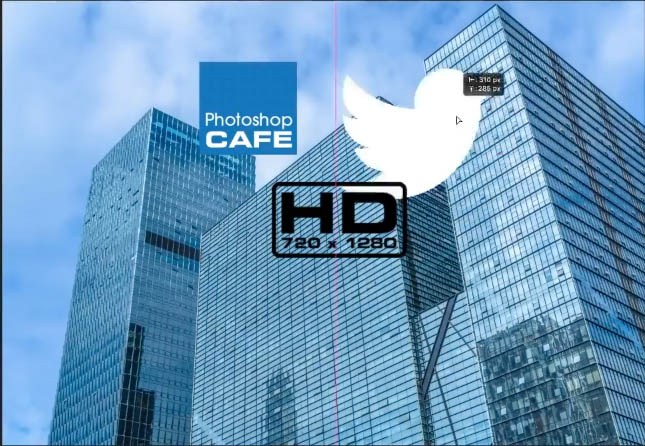
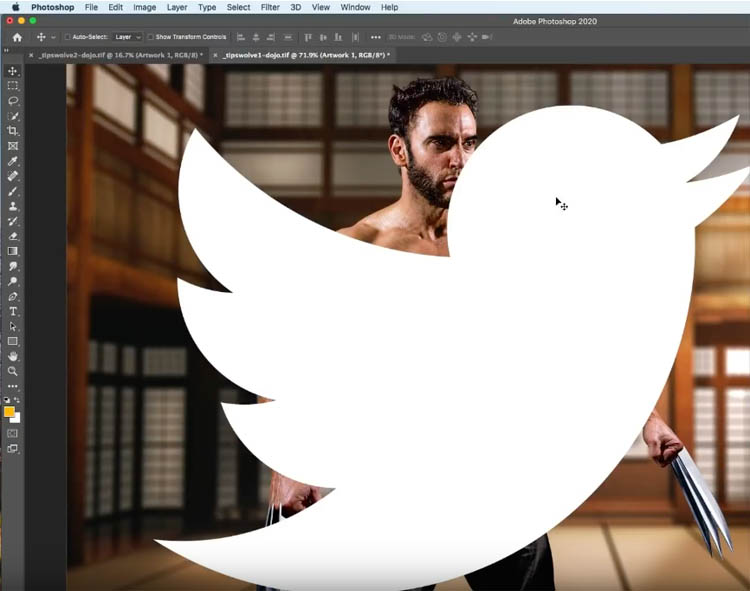
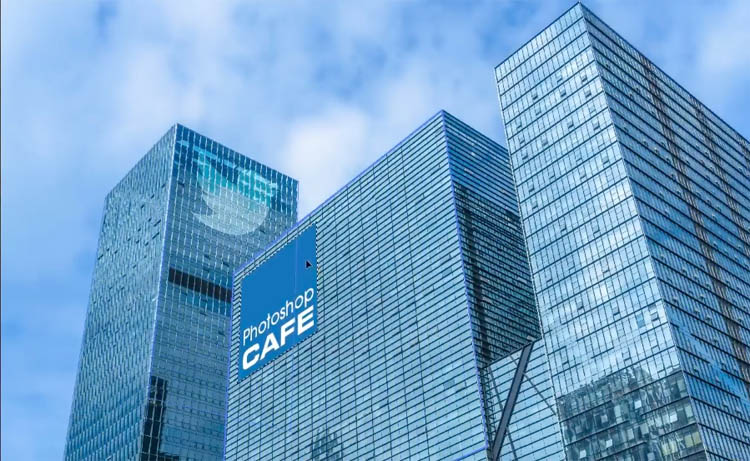
15 paste in logo
When in Vanishing point, you can paste in your logo you copied earlier.
Cmd/Ctrl+V to paste.
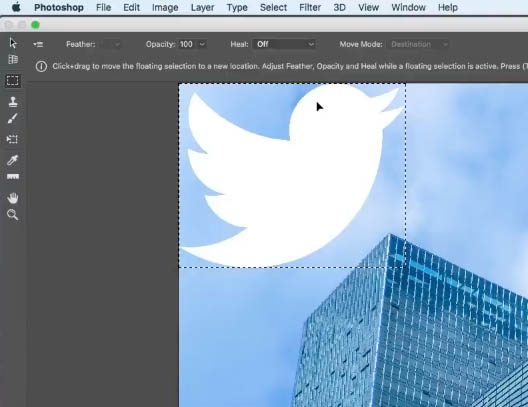
Drag it to each plane and watch it snap to perspective magically.

Press enter to apply. See why we were working on an empty layer now?

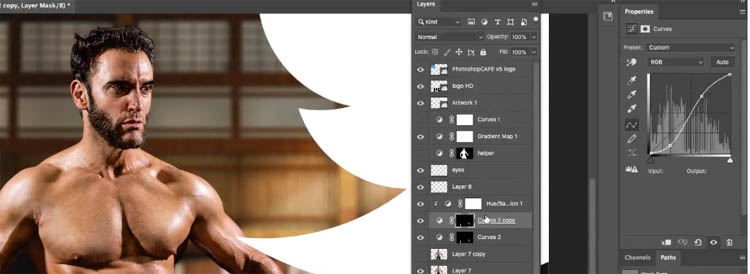
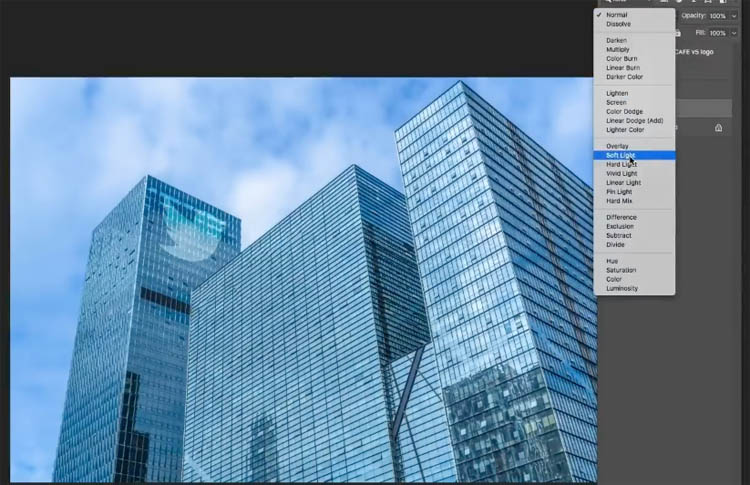
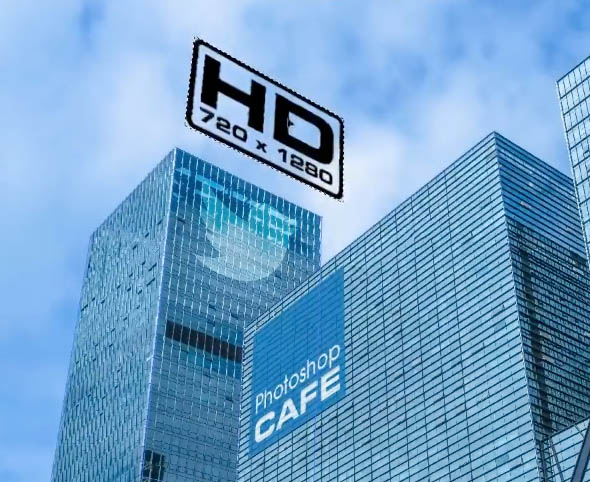
16. Make it look real
Change the blend mode to soft light and now the logo looks like it belongs there.
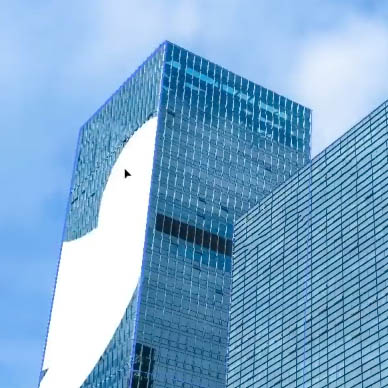
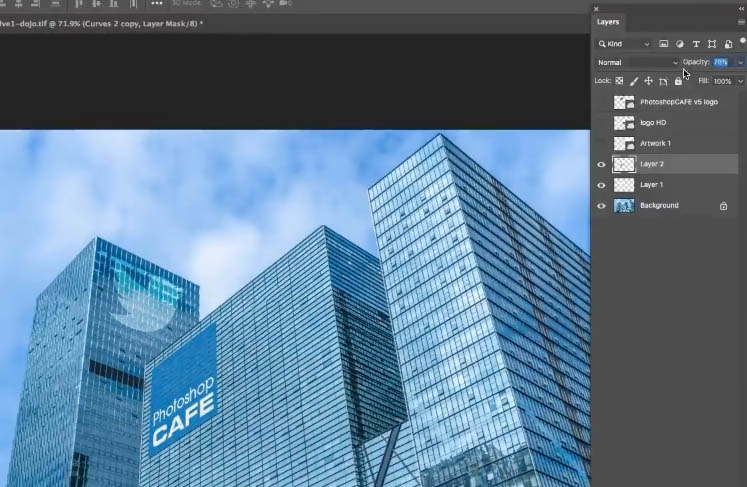
17 Reuse the grid
The nice thing about VP is that the grids remain in the filter, and we can exploit that!
Copy a different logo like we did in tip 13.
Create a new layer
Filter>Vanishing Point
We don’t have to create the grids again, so we don’t have to do everything on a single visit to vanishing point.
Cmd/Ctrl+V tp paste our 2nd logo
Use transparency to blend this time.
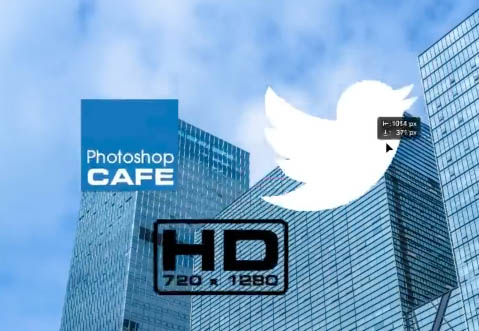
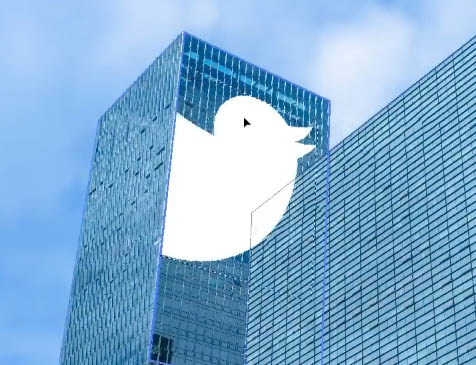
18. Thinking outside the box
Paste in a 3rd logo
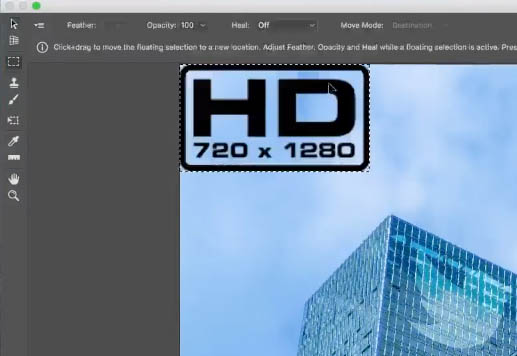
If you drag past the plane, the pasted layer will pop outside the grid but maintain its presective. Oh, so useful for lots of things.

Make a “Bad Runner” style floating sign.
Those are 18 little tips for you, I hope you find them useful! If so please tell all your friends about the CAFE and Ill see you back here really soon!
In the meantime, there are lots more tips and tutorials for you to binge on here at PhotoshopCAFE!
Thanks
Colin
PS Don’t forget to follow us on Social Media for more tips.. (I've been posting some fun Instagram and Facebook Stories lately)
You can get my free Layer Blending modes ebook along with dozens of exclusive Photoshop Goodies here

14 thoughts on “18 Hidden Tips in Photoshop 2020”
Leave a Reply

In this Photoshop tutorial, I'm going to show you how to create the title to Star Wars. We are going...
Learn how to connect and use Adobe Photoshop to ChatGPT and edit photos with sliders
In this tutorial, we are going to take a picture of a car and make it look like its driving...


its amazing, sir you are rocking and your tutorial is extraordinary
What does “I gig slowdown for large documents.” mean?
It’s secret code for “This causes slowdown for large documents.” Sorry about the typo (I have fixed it), looks like auto correct went crazy on that one.
Since I came across photoshop cafe, I give up my other photoshop resource, though I’ve been surfing the web for a better resources. thanks a bunch
Glad you like it!
Awesome tips…. best ones are about logos and vanishing point! Now if i can just remember the how to do!!
Thank you for sharing your knowledge.
So inspiring
Colin, how are you able to create a blank layer with just one click and have it come out white instead of transparent? All you you tube teachers do it, assuming we know how. Thanks@
Ctrl+J will copy a layer, do this on a background and you’ll get a white layer.
Your tutorials are awesome! Vanishing point, what?!! Love it. Thanks.
Thanks for those useful tips Colin – I think I will particularly appreciate the “ZOOM INTO LAYER” trick.
18. ‘Blade Runner’?
Hi.
Your site is great. I am a newbie and a beginner when it comes to using and learning about Photoshop. I was wondering, what courses and/or ressources do you recommend for learning photoshop fo beginners, newbies like me.
Thanks
Hi Frankie, without doubt, I highly recommend this course. https://photoshopcafe.com/shop/photoshop-2022-for-digital-photographers-the-best-way-to-learn-photoshop/