
Blending photos together Photoshop Layer Masks Tutorial
How to blend pictures together in Photoshop
A really powerful tool for collaging and compositing in Photoshop is layer masks. When we want to combine photos, we combine layer masks and gradients, it’s laughably easy to create stunning looking composited that are actually very easy to do. Check out this tutorial to get your creative motors running.
Step 1
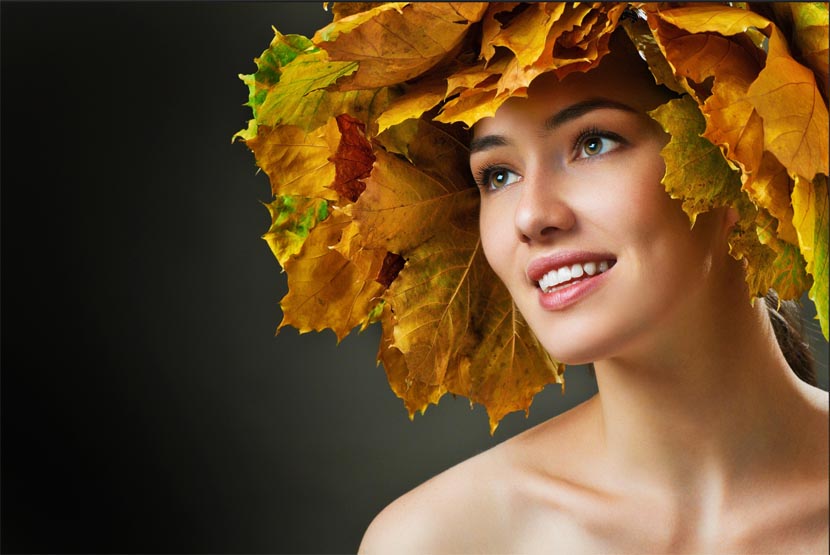
First thing you will need is 2 images that will blend together nicely.
Make sure they are both in the same resolution (72 dpi for the web) and color-space (RGB in this case). Open both these documents in Photoshop.
These images are from Adobe Stock

Step 2 Combine the 2 images together
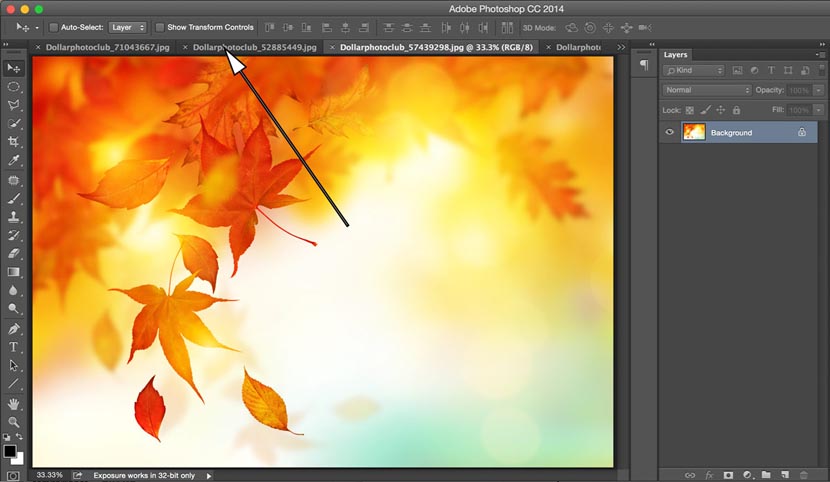
We will want to combine both images into 1 document. Choose the Move tool from the left toolbox: “V” key.
(CS6 and CC) If you have the application frame on (shown),
Put your curser in the middle of the first image. Click-hold-Drag into the tab at the top for the second window as shown with the arrow below, (don’t let go yet) Wait for the image to come to the front. Drag and release in the middle of the new document to combine the two images into one document.
If you are on earlier version of Photoshop without the application frame: Drag one image into the other window and a new layer will be created automatically.
Tip: To center the new image in the window hold down the Shift key while dragging.
(If you are stuck, I have made a beginners tutorial on how to combine photos in Photoshop here)
Step 3
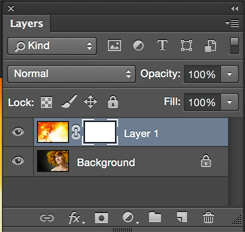 We will now have 2 layers in the same document
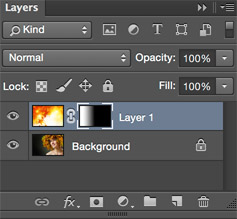
We will add the Layer Mask
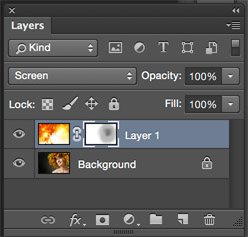
Click on the add layer mask button
This will create a new layer mask. A layer mask is transparent. When you paint black into the mask it allows the image underneath to show through. Where it is white, the underlying layer will be hidden.
Step 4
Press the “G” key to select the gradient tool. Make sure the foreground and backgrounds are set to black and white. “D” key. Select linear gradient and foreground to background.
![]()
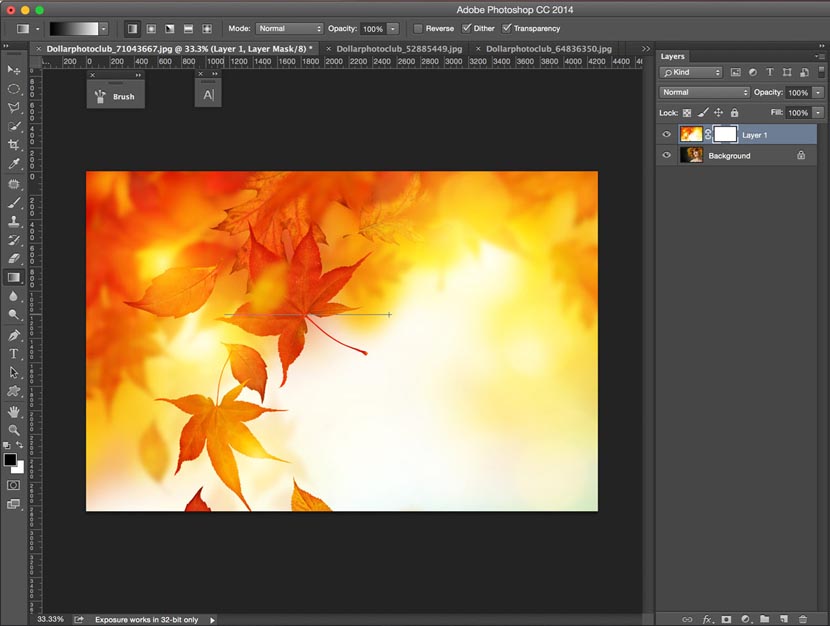
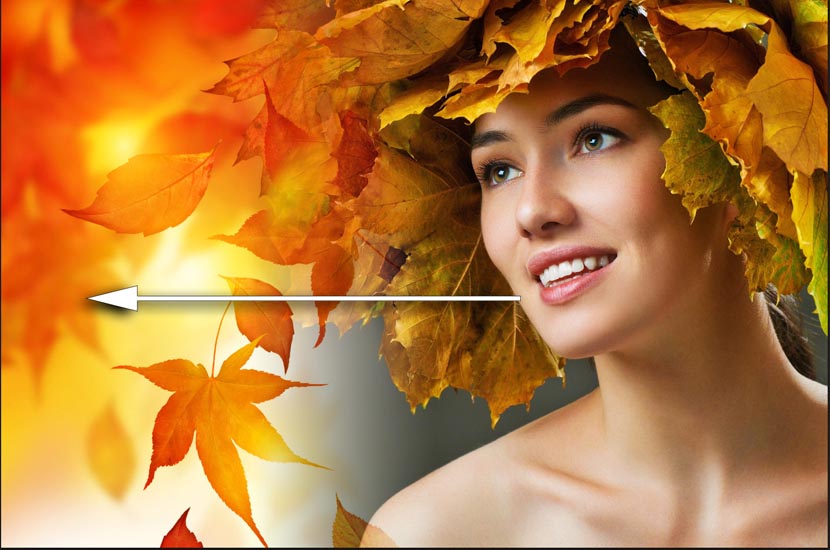
Now drag the gradient across the image.
Step 5
You will now see the two images blend together and the mask will have a gradient in it as shown

You can see the gradient in the layer thumbnail and the result on the image. Where it is white, the top image shows and where it is darker the back shows through. Experiment with different angles and start and end positions. Because a mask is non-destructive, you can experiment as much as you like with different gradients in the mask,

Step 6
EXTRA CREDIT!
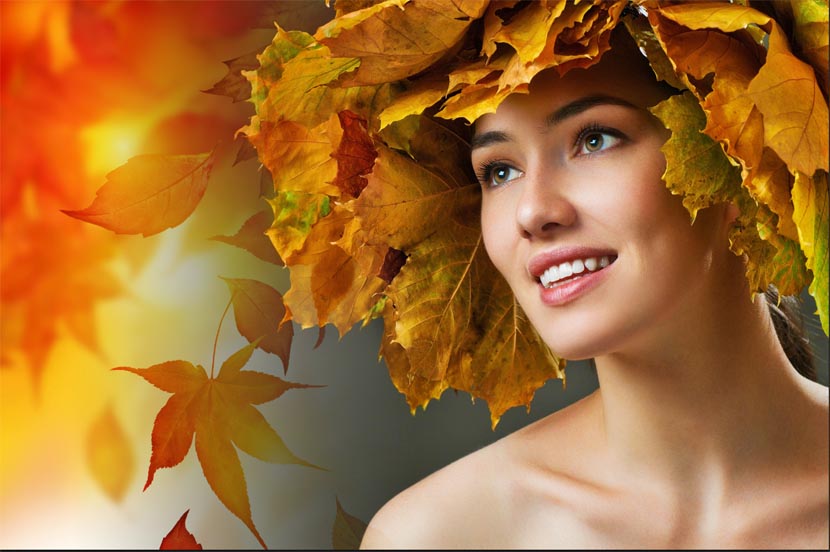
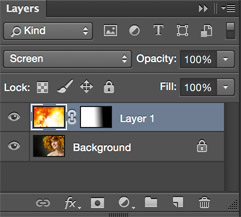
Try changing the blending mode to something different for a different result, in this case I liked what Screen mode did to the feel of the image.

Step 7
You may also use any of the brush tools on the mask. Black will “paint away” the image and white will “paint it back”. Use a soft brush for best results.

I hope you enjoyed this tutorial and let me know in the comments if you want more on collaging and compositing techniques. This is one of my specialties. I am adding new tutorials here at photoshopCAFE every week!
What next?
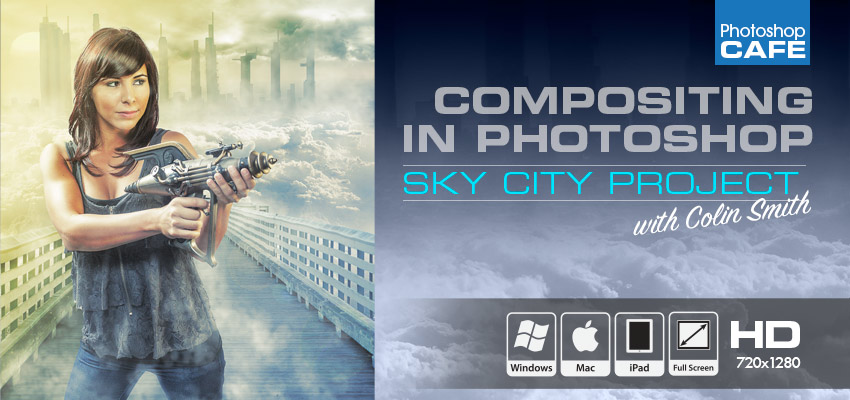
Compositing in Photoshop: Sky City Project
I have been asked countless times for more in depth training on Compositing, layers, masks and blending photographs. I did it! 2 hours of video that will show you exactly how to build stunning composites in Photoshop. What I have learned in 18 years, revealed here.
Colin builds a real-world compositing project with you. The great thing about a project is that nothing is skipped in the workflow. This is where you put together everything that you have learned about Photoshop.


You will learn how to combine different photos together to create a piece of art in Photoshop. You will learn different ways of extracting photos from the background and how to seamlessly blend them all together. You will learn how to add atmosphere, and cinematic coloring and implied lighting.
See everything that you will learn here
“Great tutorial even for beginners and as a beginner, I can honestly say he made it easy to keep up with him. Colin walks you through and explains EVERYTHING. I can’t recommend this enough! If you are on the fence stop here and just buy it. You wont be disappointed.”
-Audrey (Compositing in Photoshop / Sky City Project)
PS Don’t forget to follow us on Social Media for more tips.. (I've been posting some fun Instagram and Facebook Stories lately)
You can get my free Layer Blending modes ebook along with dozens of exclusive Photoshop Goodies here


53 thoughts on “Blending photos together Photoshop Layer Masks Tutorial”
Leave a Reply
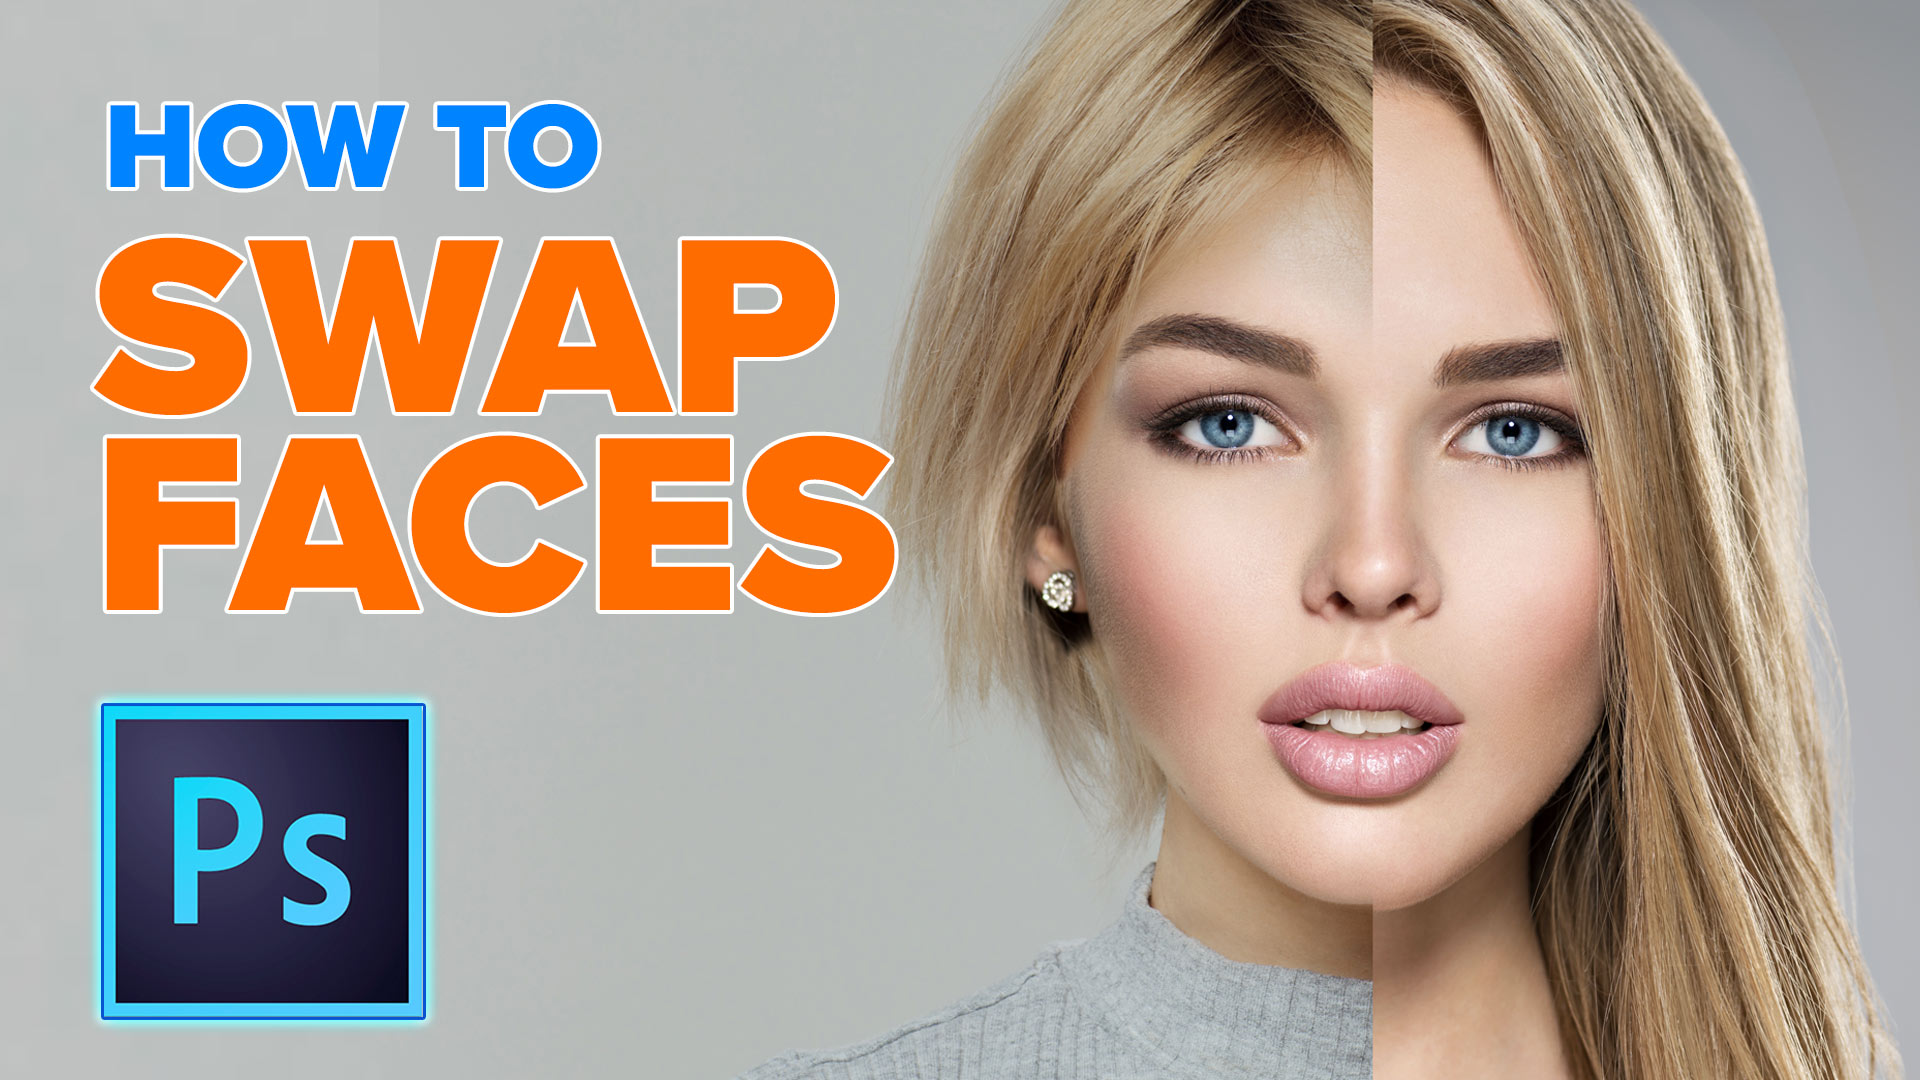
How to swap faces in Photoshop. This photoshop tutorial shows you an easy way to swap faces, for perfect group...
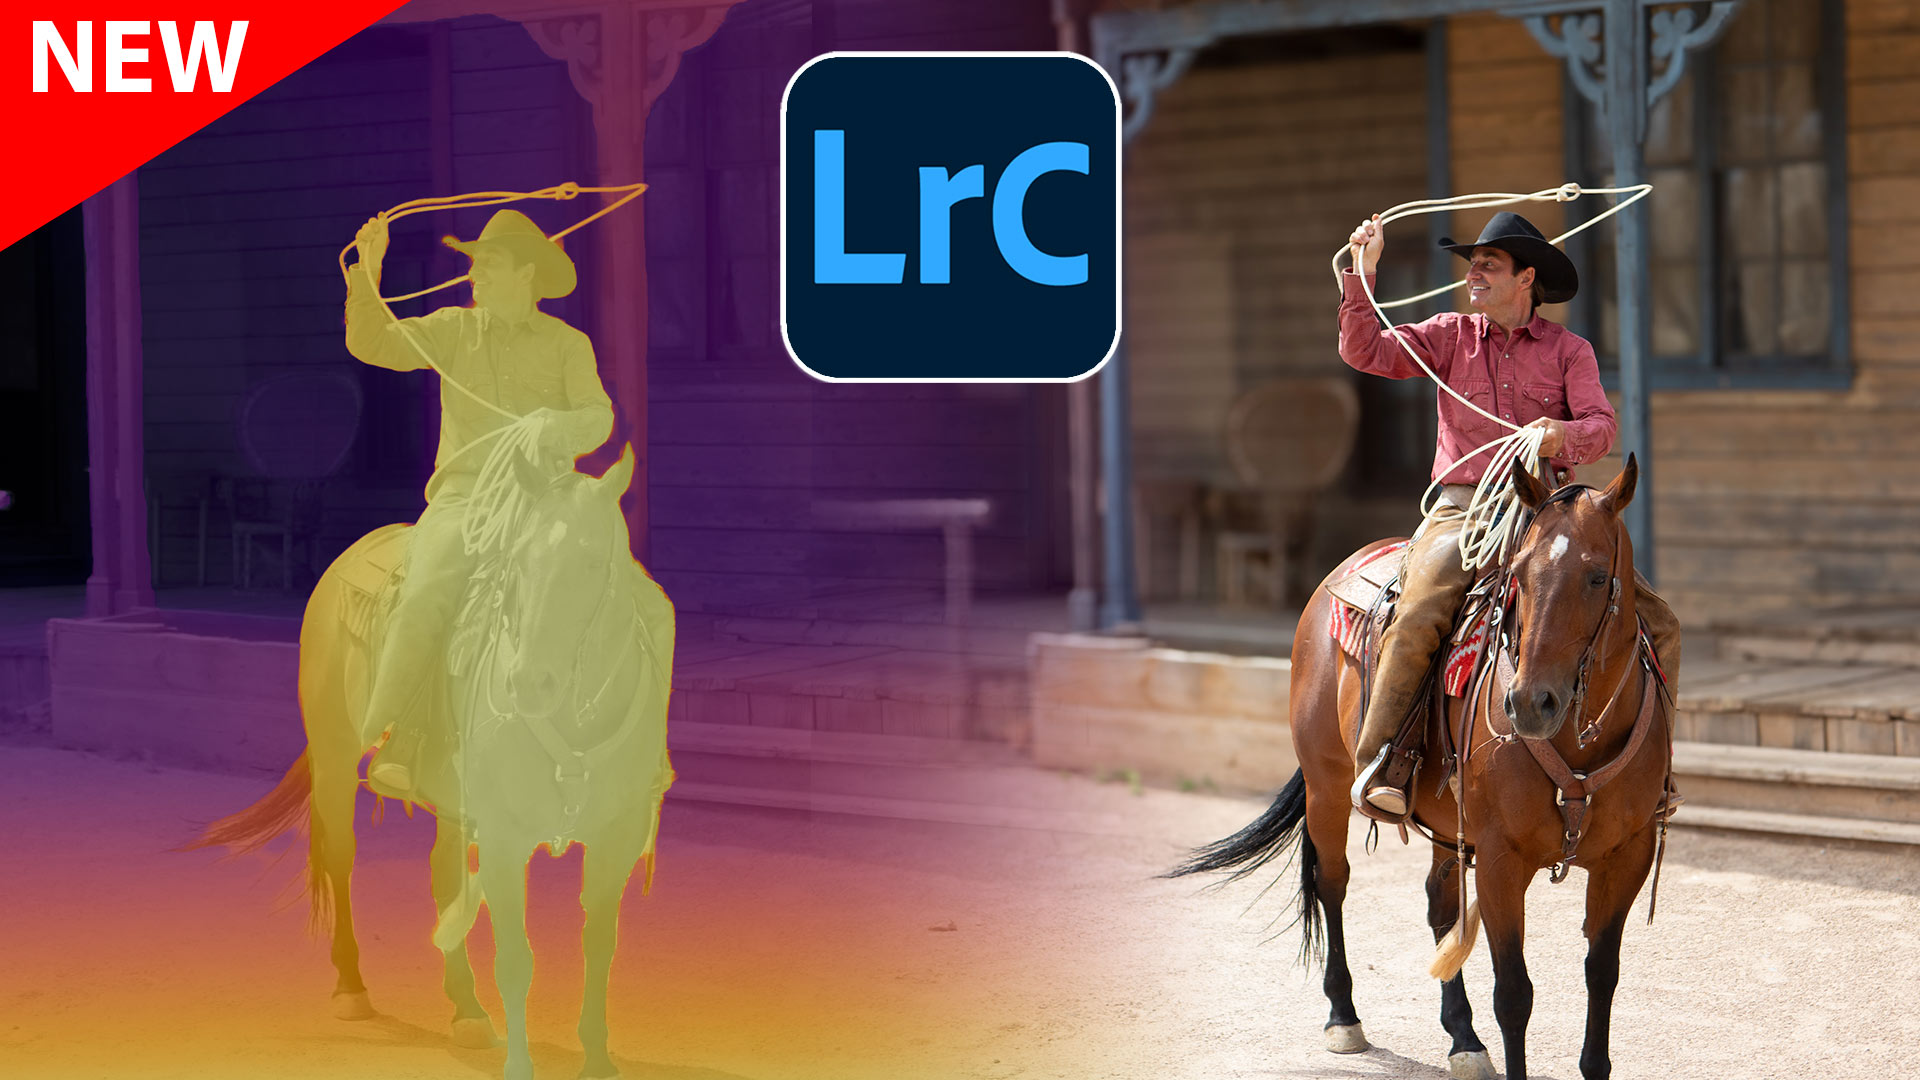
Ultimate guide to new Lens Blur In Lightroom and camera RAW. How to get a perfect result, how to fix...

4 ways to make a photo better in a few seconds, fix under exposure, over exposure with Photoshop Apply Image.


Completely updated this tutorial on combining and blending photos to create composites and collages.
Hello , please help me , i don’t know what i’m doing wrong but whenever i try to use the gradient tool on the layer mask it just doesn’t do anything !!
I just uploaded a video on this tutorial page. See if the settings on the video help ypu
Make sure that opacity is turned up to 100% and that blend mode is set to normal. Also that your gradient is black to white and linear
Great tutorial! You instill a sense of confidence in me when I watch. Thank you for both!
Su
Confidence is a big step in mastery, so I’m happy to hear that!
…great tutorial (as always). Would really like to learn how to organize my fonts into familys..serif, sans, decorative, scripts etc. Much time would be saved looking for fonts if able to have folders to arrange them in. I speak of using this in PSCC. I thank you.
Hi Peter. Good to see you here! This is possible using a font manager such as Font Agent Pro. I’m not sure this is possible with Just CC alone. I will look into it though.
Colin I thank you greatly.
This is probably the best tutorial on blending I have had the privilege of watching. Please keep up the good work
Thanks Mike, I appreciate the kind words
“Open both these documents in Photoshop.” So as a complete beginner I have failed even before the first hurdle on this tutorial. It won’t let me open a second document?
file>open
this one of the best blending tutorials i’ve ever seen.. thank you very much …
Hi. I am a newbie in Photoshop and it was really easy to understand your tutorial. Keep up the good work and thanks
Very helpful tutorial. Glad to see your easy work.
cool, very helpful
How are these cool photo layers made?
By blending layers in a photo editing tool, e.g., Photoshop, likely using masks and opacity reductions to determine what will show and whether it completely obscures the image below. Here is one of many tutorials available on how to use the tools http:…
Awesome tutorial, best I’ve seen on this subject, very easy to follow and understand, Peter you are a great teacher. cheers. Ed
Thanks Ed
oh, and my name is Colin, but thanks 😉
Trying to drag the images over into the other and it just won’t work.. help me please,
Can you please elaborate a little bit on “wont work” what’s happening, (or not happening)?
i have the same issue. i opened them both separately and when I pressed “V” and tried to drag, nothing would happen. I would drag it and let go, but when I clicked on the other tab where I dragged it, nothing changed/happened
There are 3 steps.
1. (V key) move tool, click on the image in the document window (not layers panel)
2. Drag into tab, with for the new window to open
3. Move pointer into the new (destination) document window and release in the middle of the image
Don’t let go of the mouse button until you have finished all 3 steps
Even with your extra explanation this part is not explained as clearly as it could be. I mean, I did figure it out, but it could be asked: where is the V tool? What does “with for the new window to open” mean? In Step 3 in the article, where to find the Add Layer Mask button is not specified. Also, you can in fact let go of the mouse button after selecting the Move tool. One other point: once you’ve made multiple layers it seems to become problematic to save the file in accessible formats, other than .psd.
I have just updated those instructions, please let me know if this makes it clearer
It’s easy to get around this. Just go into one window, Select All, and Copy. Go into the other window and Paste. It should automatically make a new layer, and then you can rearrange the layers as you like.
hi Colin Smith,
your post is really authentic and helpful thanks for sharing with us.
Thank you.. That was very helpful!
I have CS5.5 can I do this with that version?
I have 4 and it worked for me!
yes, it works since Photoshop 3
It’s a awesome layer mask tutorial. Now i’m expert to creating layer mask in photoshop.
Hi, thanks a lot, this has really helped me. I have a problem with making a photo smoother especially faces and arms or areas on photos that needs to be smoother… Can you help?
Great tutorial of Photoshop layer mask. Thanks to share your technique with us.
thanks you photoshop cafe, your tutorial make me easy to completed my job …
I tried blending images, but some of what I wanted to keep ended up being removed too. Do I need to adjust the size of my gradient then?
Another excellent tutorial, thanks so much for sharing 🙂 Will help loads when I sit my ACA exam for Photoshop.
Fantastic tutorial! Thank you for sharing your knowledge.
Having difficulty with following the tutorial.. well, making PS work for me as you demonstrate. When you paint black or white in the layer mask, how do you do that exactly? How do you paint white and how do you paint black? I’m able to press the controls to fill the layer mask with either black or white but not able to paint and have layer 0 show through onto layer the layer 1 mask.
Thanks!!!!
on your tools there are two overlapping squares, by default they should be black or white. Whichever is on top is the one you’ll be using. If you need to flip them, click the tiny arrows just to the top right of the overlapping squares. Or on PC you can press X to swap the foreground/background colors. Does that answer the question?
when i used layer mask with reveal all option for blending then how can i apply this……..here in cc i can not apply. In
CS 3 and 5 i can apply after blending and again i can use reveal all.
The layer masks in CC work exactly the same as older versions. Make sure that your brush is set to “normal” when painting on masks
am working on something cool this will help too
new to photoshop, cant wait to try, many thanks for you video
ilinka
Thanks for your tutorials. Many many thanks for sharing with us.
Great!!! Just was I was look for
Blended my photos together quite nicely! Thank you for the tutorial and the free eBook which looks to be a handy reference (& learning) tool.
this one of the best blending tutorials i’ve ever seen.. thank you very much …
am working on something cool this will help too
I know, I know….: pretty late….! But this tutorial was SO clear and good to follow. I copied your text (thank you/thank you) but the link to the two pictures isn’t working. Probably “past their selling date…” Could I ask you to send me the two files via mail….? PLEASE? It was the “Blending photos together Photoshop Layer Masks Tutorial” (17 of March 2015….. | SORRY…) by Mr. Colin Smith. The two pictures were: The “Tree-Leave” hat for the girl PLUS the “Sky-leaved” picture, both from the “Dollar Photo Club” Your assistance is HIGHLY appreciated. Very best of greetings from AMSTERDAM.
Dollar photo club no longer exists