
Photoshop 2020 1-click wonders. Quick tips to combine photos
Photoshop 2020, new features, Combine Photos oh, so fast and easy.
In this tutorial, I’m going to share 5 tips that will help you combine photos to make composites and collages, so fast and easy. These new tools are so subtle, maybe you missed some of them.
I have included Video and written steps. Please watch the video first, as there are some gems in there, not included in the written steps.
Those amazing hidden tools in Photoshop, are you using them yet?
Lets start with a 2 layered image

Tip 1. Instant background removal
In the properties panel, click Remove Background (Make sure you are on a layer or you won’t see this)/.

Instantly the background is removed!
Its not perfect, but its usually a great start and you can refine the mask to make it perfect.

The other option is Select Subject. Which will make a selection. In this case we will do this because I like the model’s braid and I’m sure she does too.

Tip 2. The magical Object selection tool to the rescue.
Use it in Lasso mode for cleanup work.

Hold down Shift to add to the selection, make a rough selection around the braid and Object Select grabs it perfectly.

Hold down Alt/Option and make a selection in the gap between her head and arm. Alt/Option removes from selection.

Click the Mask button in the layers panel 
Tip 3. Smooth that edge
This isn’t new, but worth mentioning to get rid of the edge fringing (the fine black outline).
Click on the layer mask.
Choose Filter Blur>Gaussian Blur and enter 3

Press Cmd/Ctrl+L for levels.
Push the black and the gray triangles to the right and watch the outline vanish.

Tip 4. Brush rotation
Before I show you the tip, let’s make a brush.
I opened an image of water splashes and made a selection around it using the rectangle marquee tool.

Choose Edit>Define Brush

Create a new layer
Choose white as the foreground color and press the B key to active the brush.
Click/tap once in your document to stamp the splash with the brush. (See the video for this in action step by step)

But now I want to do splashes on both sides. The means the brush needs to be rotated (and here comes the tip… )
Press the arrow keys on the bottom right of your keyboard to rotate the brush. Also hold down Shift to rotate it faster.
Stamp once 90 deg.
Rotate another 180 and stamp again. (I do a few more things in the video that are hard to show in written format).

Drag the layer underneath our model for a cool splashy effect.

Tip 5. Clean up the workspace
When you are making composites, you usually end up with a bunch of windows open and lots of tabs in Photoshop. You need to close them all, except for the one you are working in, where everything is combined.
Right click in the tab and choose Close Others. All the windows close except the one you are working in.

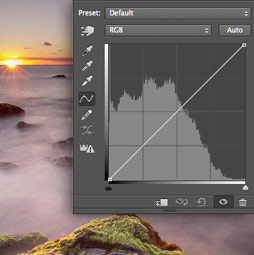
To make things a little easier to see, I added a curves adjustment layer to the background and to the model How to use curves

See how quick and easy it is to make quick composites in Photoshop? I hope these little tips help you speed up your work. Buy the way, if you are making any composites, we would love to see them. Share them on our priviate Facebook page HERE
Great to see you here at the CAFE.
Colin
PHOTOSHOP SUPERGUIDE
- New Feature overview (All the new features in Photoshop 2020)
- Trouble Shooting Photoshop 2020
- Advanced Warp (Warping a dinosaur and shadow)
- New Presets panels, (Using gradients to colorize an image)
- Photoshop on iPad
I enjoy making these for you. As time permits, I’ll keep making one each week. Drop a comment and let me know what you would love to learn in photoshop. Also don’t forget to check out my premium tutorials, it’s what supports this website and enables me to do what I do,

Keep growing with Premium Courses
Photoshop 2026 for Digital Photographers
Learn Photoshop properly, from the basics to pro retouching, step by step.
$129.00 · one-time purchase · instant download

Free for you
The Photoshop Vault
Get my free Layer Blending Modes ebook along with dozens of exclusive Photoshop goodies: actions, brushes, presets and cheat sheets.
You're on the list, so your free goodies are waiting for you in the Vault.
Get Free Photoshop Goodies Open the Vault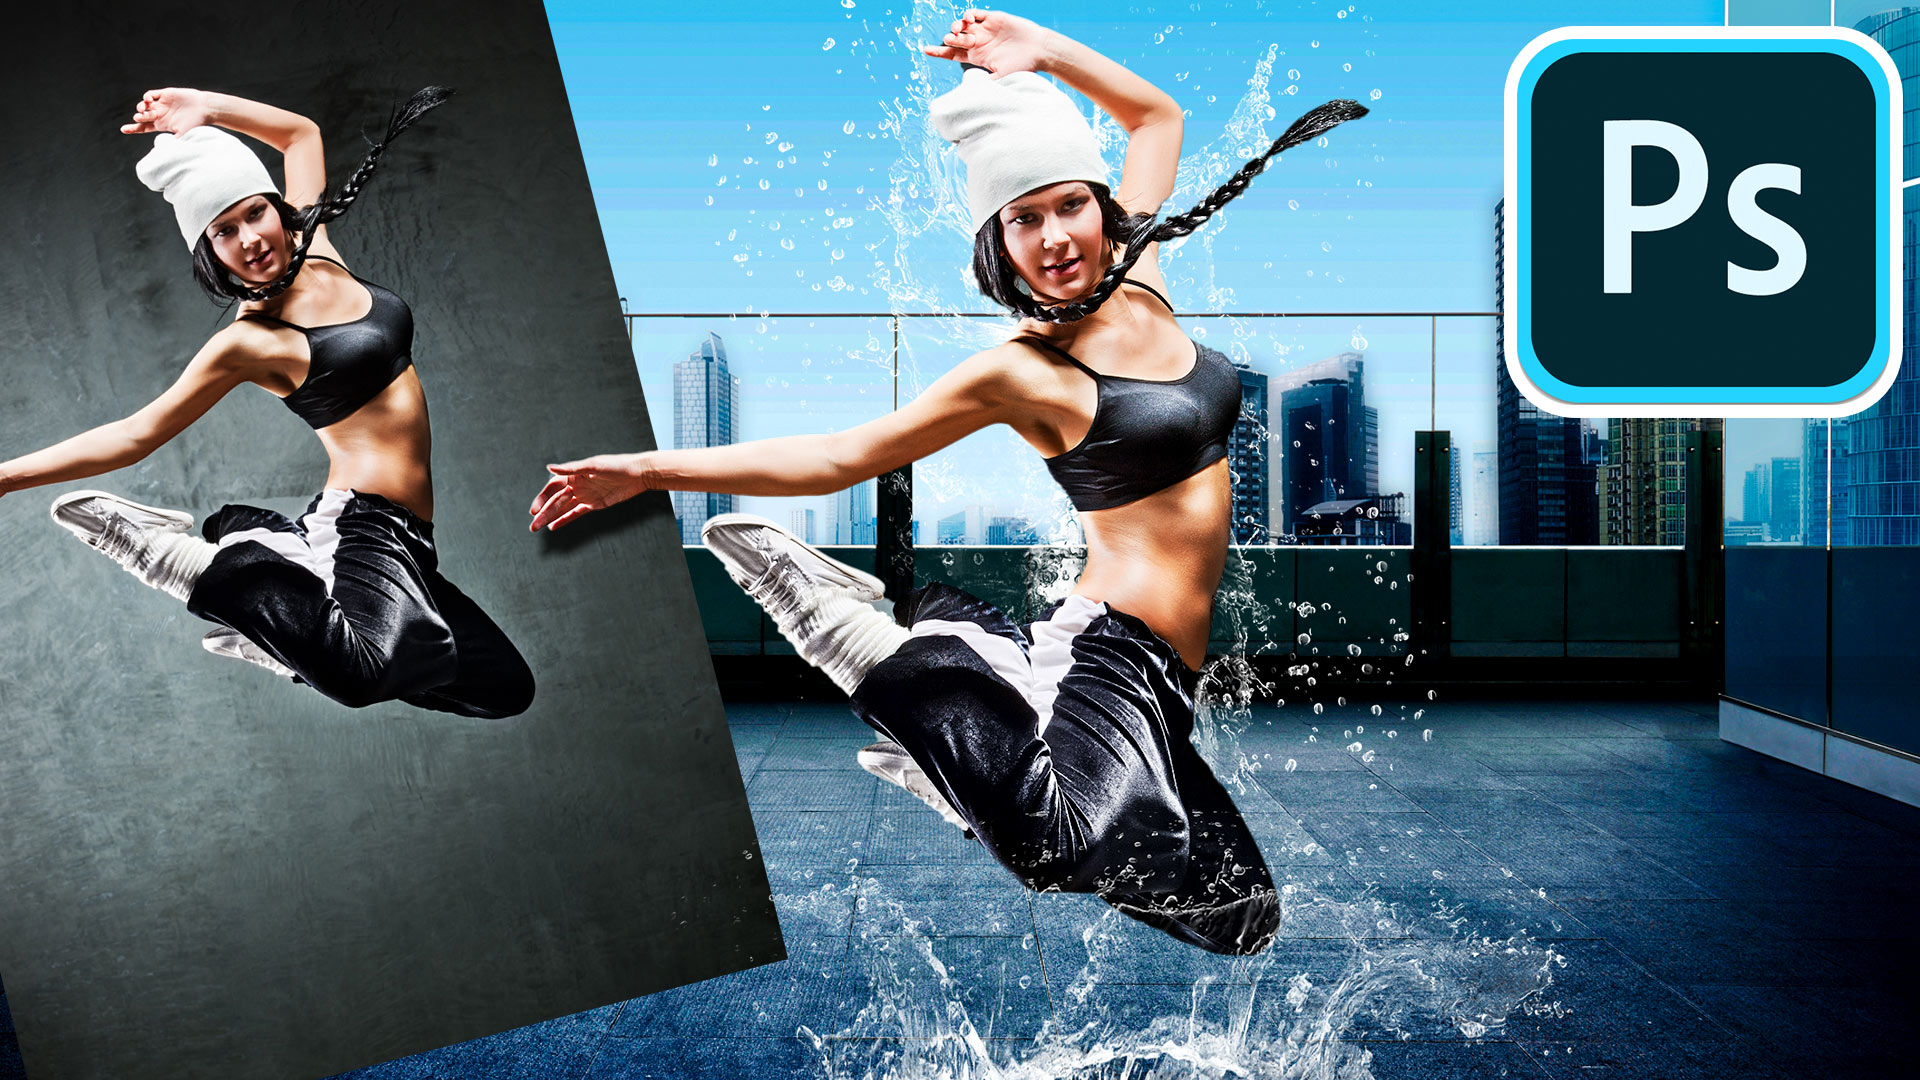

Cut out hair and difficult Images in Photoshop Tutorial
We will use Channels to help mask out a complex objects with clean edges. This technique will also save you a lot... Read tutorial
Cutting out a photo from background & refine edge tutorial
Things have changed when it comes to removing objects from their backgrounds, extracting, masking or whatever you would like to call it.... Read tutorial
Page Peel effect in Photoshop, Surreal Composite, peel back the night
This Photoshop tutorial has it all; How to make a page peel, how to turn day into night, blending layers, how to... Read tutorial
Blending layers in Photoshop, Double Exposure Tutorial
The intro to the hit TV show True Detective has everyone talking about the double exposure effect. I have made this tutorial... Read tutorial
Photoshop CC 2014, best new features for photographers
This tutorial touches on the best new features in the 2014 release of Photoshop CC and how to use them. This includes... Read tutorial









Never understood why anyone would object to the new transform tool. It now works like I always thought it should. Rarely do I want to scale something that is not uniform.
Being able to rotate brushes was an “aha” moment for me. I have an old wacom Bamboo and don’t have one of the fancy pens that rotate. I know getting used to the new free transform take a little time, but to me, it should have been that way originally. I use it more for re-sizing than changing demensions