
5 mind-blowing things you can do with video in Lightroom Classic
A lot of people don’t realize that you can edit video in Lightroom. You can do so much more than that. This Lightroom Classic tutorial shows you lots of things you can do with video in Lightroom. First of all, you can organize all your video and color grade, use presets, trim and edit, even combine videos together and add music.
Here are the things that you will learn in this Lightroom 6/ CC tutorial.
1. How to color grade video in Lightroom
2. Use presets on video in Lightroom
3. How to make photos from video
4. How to trim videos
5. How to combine videos into a video edit in Lightroom.
I really hope you enjoyed this tutorial, here are the promised links and resources
Video in Lightroom – 5 Mind-blowing Things You Can Do
Just recently, I did 7 tips on Lightroom and a lot of people were surprised that you can do Color Grading on video in Lightroom. Well, you can actually do a lot more. You can even do full-fledged video editing. And in this tutorial, I’m going to show you exactly how. (I’m not saying that Lightroom should be used as an alternative to Premiere Pro for editing, because it shouldn’t, you can also do a LOT of things with video in Photoshop)
1. Color Grading Video in Lightroom
The first thing I’m going to show you is how to apply a color grade to video.
With a video clip selected choose the Develop Module and notice what happens “video is not supported in Develop Module.”
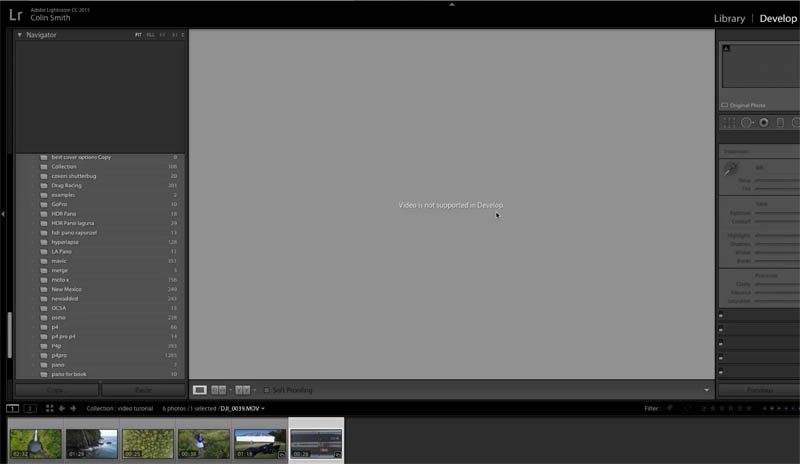
Here’s a workaround:
Go to the Library and choose the video clip.
See this little gear at the bottom? Click to expand and show the options.

Click the Capture Frame button and a photograph will be created right next to the video (If you just imported the video, make sure you are in the “All photos” and not “previous Import” at the top of the library panel or you won’t see the image).

With the photograph selected go to the Develop Module and apply all the adjustments you like. (Certain ones like lens correction and clarity won’t transfer across, but most will).

Go back to the Library panel
Select both the photo and the video, by holding don’t the Cmd/Ctrl key and clicking on the video. Click on Sync Settings and then click Synchronize.
![]()
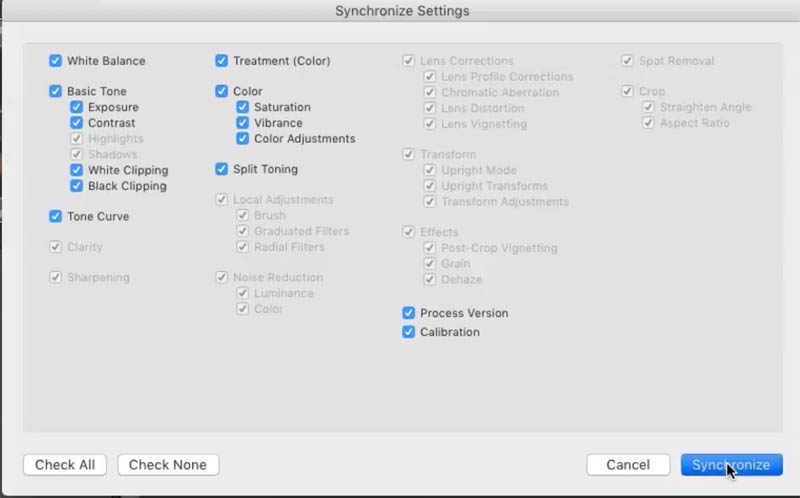
All available settings from the photograph are now going to be copied over to the video.
To recap: We have just used a photo from the video to make adjustments and then passed them back to the video.
2. Applying Presets to Video in Lightroom
All right, let’s move on to the second thing. Creating a cinematic look that we can reuse.
Capture a frame, just like we did in the first tip and go into the Develop Module. Let’s make a classic Cinematic look.
Choose the Split tone panel.
Add a yellow-orange color in the highlights and a teal color in the shadows.
You won’t see anything happen until you turn up the saturation a little bit in both the Shadows and highlights.
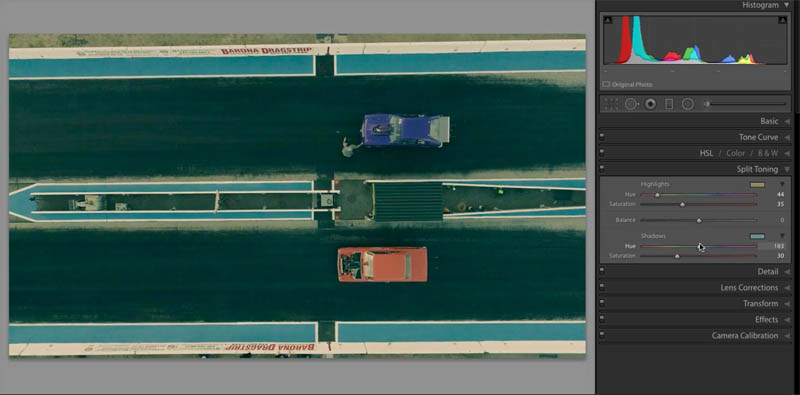
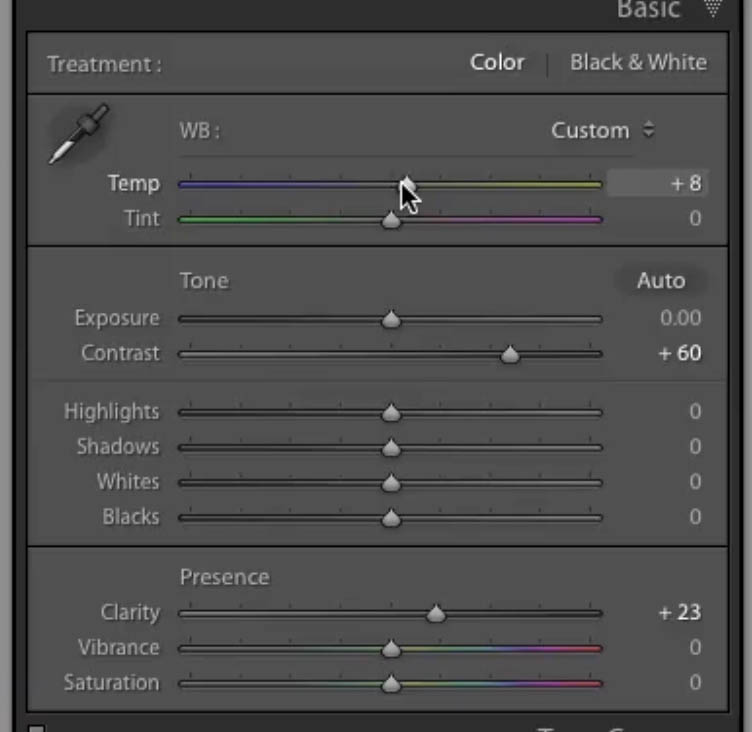
Choose the basic adjustments and crush the blacks a little bit and we’re also going to pull down the Vibrance just a little bit. Give it a touch of clarity and we have a cinematic look.

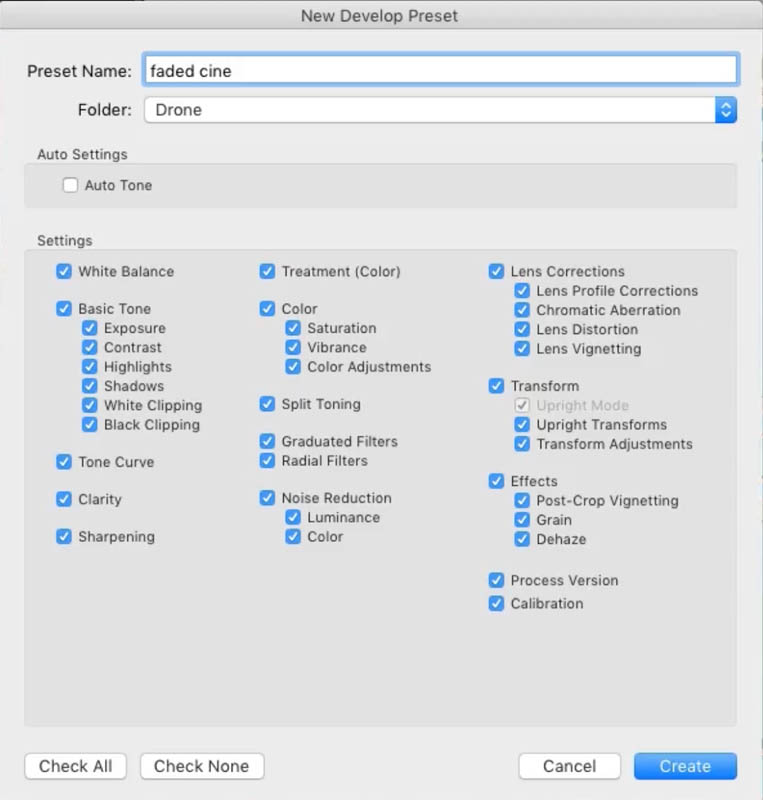
We’re going to save these settings as a preset and then we can use them again.
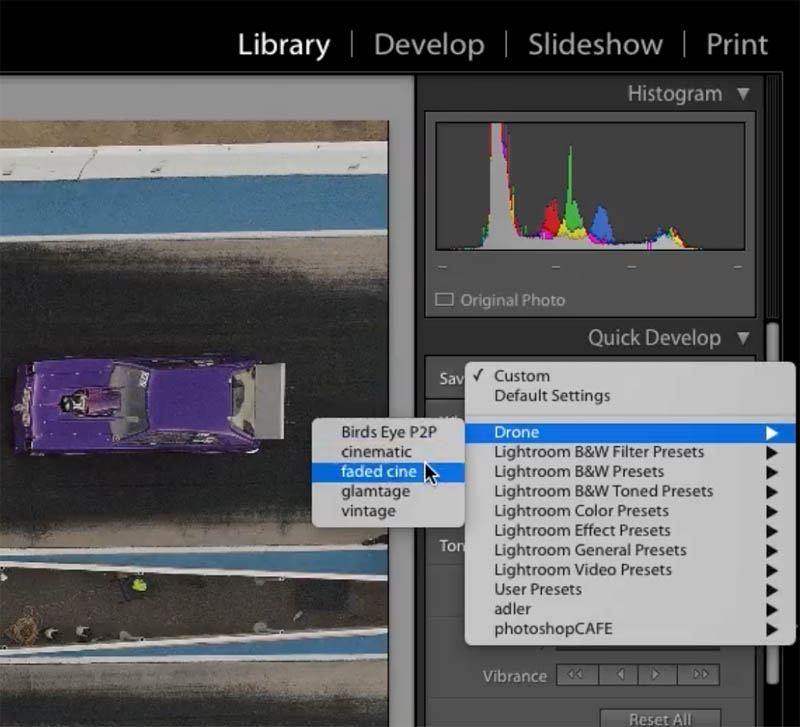
Go over to the Preset folder and click the + (plus) button and choose a folder (create a new one if you want to) name the new preset, here I called it “Faded cine.” Click on Create. Done.

Go back to the Library module and select a video.
Simply go up under the Saved Preset option, choose the folder we want, and click on a preset. It will be applied to the video and we are good to go! That easy.
If we want to remove the preset, right-click and choose Develop Settings>Reset
3. Making a photo from video in Lightroom
We want to grab a still frame from video. The best and easiest way of doing this is actually from Lightroom, because it takes the actual frame from the video and not just a screen capture. (We have already done this in the the previous 2 tips).
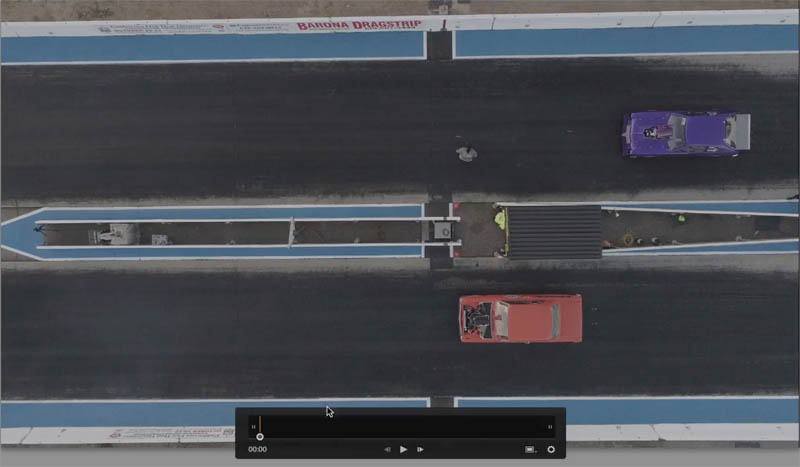
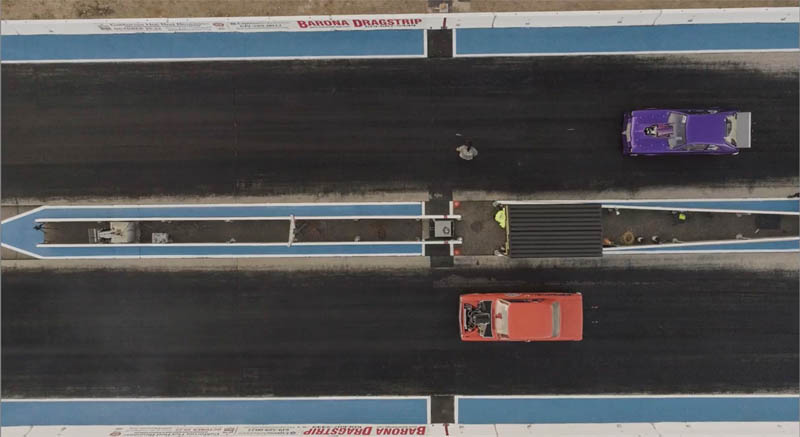
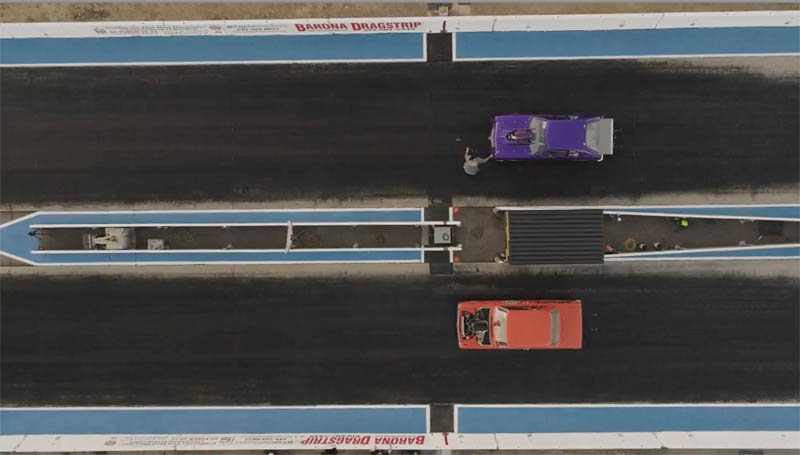
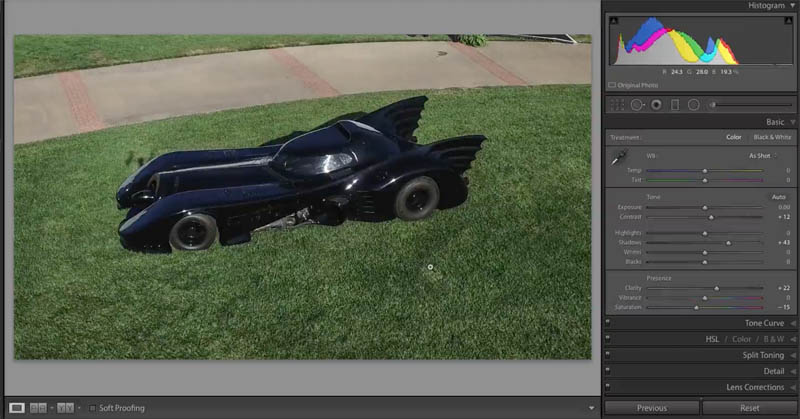
So here we are; yes, this is the Batmobile. It was a wedding that I shot recently and the guy actually owns this now.

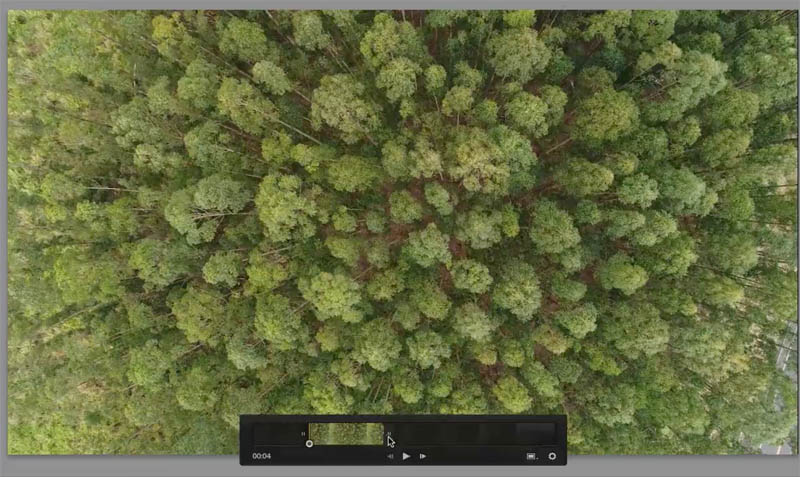
Find the frame we want. We move up to the frame and you can move up to the frame and you can move back and forth frame by frame there to find exactly the frame you want.

Click on here and choose Capture Frame. Now, we’ve actually taken a photograph from that video frame.
Go into our Develop Module is to all the goodness we normally would. We can up the shadows a little bit, give it a punch of clarity; maybe bring that saturation down a little tad there. Give it a boost of contrast and let’s crop it a little bit. So let’s go down there. Boom and voila, now we’ve got a photograph there from the video.
4. Trim video in Lightroom
All right, let’s look at another thing now. This is going to be our fourth thing that we can do here. Okay, this one is really going to blow your mind. What I’m going to do is I’m actually going to edit video. So, we’re going to trim this video and put it together into a video clip directly here within Lightroom.
All right, so maybe if you’re starting to think, “Wow, I don’t even realize you could do these kind of things,” I have a ton more. I have a video course. It’s called Lightroom for Digital Photographers. That’s at PhotoshopCAFE. Check the link at the bottom (also limited time special offer). It’s a 13-hour course. You might want to check that out. It’s full of stuff like this.
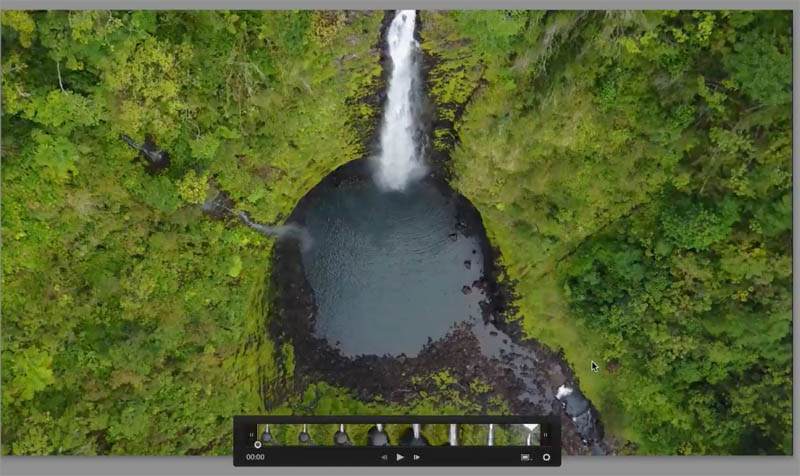
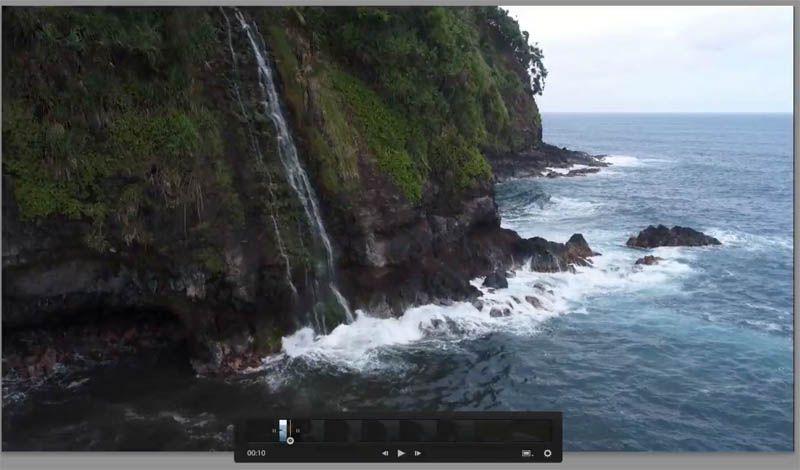
To set the in point, drag the left of the video timeline towards the right.

And then, let’s set the out point. of the video (where it will end), Drag the handle on the right towards the left.
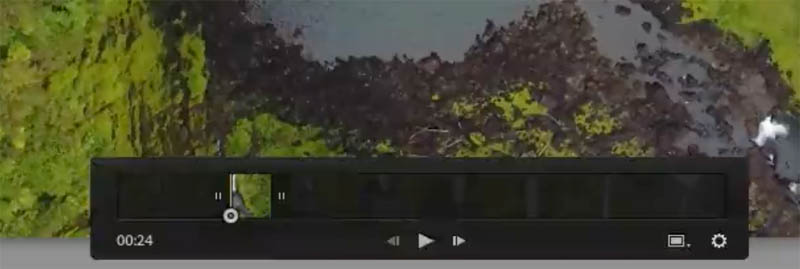
The thumbnail will reflect the new duration (11 seconds). Don’t worry, you can bring back the video any time by sliding the handles back, nothing is lost or deleted, its just hidden.
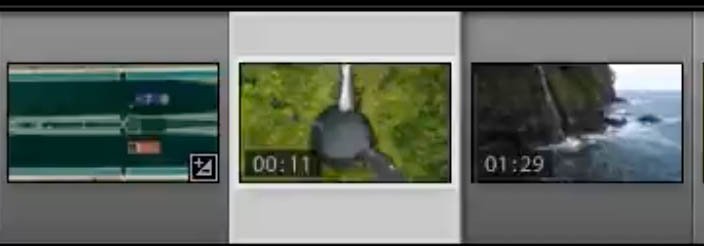
Here, I am trimming 2 more clips.
And now we’ve got those three clips right there.
5. Combining Videos in Lightroom
Now, we want to turn these into an actual video, so we’re going to put these in sequence right here all within Lightroom. It’s pretty amazing.
Select the videos that you want to assemble. Make sure you trim them like we did in the previous tip.

Go into the Slide Show module. (You guessed it, Slideshows support video)
In the bottom Instead of “All Film Strip”, we’re going to choose the “selected photos” and now, it’s only going to use the selected videos.
On the left top window you will see slide show presets. So you might see something like this…

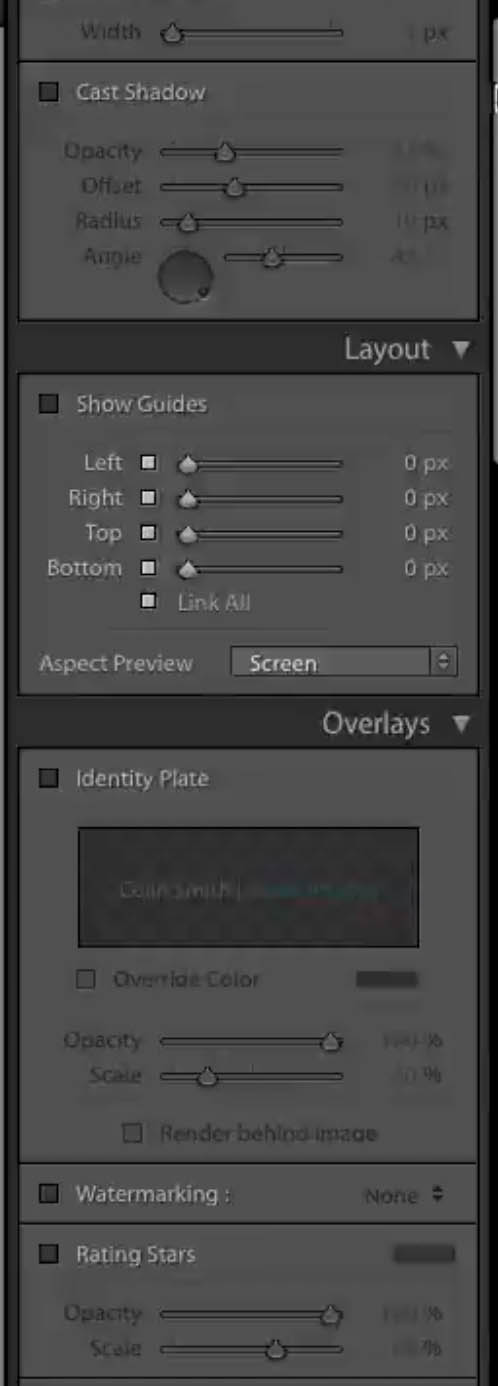
Choose Crop to Fill under the template browser,


and turn off any of the overlays. So, if you have any text overlays or anything like that, we’re going to turn those off.
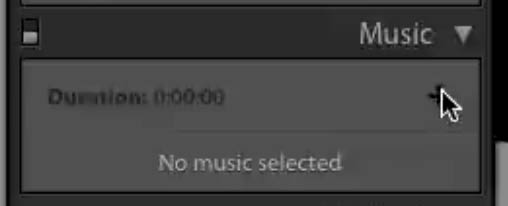
If you want to add music, we can actually do that. We can go in under music, click the + (plus) button and navigate to a song on your computer.
To test the slideshow, hit Preview. Now, we can watch as we play the slide show.
![]()

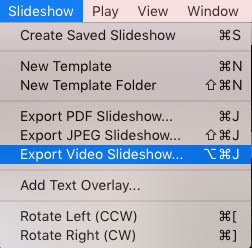
When you’re done you need to export it as a video. You choose Slide Show>Export Video slide show (choose the size) and you can export it as a video right there. And then, when you do that, you’ve got a video!
I hope you enjoyed this and find it useful!
Add a comment. Let’s get a discussion going and until next time, I’ll see you at the Cafe.
See you next week!
Colin
PS Don’t forget to follow us on Social Media for more tips.. (I've been posting some fun Instagram and Facebook Stories lately)
You can get my free Layer Blending modes ebook along with dozens of exclusive Photoshop Goodies here


19 thoughts on “5 mind-blowing things you can do with video in Lightroom Classic”
Leave a Reply

This Photoshop tutorial shows you how to outline type and make it vector in Photoshop. If you want to preserve...

Help for Photoshop 2024 update, is generative fill a paid option? troubleshooting your Photoshop update Colin Smith answers your questions

Lightroom Classic how to load color profiles into Lightroom and Camera RAW. Get a free Lightroom Profile Pack.


Thank you, this was great info.!
Love it, much faster than using Photoshop and Camera Raw. However, does not appear to export 4K edited.
No, it doesn’t do 4k
Hi, it appears that most sync settings are grayed out when trying to sync, as if you could only paste color grading settings but not clarity or sharpen adjustments?
This is correct, only color and tone settings can be applied to video
does the new version of lightroom cc still allow these edits? i can’t seem to go into develop mode or capture a screen.
Yes, Lightroom Classic is the one you want to be using
Yes, But how can I get Lightroom Classic to actually show my imported videos up the right way??? They all play upside down (even though every other app plays them the right way up) and neither Adobe or any forum has the solution to this obvious bug!!! If you can solve this you will be a bona fide genius!
I think the bracket key rotates
I have been trying this and was doing great with caturing the pics,but somehow when I am trying to play the video in slideshow it will only show the photos form the video,or won’t play the music. Any help would be appreciated.
Thank you, Colin! This tutorial was excellent. I especially appreciate knowing how to trim and join video clips and export them.
The first tip is brilliant. Just got back from Africa with a bunch of not-so-perfect videos, most of which just need a touch of Develop. Thanks, Colin!
Don’t forget to share your images with the community on our facebook group https://www.facebook.com/groups/53878338135/
In LR6 I have applied some changes (basic tone, white balance, split tone, b&w) to a video that show when I play it in the library module, but they do not appear on the exported video. Is there something I have missed?
Don’t export the original video
can you slow down videos?
But not possible to used Dehaze and Shadow command…
Hi I’m not sure how to get my downloaded presets to Lightroom. Can you please help me
Look for my tutorial on Lightroom presets. You can see it under free tutorials, Lightroom