
How to turn a signature into a watermark in Photoshop tutorial
This Photoshop tutorial shows you all the steps to make a watermark from a signature. How to make the signature and prepare it in Photoshop so you can add your personal signature to your images. You will also learn how to make it reusable. (Don’t use your legal signature, create an “artistic” signature for this).
How to turn a signature into a watermark in Photoshop tutorial
If you want to check, here’s another tutorial where I described how to make a watermark out of your logo.
STEP 1
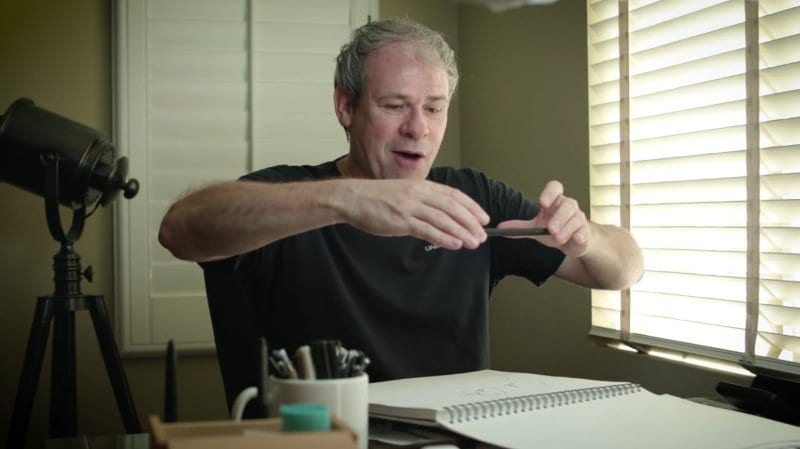
Grab a white sheet of paper and a pencil. I’m using paper with a coarse tooth and a soft 4B pencil to get some nice texture,
Draw your signature on the paper and make sure it’s nice and big.

STEP 2
Take a photograph of your signature using your mobile device. (or scan it if you have a scanner)
Let you phone be exactly above it, not at an angle.
Once the signature fits your screen nicely and looks great, snap the photo.
STEP 3
Send a full resolution photo of your signature to your email.
Go into your email box and download the file.
Open it with Photoshop.

STEP 4: Making a brush
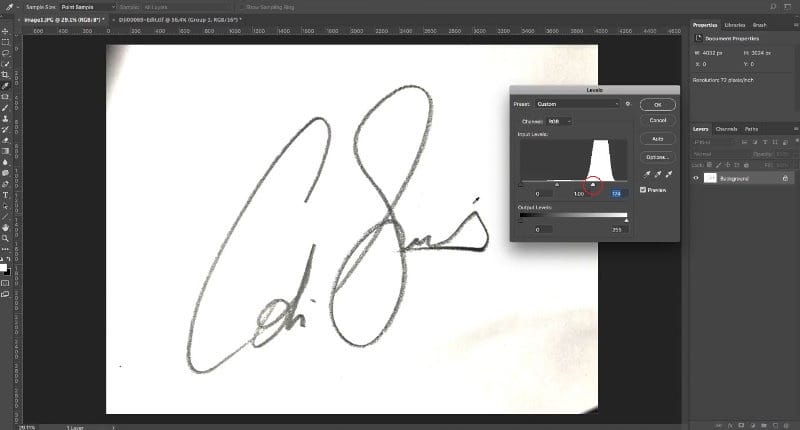
First we need to clean up the white on the paper.
Press Ctrl L or Command L on Mac. This will show you Levels.

Drag the little white triangle on the right-hand side. This is going to clean up the white on the paper.
Do it until all the detail is gone from the paper.
You may need to darken the signature a bit.
Grab the black triangle on the left-hand side and pull that.
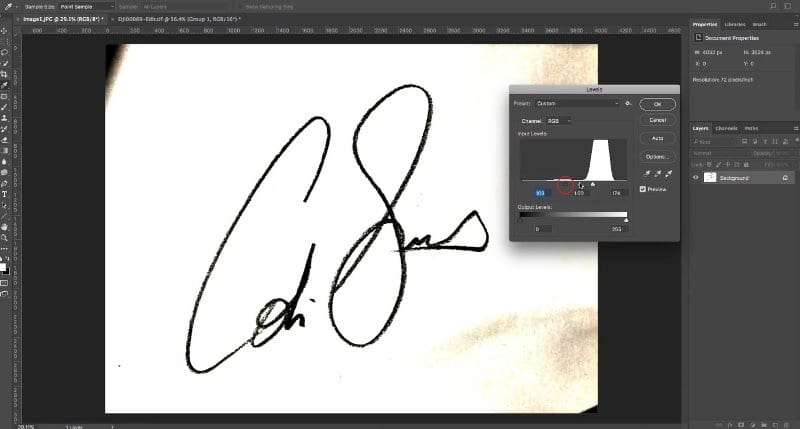
Use the slider in the middle to remove the yellow stuff that may be present.

When everything looks good, click OK.
STEP 5
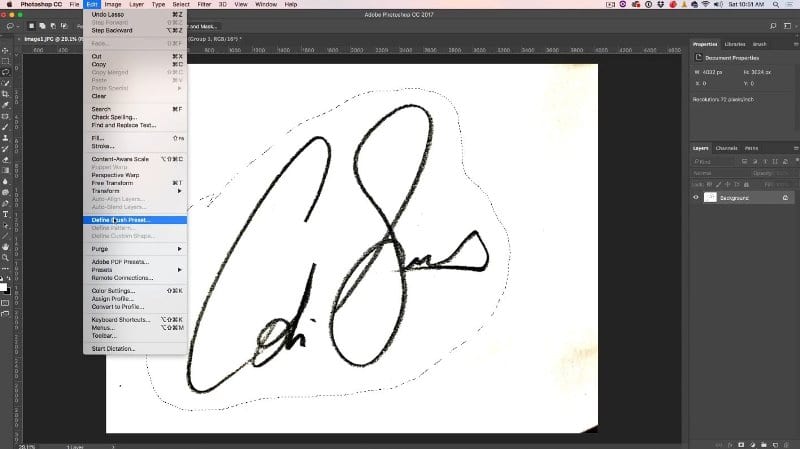
Use Lasso Tool to make a selection around the signature. ![]()
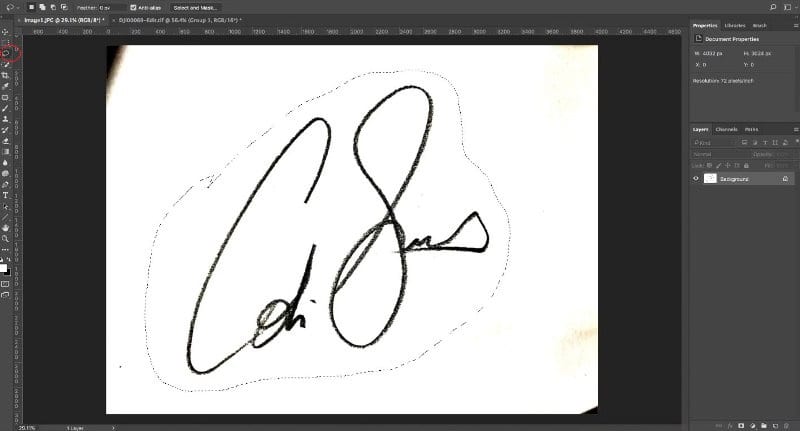
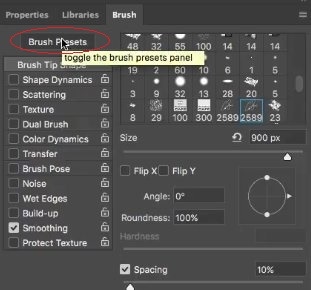
We’re now going to create the Preset.
Go to Edit>Define Brush Preset.
We can set the name for our brush, and also we are able to see the size of the brush in pixels.

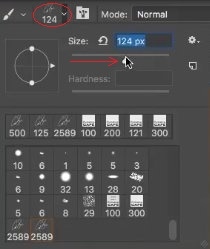
If you want to change the size of the brush, you can go to Image>Size and set the size you need. I chose to keep the full size 2589 px.

When your Brush is all set up, click OK.
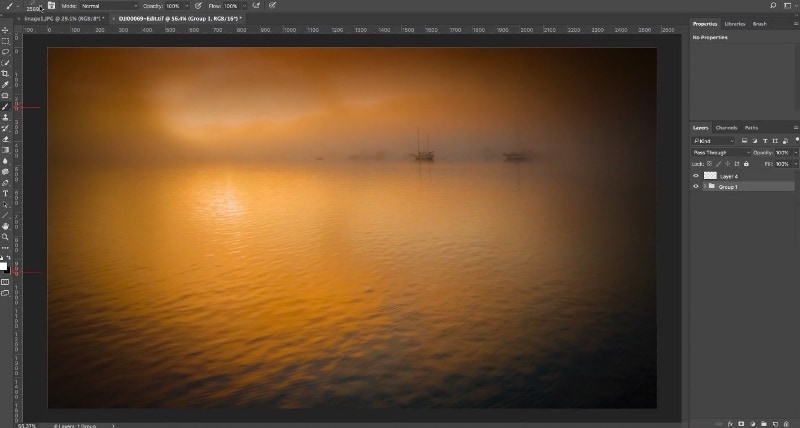
STEP 6 Using the Photoshop signature brush
Let’s use this photograph which I snapped from my drone.
Get the Brush. Hit the B or grab it from the toolbar .![]()
Select the color you want for your signature watermark by setting it as a foreground color.
I’m using white.![]()
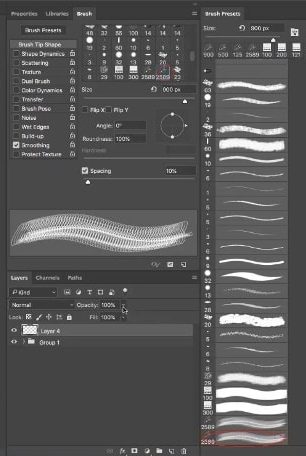
Pick your new brush.

Select the layer.
![]()
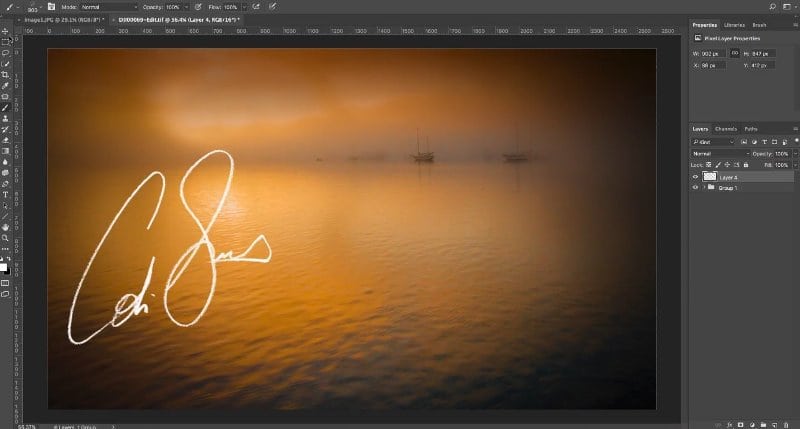
Move your cursor over the image to stamp the signature
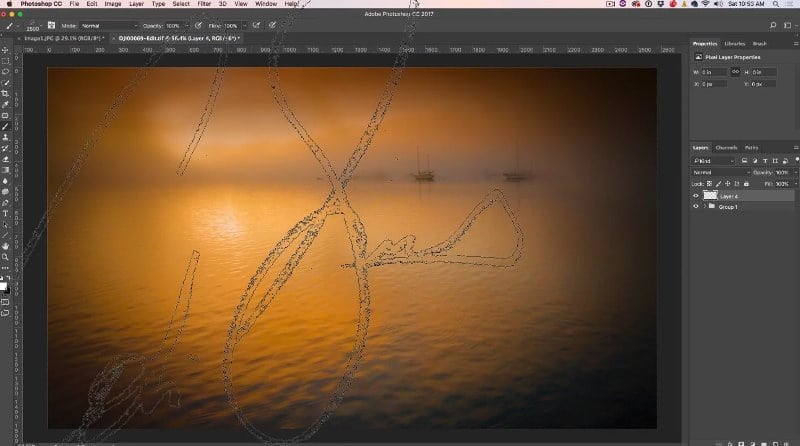
Adjust the size and the texture.
Use the left bracket key to make it smaller.
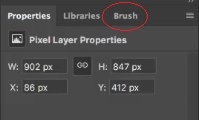
You can also set the size within your brush properties

Click once to apply it.
Here’s the signature logo on our photo.
Let’s see what our signature logo looks like up close.

STEP 8. Making a reusable Photoshop brush – Creative Cloud Libraries
Save the brush to your CC creative cloud library.
Go to the Brush panel
Press B to make the Brushes active.
Choose Brush Preset.
Open your Library.
Click on your brush and drag it into the Library.
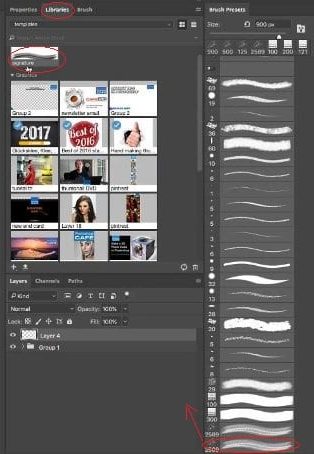
You now have your signature brush available and ready for you to use whenever you need it.Do you watermark your photos or do you not watermark your photos? I’d love to know what you think about the idea. Add a comment. Let’s get a discussion going.
And until next time, I’ll see you at the Cafe.
Colin
PS Don’t forget to follow us on Social Media for more tips.. (I've been posting some fun Instagram and Facebook Stories lately)
You can get my free Layer Blending modes ebook along with dozens of exclusive Photoshop Goodies here


2 thoughts on “How to turn a signature into a watermark in Photoshop tutorial”
Leave a Reply

You will learn how to make a 3D Photo cube. Attach your photos to the faces of a cube and...
Easily remove things from photos with advanced content aware fill options in Photoshop. When Content Aware Fill doesn't work as...
How to add a rim light to a photo in Photoshop. This Photoshop tutorial shows how to make a backlight...


Thanks, best tutorial yet.
easy
Easy to understand thank you for your help.