
Selectively remove shadows in a photo with reverse dodge and burn in Photoshop
Show detail in shadows and highlights selectively in Photoshop with Reverse Dodge and Burn tutorial.
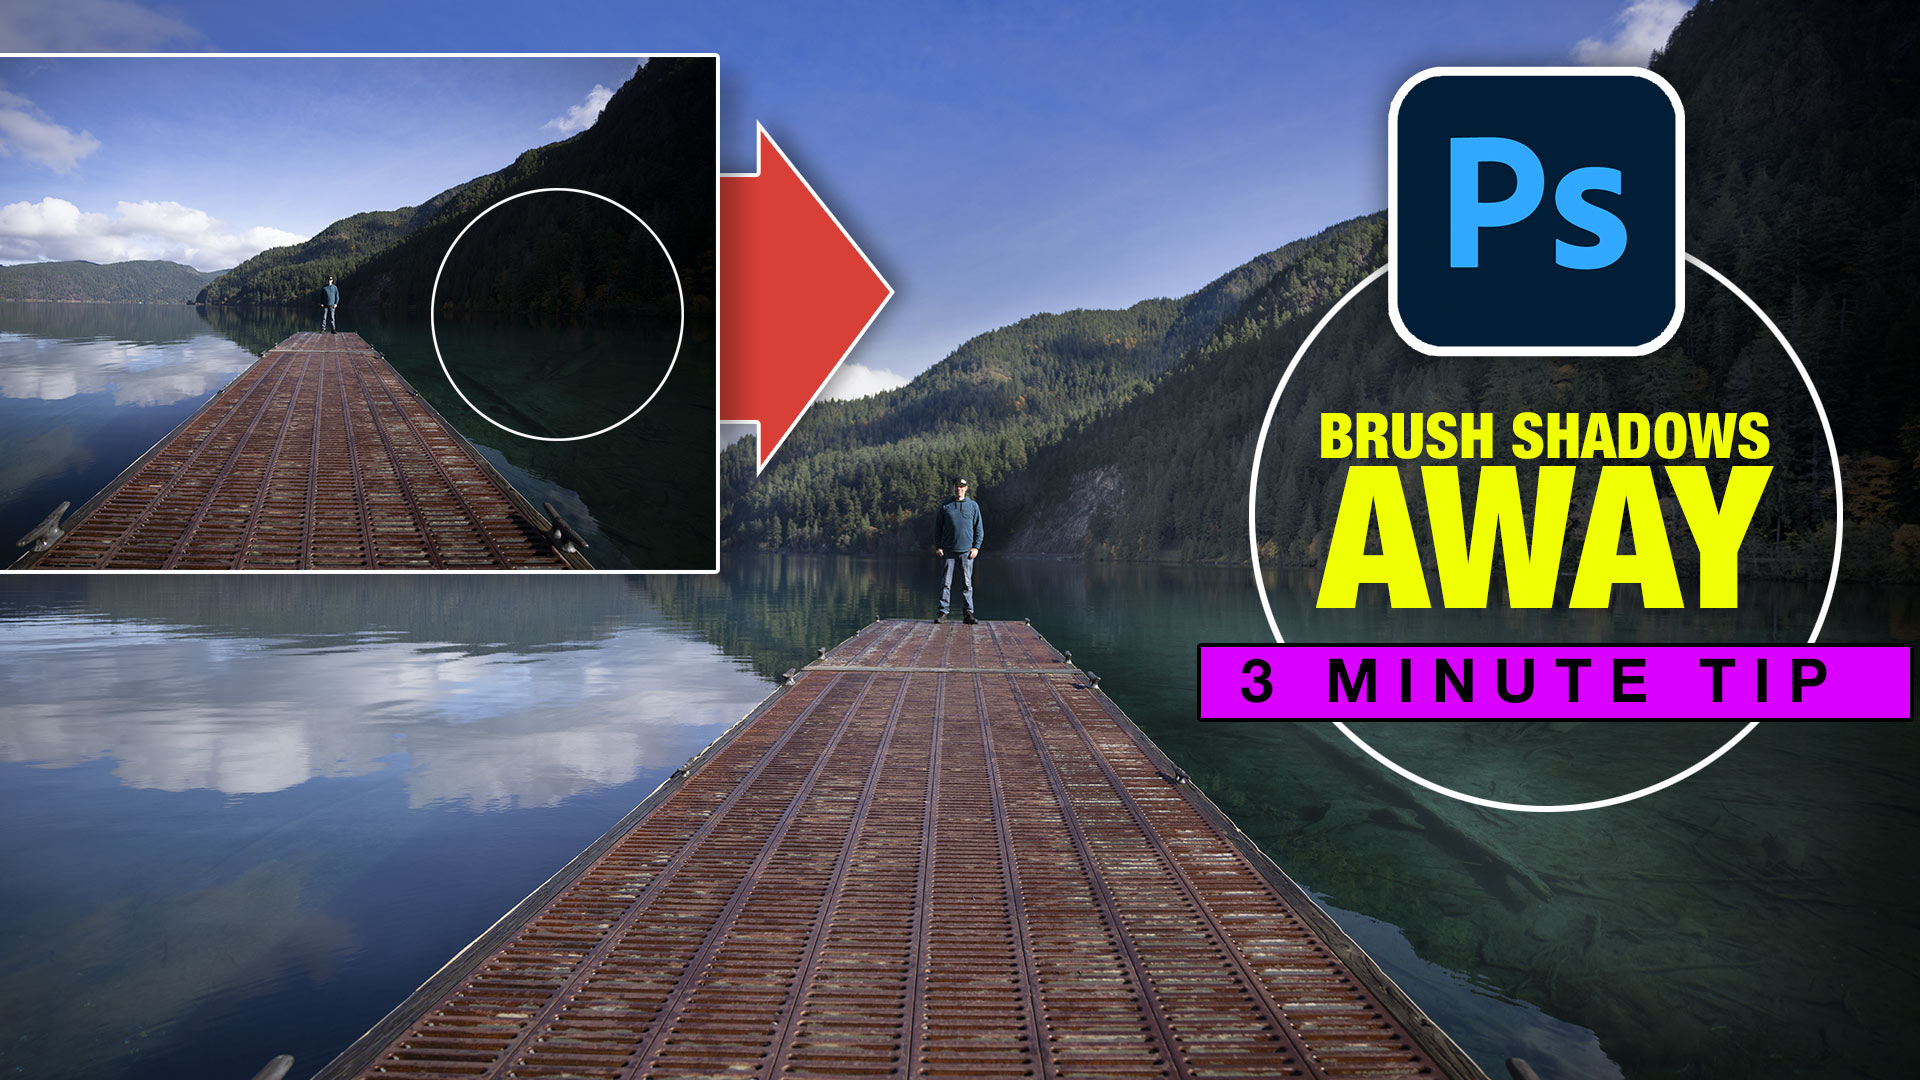
This Photoshop tutorial will show you how to remove the shadows exactly where you need them and recover blown out details in the highlights. I call the process “Reverse” Dodge and Burn. Normally you dodge and burn to add highlights and shadows, in this case, we are recovering details.Sometimes a photo has areas where the shadows are too dark and the highlights are too bright. When you shoot in the middle of the day, this is common. Either the exposure wasn’t set right, or the scene has more dynamic range than the camera can handle.
Here are the written steps. Watch the 3 minute video for more details than in these steps.

We will easily fix these issues in this tutorial. See the right side, where you can see the details in the water, and the hills.

Step 1. Prepare the base tonality
The first step is to make broad adjustments across the photo. We will target those in step 2.
Right click on the layer name and choose, Convert To Smart Object. You should see the Smart Object badge on the lower right of the layer thumbnail.

Choose Image>Adjustments>Shadow Highlight
Click Show more options, for all the settings

See the dark areas on the right? These are the shadows we need to reduce in the photo, to make it look better.

As we increase the amount, you will see those shadow areas become lighter.
Shadows, targets just the shadows. (These are demonstrated in the video)
- Amount: How bright to make shadows
- Tone: How much of the image does it affect? As you move to the right, it will include midtones
- Radius: Tone mapping, make sure there are no halos
Set the sliders till the shadows are visible. (Don’t worry about the image looking over-processed at this stage, we just want to reveal details).

Do the same to paint back the details in the highlights.
Click ok to apply, we have a base.

Part 2. Painting to remove shadows and highlights.
Now we have all the details showing in the shadows, we will paint them just where we need them. We will hide the effect, and then selectively paint it back, just where we need it.
Click on the Layer Mask

Press Ctrl/Cmd+I or click Invert in the properties panel.
The mask is now black, and the effects of the Smart Filter (Shadows/Highlights) are hidden.

Choose the brush tool. Use a soft edged brush.
Make the foreground color white. (D key resets)

Change the flow to a low number such as 8 for the top tool bar.
A low flow will enable us to paint the shadows at different intensities, this is the magic of this technique, it’s exactly what we need, where we need it.

Paint on the image and recover the shadows and highlights in the areas that need it. Because we are working with a low brush flow (8%) we can build up the details and blend in our adjustments. It’s like dodging and burning, but in reverse (see why I call it reverse Dodge and Burn?)

See the mask, so see where I painted in the adjustment.

And the result, a beautiful, natural looking photo. (Thats me in there btw).
I hope you enjoyed this tutorial. Look for a new one here each week.
I’ve got a whole bag of goodies you can have for free at the Vault. Grab free goodies here, including Photoshop brushes, actions, presets, sky images, ebooks and a whole bunch more.

Consider Consider joining our mailing list so you don’t miss any of my tutorials.
For more, follow us on Social Media
PS Don’t forget to follow us on Social Media for more tips.. (I've been posting some fun Instagram and Facebook Stories lately)
You can get my free Layer Blending modes ebook along with dozens of exclusive Photoshop Goodies here
This tutorial will show you how to hold your images together with realistic looking screws.
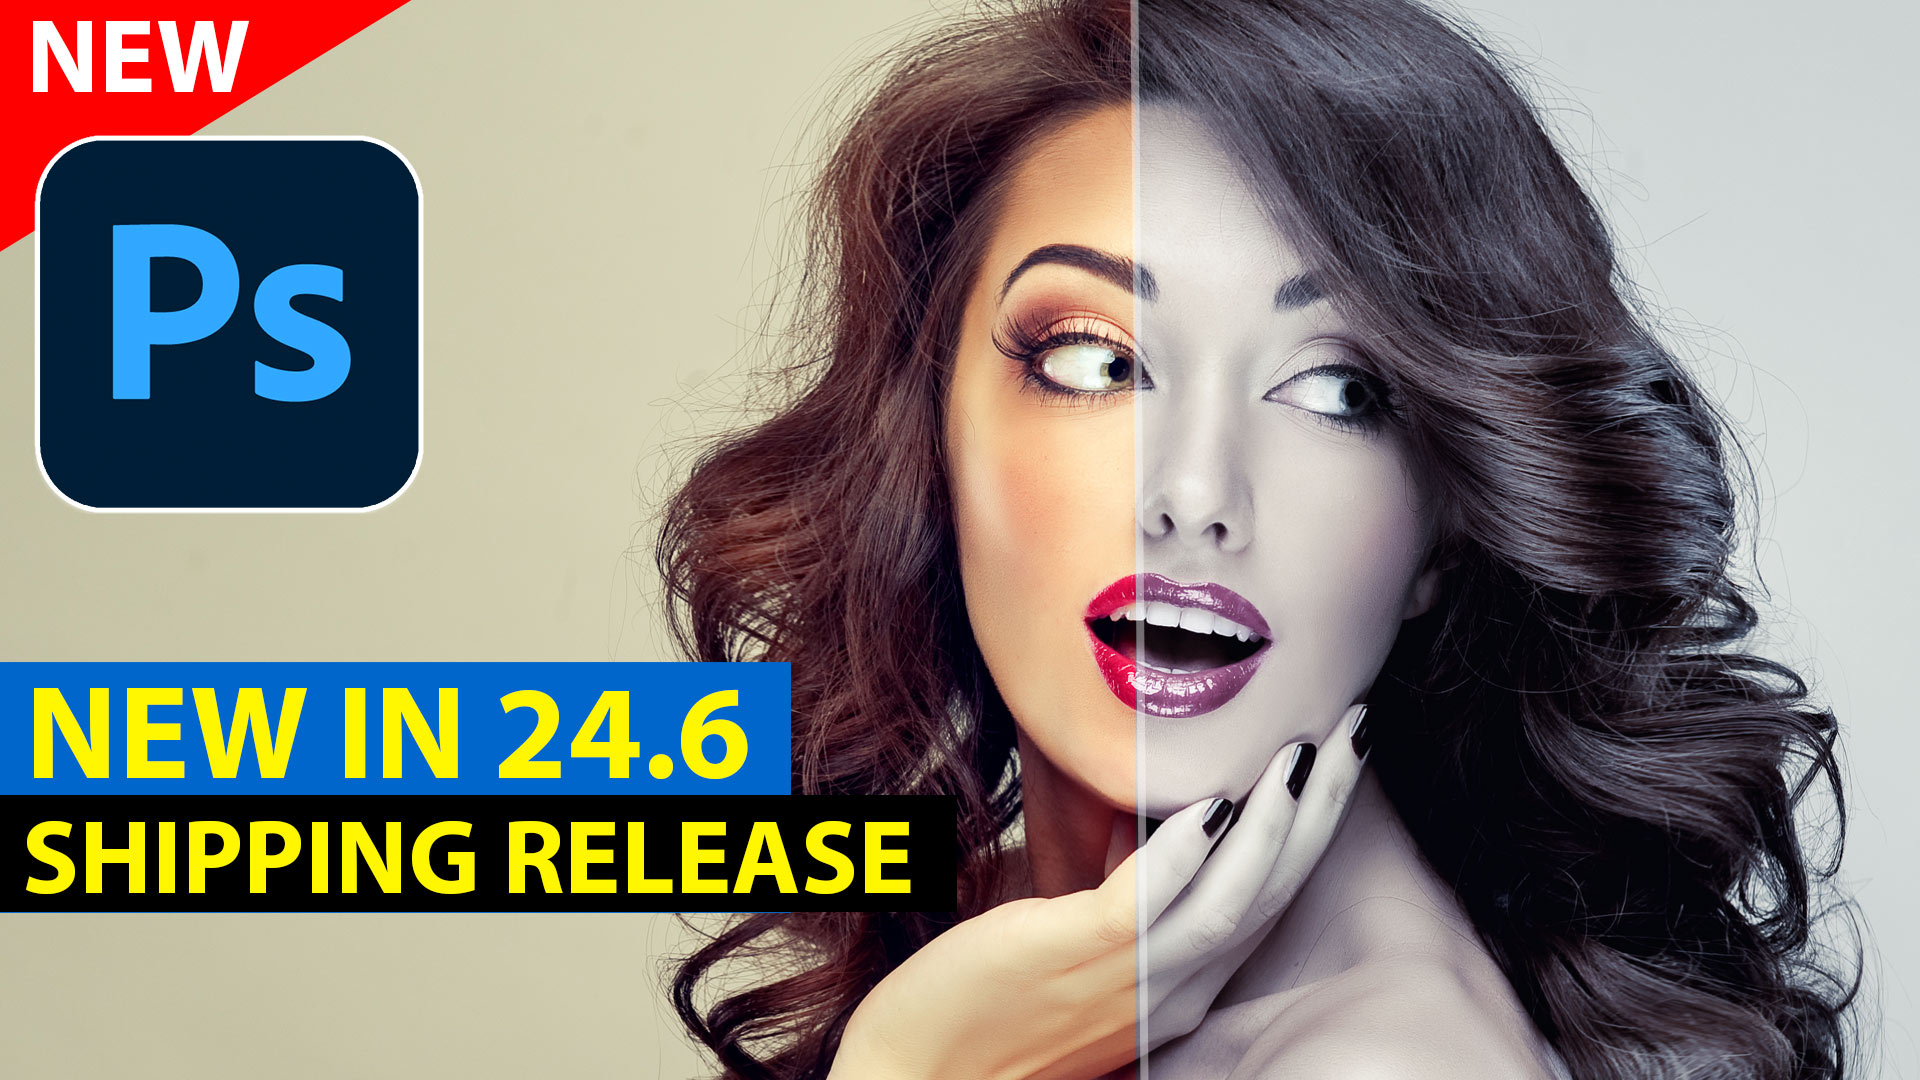
How to use the new Features in Photoshop 2023 June v 24.6 release.

How to get the most from new Photoshop Generative Expand, easier and quicker to expand a photo, change its size...


