
How to retouch a face in Lightroom or Camera Raw
How to Retouch portraits in Lightroom and Camera RAW. Complete retouching in lightroom.
With the latest drop of Lightroom and the new texture slider, we have the toolset we need to completely retouch a person in Lightroom (or Camera RAW). Camera RAW shares the adjustment toolset with Lightroom Classic. This isn’t to say, we shouldn’t use Photoshop still, but for people who like to stay in Lightroom, or if you are looking for a quick result, this tutorial will help. I know, some people used to soften skin using negative clarity, but it was a setting I never used because I hated the way it looked. Texture changes all that, because it looks good at negative values.
In this Lightroom retouching tutorial we are going to:
- Whiten Teeth
- Enhance Eyes
- Remove Blemishes
- Soften Skin
- Make Hair Silky
Start by watching the video, because there are tips in there that aren’t included in these written instructions. These are meant to get you the result as quickly as possible, as a quick and easy reference. (Also good for work, where the sound of a video can be distracting or hard to scan through).
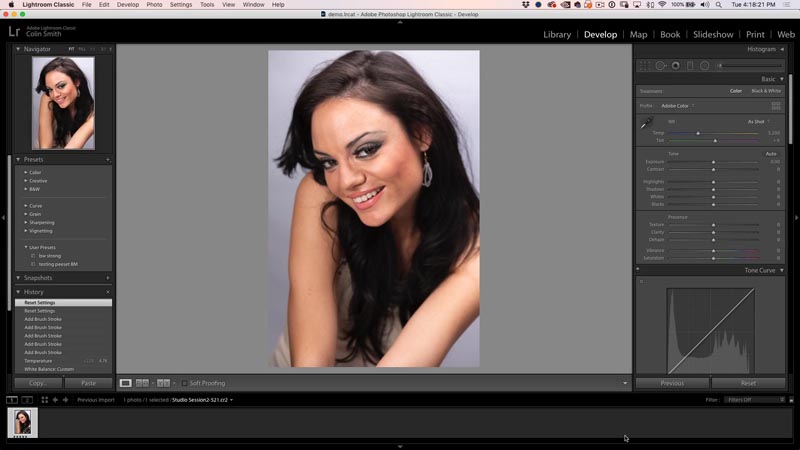
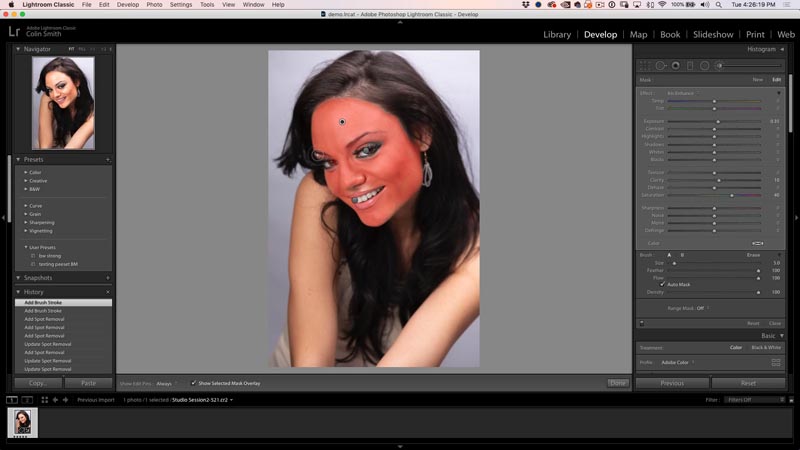
Begin with a photo in Lightroom or Camera RAW. This is model, Lina that I photographed with a Canon 5D.
Step 1
Choose the develop module.
Step 2. Whitening teeth
Choose the Adjustment Brush.

Click at the very top of the adjustment panel, where you will see the presets.
Choose the teeth whitening preset (if you are on ACR, skip to the next step, as these presets aren’t in Camera Raw).
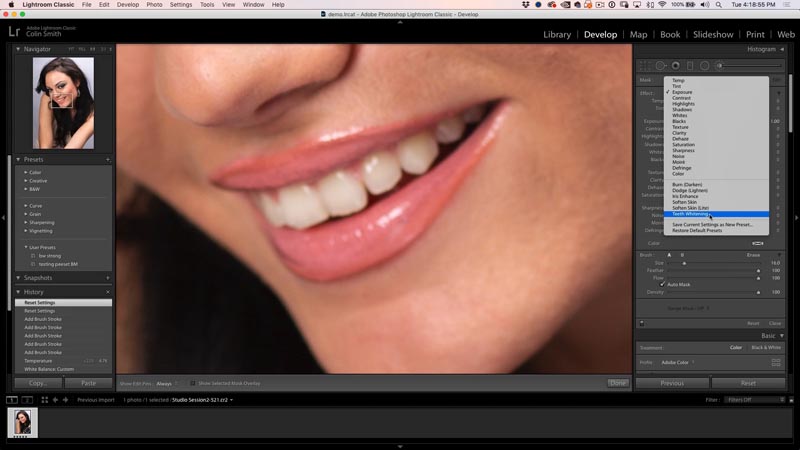
Choose these settings if you don’t have the preset.
- Exposure = .4
- Saturation = -60
Turn on Auto mask, so you don’t paint outside the teeth and desaturate the gums.

Paint on the teeth to make them bright and white, but natural looking.
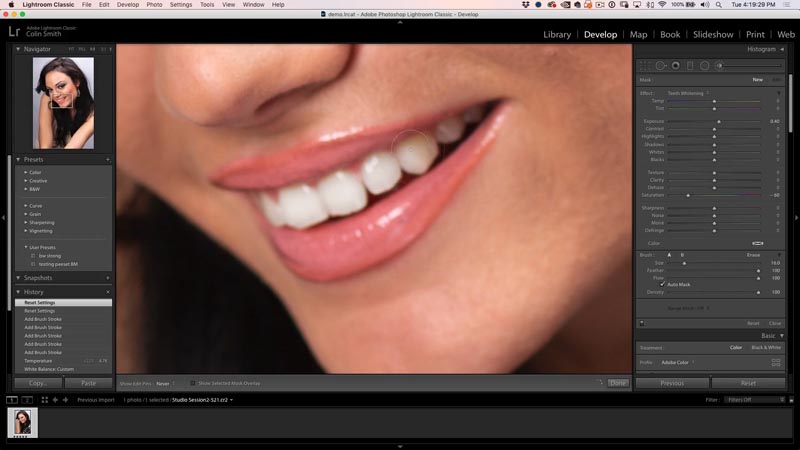
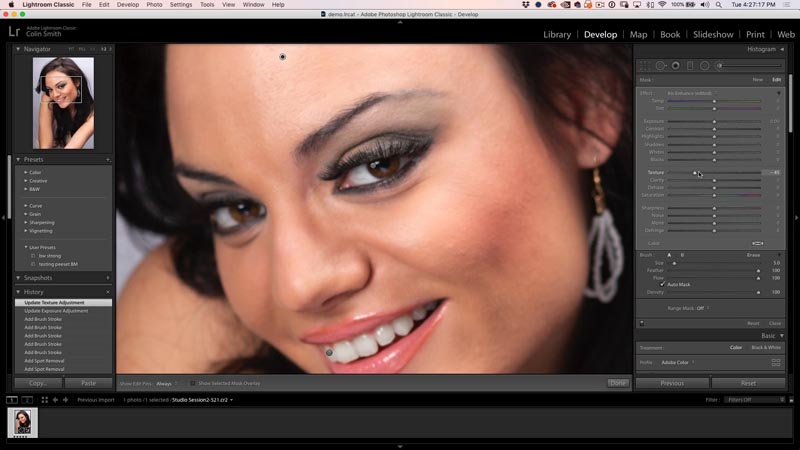
Step 3: retouching the eyes
We want to remove the red veins and also brighten up the iris.
With the adjustment brush, reset everything, except for saturation. Reduce that to -60.
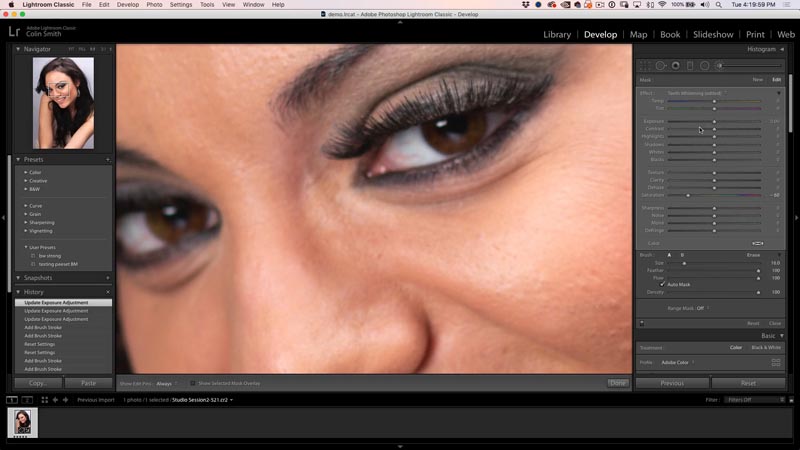
Carefully paint over the veins and red areas.

Brightening up the irises.
Click on the adjustment brush again to start a new brush.
Choose iris enhance in the presets, or use the following settings:
- Exposure .35
- Clarity 10
- Saturation 40
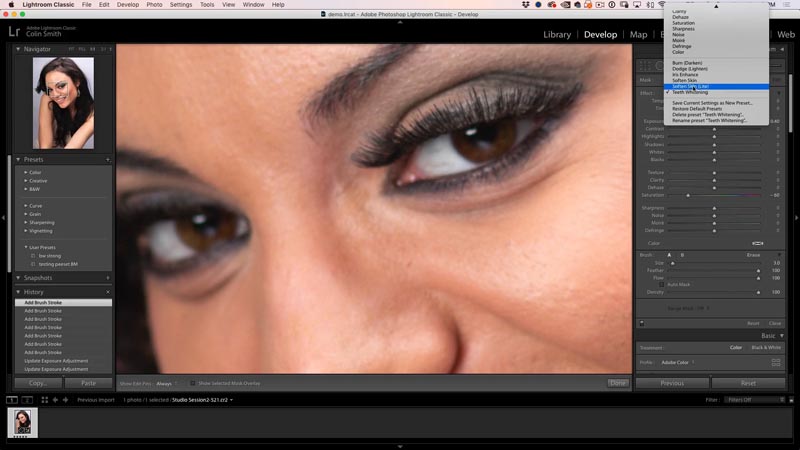
Using a small brush with Auto Mask off, paint in the iris of each eye to add some life

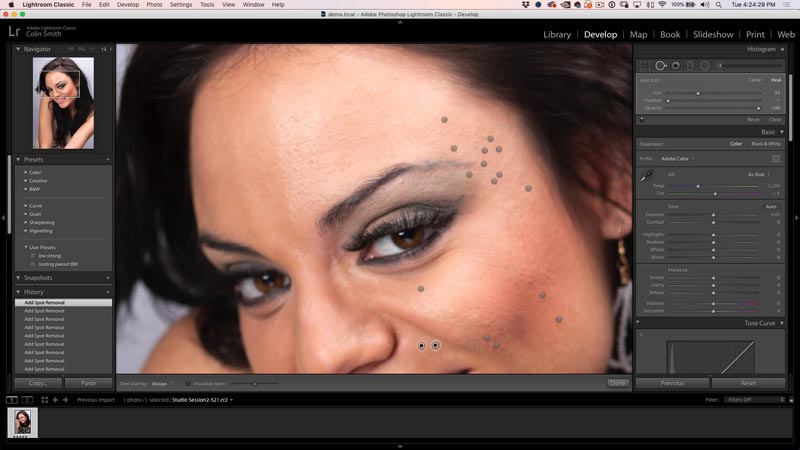
Step 4. Removing blemishes on the skin
This next step addresses blemishes such as pimples.
Choose the spot tool and adjust the brush size until its about double the size of the blemish.
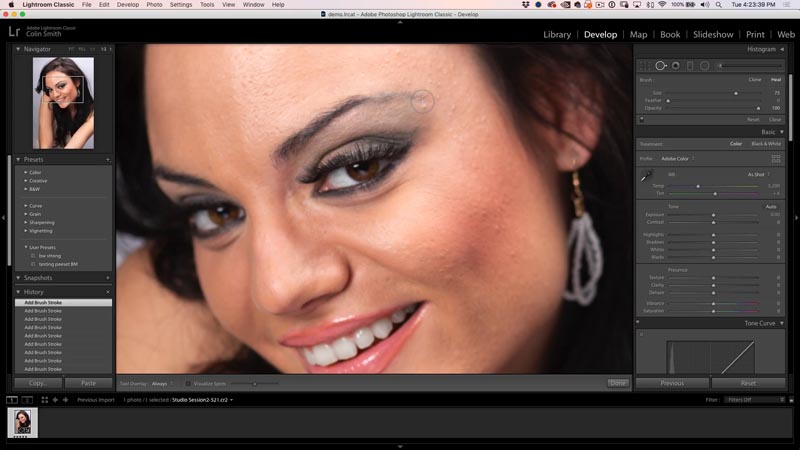
Click just once to add the spot. Lightroom will sample the surrounding area and fix the blemish. If you don’t like the result, press the forward slash key / and Lightroom will sample from a different area.
Repeat this for each of the blemishes.
NOTE: If you want to fix individual wrinkles, drag with the spot tool across the wrinkle and lower the density.
Step 5, smoothen the skin.
Now we want to smoothen out the skin texture to make it silky smooth.
The first thing is to mask the face. Choose the adjustment brush.
Turn on “Show Selected Mask Overlay” at the bottom of the main window.
Using Auto Mask, paint over the face, being careful to avoid the eyes and mouth.
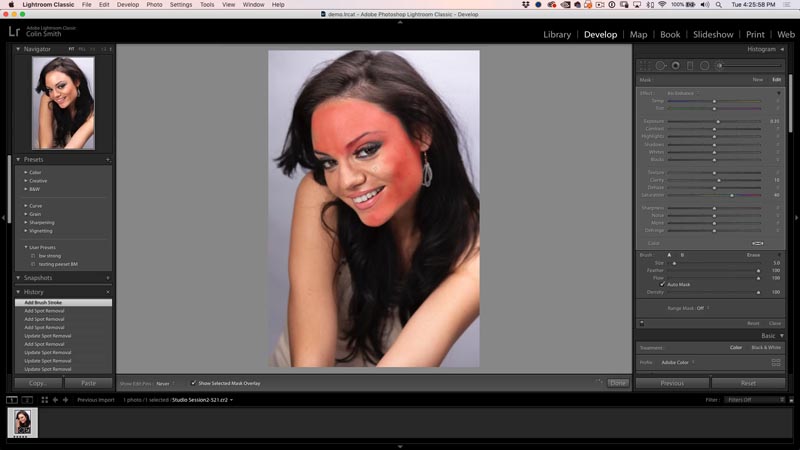
You should have the entire face selected now.
Reset all the settings on the adjustment brush by holding down Alt/Option and clicking on “effect” at the top of the adjustments.
Hide the mask overlay.

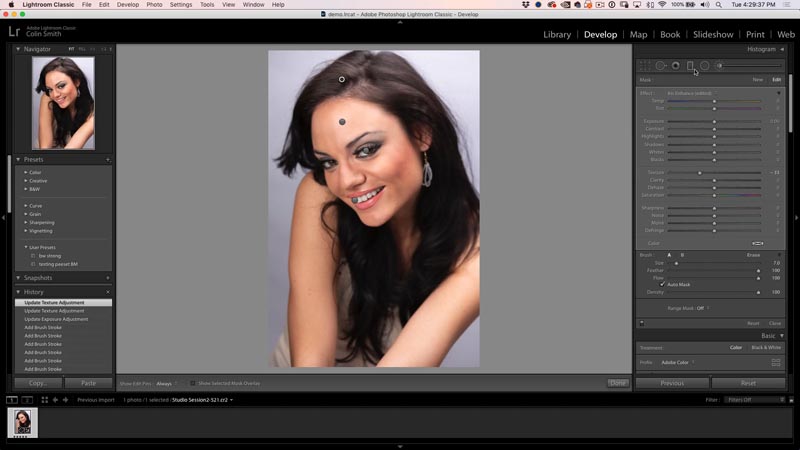
Now, adjust the texture to the left until it looks nice and smooth, but not so far that it looks unnatural.
Step 6. Adding shine to the hair.
Do you want silky smooth hair? A lot of people forget about this step.
Click on the adjustment brush to create a new brush. In the same way, we masked the face, now mask the hair.
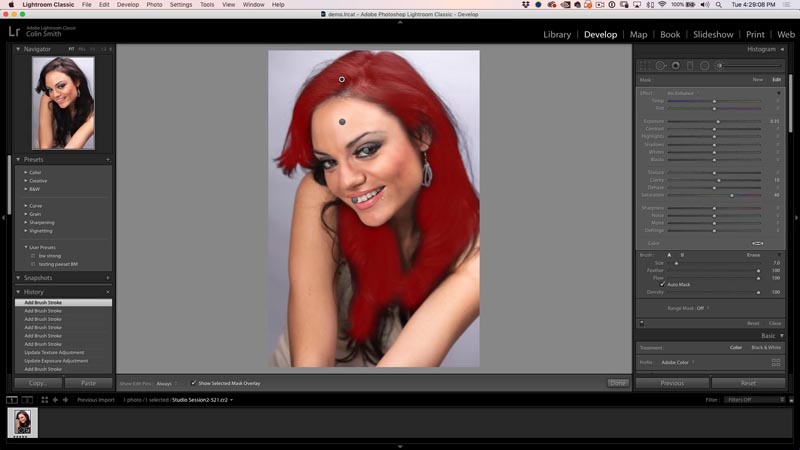
Adjust the texture until it looks good. For some weird reason, a lot of people add sharpening to the hair, thinking that adding detail will look good. All that does is make hair look dry and stringy. Reduce the texture and it looks smooth as silk. A sheet of hair looks better than straw-like strands.
If you get stuck on any of these steps, please watch the video at the top, which goes step by step through everything.
Thanks,
Colin
PS Don’t forget to follow us on Social Media for more tips.. (I've been posting some fun Instagram and Facebook Stories lately)
You can get my free Layer Blending modes ebook along with dozens of exclusive Photoshop Goodies here


7 thoughts on “How to retouch a face in Lightroom or Camera Raw”
Leave a Reply

How to customize the appearance of Photoshop and customize the interference.
File formats for Photoshop explained simply, including PSD, PSB, Tiff, Jpg, gif and png. What file type should I use,...


I avoid LR; but use ACR a great deal. Using the new texture slider on hair was a new, unique idea. Thank you.
Thanks. I use LR
Great tutorial again, thanks Colin. Do tell though, say I wanted to go back and alter the very first adjustment I did (say the teeth whitening) how do I select only that adjustment, and later it again.
Many thanks
Thanks for the video
I am not a LR user. I use ACR for all my raw image processing and also as a filter in Photoshop
I always use ACR – never Lightroom. At one time I used to use LR but decided to drop that completely in favor of only PS/ACR & other plug-ins, eliminates one step in my work process. Love your tutorials using PS & ACR.
I have been looking for a tutorial like this ever since seeing a similar one on the Facebook group “Photoshop Users Group” but lost the link when I my computer failed and I had to buy another machine, and couldn’t transfer anything from the old to the new. Now I just have to find Camera raw in filters on PS 2020.