
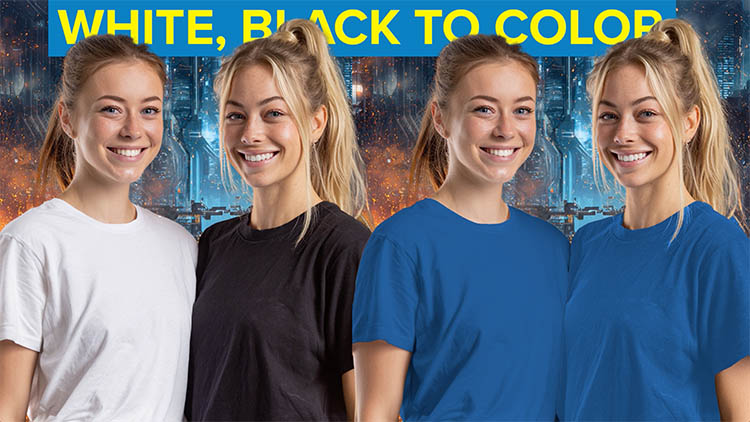
How to Turn White into deep Color and colorize Black in Photoshop
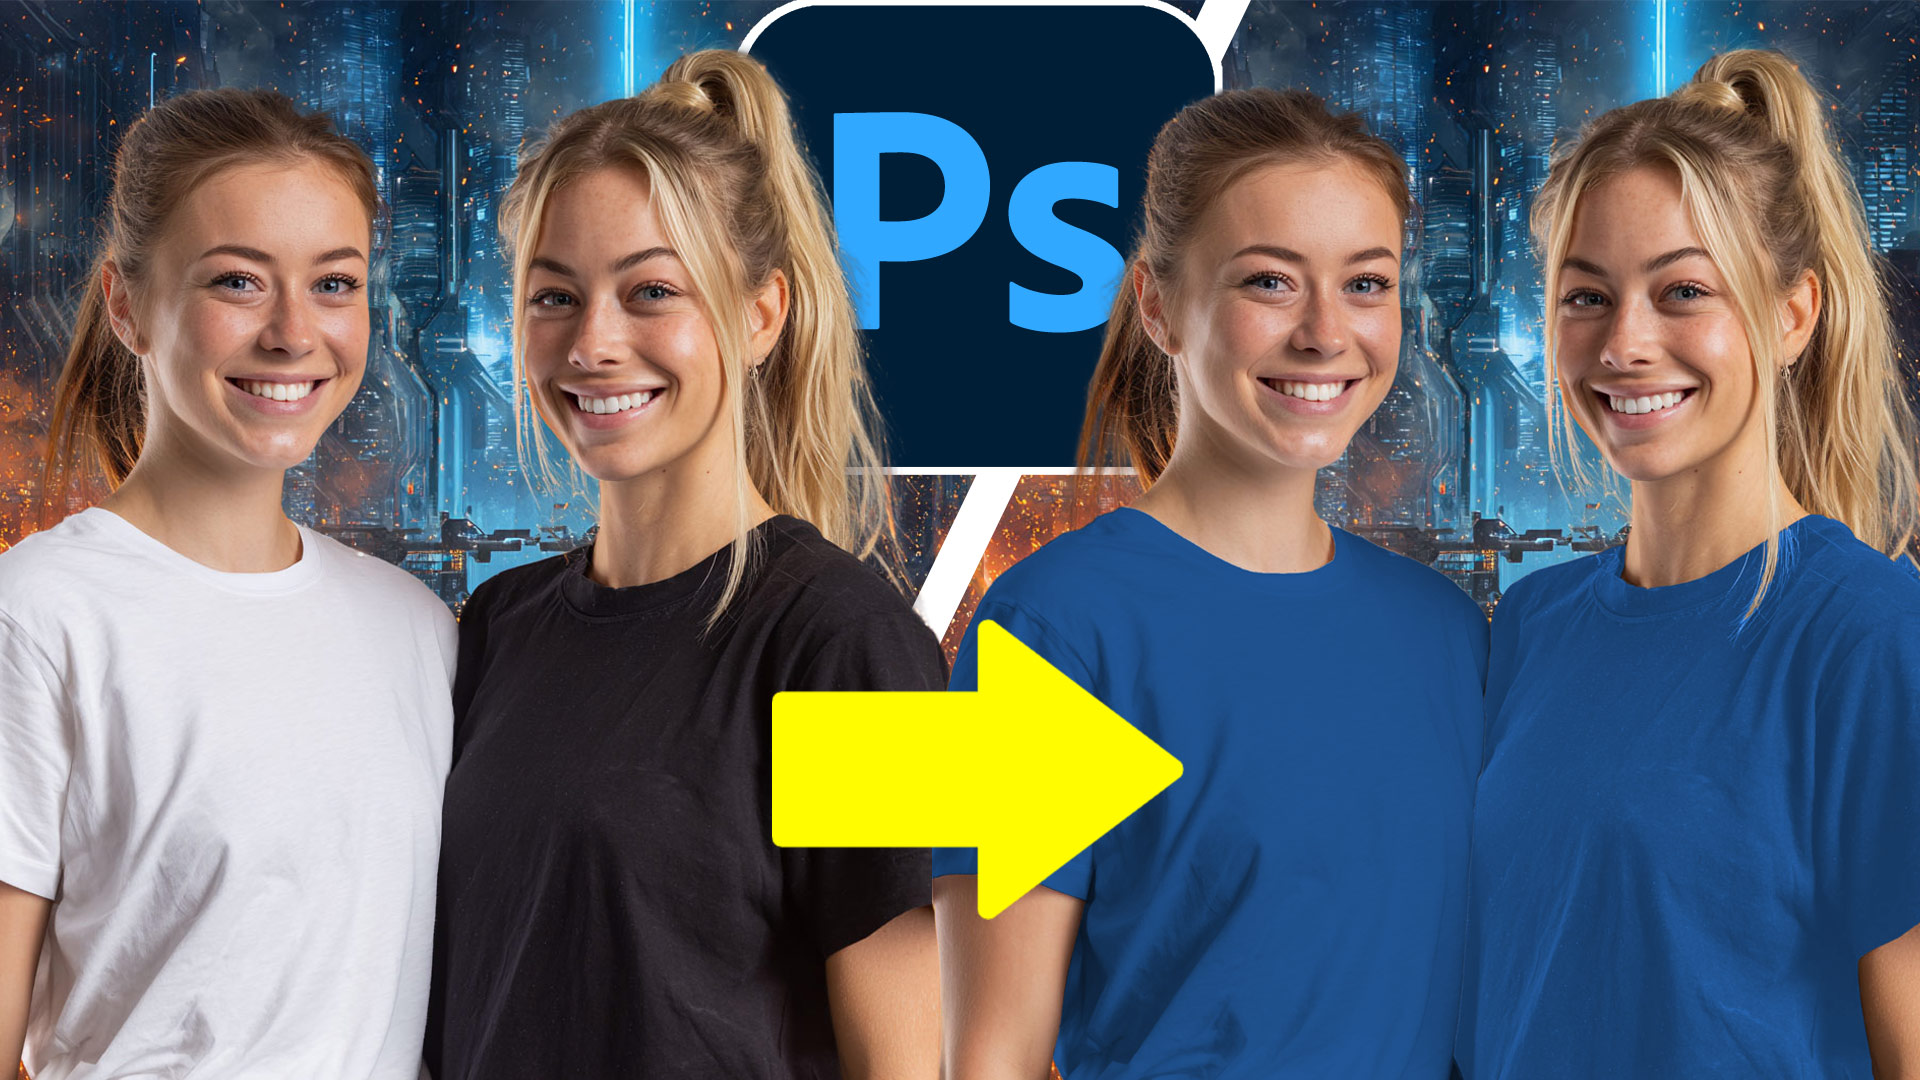
How to colorize black or white in Photoshop
It’s pretty easy to change a color to another color in Photoshop, especially with Adjust Color.
What can be more tricky is starting with white or starting with black and making them color. I’ve heard from some of you, struggling with this. You might be able to get some color into white or black, but it’s not good strong and deep color. This Photoshop tutorial shows you how to get nice deep colors, any color you want from white or black.
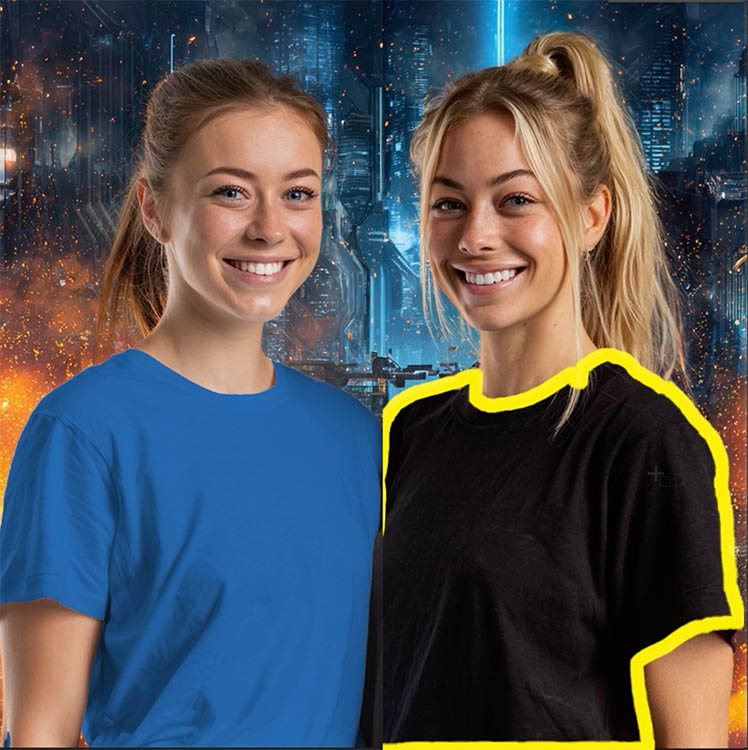
We will colorize both the black and the white shirts. Just to show how well this works, we will even match the results with the same color.
You could try the Adjust Colors feature.

But this tool won’t work on black or white. Here’s a better way..

How to turn White into vivid Color in Photoshop
First of all, we will work on the white t-shirt and change it to a color.
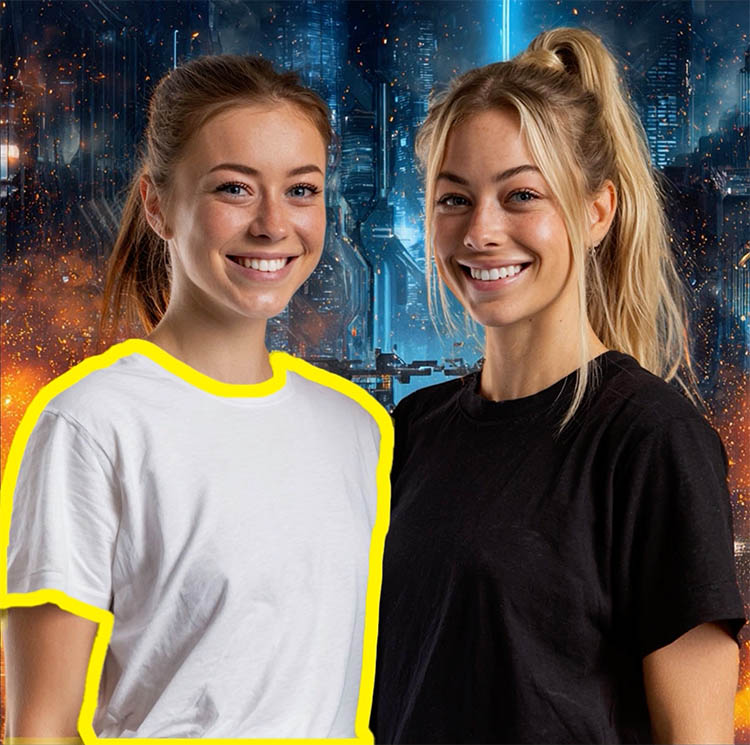
Select the shirt in the photo.
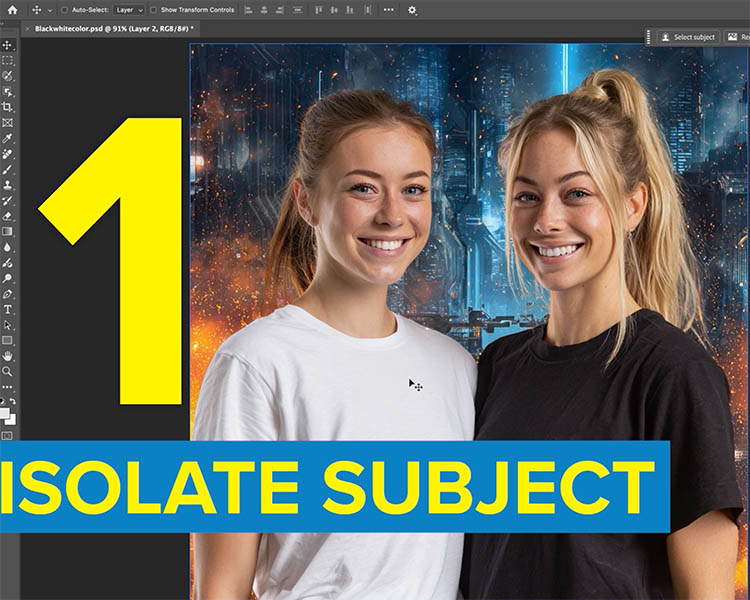
Choose the Object Selection Tool.
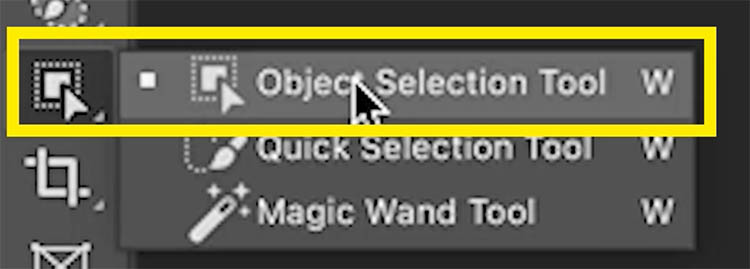
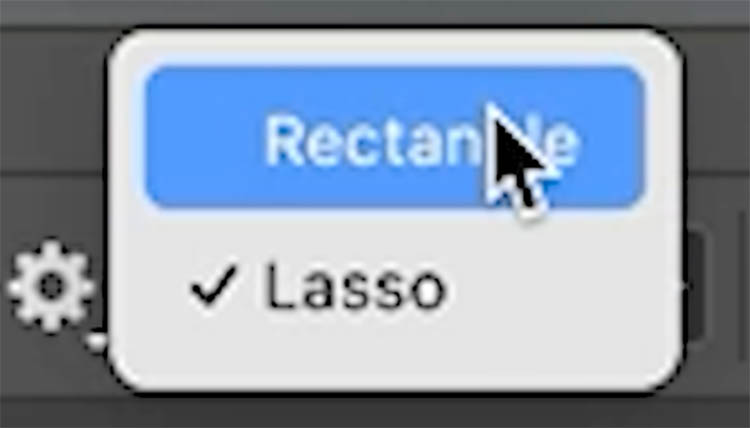
In the Tool Options bar, choose Rectangle. It will be faster than selecting with a lasso.
Make a rectangle over the white shirt and release.
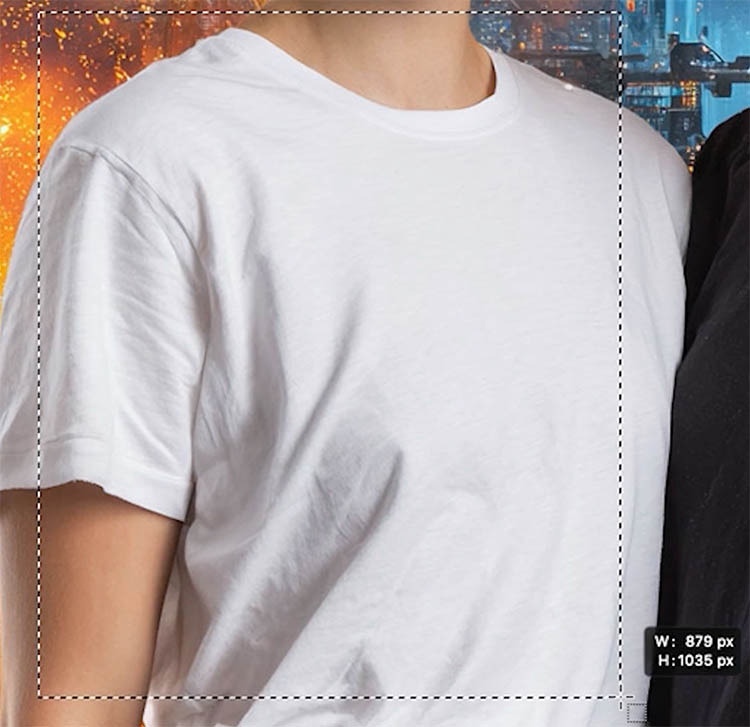
Photoshop knows that you want to select the shirt and will make the selection for you.
If Photoshop selects too much, Hold the alt/Option key and drag on the area to remove from the selection.
If Photoshop misses some parts, hold down the Shift key and select the area to add.
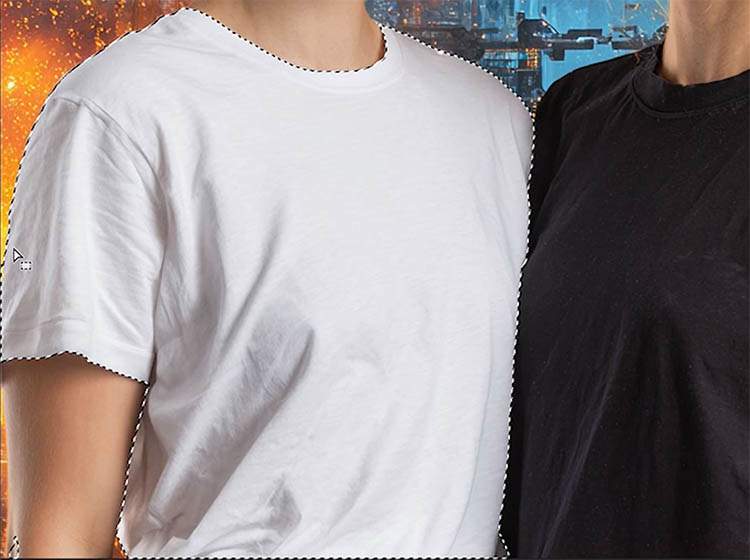
Now we have a selection, let’s change the color.
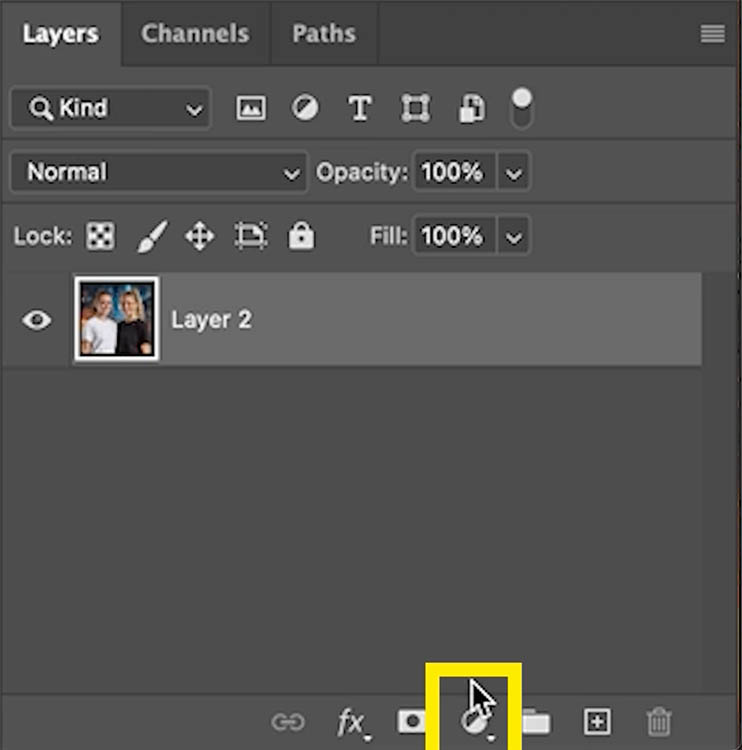
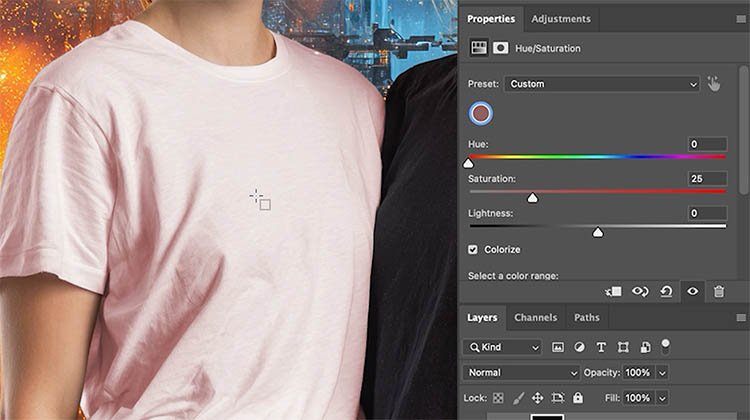
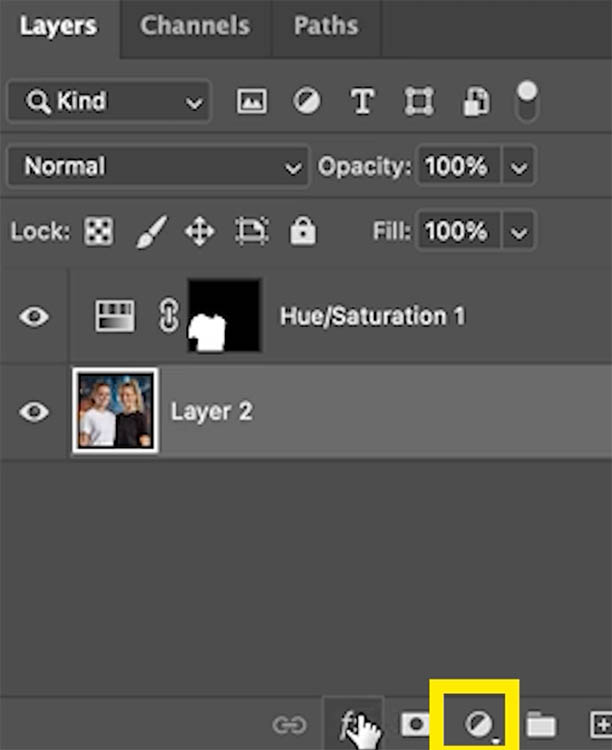
In the Layers Panel, click on the add Adjustment layer icon.
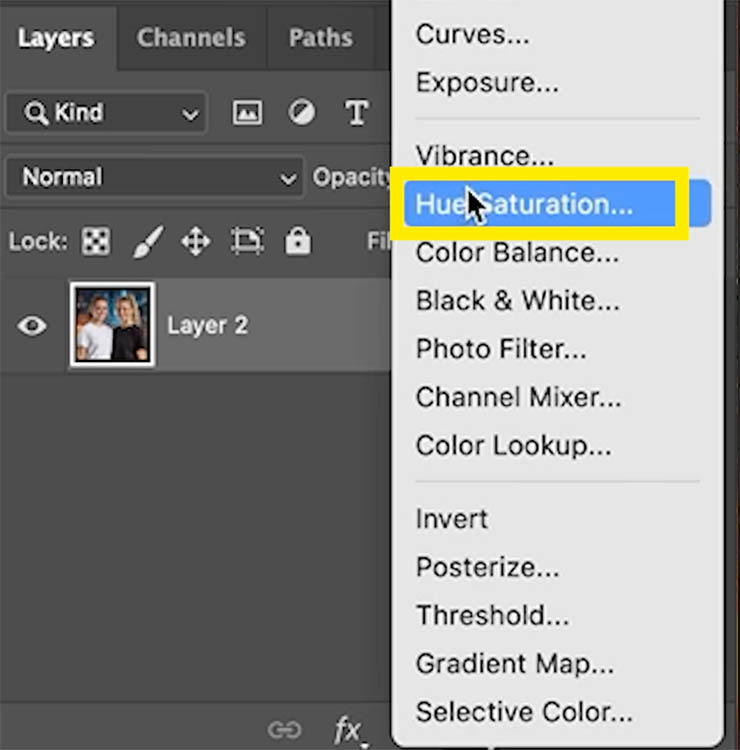
Choose the Hue/Saturation Option.
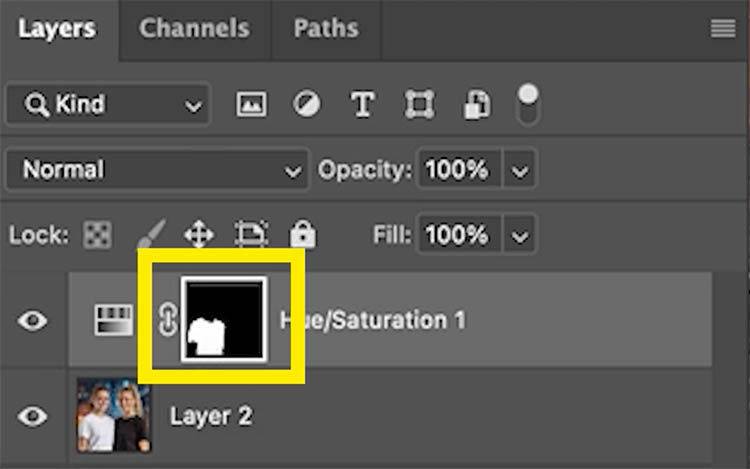
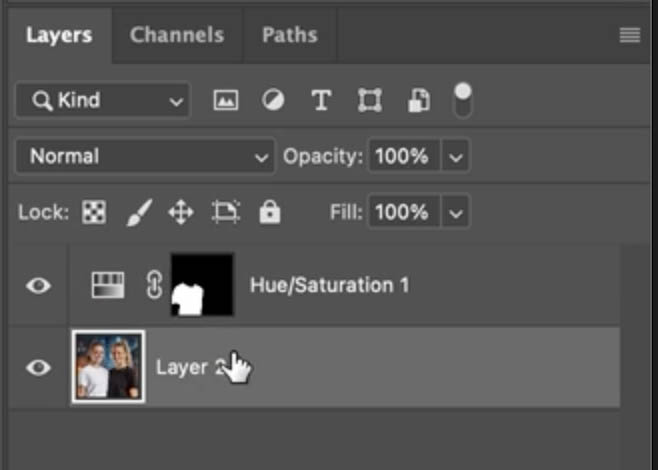
You will see a mask has been made from your selection. The adjustments will only be applied to the shirt.
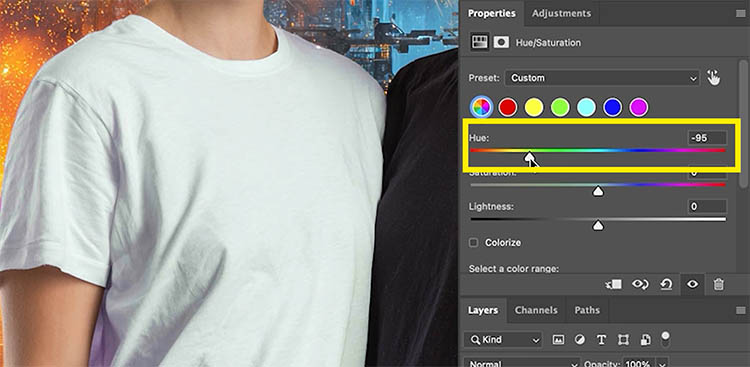
Adjust the Hue and notice, only the shadow areas change a little bit.
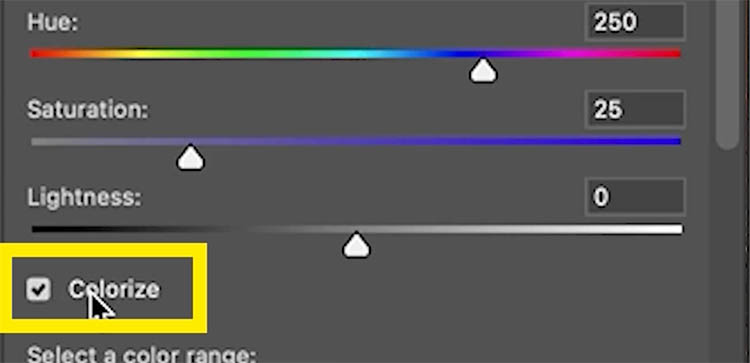
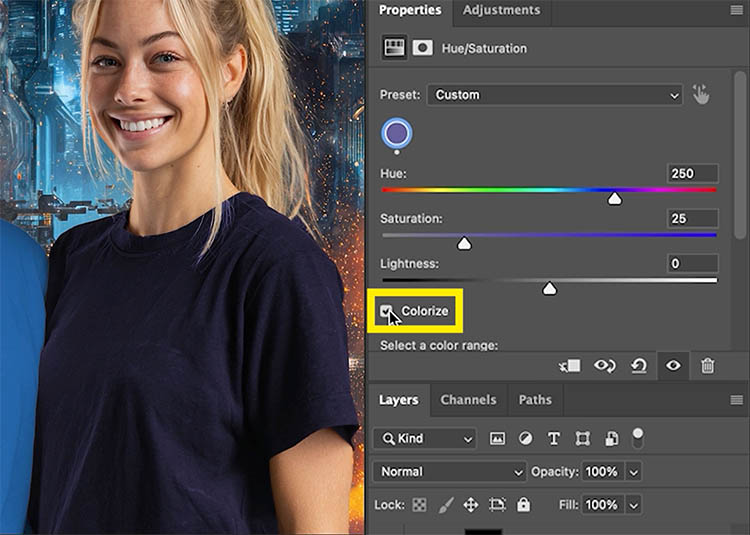
Click on Colorize to force color.
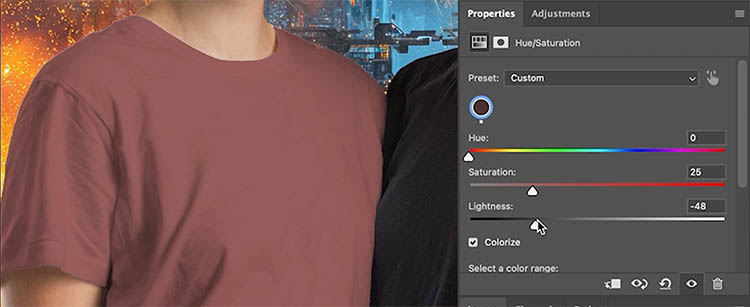
The Hue works a bit better now, but it’s still weak. This is where people get stuck.
Let’s get you unstuck with my trick for white.
Move the Lightness to the left. Now white is being forced to gray and the colorize is working really well.
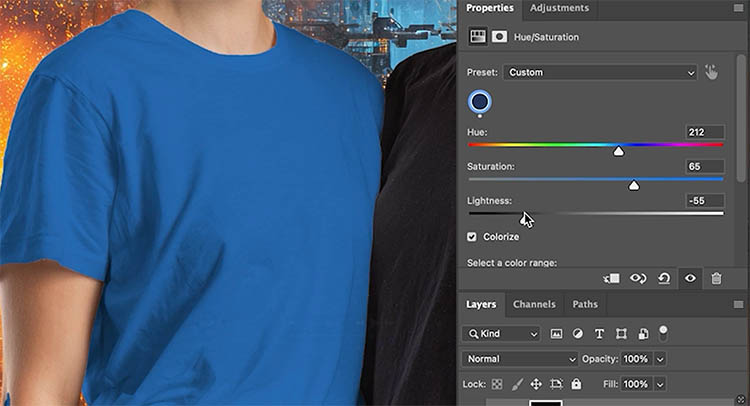
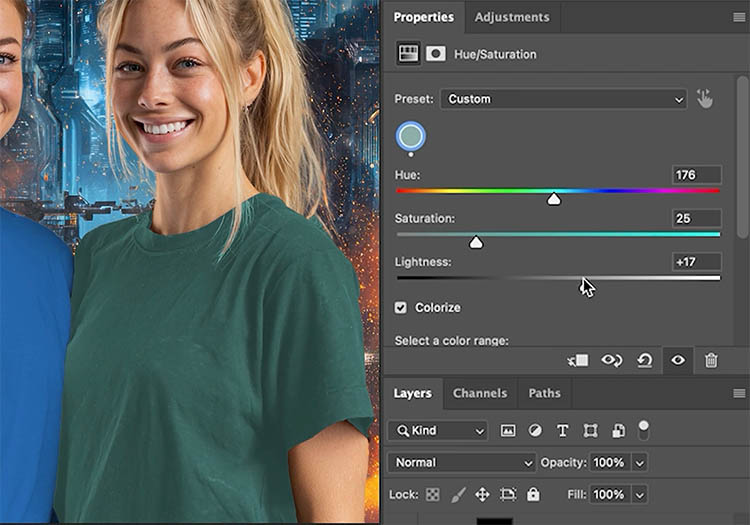
Adjust the Saturation to add more color. With the 3 sliders, any color is possible.
- Hue: the color
- Saturation: Amount of color
- Lightness: the brightness, and activator of color on white
We were able to change white into a nice strong blue.
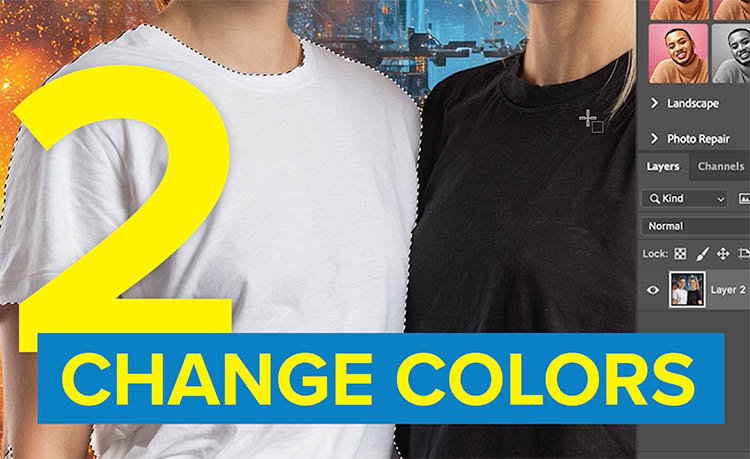
How to turn Black to color in Photoshop
Let’s change black now.
Choose the background layer.
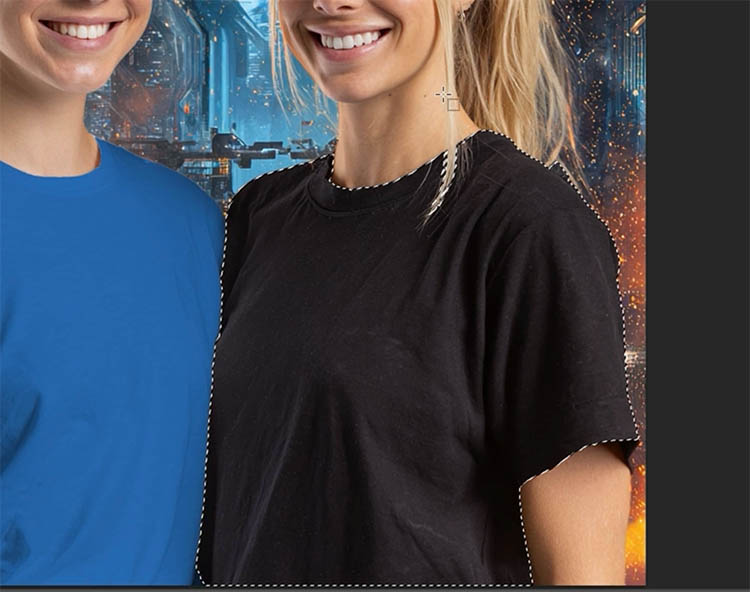
With the Object Selection, make a selection around the black t-shirt, just like we did earlier on with the white t-shirt.
Add a Hue/Saturation Adjustment Layer
In the Properties panel, Chose Colorize
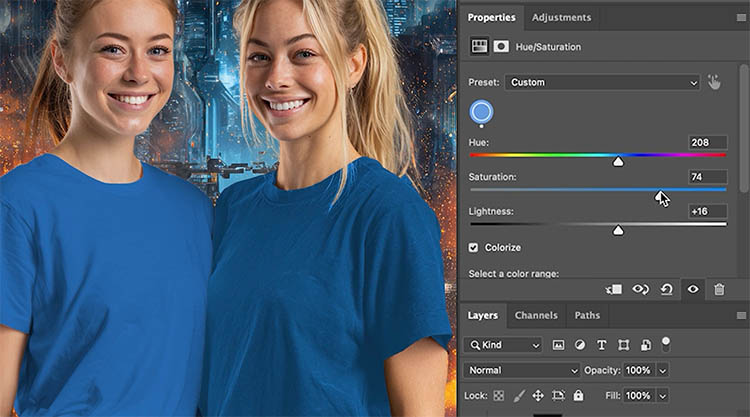
This time, increase the Lightness to the right. This brightens the black and makes it gray. The Colorize adds color.
Now you can easily choose any color. The shirts are both blue, but not quite the same blue.
In a moment, I’ll show you how to match the color of the two blue shirts easily.
Fixing the edges
You may have noticed the edges are a bit bad, there are light and dark edges. Sometimes this happens, sometimes it doesn’t.
Here’s how to fix it.
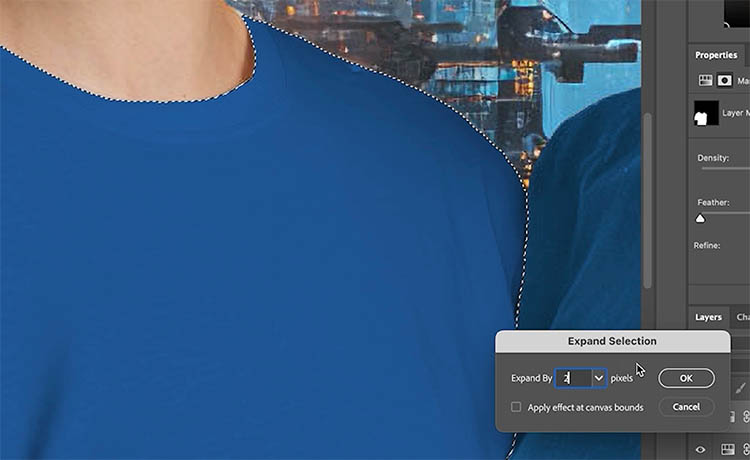
Hold down Cmd/Ctrl on your keyboard and Click on the layer mask to load it as a selection.
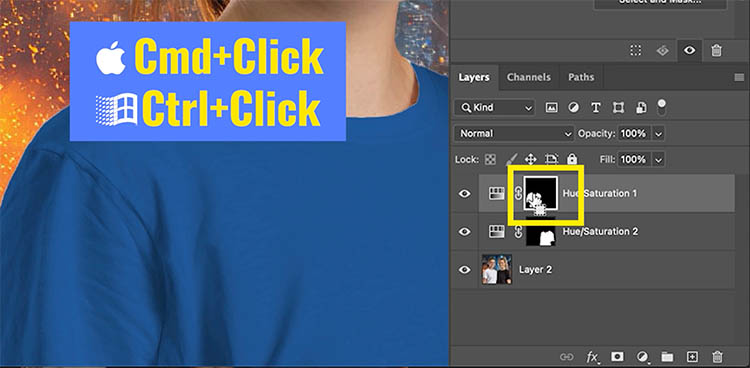
Select>Modify>Expand
You will have to guess the amount as there is no visual reference. Usually 1 or 2 pixels is the right amount. Often 1 is best.
Click ok and the selection will expand to become larger.
Choose Select>Modify>Feather, and add 1 pixel.
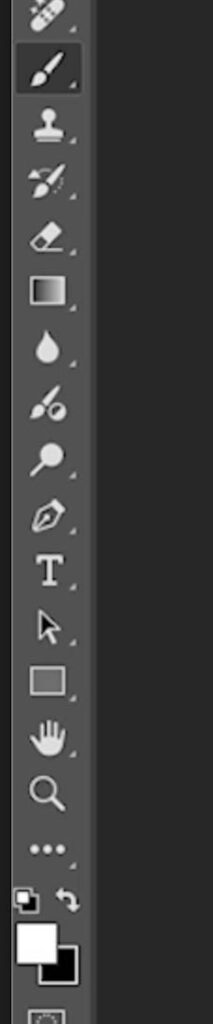
Choose the brush tool
Set white as the foreground color.
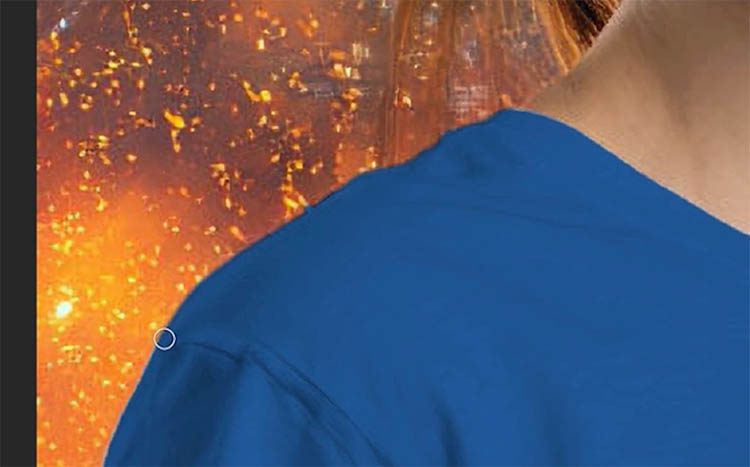
With the layer mask selected, begin to paint the edge to fix it.
Here’s a tip, Press Ctrl/Cmd+H. This will hide the selection marching ants, so you can see where you are repairing the edge.
The selection will still be active, it will just be hidden.

Paint around the edges that need fixing. See how the white edge is disappearing.
How to Match two colors perfectly and easily in Photoshop
Now it’s time to make the two blue shirts the same shade of blue. Rather than moving sliders trial and error, until they are perfect, there’s an easy way.
Choose the top layer, click on the Hue/Saturation icon. It will load into the properties panel.
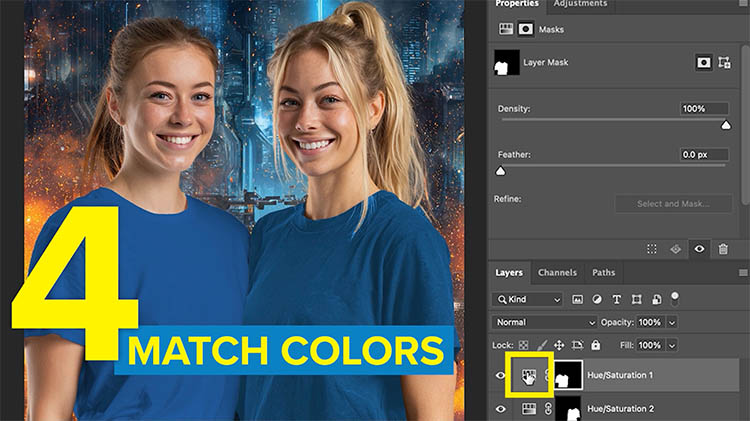
Take a note of the number of the Hue and the Saturation.
213 for Hue
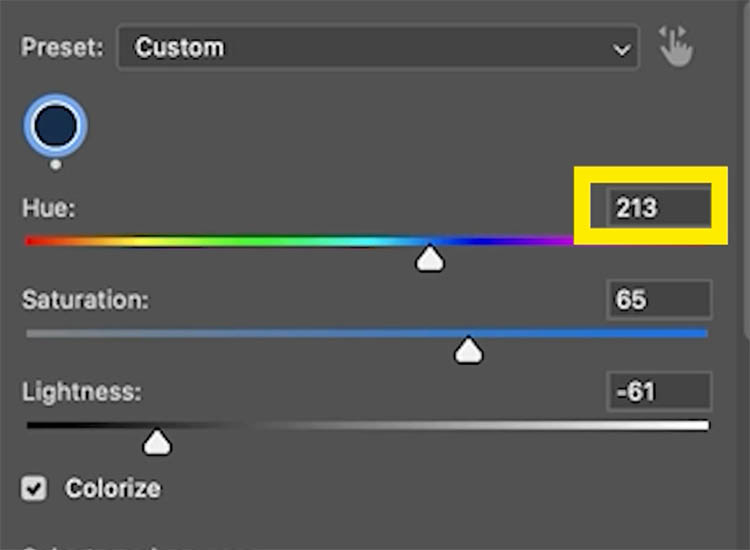
And 68 for Saturation.
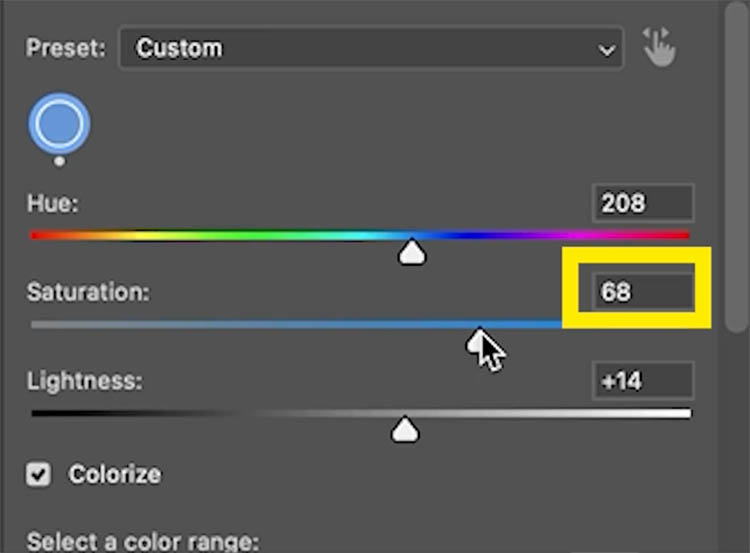
Choose the Layer underneath (the other shirt) and enter 213 for Hue and 68 for saturation.
The colors will now match.
All you need to do is adjust the Lightness.
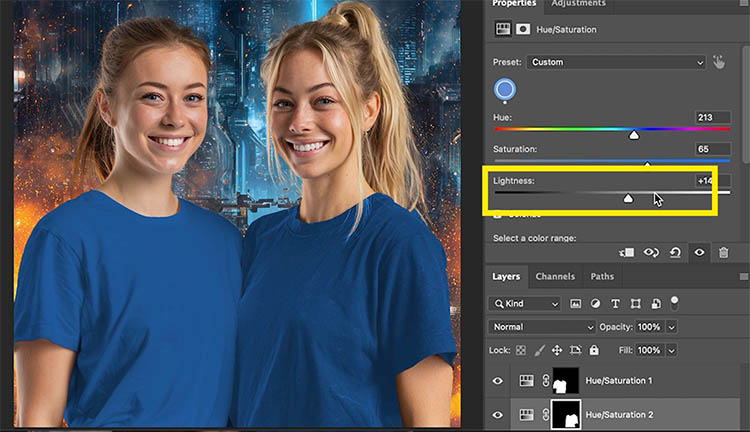
This one, you need to eyeball, but move the lightness until the 2 colors match.
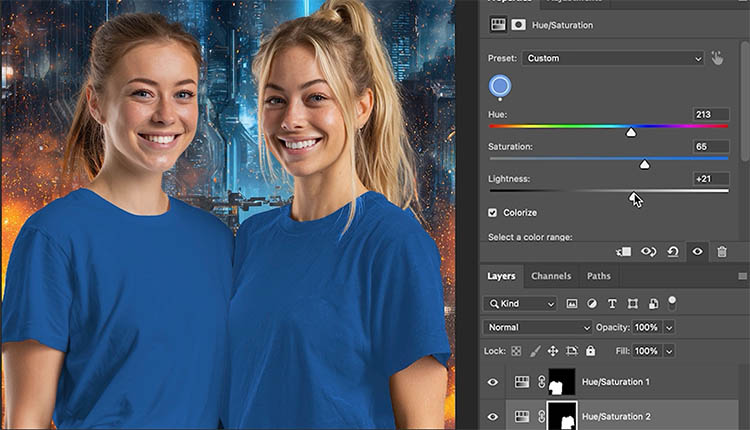
Alright, we just completed a difficult task, but its wasn’t so difficult to do.
I hope you enjoyed this tutorial.
Here are some tutorials on fixing the edge halos for selections in Photoshop.
Some specific tutorials
- 3 EASY WAYS TO REMOVE EDGE FRINGES IN PHOTOSHOP. HALO REMOVAL ON CUTOUT EDGES.
- 5 WAYS TO FIX SELECTION EDGES IN PHOTOSHOP
Drop a comment and let me know how it worked for you. Also follow me on social media, I’m posting short tutorials on Instagram daily.
Great to see you here at the CAFE, Colin
PS Don’t forget to follow us on Social Media for more tips..
(I've been posting some fun Instagram and Facebook Stories lately)
You can get my free Layer Blending modes ebook along with dozens of exclusive Photoshop Goodies here

15 thoughts on “How to Turn White into deep Color and colorize Black in Photoshop”
Leave a Reply

in this Photoshop tutorial, learn how to add a nostalgic Black and White Film Noir look to a portrait. This...

It's simpler than you think to reset the home screen in Photoshop, but it isn't at all obvious.
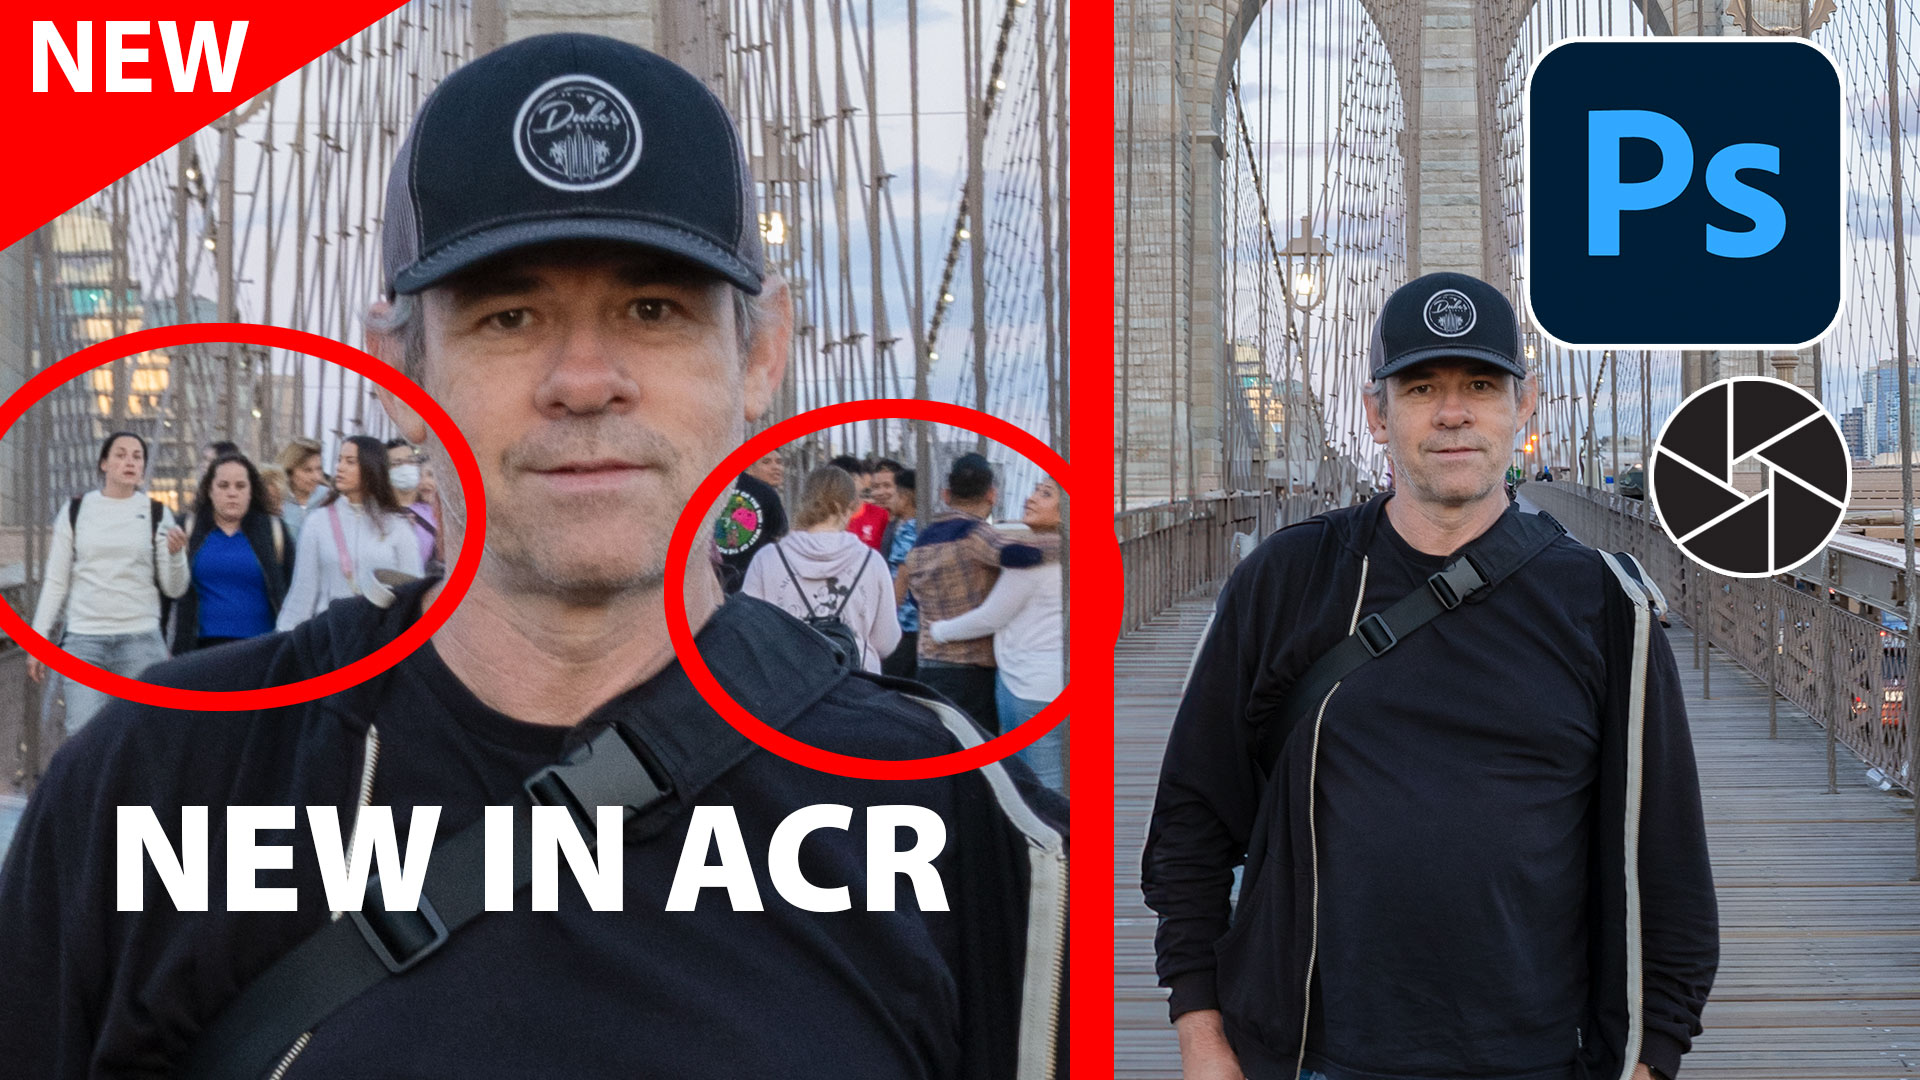
How to remove People in Camera RAW, ai people removal in ACR


Why can I not see the video?
The video went live at 6am this morning, it should display correctly now. I released this written tutorial early.
I’m happy to learn how to do changing the colors perfectly. You’ve read my mind. So many mistakes left in the past!
Thank you!!
Marina
Hi Colin,
Many thanks for your always very interesting videos.For this one , the colour transformation is perfect but I think the contrast of the teeshirts is rather soft and should be modified as to render properly the shadows of the folds . I got a pleasing result with an s-curve layer and a Blend-if correction to protect the general color of the fabrics and just affecting the shadows. Have a happy life !
Hi Colin,
That was GREAT!! Thanks for bring that to our attention. I’ve been try to figure that out for a while now. As a side not to you have some tutorials on removing white and black halos after making a selection?
Thanks again,
Dennis
Yes, I have several tutorials on fixing edges and removing halos. Here is the search string https://photoshopcafe.com/?s=remove+halos
Your description of what to do was not only very good but also very timely. I really needed it for the image I’m currently processing.
I’m delighted that you are able to use it right away.
Well, the title sure fooled me. I thought for one heady moment that Photoshop had finally done something real with colorize so that it would be possible to have vibrant, genuine colour added over black and white photos, rather than the faded, purple-ized nonsense currently on offer. It’s as if they think that black and white = old; old = faded; therefore colorize = faded and/or false colours. Sheesh. Nice tutorial, like all your work. Thanks for being a useful guide for so much of my work. Oh yeah, one of the main problems with colorize is that it cannot detect the different between the edge of a garment and a mere fold in cloth.
Sorry for the confusion, that’s why I titled it “white or black” to try to avoid confusion with “black and white”, I do my best. I agree with you, colorize isn’t great, maybe I can work on improving those results soon.
This was AWESOME. I had no idea this was possible.
That was great Colin as I was trying to change a black color and did not know how. So thanks.
with respect to the edges, once I made my selection, I expanded it by 2 pixel before I changed the color and there was no problem having to fix it later. Is that correct?
Thanks, Colin! I’ve struggled with HSL manipulations and haven’t thought them good for much. The use of the Lightness slider to move to a gray tone shows me why I was not getting any benefit. Now I know!
I’ve been using the LAB color mode and curves. I feel it can give more control than hue/saturation.
Sure, I love LAB, that’s a totally valid way of doing it, with great results. A bit harder for beginners to grasp though.