
How to make something fly in Photoshop, flying ebike
How to make something fly in Photoshop
In this Photoshop tutorial, I’m going to show you how easy it is to make something fly in Photoshop.First I’ll show you how to shoot the photos to make this really easy, then I’ll walk you through the steps in Photoshop to mask out the areas that you don’t want. Check out the video above for all the details, I’ll keep the steps simple. If you need more details in any of the steps, the answer is “watch the video”.
Shooting the images for the composite
To make it easy, I want to make sure I get a clean shot of the background as well as a clean shot of the object in front of the background.
To accomplish this, I use a tripod, so that the camera doesn’t move between shots, that way they are easy to line up. I figured the best way to do this, since I was shooting a selfie, is to set the camera to time-lapse mode. If you have a friend to help, you don’t need to do a time-lapse. I set the time-lapse to 1 second increments and a 30 second delay, to give me time to get in position.
First place the bike in the scene and get focus on it. Then change to manual focus, so the camera doesn’t change focus between shots, it’s important to get them all the same.
- I used a Sony A7III and choose 28mm, nice and wide to give me flexibility, because I don’t know where the bike will be in frame as I’m riding by. You can use any camera, even a phone.
- i opened the aperture up to 3.5 do create a shallow depth of field.
- Shutter speed to 1/250 to freeze motion, in hindsight, I could have gone a little faster.
- ISO whatever it needs to get correct exposure (ISO 1250 in this case)

Import the images into Lightroom, or whatever photo manager you are using.
I choose the image with the best positioning of the bike. And also the closes clean background to the shot I’m using, to minimize lighting differences.

Right click and choose Edit>Open as Layers in Photoshop

This will open the 2 images as separate layers in Photoshop. I don’t need to align them because I used a tripod.
If you don’t have a tripod you can put the camera on a box, or or wall or something.

Hiding the top layer, shows the clean background underneath.

All we need to do is hide the parts of the bike we don’t want to show.
With the top layer active, choose the add layer mask button in the layers panel

Choose the brush tool (B key)
Press D to reset colors and get black as the foreground color.

Paint on the layer mask to hide the top layer and paint away the bike.

When you have finished masking out the bike (The video shows this in action) we need to add the shadow back in
Choose a soft edged brush by clicking the brush size in the options bar. (Hardness all the way down)

Create a new layer

Set the flow and opacity low and paint in the shadow. If its still too dark, lower the opacity of the layer.

Select all the layers in the Layers panel and right-click choose Convert to Smart Object
Choose Filter>Camera RAW
Make some adjustments to correct the color and brightness of the image.

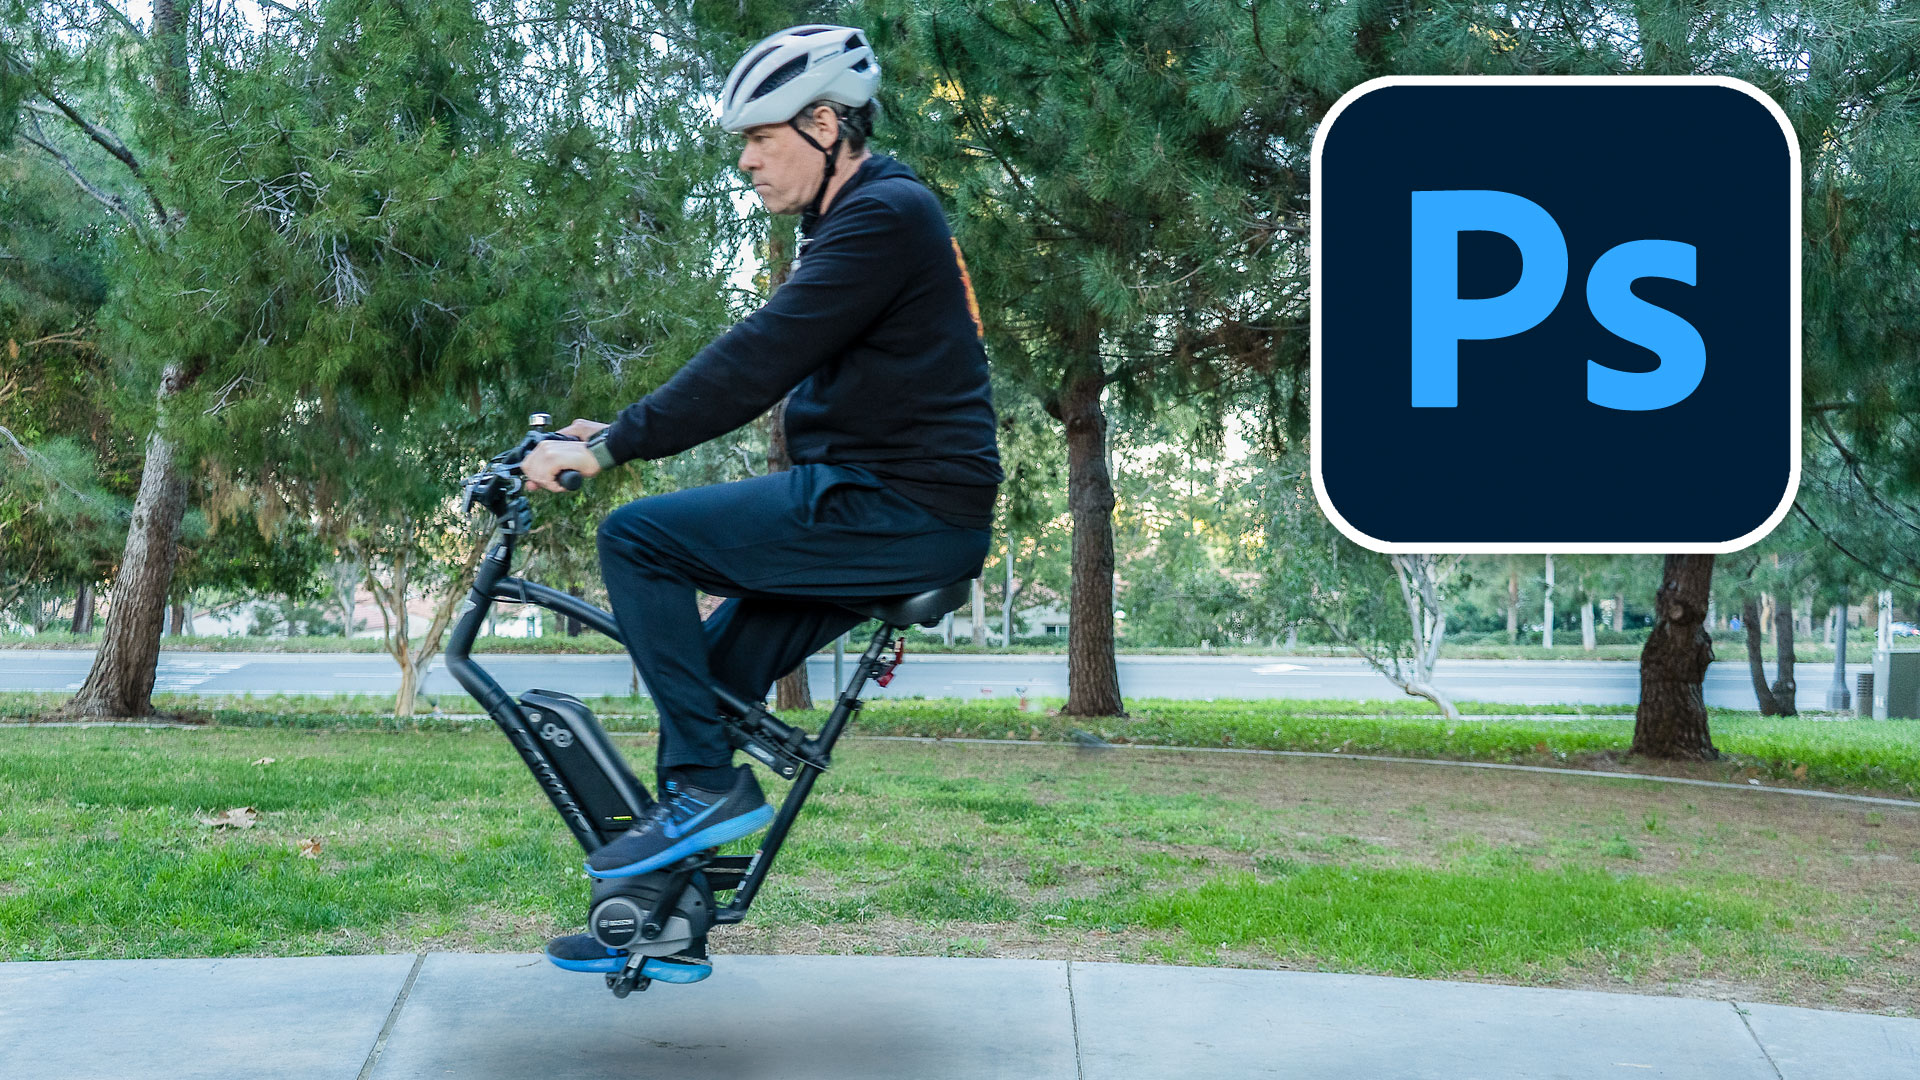
And the end result is a fun, flying e-bike.

This was a very simple example. I hope it helped you understand the process to getting some trick shots.
Thanks for coming by the CAFE.
PS Don’t forget to follow us on Social Media for more tips.. (I've been posting some fun Instagram and Facebook Stories lately)
You can get my free Layer Blending modes ebook along with dozens of exclusive Photoshop Goodies here

2 thoughts on “How to make something fly in Photoshop, flying ebike”
Leave a Reply

How to use the Pen tool in Photoshop. This Photoshop tutorial shows you exactly how to get started using the...

How to set up custom workspaces, keyboard shortcuts and menus in Photoshop.

In photoshop composites, models are shot in a different environment to the background plate used. A challenge is matching the...


I’ve got an employee at my restaurant that has a real high lift kit on his truck, I’ll do this in the parking lot. Why not set vehicle there, take a photo then move it for second photo?
Great tutorial, Colin, as always!!! Simple, effective and right to the point. Is there any way you could make a tutorial and how to make a dynamic screen saver for a cell phone or a computer’s screen? Thanks!!!!