In this Photoshop tutorial, we are going to do a few things, but the big one is adding gobo shadows. I haven’t seen anyone else do this in Photoshop, although it is used by 3D artists more often. Gobo is a tern used in film and photography for a stencil that is placed in front of a light to imitate shadows made by things like leaves, window frames and other objects than come between the light source and the subject. Making these digital gobos adds a whole level of realism.
(By the way, I have been asked by some teachers, if it’s ok to show these videos in a classroom, YES, by all means. Please mention PhotoshopCAFE).
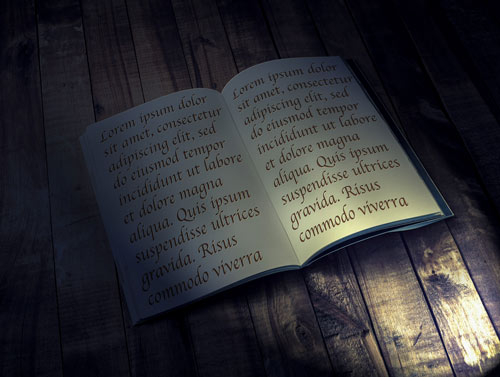
We will start with this photo of a book I grabbed from Adobe Stock and add text, lighting and finally the gobo.

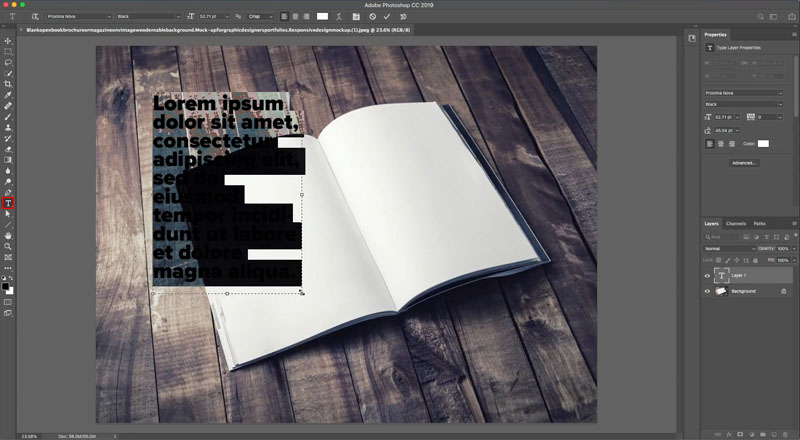
If you want to add text to the book, follow these steps. The same steps apply to adding photos or other things to the book. If you aren’t adding anything to the book pages, skip to step 9.
Choose the text tool
Drag to create a text block. If you are in Photoshop 2020 or newer, the placeholder text will be added, Otherwise choose Type>Past Lorem Ipsem, or type in your own words.
Format the text to suit your tastes.
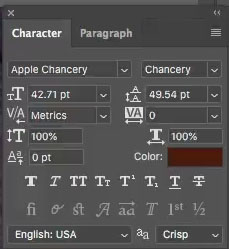
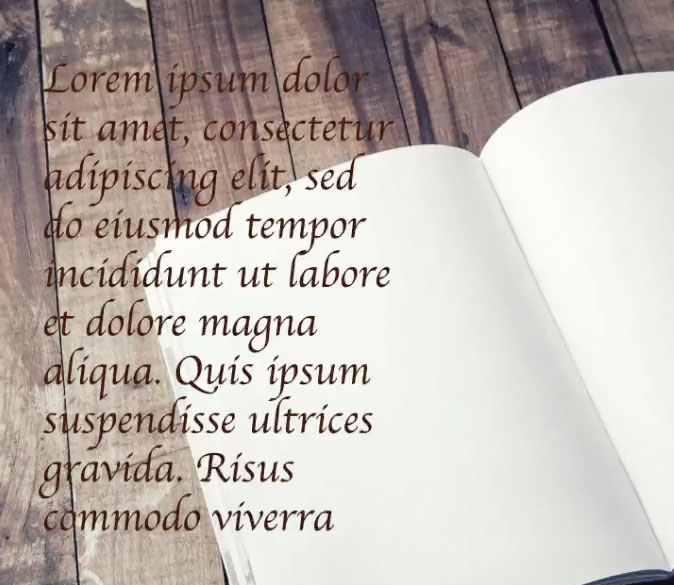
Duplicate the text block, for the facing page, by choosing the move tool. Hold down Alt/Option as you drag to make a copy.
Change the text on the copy if you want.
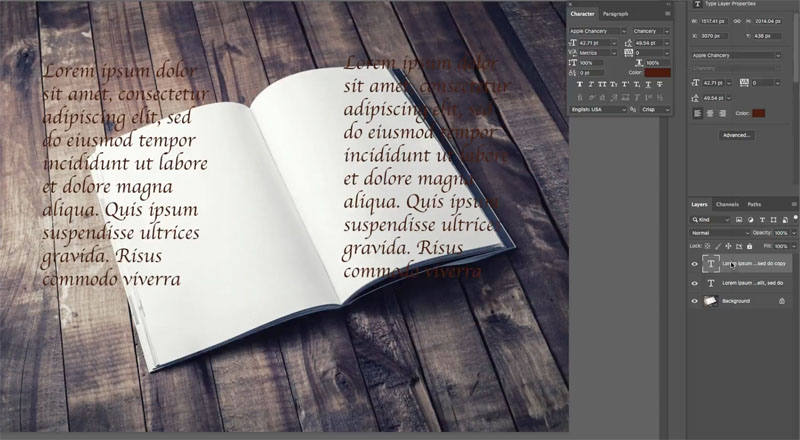
You will now need to convert the text to pixels.
In the Layers Panel, right-click on the text and choose Rasterize layer.
Do this for each of the text blocks.
Press Ctrl/Cmd+T for free transform
Scale and rotate the text block to fit the page
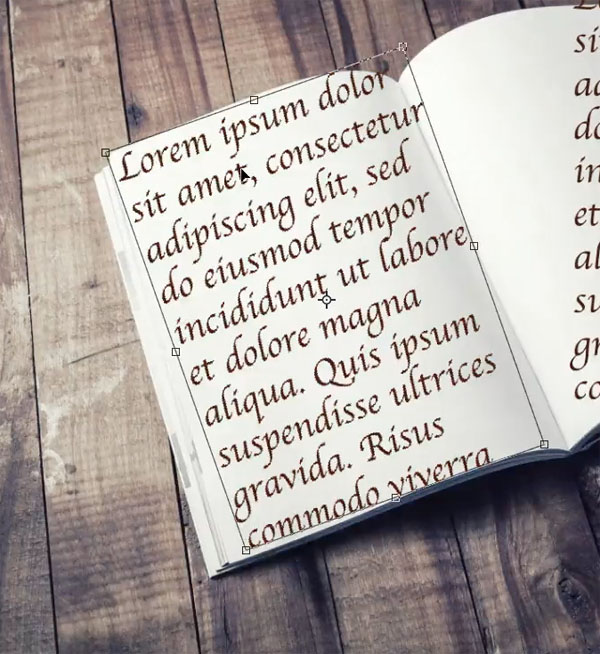
Don’t apply the transformation yet.
Right Click on the text and choose Distort
Drag each corner into position
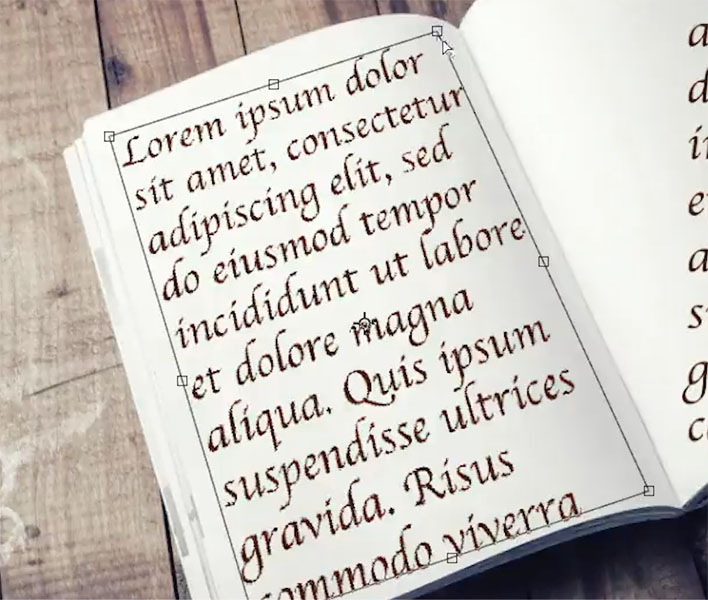
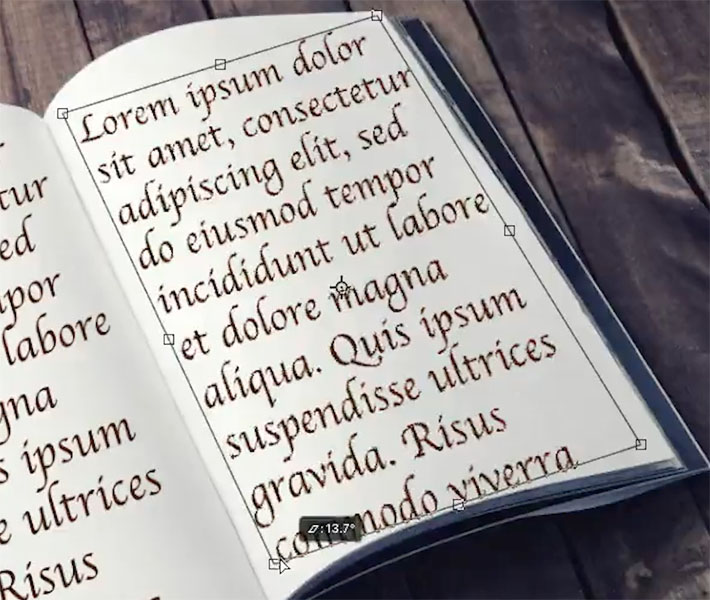
Right-Click (Still in Free Transform) and choose Warp.
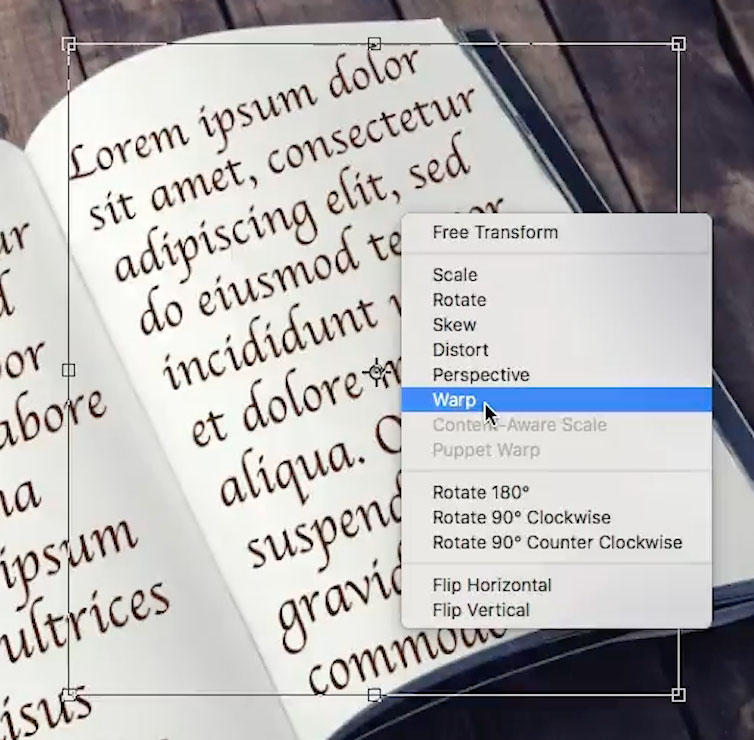
Drag on the block to warp it to fit the page (All of this is in detail in the video at the top in case you get confused).
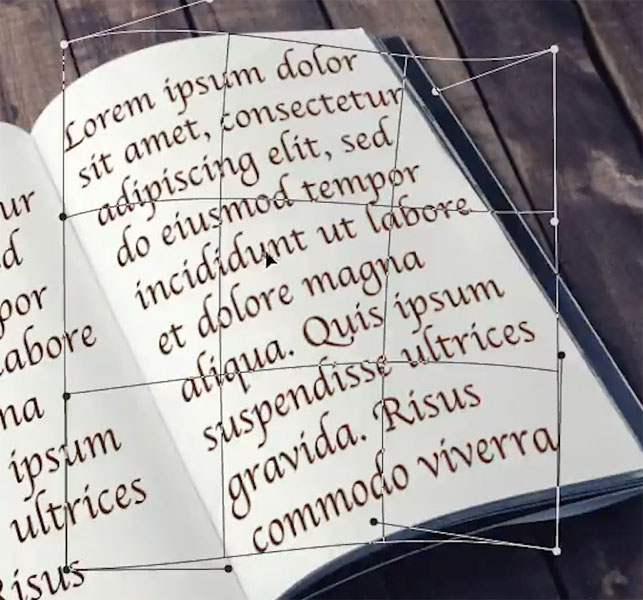
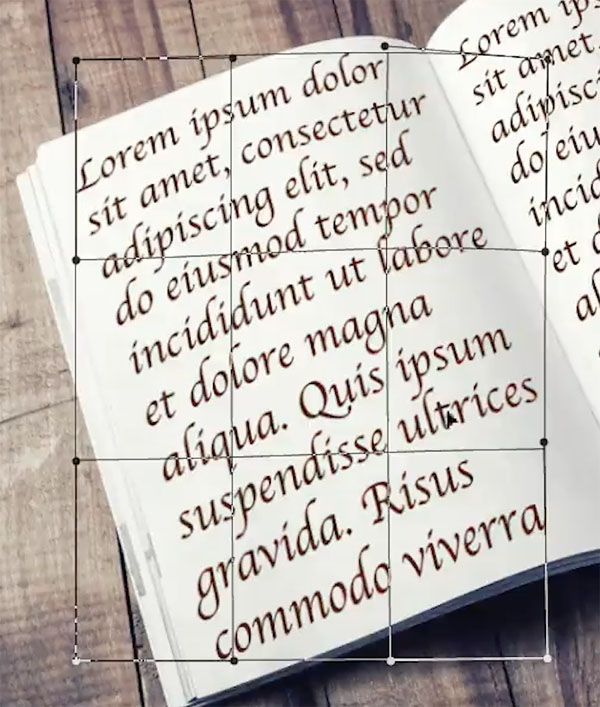
When you have finished designing your pages, let’s make it all into one layer.
Press Ctrl+Shift+Alt+E on Windows. Cmd+Shift+Option+E on Mac. This makes a merged layer on top.
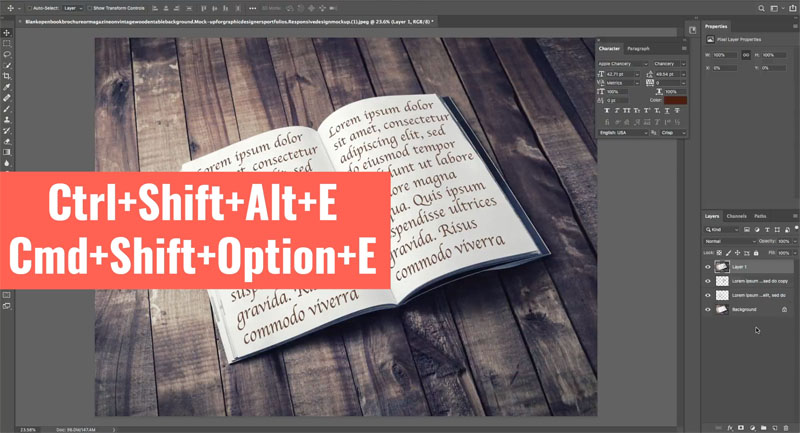
Chose Filter>Render>Lighting effects (If its greyed out, make sure you are in RGB mode and 8-bit color You will find this under Image>Mode)
Choose Soft Spotlight in the presets.
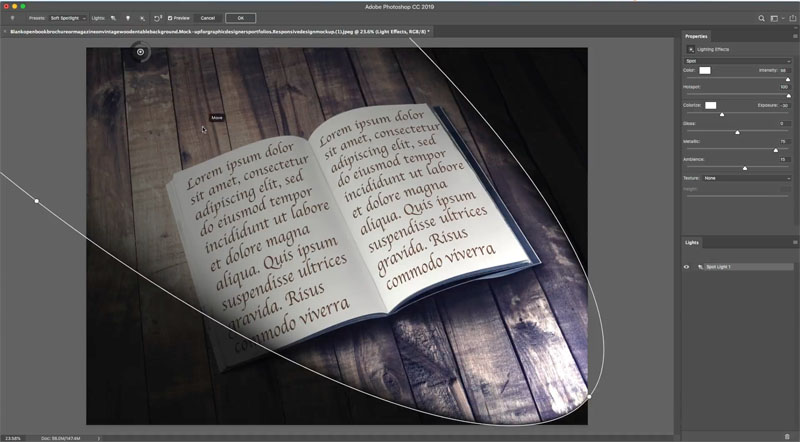
Change the settings on the light to match what you see here as far as size, position and hotspot.
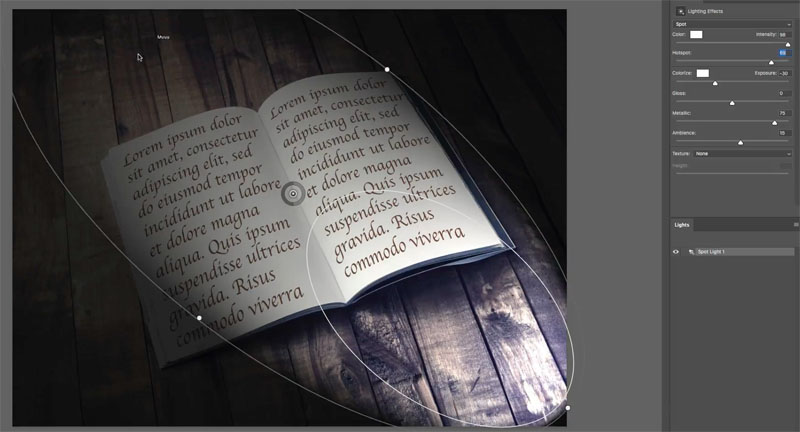
We want to set the color for the scene. If we want a night look, we need a blur hue.
Click the colorize box
Choose a bluish color and click ok.
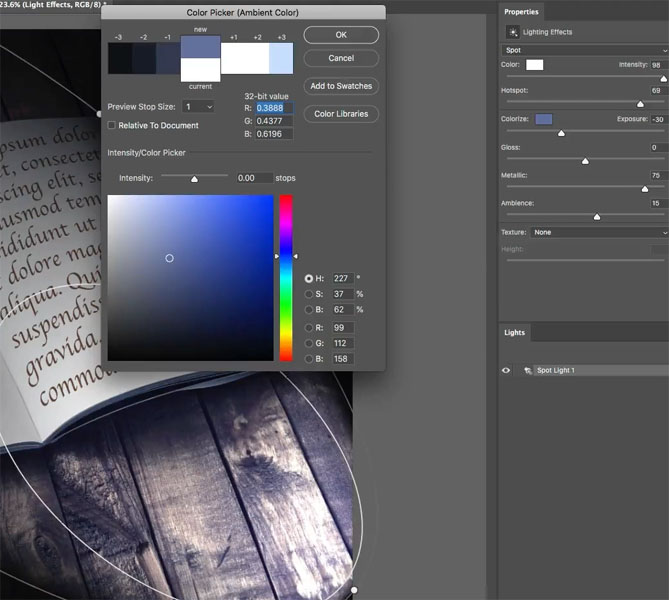
The scene is now blue, but we want the light to be a warm color.
Click Color.
Choose a yellowish color.
Click ok.
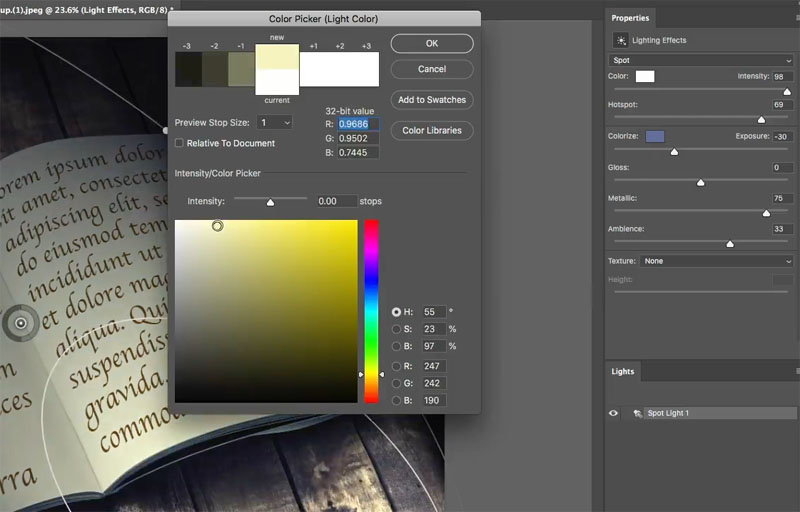
Fine tune your settings to get a nice look. (I discuss this in the video as well as on other lighting effects tutorials)
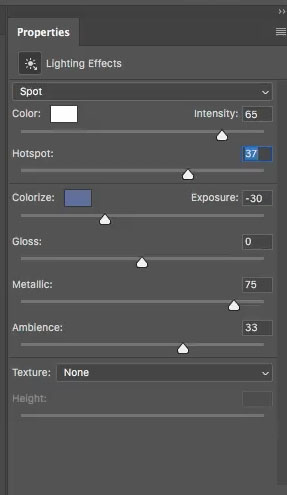
Here are the exact settings I used.
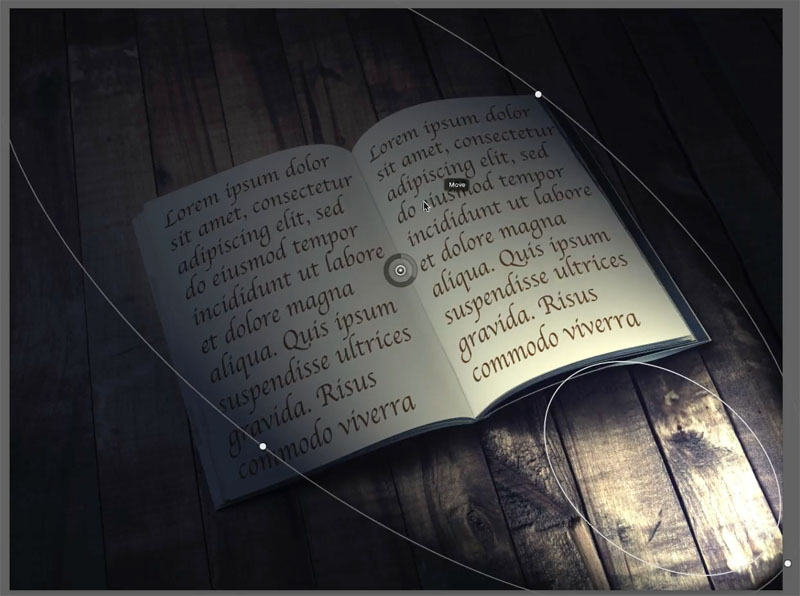
We can make the works look stamped or embossed if we want.
Under texture, choose the red channel
Set height to 1.
It looks stamped.
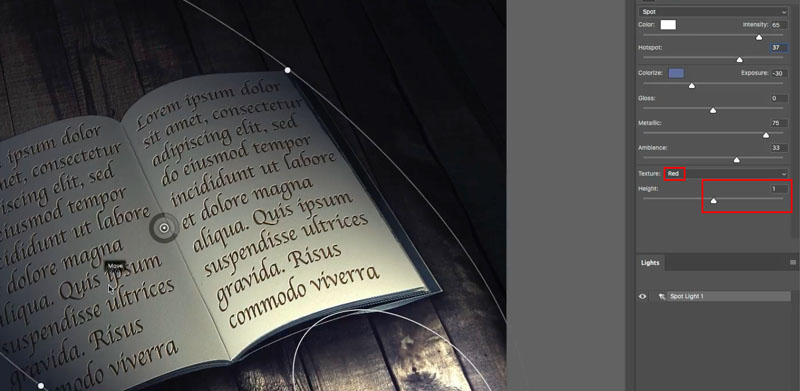
If you prefer embossed, change the height to -1

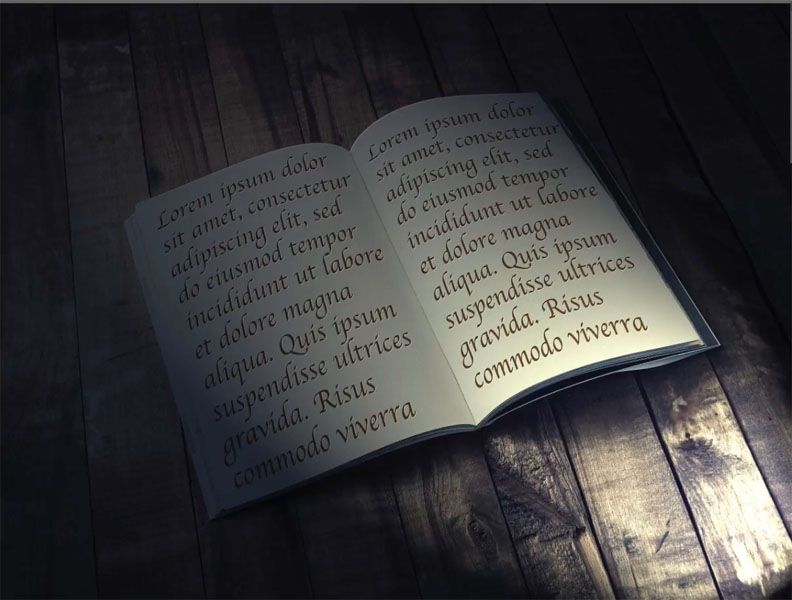
This is the book so far. Now we are going to add the gobo effect.
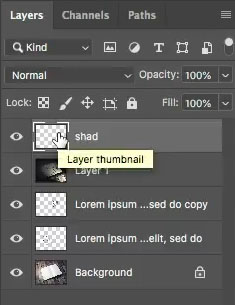
Create a new Layer, Call it shad. (Its a good idea to name layers, but shorthand names are fine if you know what they mean).
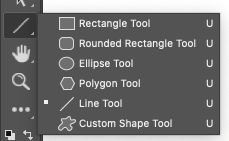
Choose the custom shape tool in the toolbox, Its hiding under the line tool.
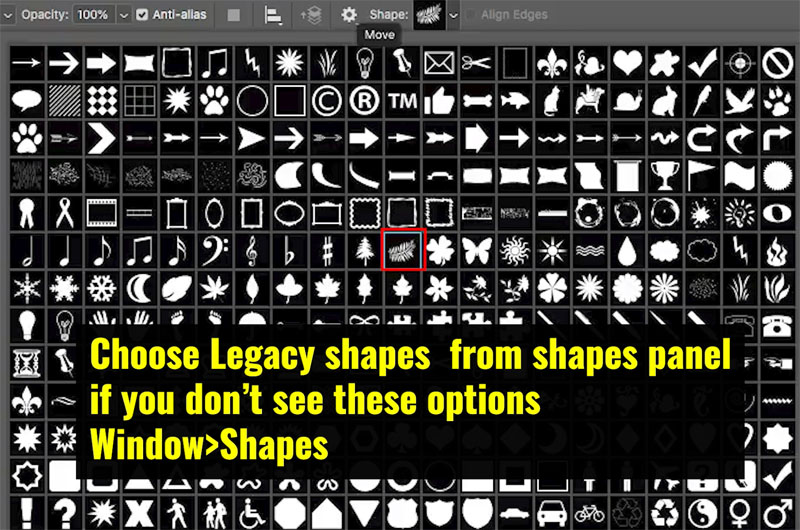
Go under shape in the top tool bar.
Choose the leaf.
If you don’t see the leaf, choose Window>Shapes. Click on the top right of the Shapes panel and choose Legacy shapes and more from the drop down menu. It will load in more shapes including the leaf.
In the top left you will see a drop down with 3 options. Shape Layer, Paths and Pixels. Choose Pixels.
With black as the foreground color, drag out a leaf on the canvas.
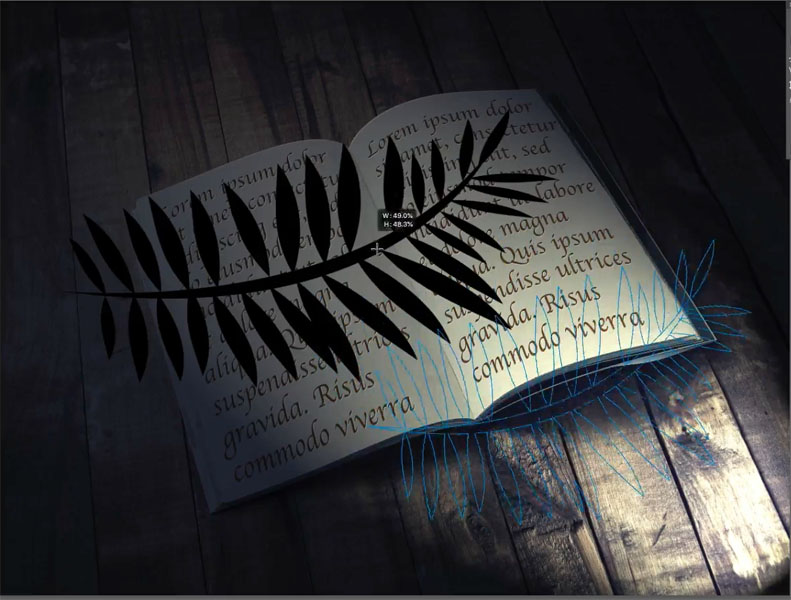
Add a few more to get a nice coverage.
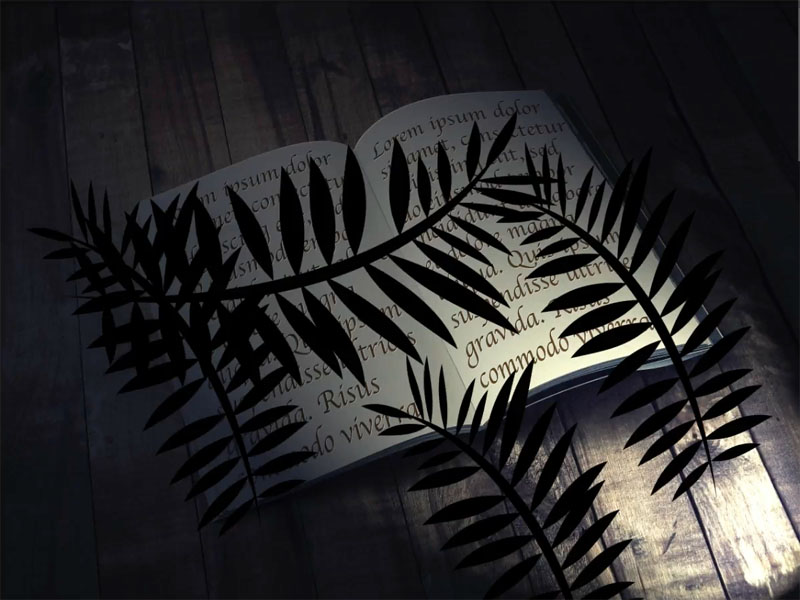
This is where the magic happens.
Choose Filter>Blur>Gaussian Blur
Adjust it until the edges are soft. This should be starting to look pretty realistic by now.
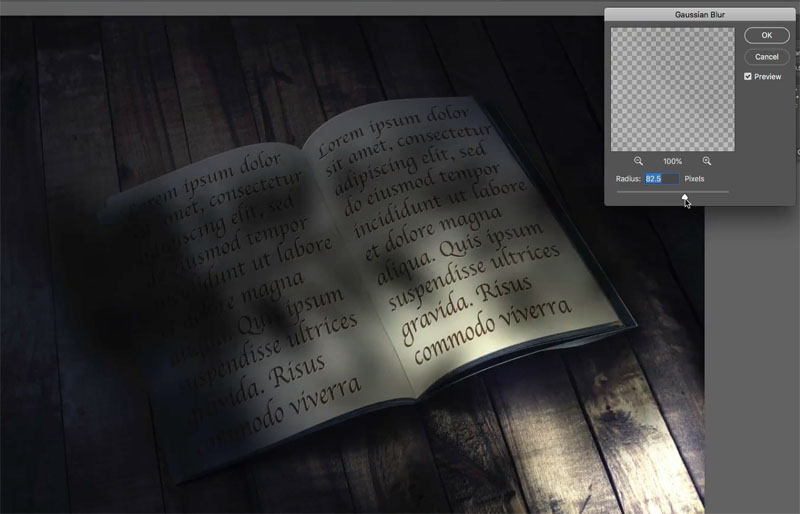
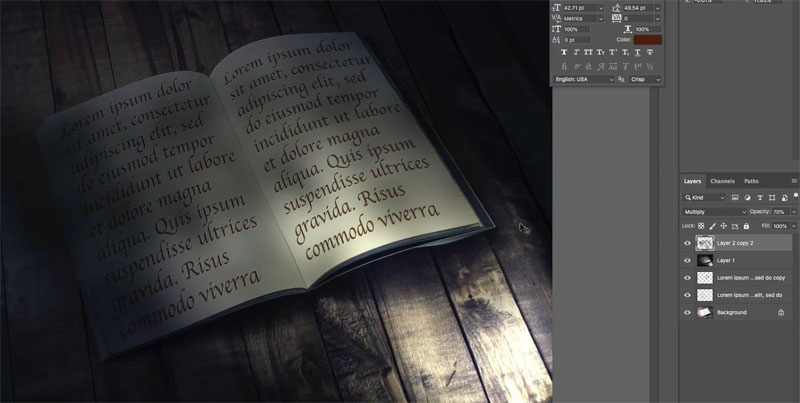
Try changing the opacity if the effect is too strong.
Choose Create new Adjustment Layer from the bottom layers menu and choose Curves.
Add a point in the 3/4 brightness and move it up to brighten the image and make the shadow pop if you like.
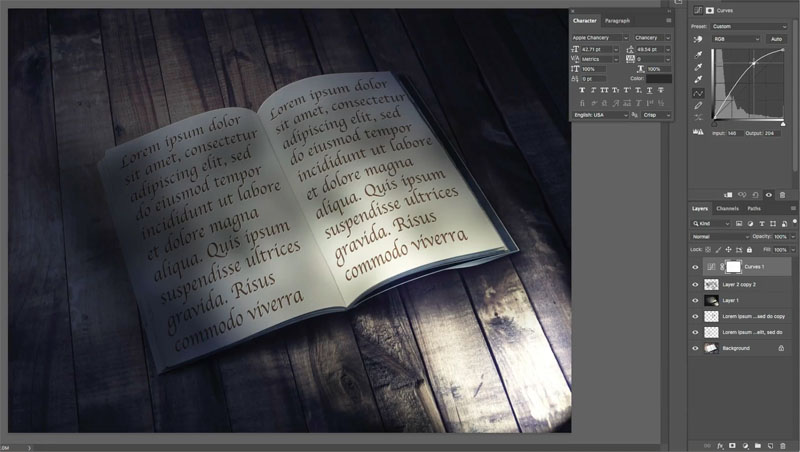
And there we go!
That was an involved one this week! I hope you enjoyed the Photoshop tutorial as much as I did making it.
If you liked it, tell all your friends and join our mailing list. Don’t forget to follow us on Social Media and subscribe to our youtube channel.
Great to have you here at the CAFE and see you next week!
Colin
This is part 5 of a series I’m making on Lighting effects, where we do something different with the lighting on a photo in each one. This series will really make your photos come to life.
If you enjoyed this please share it on social media
Great to see you here at the CAFE
Colin
Check out part 1 here for the basics and using a color channel for texture.
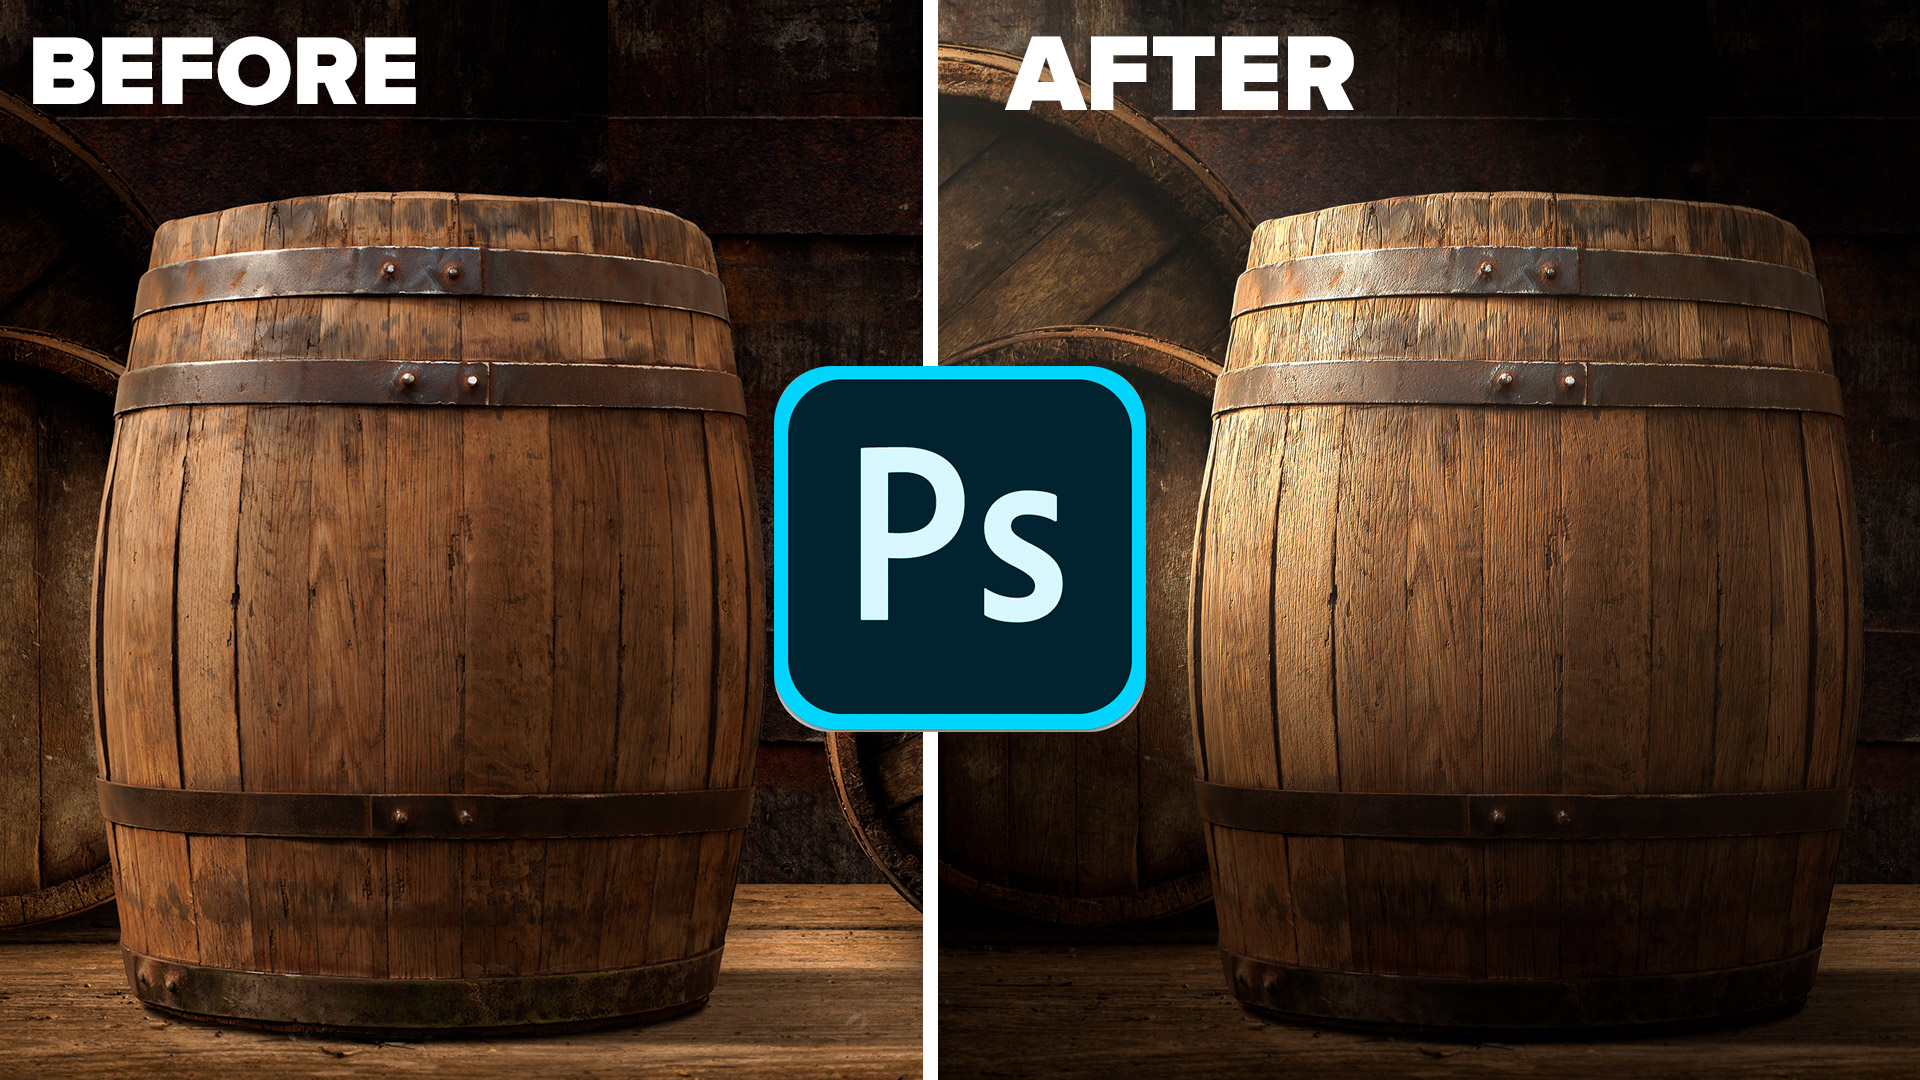
Part 2 is lighting a portrait
Part 3 is embossing a logo
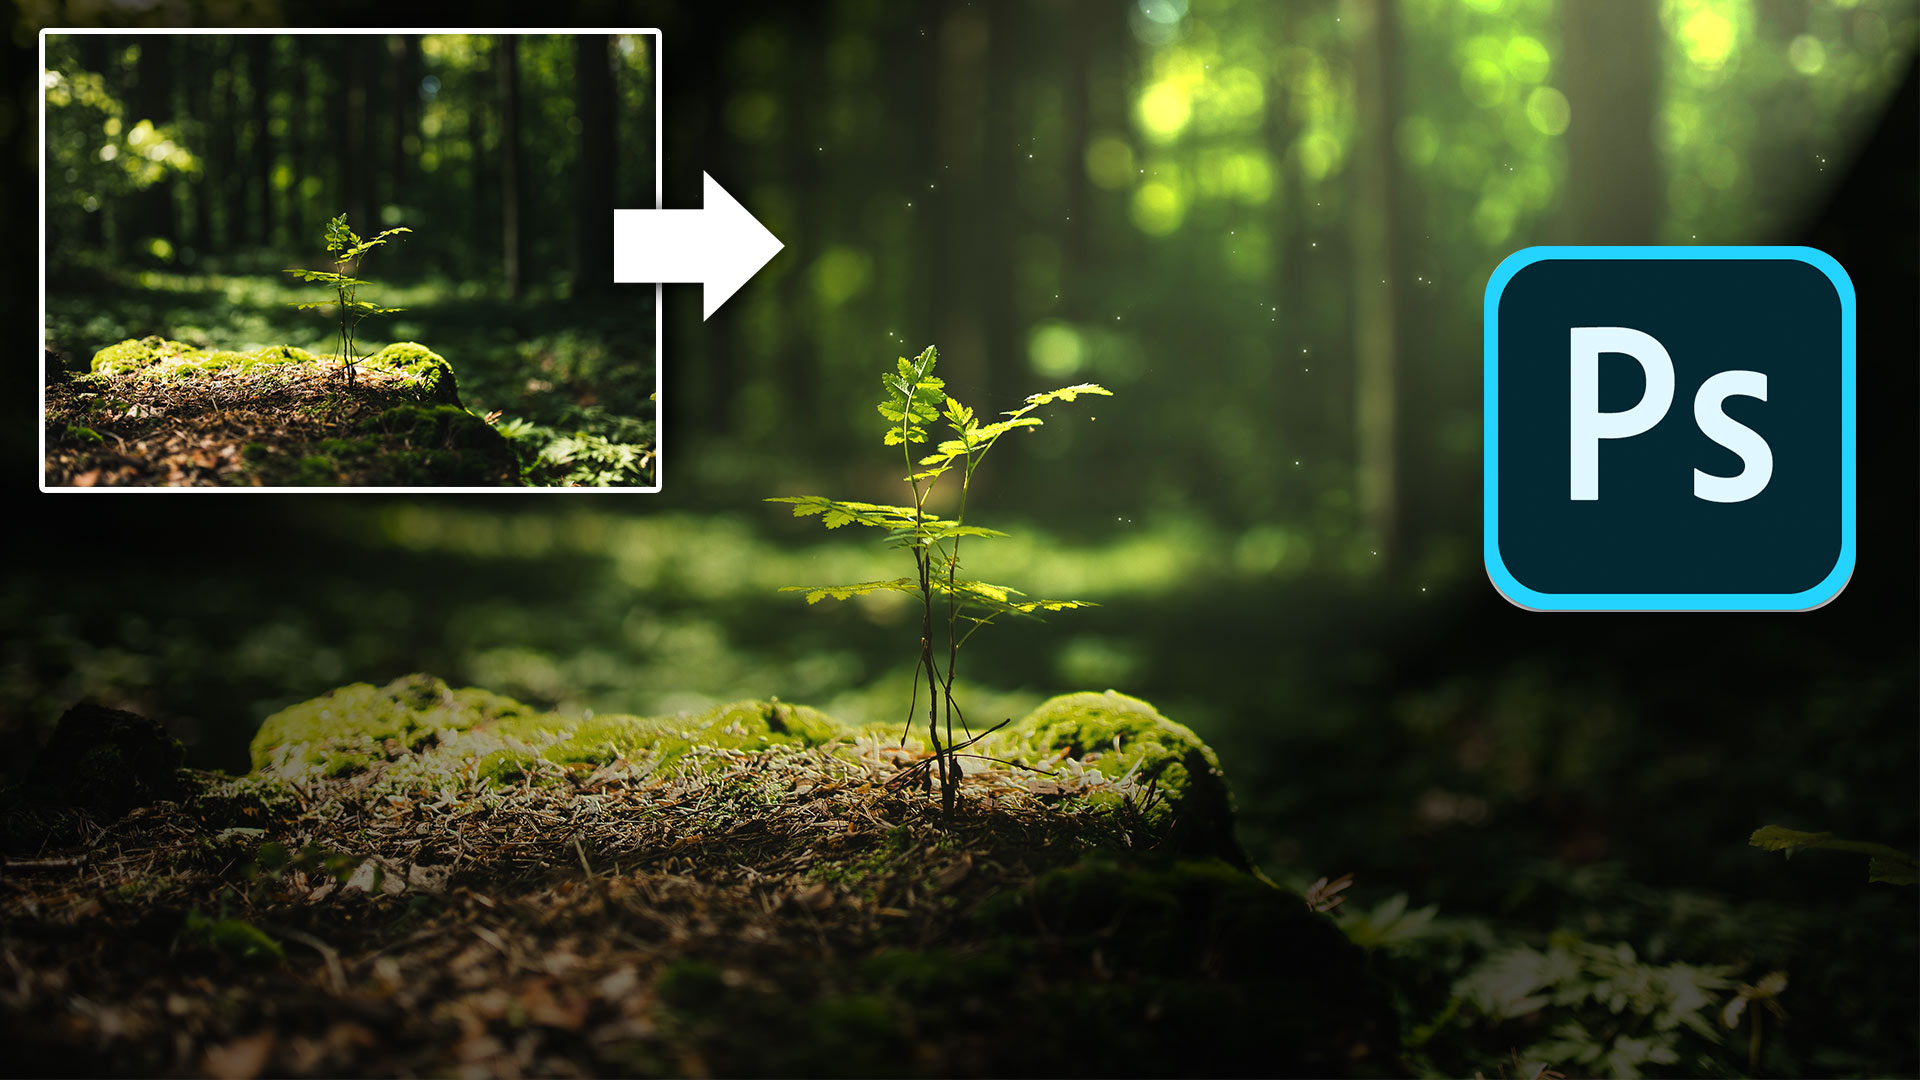
Part 4 is adding a beam of sunlight to a Landscape photo.
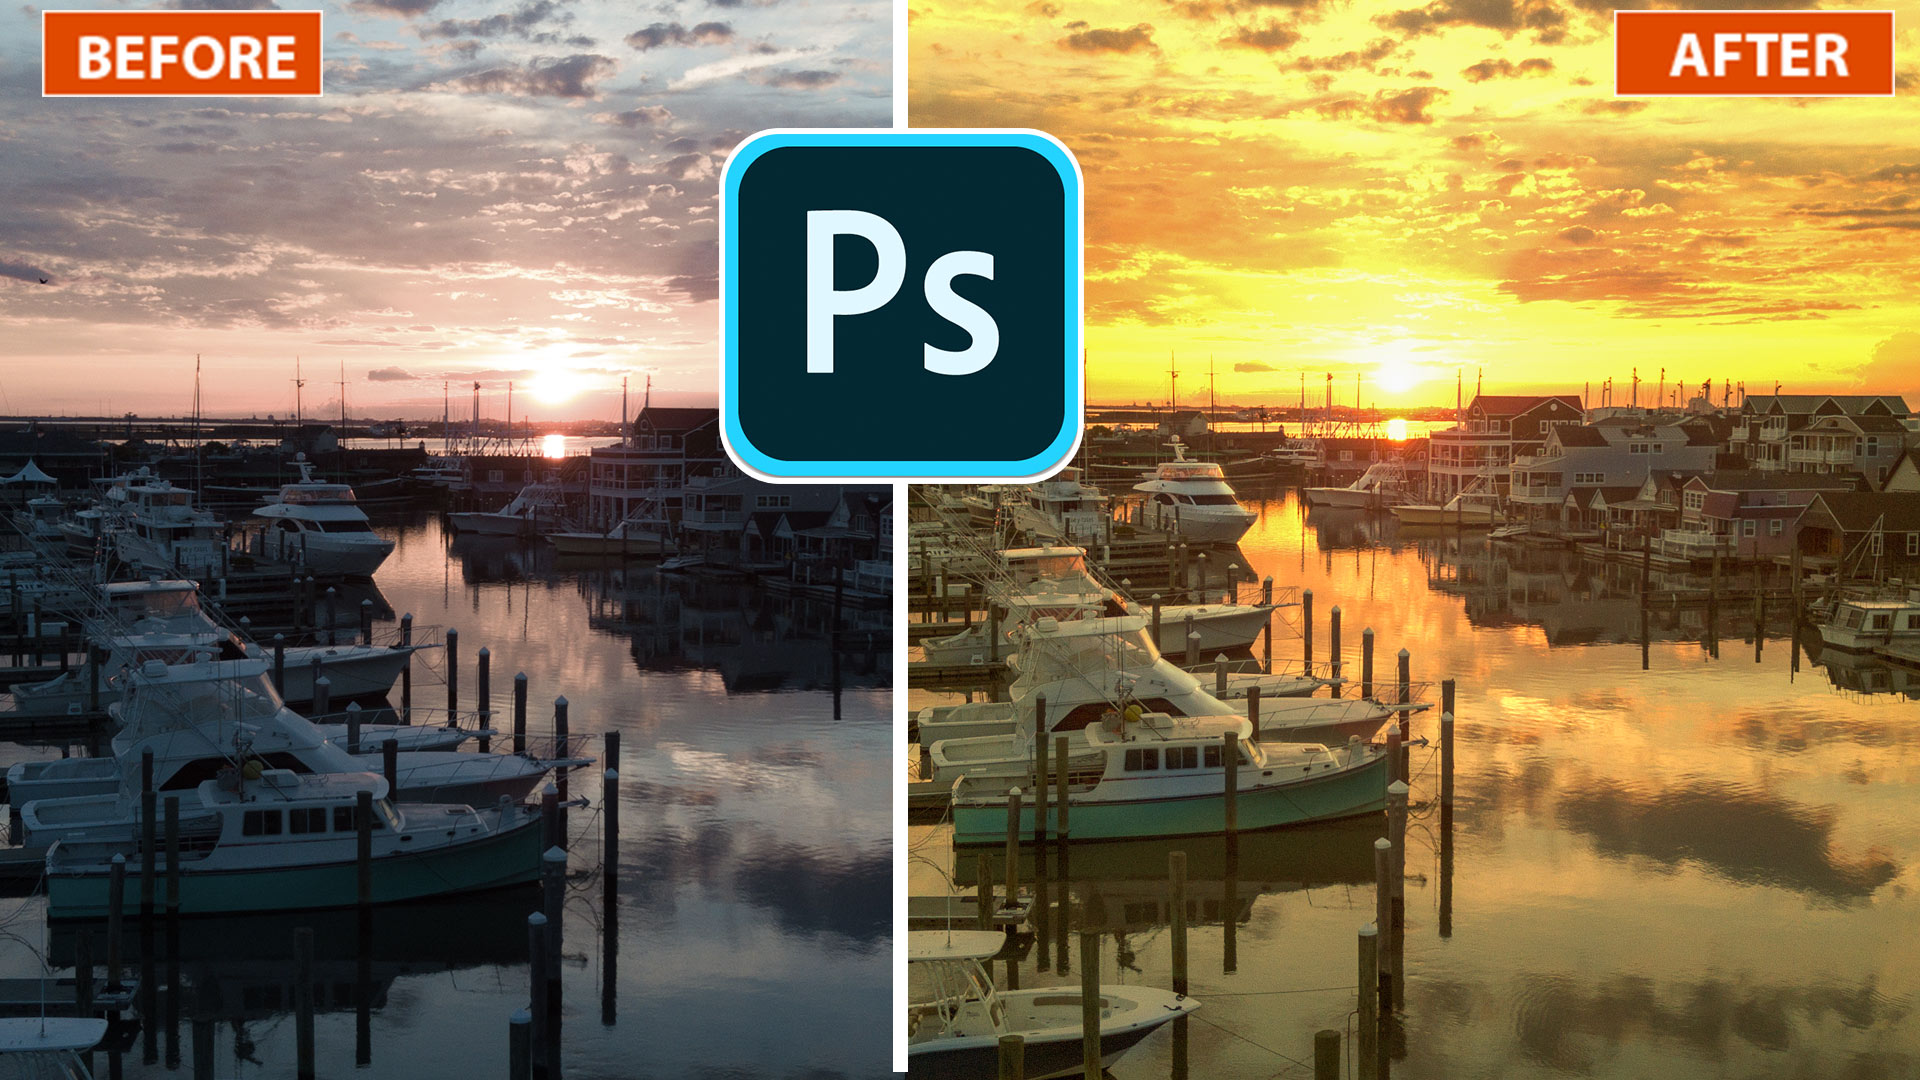
Part 5 is making a Sunset.
Browse our hundreds of other free tutorials here, or search for what you are looking for in the search at the top of the page.
You can also browse by topics in the free tutorials menu.
If you are ready to get serious about Photoshop, see our full length courses here
PS Don’t forget to join our mailing list and follow me on Social Media>
(Ive been posting some fun Instagram and Facebook Stories lately)
Great to see you here at the CAFE,
Colin
You can get my free Layer Blending modes ebook here
If you like these techniques and you would like to dive deeper into Photoshop, I have just launched an in-depth Photoshop Course. Its called Photoshop Secrets: Photoshop 2020 for Digital Photographers, Check it out here

This site uses Akismet to reduce spam. Learn how your comment data is processed.
Exciting New features in Lightroom Classic CC 7.3. New feature tour and how to load color profiles into Lightroom and...
This tutorial shows you the fastest way to create digital art with textures in Photoshop. You have seen stylized photos...
How to replace a sky in a photo and remove the haze from edges with the powerful sky Brush in...

Notifications
This was SOOOO helpful. I am always looking for lighting techniques in PS and you’re correct, I’ve never seen this one before.
Hi Colin, that’s another great tutorial about the lighting effect in PhotoShop. Thanks for sharing!
Wonderful I usually find most instructors go so fast you can’t digest the information. But this was the perfect speed. I feel like I could actually do this one. Thank you so much. Iam subscribed.
Great tutorial! Thanks.
That was terrific. I really like the step by step along with your calm and collected voice.