
How to make Avengers Dust effect in Photoshop, Infinity wars, endgame particle dispersion
Avengers dust effect, particle dispersion tutorial in photoshop
In the Movie, Marvel Avengers Infinity Wars, Thanos snapped his fingers and 1/2 the people turned to dust, and words like “I don’t feel so well Mr, Stark” were spoken. This Photoshop tutorial shows you how to create that dust effect as the people are slowly disintegrating and turning to dust particles. I previously made a particle disintegration tutorial, but this one is specifically designed to mimic the Avengers dust, that launch a thousand memes. Watch the vide and then check out the easy written instructions. This is for Photoshop CC, but can be adapted to other Photoshop versions.
Avengers particle dust effect in Photoshop
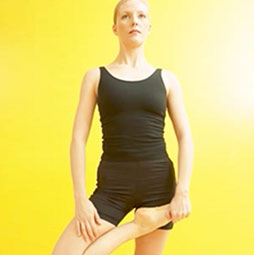
Lets begin with this picture I grabbed from Adobe Stock. To make it more visually striking, I changed her top to pink, (see tutorial on how to do that)
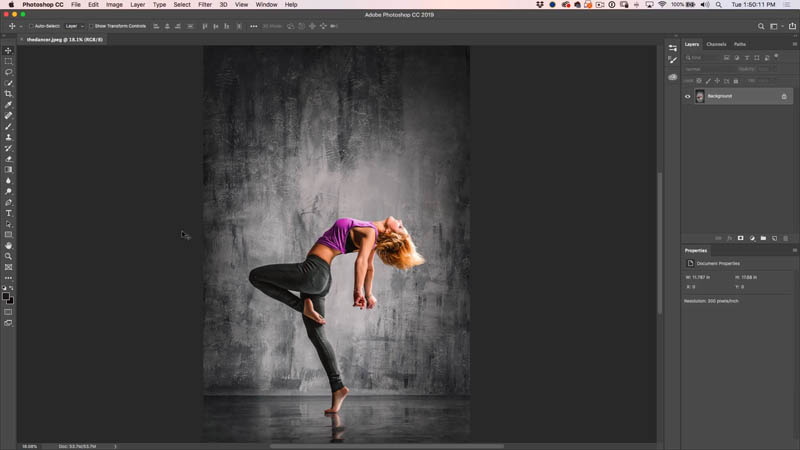
Step 1: select the person in the photo
Choose the Quick select tool
If you are in Photoshop CC, click at the top on Select subject. (Otherwise use quick select or magic wand to select)

Step 2.
Choose Select and Mask from the top, (older Photoshop version, use refine edge)
Grab the refine brush (1) and use it around the soft edges, especially the hair (2).
Choose Output to Selection (3) Click ok.

Step 3
You should now have a good selection around our person.

Step 4.
Press Cmd/Ctrl+J to copy the selected area to a new layer.
Press Cmd/Ctrl+J once again to create a second copy.

Step 5. Cleaning the background
We now need to fix in the background.
Press Cmd/Ctrl and click on the Layer thumbnail to lead the selection (Or Press Shift+Cmd/ctrl+D to reselect)
Click on the eye icon next to the 2 layers in in the Layers panel to hide them.

Step 6.
Choose Select>Modify>expand and expand the selection by 10 pixels.

You should now see a selection a little larger than our subject

Step 7.
Make sure you click on the background layer.
Press Shift+Delete (Mac), Shift+Backspace (windows) to open the fill dialog.
Choose Content aware for the contents.

Step 8.
Click ok to apply. The background will be filled. Don’t worry if it isn’t perfect, it doesn’t have to be.

Step 9: Setting up the layers
Choose the first layer with our person and name it expand and click the eye to show it.
(Name the top layer contract, but keep it hidden for now) as shown below.

Step 10.
Choose Filter>Liquify
Select the forward warp tool (selected by default).
Change the brush size (2) and start pulling the edges of our person until the entire left half of the image is filled with stretched pixels. These will become our dust later.

Click ok to apply and you should see something like this

Step 11.
Hold down the Alt/Option key and click new layer mask. This should apply a black mask to our expand layer and hide it from view
Choose the top layer (contract) and click on the add a layer mask icon in the layers panel. This will add a white mask.
You should have 1 layer with a black mask and the top layer with a white mask as shown below.

Step 12. Making the custom Photoshop brush
Create a new document, file>new.
Choose the brush tool (B)
Zoom to 100% Cmd/Ctrl+1
Add 2 dots and 1 or 2 tiny dots. This will be the basis of our brush.

Step 13
Make a rectangular marquee selection around the dots.
Choose Edit>Define Brush
Name it avengers, or whatever you like

Step 14. Mixing a custom brush in Photoshop
What we have now id our brush tip shape, but that’s not the brush.
Click the icon or choose Window>Brush settings to open the brush settings and change the following…
- Brush Tip Shape: increase the spacing to 30-40
- Scattering: Both Axis and 376%
- Shape Dynamics: Size Jitter – 84%, Control – pen pressure (if you have a Wacom, otherwise leave it alone), Minimum diameter – 5, Angle Jitter – 100%

Step 15: Adding the disintegration effect
Choose the top layer and make it visible. Make sure to select that layer mask (white rectangle in Layers panel) and not the layer.
Choose the brush we made (should already be selected) (B key for brush)

Step 16 Eroding the person
Press D to reset colors and make sure the foreground color is black,
Begin to paint on the mask around the front of the person to erode the edges. (Watch the video to see this in action)

Step 17 adding the dust particles
Choose the black mask on the expand layer
Hit the X key to change the bush color to white.
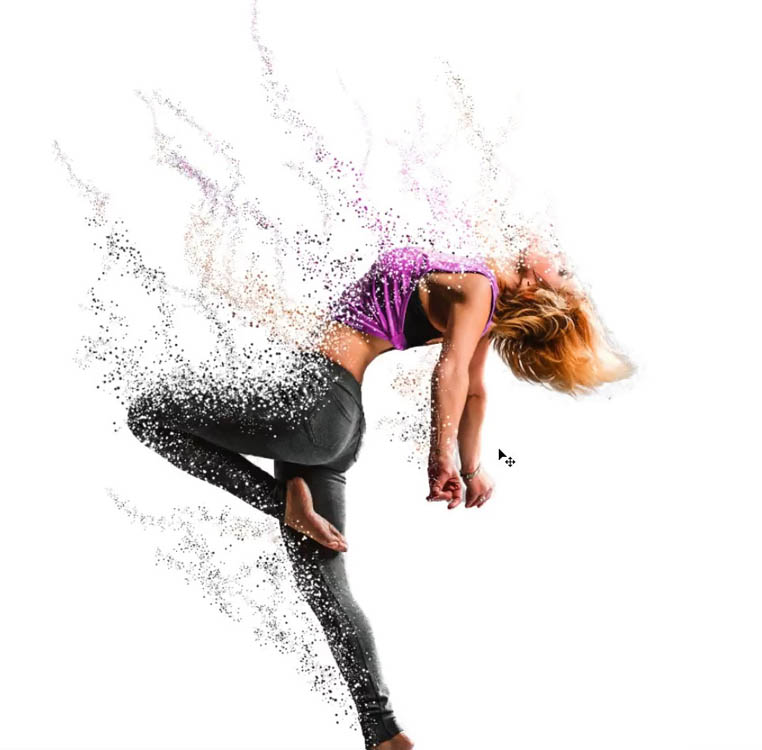
Begin to paint just outside the person, you will see the dust particles begin to appear.

Build up the particles and even make some trails by painting and changing the brush size ( [ and ] keys change the brush size). Remember: the dust should always be rising a little bit.

You can select the top 2 layers and drag into a different background if you like. (How to Combine images)

You could also try it against a white background if you like.

I really hope you enjoyed this week’s tutorial and that you had a little fun and learned something about Photoshop.
Thanks,
Colin
PS Don’t forget to follow us on Social Media for more tips.. (I've been posting some fun Instagram and Facebook Stories lately)
You can get my free Layer Blending modes ebook along with dozens of exclusive Photoshop Goodies here

7 thoughts on “How to make Avengers Dust effect in Photoshop, Infinity wars, endgame particle dispersion”
Leave a Reply
How to stack presets in Lightroom and Camera RAW There is something really important to understand about creating presets that...
Check out the new Parametric Filters in Photoshop, ultimate guide to Parametric Filters in Photoshop
Use Photoshop to get rid of those little love handles and slim a figure. Learn how to reshape a body...


Colin!!!!!! 🤭 you’re amazing 😉
You’re full of so many tricks!!!
Ay ay ayyyyyy!!! Thanks once again for all your fun and enlightening tips.
Have a fantastic weekend.
My favorite avenger? IRONMAN
Great effect. Can’t wait to try it. Now how can you make it make an object dissolve into dust in AfterEffects? Any help here?
Great tutorial Colin as usual and I always enjoy them.
Thor is my favourite Marvel character.
GREAT tutorial Colin, thank you! Captain America is the best!
LOVE this effect!!
It’s amazing how people conceptualize the setup frames necessary to get such an effect. I love playing with this type of
graphics. Thank you for the tutorial.
It would have been nice if Photoshop wouldn’t make such dramatic changes between versions. Tried following this on CS6 on a Windows machine. Got to the point of defining the dust making brush and nothing worked past that point