
Photoshop isolate and control color, 1 minute Photoshop Tip
How to make your colors really pop in photoshop. Makes skies instantly bluer and more. This 1 minute tip shows you how to use a adjustment (in a different way than intended) to gain super control and isolate the colors in photoshop. I think you will love this little hack that I came up with.
I am going to show you how to make colors amazing in Photoshop using tool you wouldn’t expect to use for color and that’s the black and white filter.
This is one of those “I wonder what would happen if” moments I had a few years ago. I knew that the Black and White Adjustment darkens and lightens the grayscale areas based on their color. I wondered how it would look on a color image if I used a blending mode. It turns out that it works great and I use this trick all the time now, so here I’m sharing it with you, as a useful trick to have up your digital sleeve. It works particularly well for skies.
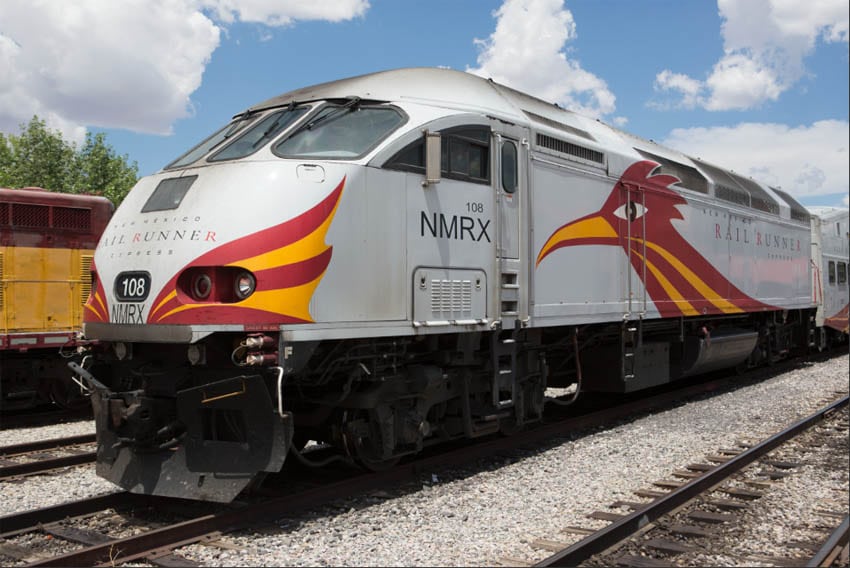
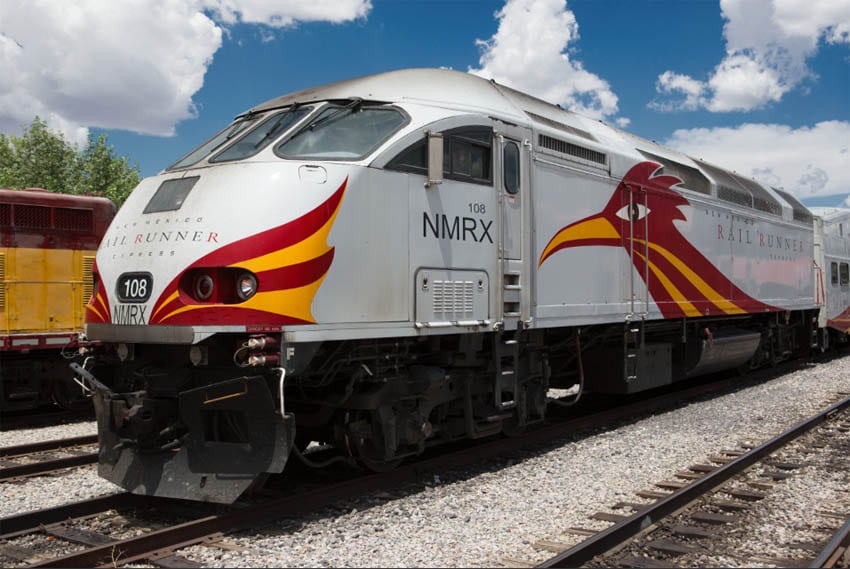
Lets start with this photo I shot in Santa Fe, NM.
I really want to make the sky and colors on this image pop.
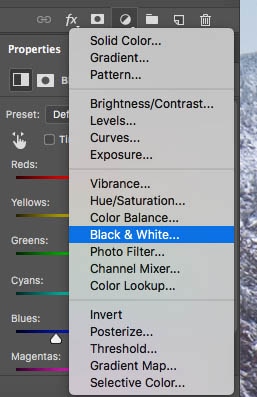
1. Create a Black and White Adjustment Layer
In the Layers Panel, click and hold on the Layer Style icon. Choose Black and White
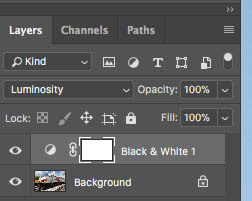
2. The Magic blending mode
Change the blending mode in the layers panel. Where it says normal, click and change to Luminosity.
Luminosity Blend mode will preserve the color and change the brightness of the image. (See my essential guide on Photoshop Blending modes tutorial here).
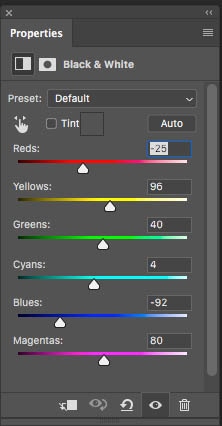
3. Make the adjustments
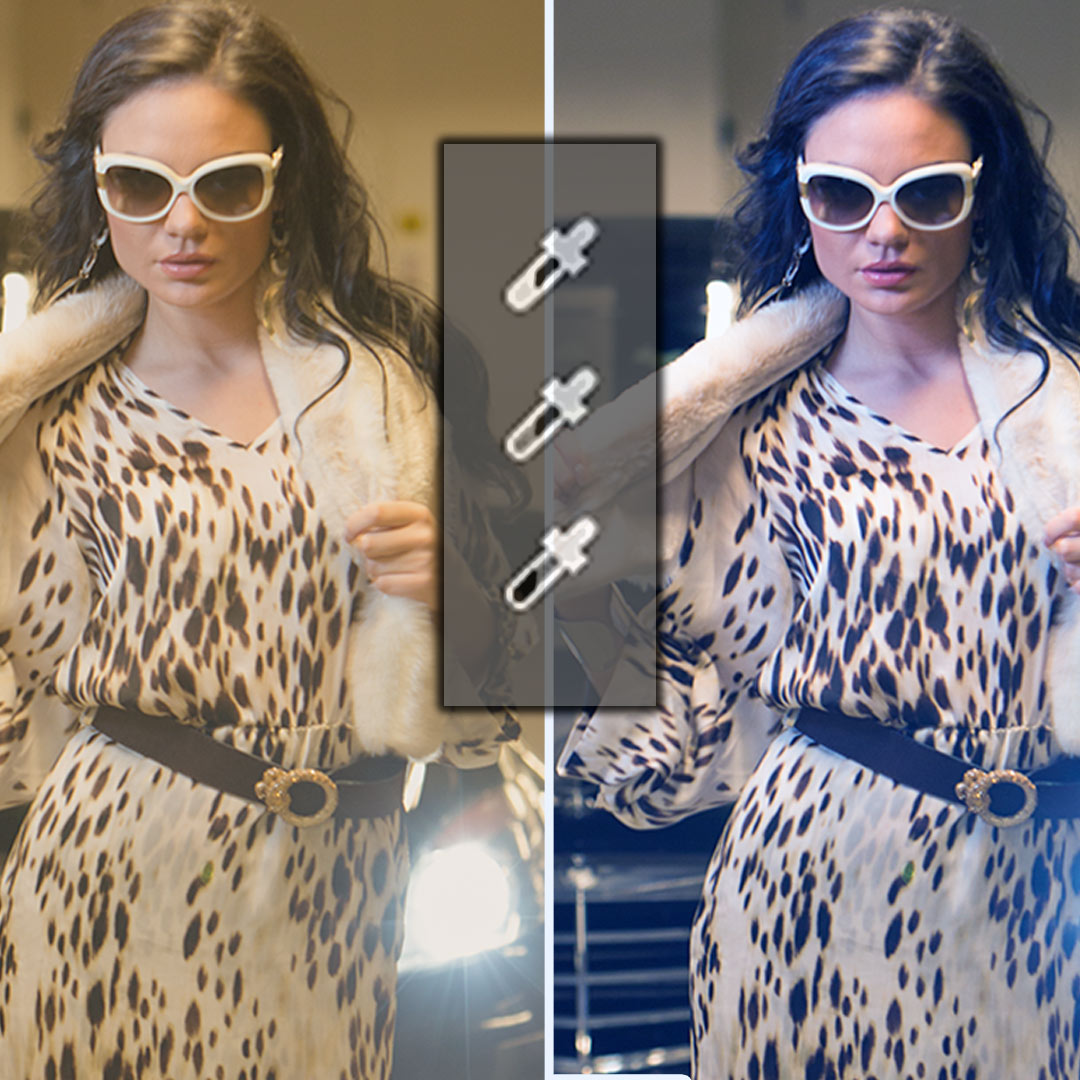
As you move the sliders, you’ll notice that the tones get darker or lighter under each of the colors.
And here is the end result, easy!
You may ask the question, Why not use the HSL sliders? Yes, HSL does a very similar thing and I do use it all the time. However you have the go into the Camera Raw to filter to do that. If you want to keep in nondestructive, you will need to convert the image to Smart Object, which isn’t a big deal if you aren’t going to apply any pixel level adjustments to the image. If you are looking for a quick fix which is non destructive without using Smart Objects, then the Black and White Adjustment layer will work perfectly.
There are many ways of doing things in Photoshop, and like a game of chess, the more tricks you have, the faster you can get to the end result.
Just one thing to be aware of with this technique, don’t move the sliders too much. Extreme movements can cause visual artifacts.
Let me know your favorite Photoshop hack in the comments!
Thanks for watching
Colin
PS Don’t forget to follow us on Social Media for more tips.. (I've been posting some fun Instagram and Facebook Stories lately)
You can get my free Layer Blending modes ebook along with dozens of exclusive Photoshop Goodies here

54 thoughts on “Photoshop isolate and control color, 1 minute Photoshop Tip”
Leave a Reply
In this Photoshop tutorial you will learn, color correction, and how to fix brightness and shadow in a photograph using...

How to cut out glass, smoke and liquids in Photoshop. Colin Smith shows you how to select semi transparent objects...
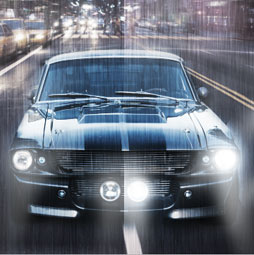
In this Photoshop tutorial, I’m going to show you how to turn on the lights in a photo. I made this car...


That is brilliant Colin. Absolutely brilliant. Will now be part of my work flow. Thank you.
Thanks for saying Tony!
Great Tip! Will try it out.
Hi Colin, For color correction, I used to create adjustment layers for, Levels, then Hue/Sat then unsharp mask. I have since learned nondestructive dodge and burn and camera raw filters from you, but not sure of how best to combine all of the above. Can you share your production workflow for color correction, that you employ for every photo?
To be honest, it really depends on the photo. I use different techniques depending on what the photo needs, but I usually always start in Lightroom or Camera Raw. Get the main tones and color, then I do retouching, then Dodge and Burn and finish with sharpening.
need to know how to get to black and white bit
I suggest watching again and pausing, but its a black and white adjustment layer in the layers panel.
Very cool adjustment, hadn’t really seen this before, wow, love it. Thanks!
Something else I do on occasion to punch up the details – Select top layer, merge all layers (ctrl/cmd-shift/alt/opt-E); Filter>Other>HighPass, setting at 10.0, then make that an Overlay blending mode layer. Drop the opacity to about 50%, depending on the result you want.
BOOM!
pearlie
Great tip Ill have to try it out
Actually, I made a tutorial on that technique here http://photoshopcafe.com/high-pass-sharpen-pro-way-sharpen-photos-photoshop-tutorial/
Great tip!!!!
Cool! Never heard of this and I love the control!
Who would have thought. Pearlie’s tip is a good one also.
what a great tip. so useful!
I love it. Could haves used this many times in the past. Thank YOU!
Pretty darn amazing Colin, thank you. Very useful tip!
THANK YOU FOR THE TIP-COOL.
This is a terrific tip.
Fantastic Tip Colin !! Beats my old way hands down!! Thank you
never heard of this fantastic tip. Thanks a million!
No i didn’t know about that
Thanks
Thank U Colin, Pretty good!!!! Ubetcha………………
What a great tip. Recently joined your site an already learning so much more new stuff. Love it . thank you <3
Oh my gosh! This is fabulous!
That is a technique that I have not thought of using either and will try with my own photos. Thank you. I really love your tutorials and I am already a subscriber.
Thanks. I think you can do exactly the same thing in Lightroom (uses the same Camera Raw obviously). I tend to use Camera Raw in LR rather than PS – then I Edit In PS if I need more complex processing. Go to HSL/Color/B & W, choose Color and then select the color you want from the 8 colored rectangles and use the Luminace bar
Hi Colin,
That was a lovely short tutorial. I have a question for you. How do we use this method if we have different shades of the same color in the image ?
It will only work on colors, so it won’t work on that image.
Can’t wait to try it out ! Great tip .
I didn’t know about that one. looks like a great tip. I must try it next time. Thank you very much
that’s very cool. thank you for sharing it.
Thanks.
Great, as as always!!! 🙂
Never heard of it but like someone said already. From this point on; it’ll be part of my work flow.
Thanks, Colin.
BRILLIANT. I often use adjustment layers with different blending modes but had not figured this one out! Thank you. 🙂
I found out about this sometime ago and incorporated it into my workflow. Like Colin showed, it does amazing things to colors. What would be amazing is if someone came up with a way to make the gray tones different (sort of like the zone system that Ansel Adams came up with). Currently, what I am doing is making a new layer and setting my opacity to 10% then each swipe is a different zone.
Google “luminosity masking”
To describe the tip in one word. “Awesome”.
To describe this tip in one word. “Awesome”.
Colin,
Thank you sincerely.
Keep up the great work.
I look forward to all of these ‘tips’.
Denis.
Great tip Colin, many thanks for sharing, can see myself using it on regular basis
Really clever tip Colin, thanks. Shall be using it in future, and it is so simple.
I use PS CS3. As soon as I choose B&W adjustment layer, blend mode becomes ghost and no change is possible. Please help
Not sure why or if its possible in CS3, maybe someone with CS3 can chirp in here?
Unbelievable! I’ve been using and teaching Photoshop for over 15 years and never came across this! How in the world did you discover this? By accident? Will show my students and tell them to subscribe also! Thanks!
It just occurred to me one day to try it, while doing a B+W, I wondered if it would work on a color image, and it did 🙂
Fantastic tip. Love the weekly tutorials. My college-aged daughter will love this, too. Thanks so much!
Thanks Colin. I have enjoyed your tips and this simple process may well be one of the most useful for me.
When I clicked on the Luminosity blend mode I didn’t get the color sliders. Do I need to change a setting somewhere?