
How to Change the background in Photoshop, quick, easy tutorial

How to replace a background in Photoshop Tutorial
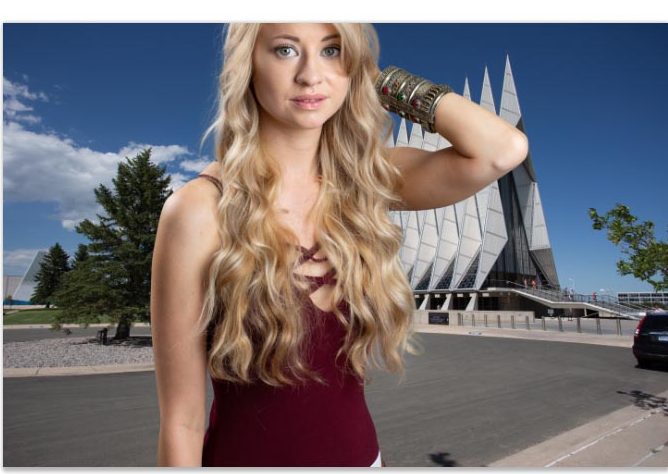
Learn the quickest and best way to cut out a photo and put it on a different background in Photoshop. This Photoshop tutorial uses Select and mask in Photoshop.
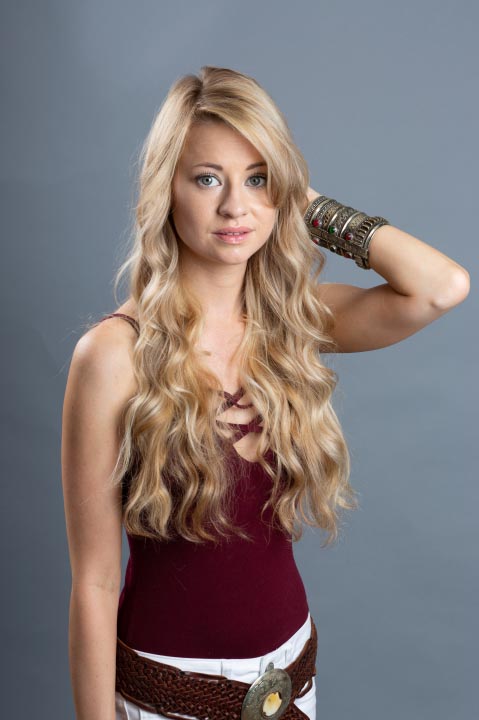
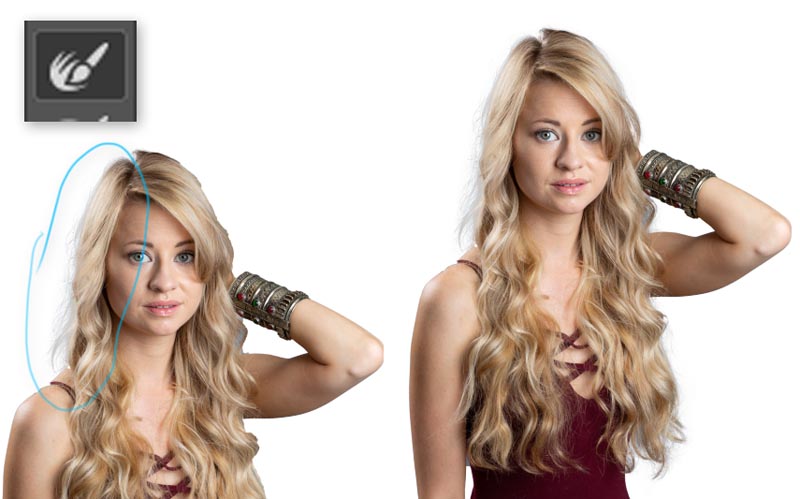
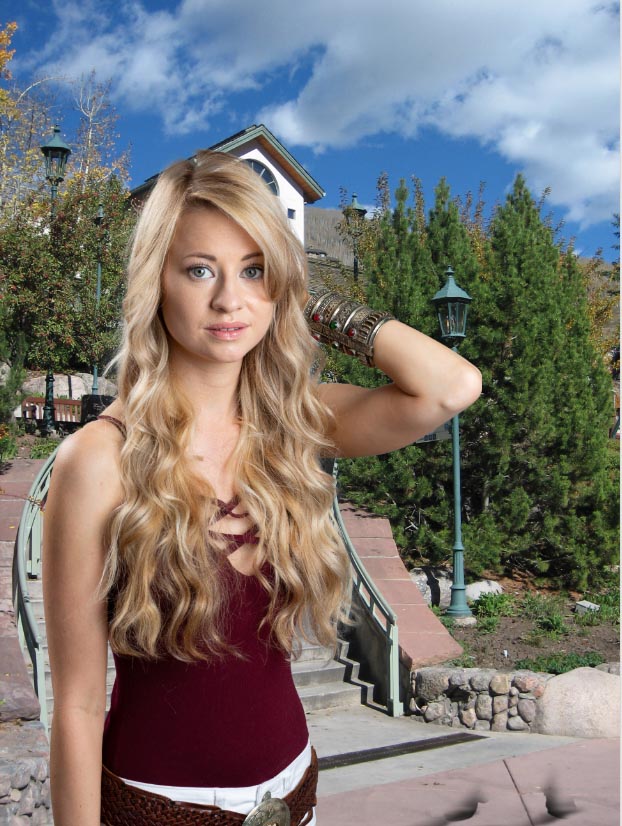
In this case, I shot the model, Callan against a seamless background made of gray Savage paper. I recommend using a simple background if you know you are going to cut out the photo. If you have a complex background, use this tutorial, on cutting out difficult images.
(Click to subscribe to our youtube channel for more tutorials). 
© Colin Smith Photography
Step 1
Choose the quick selection tool
![]()
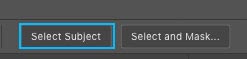
Step 2
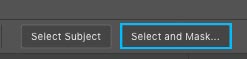
Click on Select Subject in the top
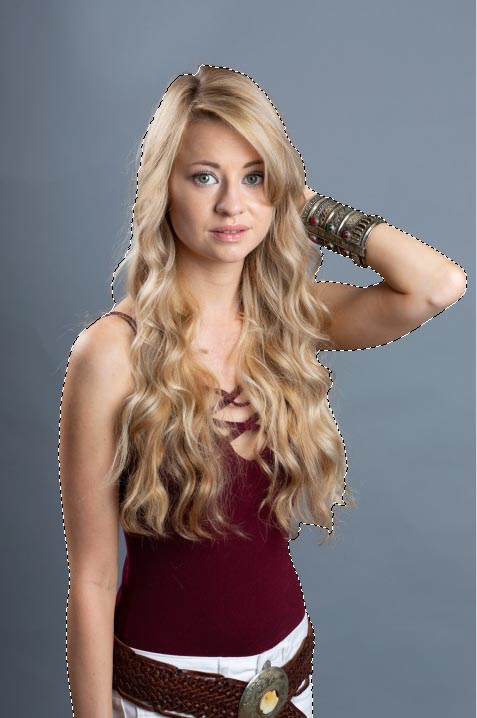
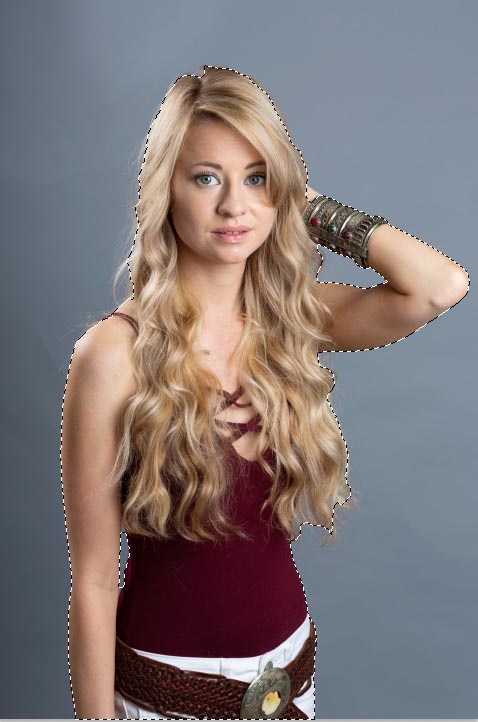
Step 3, refine the selection
Use the quick select brush to add to the selection by using a small brush and clicking on areas to add to the selection. To deselect areas, hold down the alt/option key and use the quick select brush.
Step 4
Click on Select and Mask
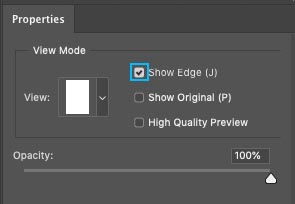
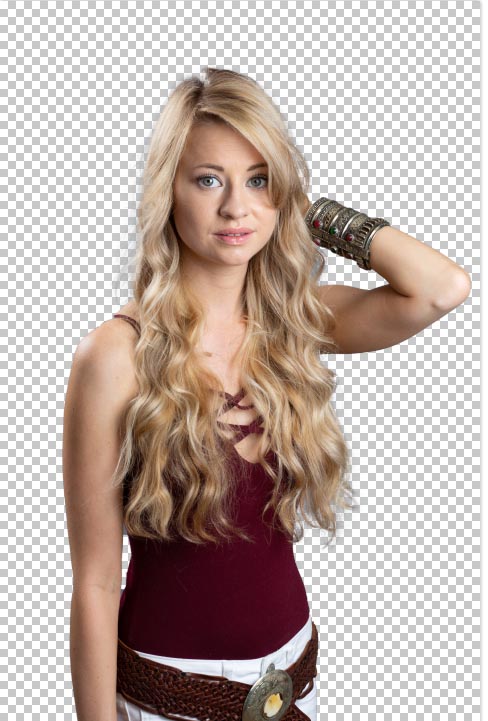
Note the view and Opacity settings I have chosen to show the cutout on a white background.

Step 5
Turn on Show edges
Adjust the radius until you see a thin outline.
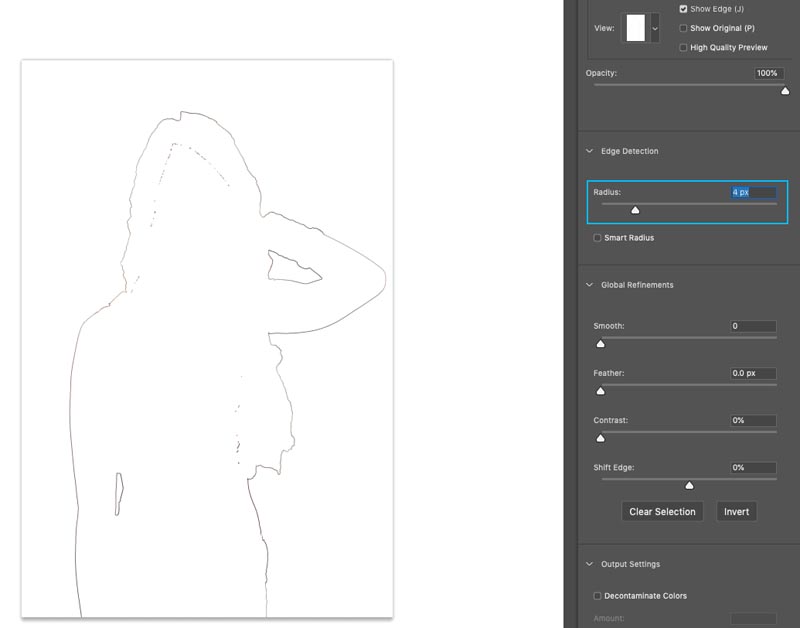
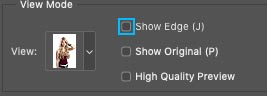
Turn off “Show Edges”
Step 6
Use the refine brush around the hair ![]()
Step 7
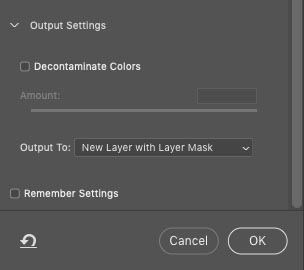
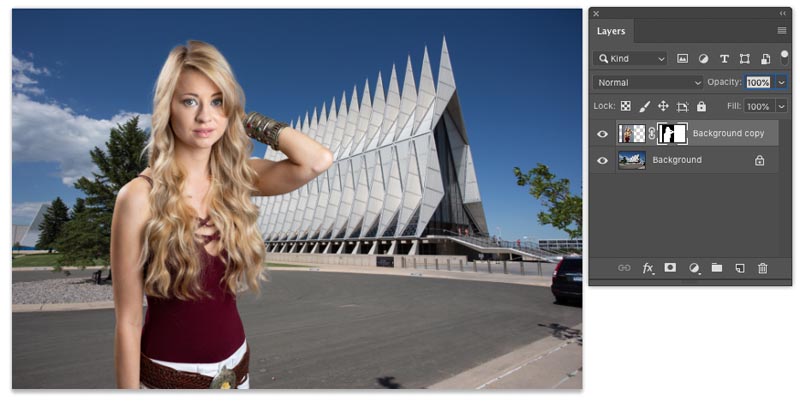
Choose New Layer with Layer Mask from the options
Click OK
Step 8
Open the image with the new background

Step 9
Go back to your cutout image
Make sure you have the layer selected and not the mask.
![]()
Drag into the menu tab for the new background (don’t let go yet) wait for the window to open
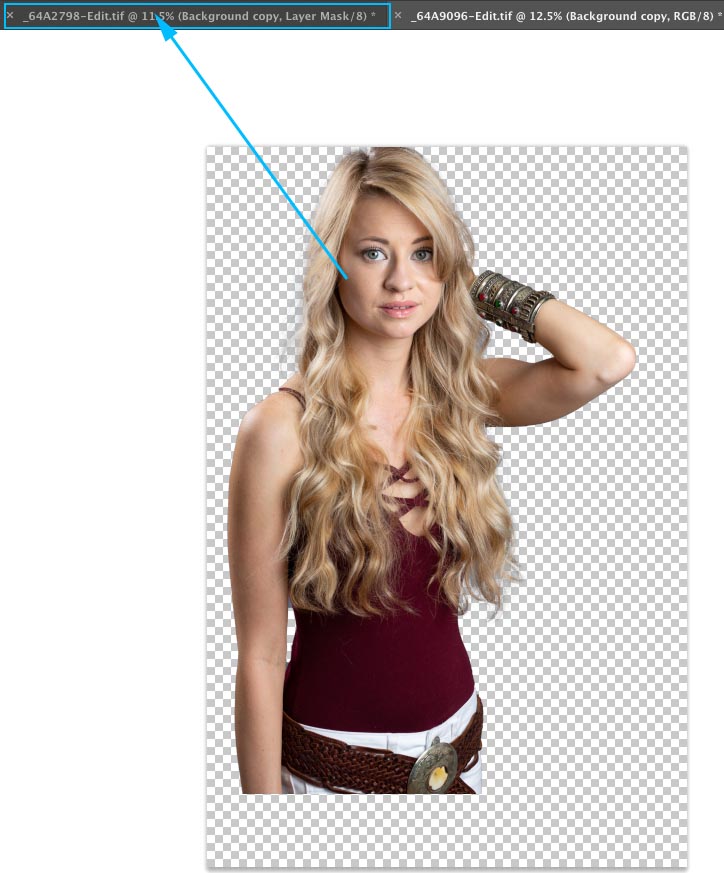
Drop the photo on the new background. (If you are stuck on this step, see this tutorial)
Step 10
Press Ctrl/Cmd+T for free transform
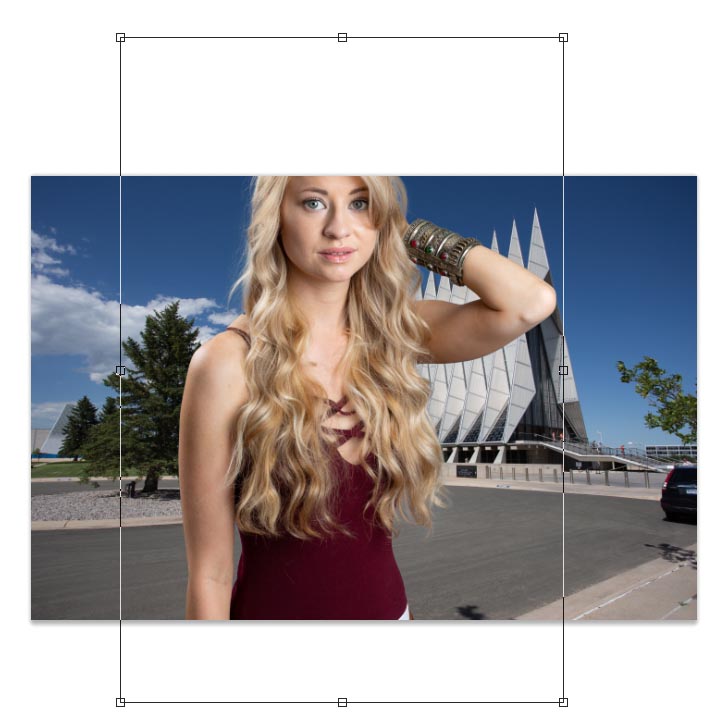
Position, Scale and rotate the layer to fit the background.
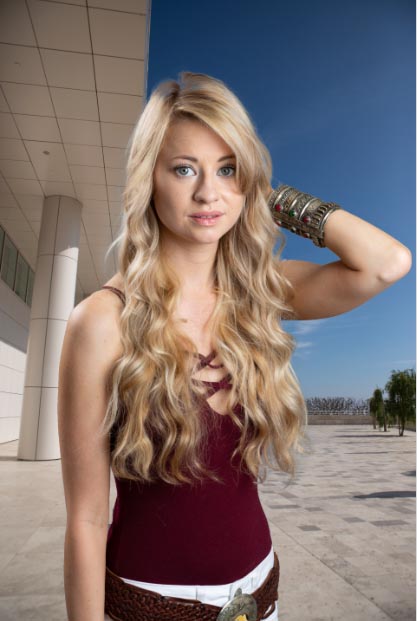
Try it against some other backgrounds if you like.
Xtra Credit
Check out these tutorials to help you get a good match on your 2 images, this is called a composite. (Hit the search magnifying glass at the top of the site to search for more free Photoshop tutorials on Compositing.)
Great to see you here at the CAFE!
Colin
Here are some more tutorials on Cutting out images in Photoshop
- ► 3 best ways to cut out a photo in Photoshop
- ► Using the Pen tool in depth
- ► How to cut our transparent objects
- ► How to cut out trees in Photoshop
- ► How to extract impossible images
- ► How to cut out hair in Photoshop
PS Don’t forget to follow us on Social Media for more tips.. (I've been posting some fun Instagram and Facebook Stories lately)
You can get my free Layer Blending modes ebook along with dozens of exclusive Photoshop Goodies here

27 thoughts on “How to Change the background in Photoshop, quick, easy tutorial”
Leave a Reply

Photoshop Camera Raw is a powerful photo editor. Presets can easily change your photographs with a single click. This free...
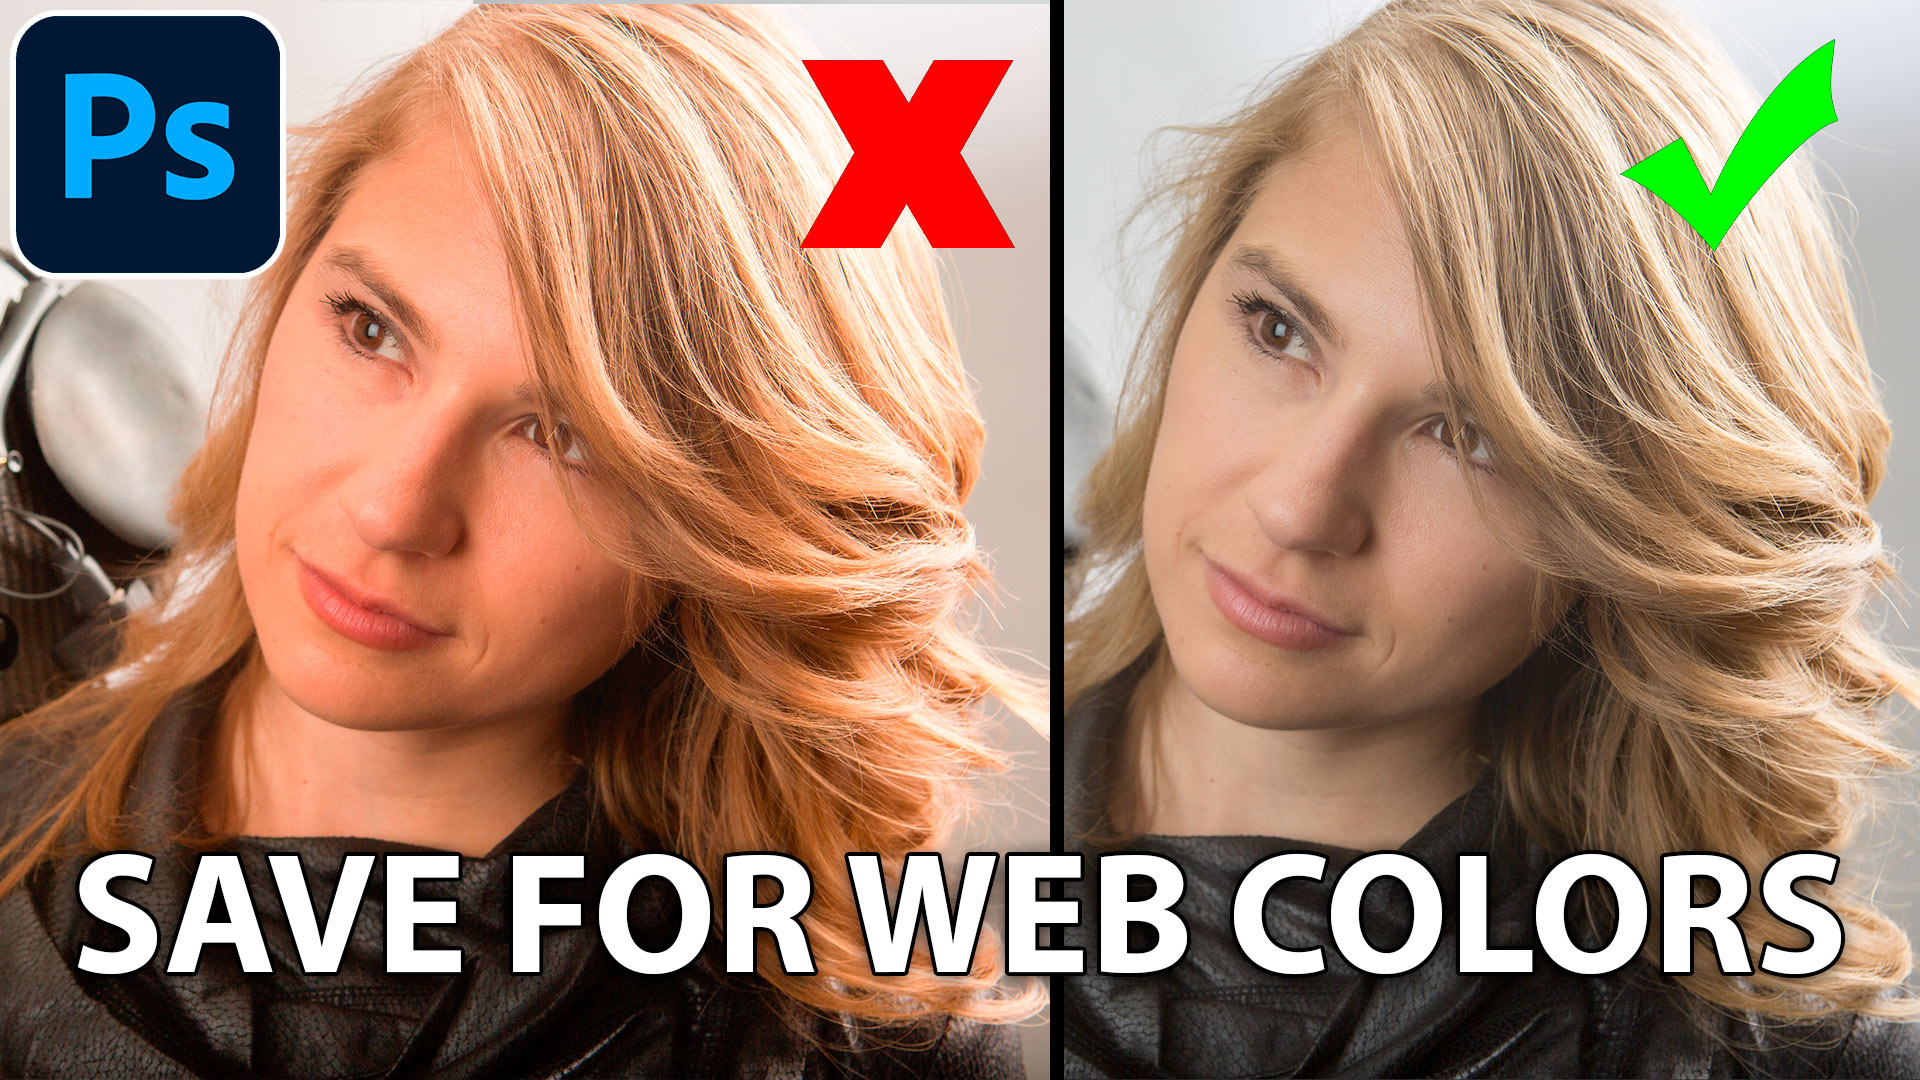
How to color manage Photoshop for beginners, so that your colors don't change when you output your images

The essential chrome effect, don't leave home without it. This works on any object, not just text. Learn how to...


Colin,
The biggest problem I have is the removal and/or clean up of Chromatic Aberration.
Ed
Hi Colin,
I already knew how to do this, but my biggest area I need to practise, is to match the lighting and shadows after cutting out an image and matching the shadows and lighting to make the image appear inbedded into the background.
Oh, by the way, I know how to apply a drop shadow and use the dodge and burn tools, just wondered if there were other ways to give the figures natural lighting and shadow that match with the background.
Absolutely love your tutorials. Thanks so much. Is there a way to download your tutorials so I can put
them on my desktop for easy reference?
Thanks 🙂 We only have downloads of the premium tutorials, they also come with the images used
Biggest challenge for me: compositing, especially for use in Premiere Pro or After Effects. Also, the refine edge brush is a real hassle when making selections from a non-solid background.
Thank you Colin
I’ve had a few occasions recently of having to separate a subject from a similarly toned background. (A very narrow) Color Range does a so-so job (quick selection won’t really work). Is there some other selection technique I’m missing (these were scanned B+W negatives, so selecting the best channel wasn’t an option)?
yes, I have lots of tuts on cutting out and masking here at the CAFE. Browse through them, or go to the search box at the top of the page
I only have PS5. extracting hair, feathers, as I do quite a bit of Bird photography and need to change BG’s, and semi transparent items is a nightmare. Obviusly, cleaner the background the easier but one still ends up with problems. Is there a simple way to overcome this. Have tried various techniques from other tutorials but still struggle.
Great stuff Colin, thanks. Biggest problem I have is after I’ve cut out my subject and put it into a new background, it always looks like it’s been added on and not part of the photograph.
Thanks Colin! I have been trying to do this technique but it was not possible until I saw the tutorial. Usually I had to remove backgrounds and I been wasted a lot of time, now I can do that easy, clean an fast!!!
My biggest problem is switching from CS3 to CC 2019 – trying to catch up with the new way to use the tools. I am thankful to you for helping me with that successfully. …but it is slow.
Thanks Colin your tutorial is very easy to understand
My problem is masking a veil or things that are transparent have you got a video on any of those particularly masking a veil.
I love your videos
Thanks.
The one I did on transparent masking is the same technique
Colin,
After copying every word in a different tutorial by PS, turns out that in v21.1.2. there are no options in Output Settings like ‘layer mask.’ So what do I do now? Thanks. I am so close to doing this and now this glitch!
Did you watch the video?
He best tutorial I have come across for a beginner in photoshop
thankssss Usually I had to remove backgrounds and I been wasted a lot of time, now I can do that easy, clean an fast!!!
The Most Difficult Thing in Photoshop for me is to change the backround colour of an image.
Are there any books available to teach how to change a background using photoshop 2021?
Lemme have more stuff of Photoshop
Nice Post, I love your technique, It’s really helping post. Thanks for sharing.
The best tutorial I have seen, I have been struggling with this for months! Thank YOU!!!!!
This is the best article I have read. I was looking for this type of information and finally, I got it from your site.
thanks all