How to add strong color to white in Photoshop
Changing difficult colors in Photoshop
One of the common tasks people want to do in Photoshop is changing the colors of objects in pictures.
There are several ways to change colors in Photoshop, but colorizing white can be a special challenge, until you do this tutorial, then it will be easy.

The reason this is difficult for some, is that most methods of adding color will leave you with washed out color, as shown beneath.

This tutorial will show you how to get nice, rich, solid color as shown in this image.

Starting with this image submitted by Laurie Dale, we want to match the roof colors on the gazebo.

Choose a new Hue/Saturation Adjustment layer in the Layers panel.

In Properties, color on the colorize button.

Increase the saturation.
Notice the midtones are nice and red, but the darks and lights are washed out and not taking the color.

Here is the secret, and it’s simple. The solution is in the brightness slider.
Darken lightness and now the whites are a nice right red (or any color you choose from the hue slider)

Brighten the lightness and the blacks are now richly colored.

Let’s colorize the roof.
Darken the lightness so the roof is a nice strong red.

We now need to invert the layer mask, so the color isn’t over the entire image.
In the Hue Saturation layer, click on the white layer mask,
Click invert in the Properties panel (Or press Ctrl/Cmd+I) to invert the mask and make it black.

The color will now revert to the original colors because the mask is hiding the red.
Let’s paint the red only where we want it.
Choose a paint brush
Set foreground color to white.

Paint white on the roof and the white will reveal the color as you paint
The hue saturation adjustment will only show where you paint with white on the mask.
Here I used a selection tool to help keep the color inside the roof (the video above shows all these steps)

Now. all thats left is to make adjustments to the Saturation and Lightness to match the roof colors.
If you are using color other than red, also make adjustments to the hue slider.

And you can see it was really easy.

I have other colorizing tutorials, including how to get an exact color in Photoshop.
How to Colorize a Black and White Photo
How to remove a color cast in Photoshop
Thanks for checking out this tutorial
Colin

Keep growing with Premium Courses
Photoshop 2026 for Digital Photographers
Learn Photoshop properly, from the basics to pro retouching, step by step.
$129.00 · one-time purchase · instant download

Free for you
The Photoshop Vault
Get my free Layer Blending Modes ebook along with dozens of exclusive Photoshop goodies: actions, brushes, presets and cheat sheets.
You're on the list, so your free goodies are waiting for you in the Vault.
Get Free Photoshop Goodies Open the Vault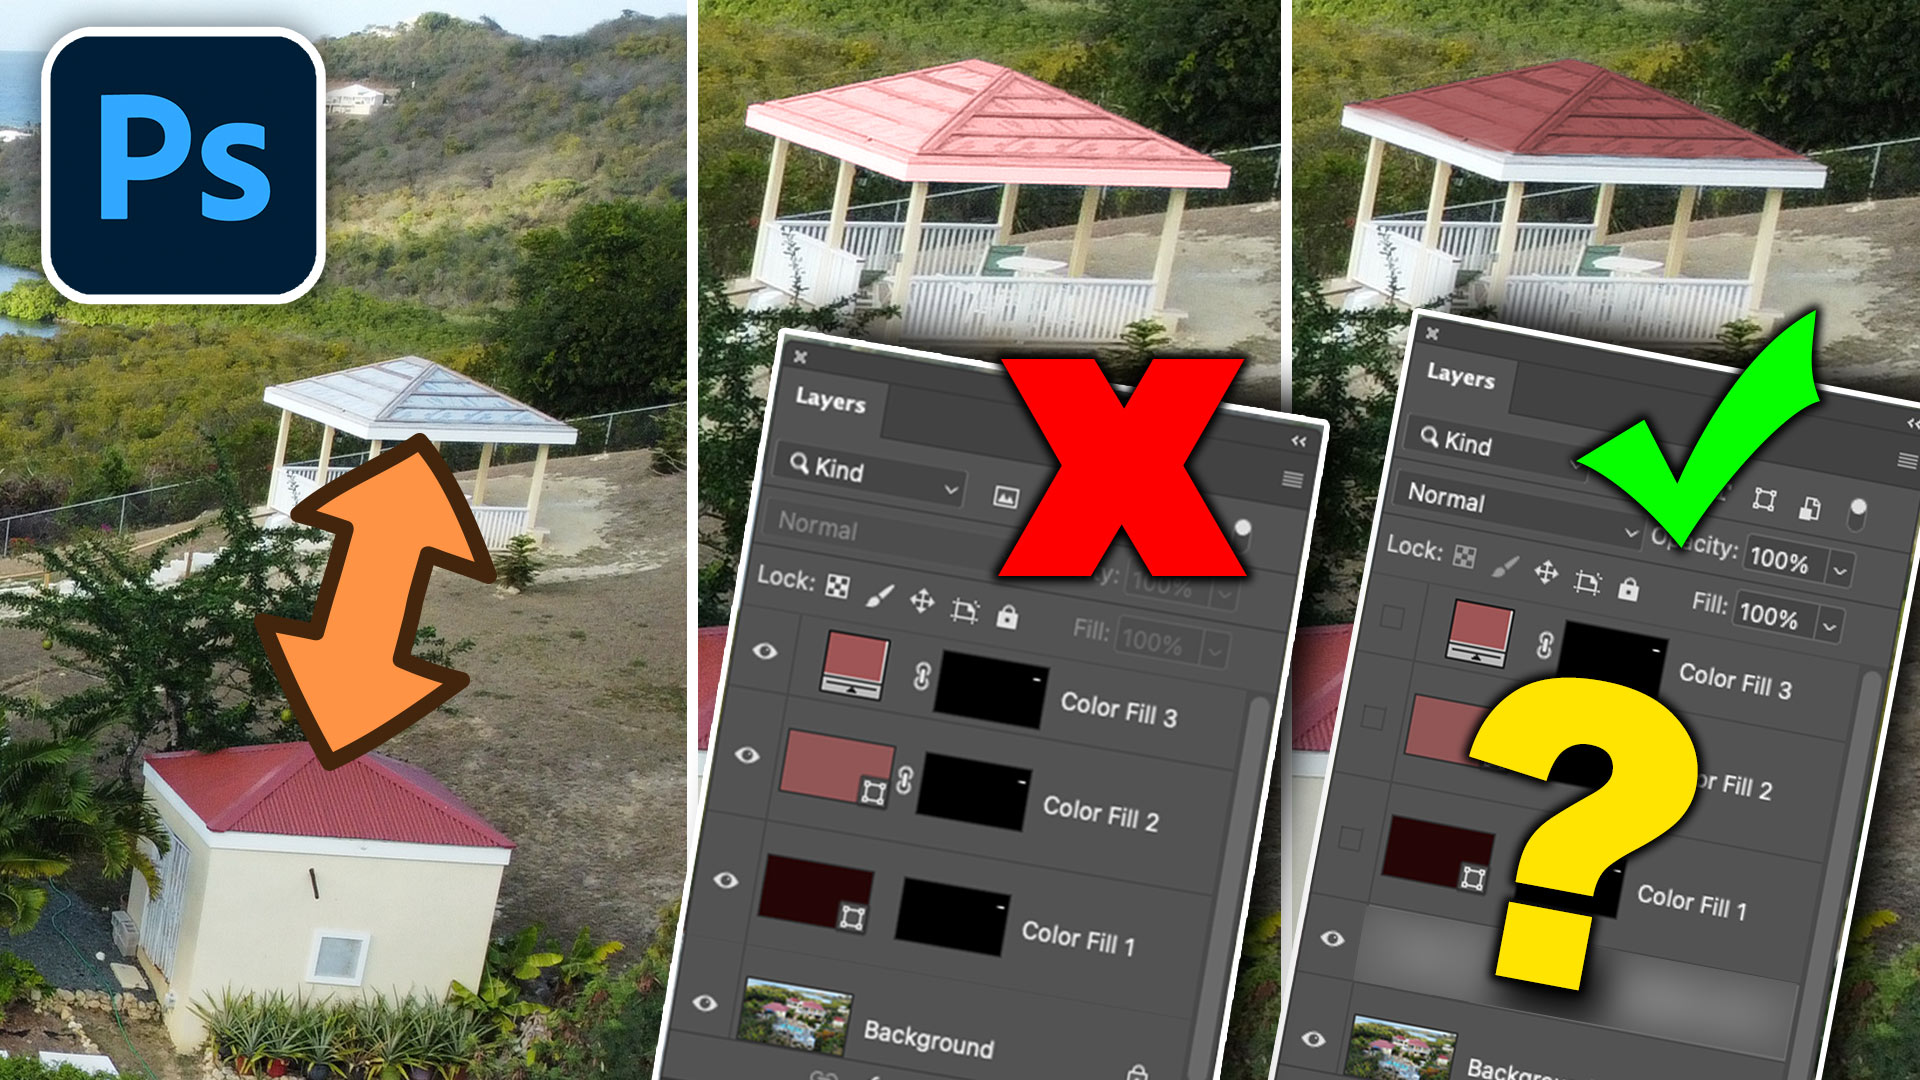

How to Turn White into deep Color and colorize Black in Photoshop
How to colorize white or black. Quick steps to change white or black areas into color with ease. Read tutorial
Automatically Colorize Black & white photos in Photoshop tutorial. Make Photoshop use different colors.
How to automatically colorize a black and white photo in photoshop using AI powered tools. New features tell Photoshop what colors to... Read tutorial
Photoshop colorize neural filter, 3 tips for total control over color
I have been experimenting with the amazing colorize ai powered filter added to Photoshop. I discovered a few things that will really... Read tutorial
How to remove color tints from photos in Photoshop, gel removal.
how to remove a color tint and restore natural color of a photo in photoshop Read tutorial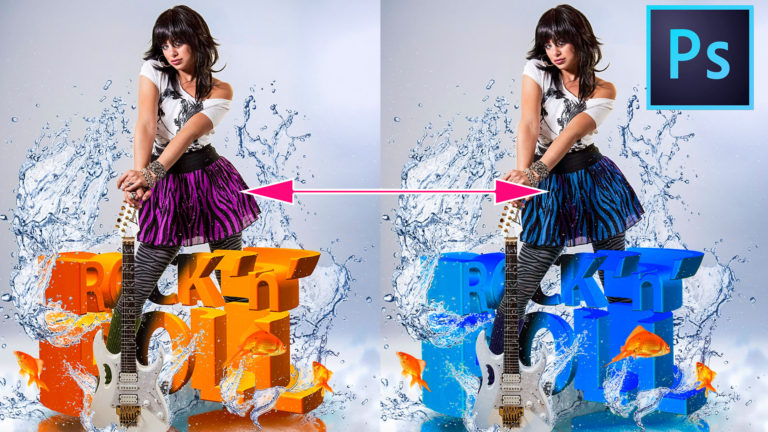
How to Change the Color in complex objects in Photoshop without selections
In this Photoshop tutorial, Colin Smith shows how to instantly and easily change the color of something in a photo using Photoshop.... Read tutorial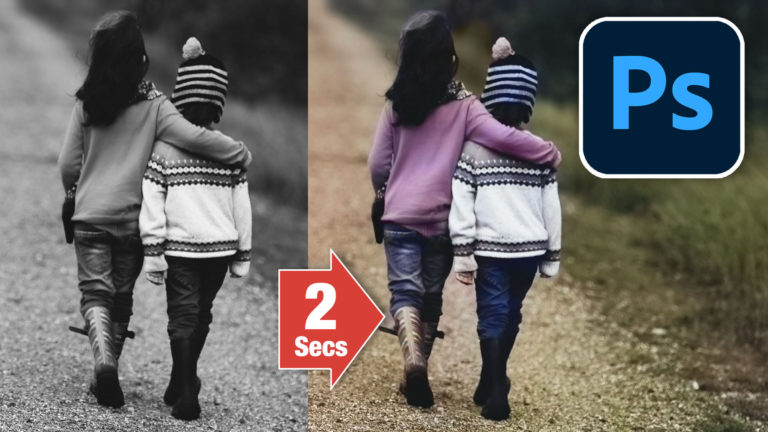










Thats cool. Im looking for the way to match color cast from one image to another. Can you direct me?
Brilliant and so simple. I love your tutorials. Thanks. David
Another great tip! Thanks!
@Lynda Sample the color cast from a gray area, create new layer in new doc. Fill with color and change to color blend mode, they will now match